
DOCSVIDEO INTELLIGENCE
Create and edit videos from Video Intelligence moments
Updated 31 October 2026
Turn moments identified in a Video Intelligence answer into a short video. You can reorder and reframe the moments, add audio and overlays, then export the result as an MP4.
Note
You need permission to edit video compositions to create and save videos. You also need permission to render video compositions to export them.
Create a video
- Ask IO a question about a video. For help getting started, see Video Intelligence chat.
- Find an answer that cites moments from the video.
- Click Create video below the answer.
The editor opens with each cited moment as a scene. The video is titled after your question.
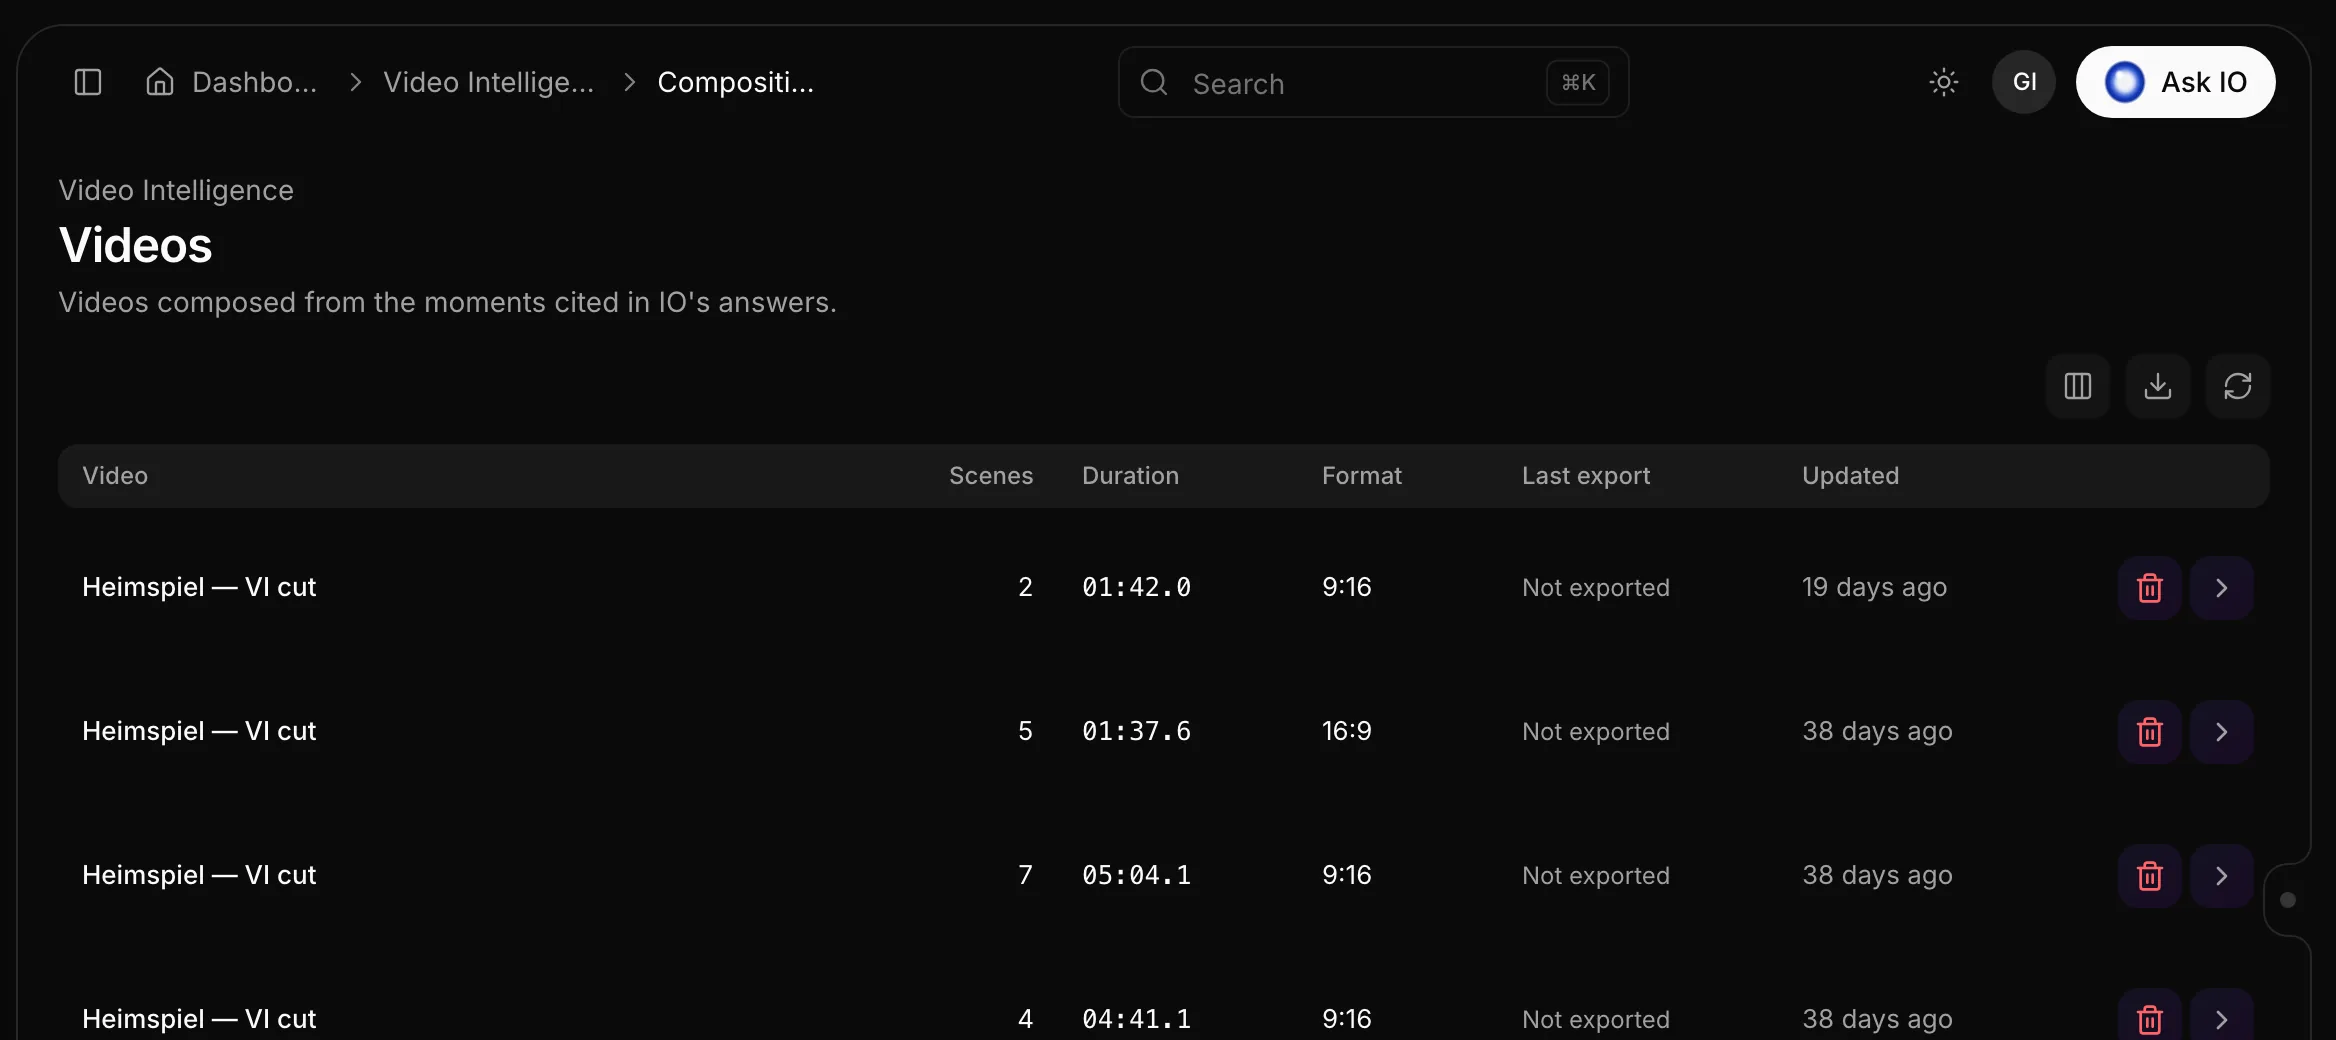
Find your videos
- Open Video Intelligence, then select Videos.
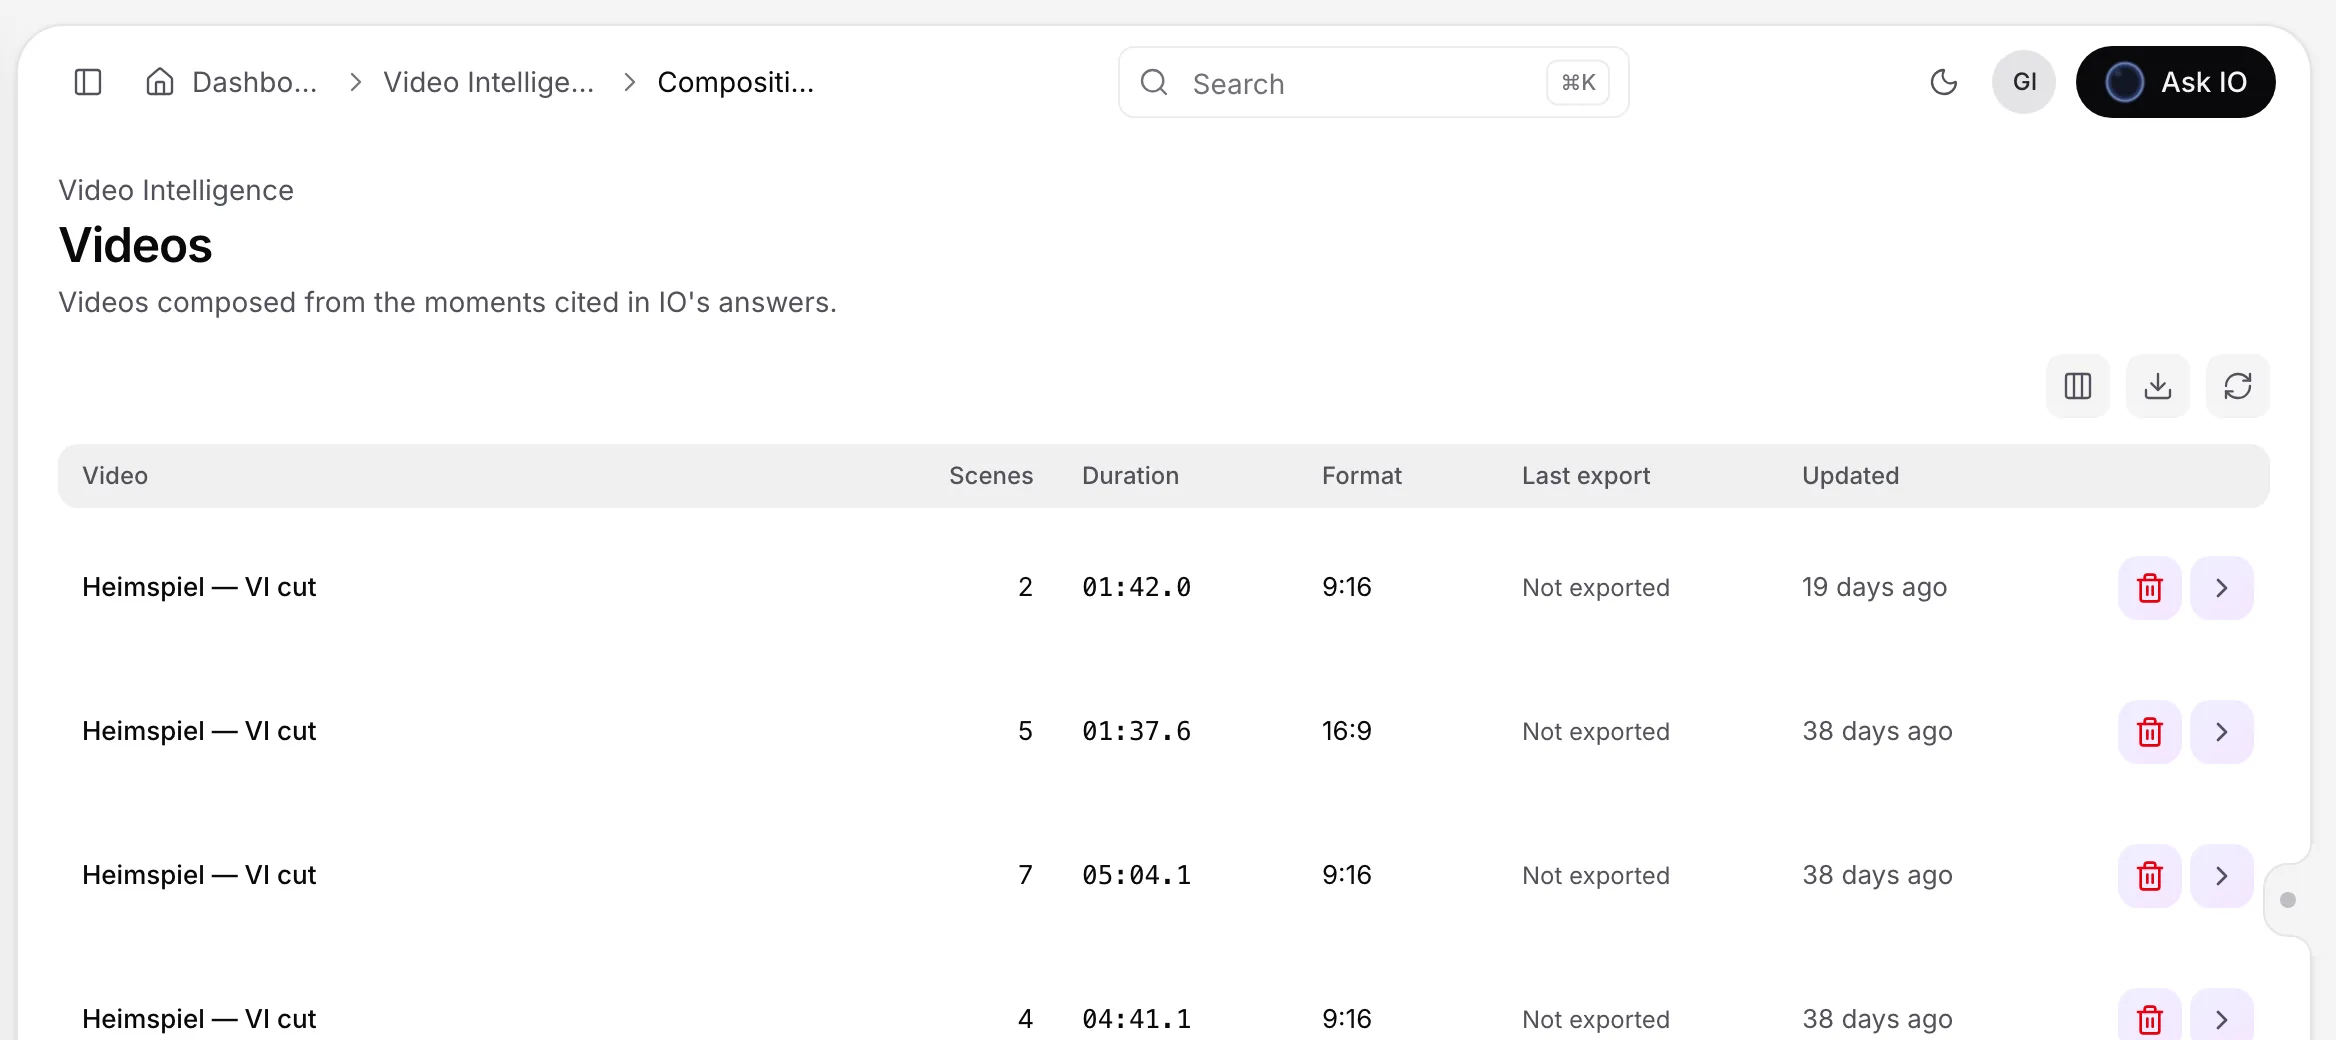
- Browse the list. Each row shows the video title, number of scenes, duration, aspect ratio, latest export status, and last update time.
- Select a row to open the video in the editor.
Export statuses include Queued, Rendering, Ready, Failed, Cancelled, and Not exported.
Deleting a video also deletes its exports. Files that were already saved to archives remain there.
Edit scenes
- Open a video from the Videos list.
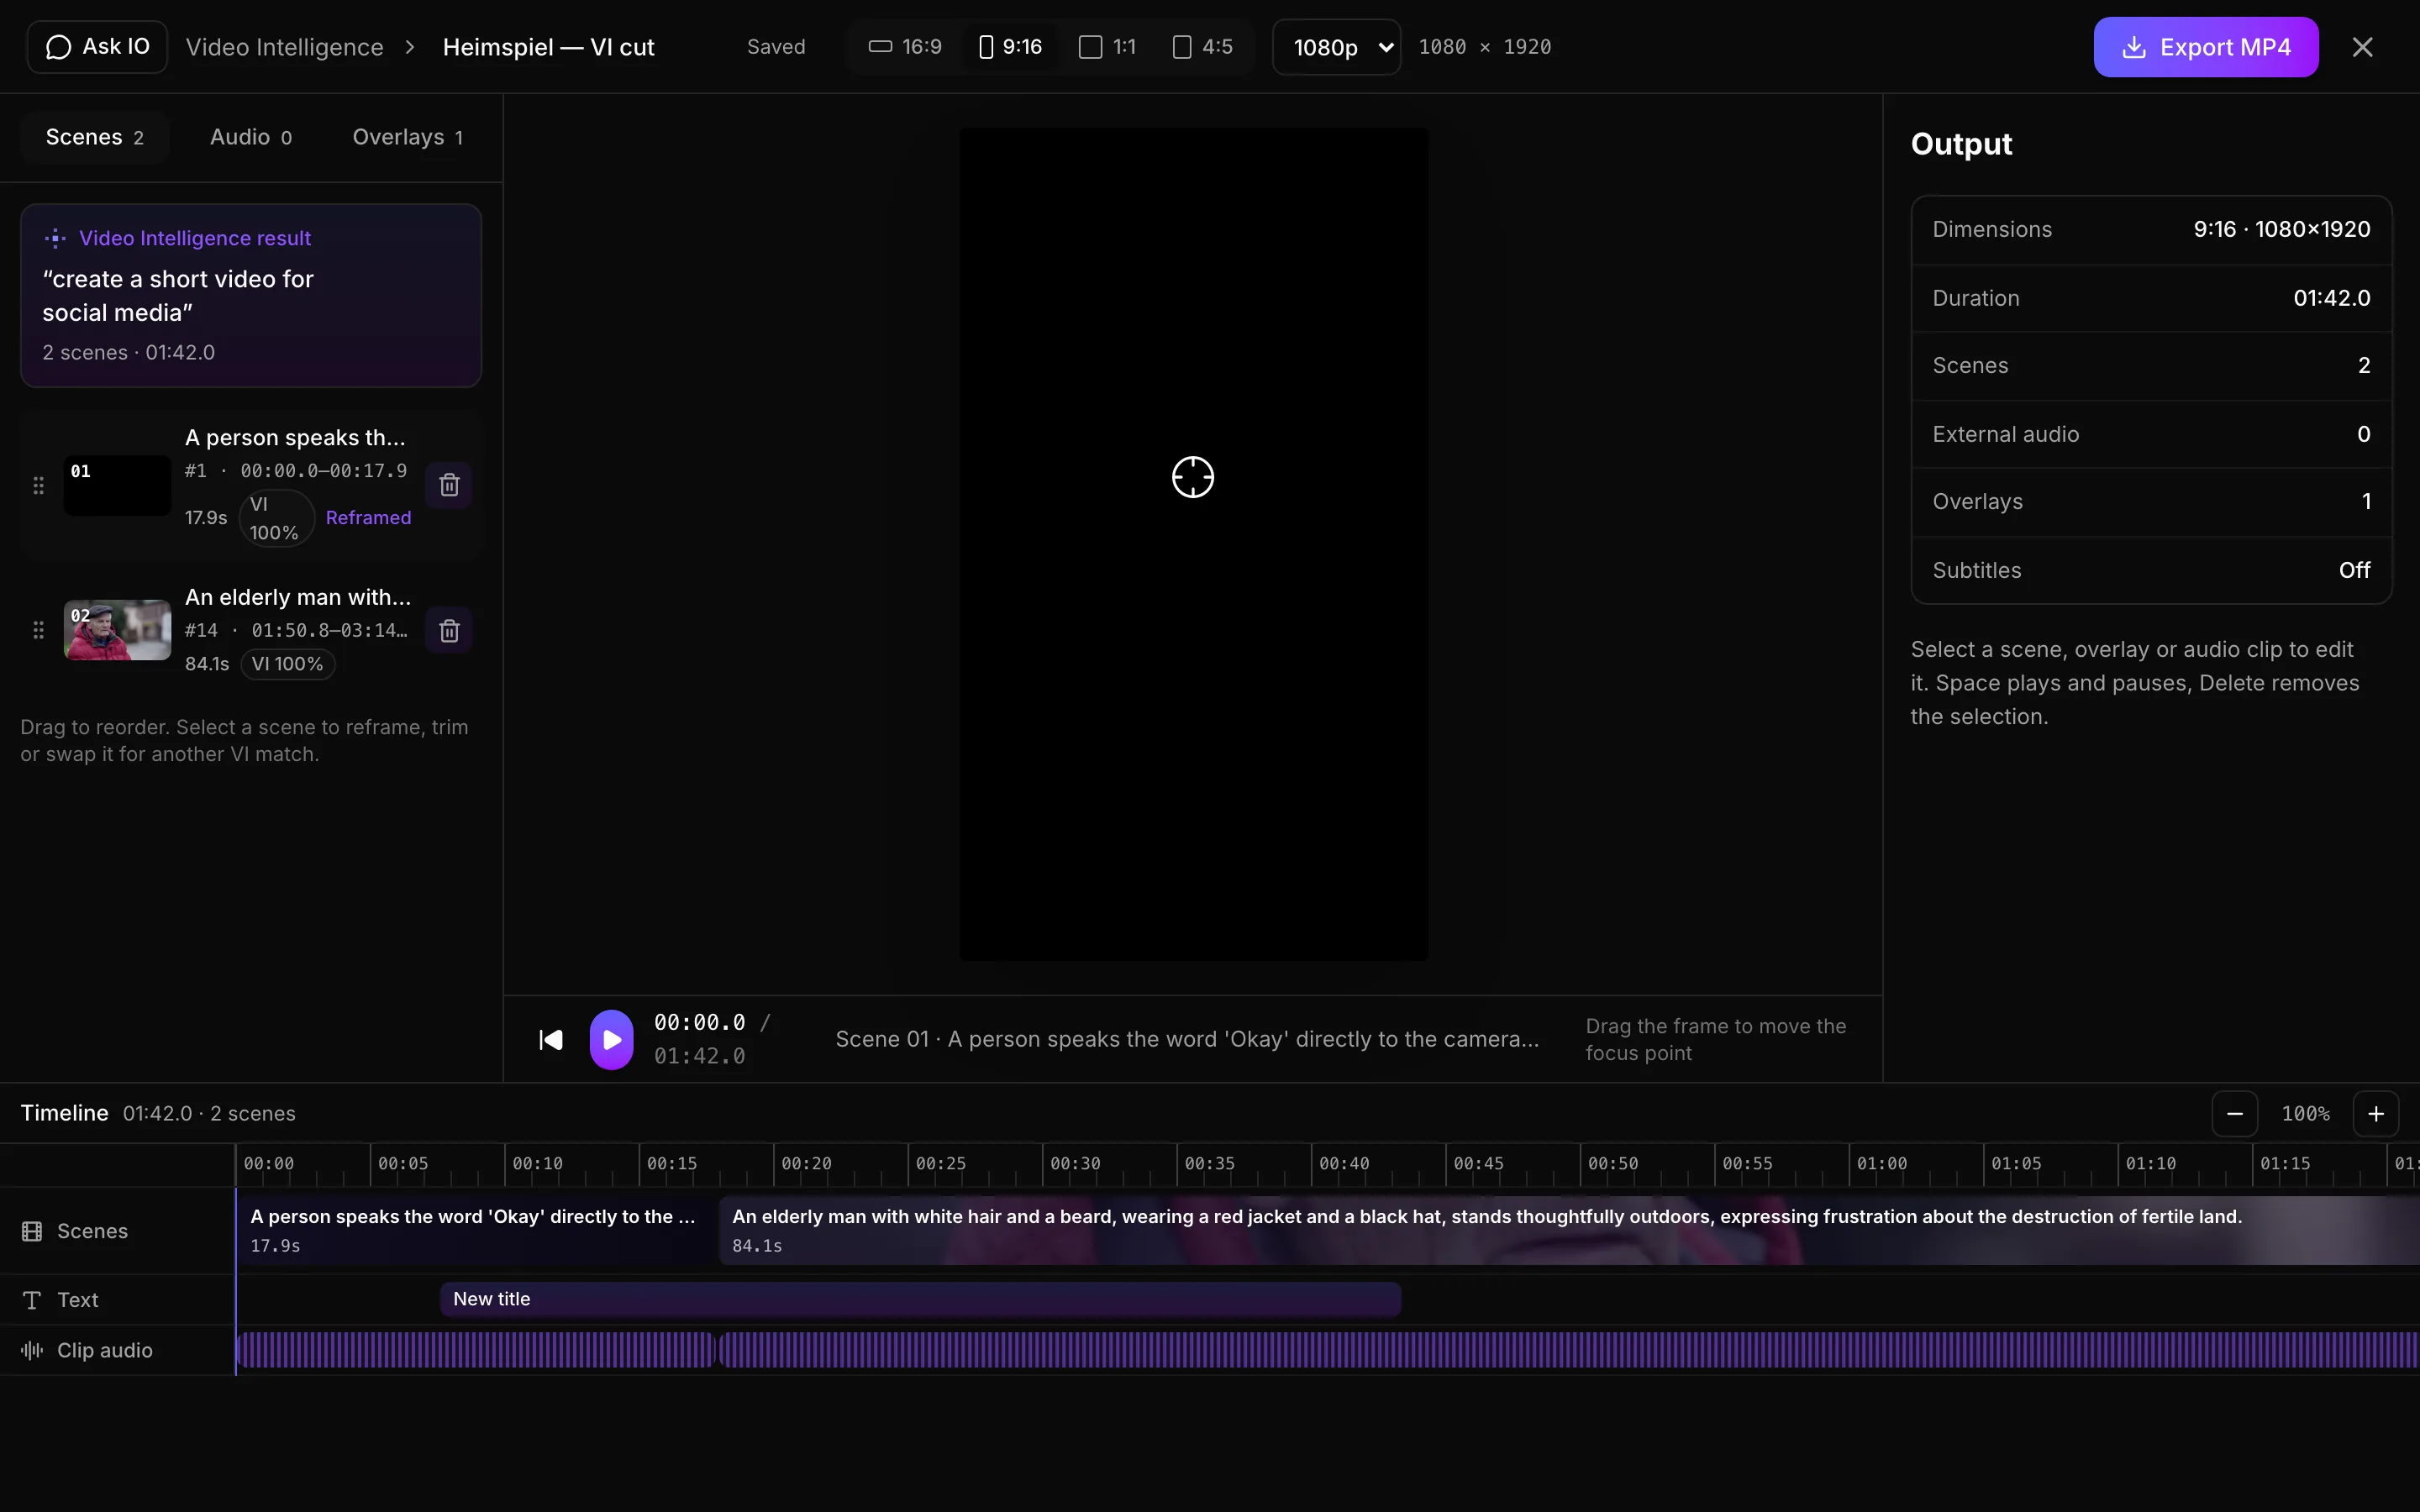
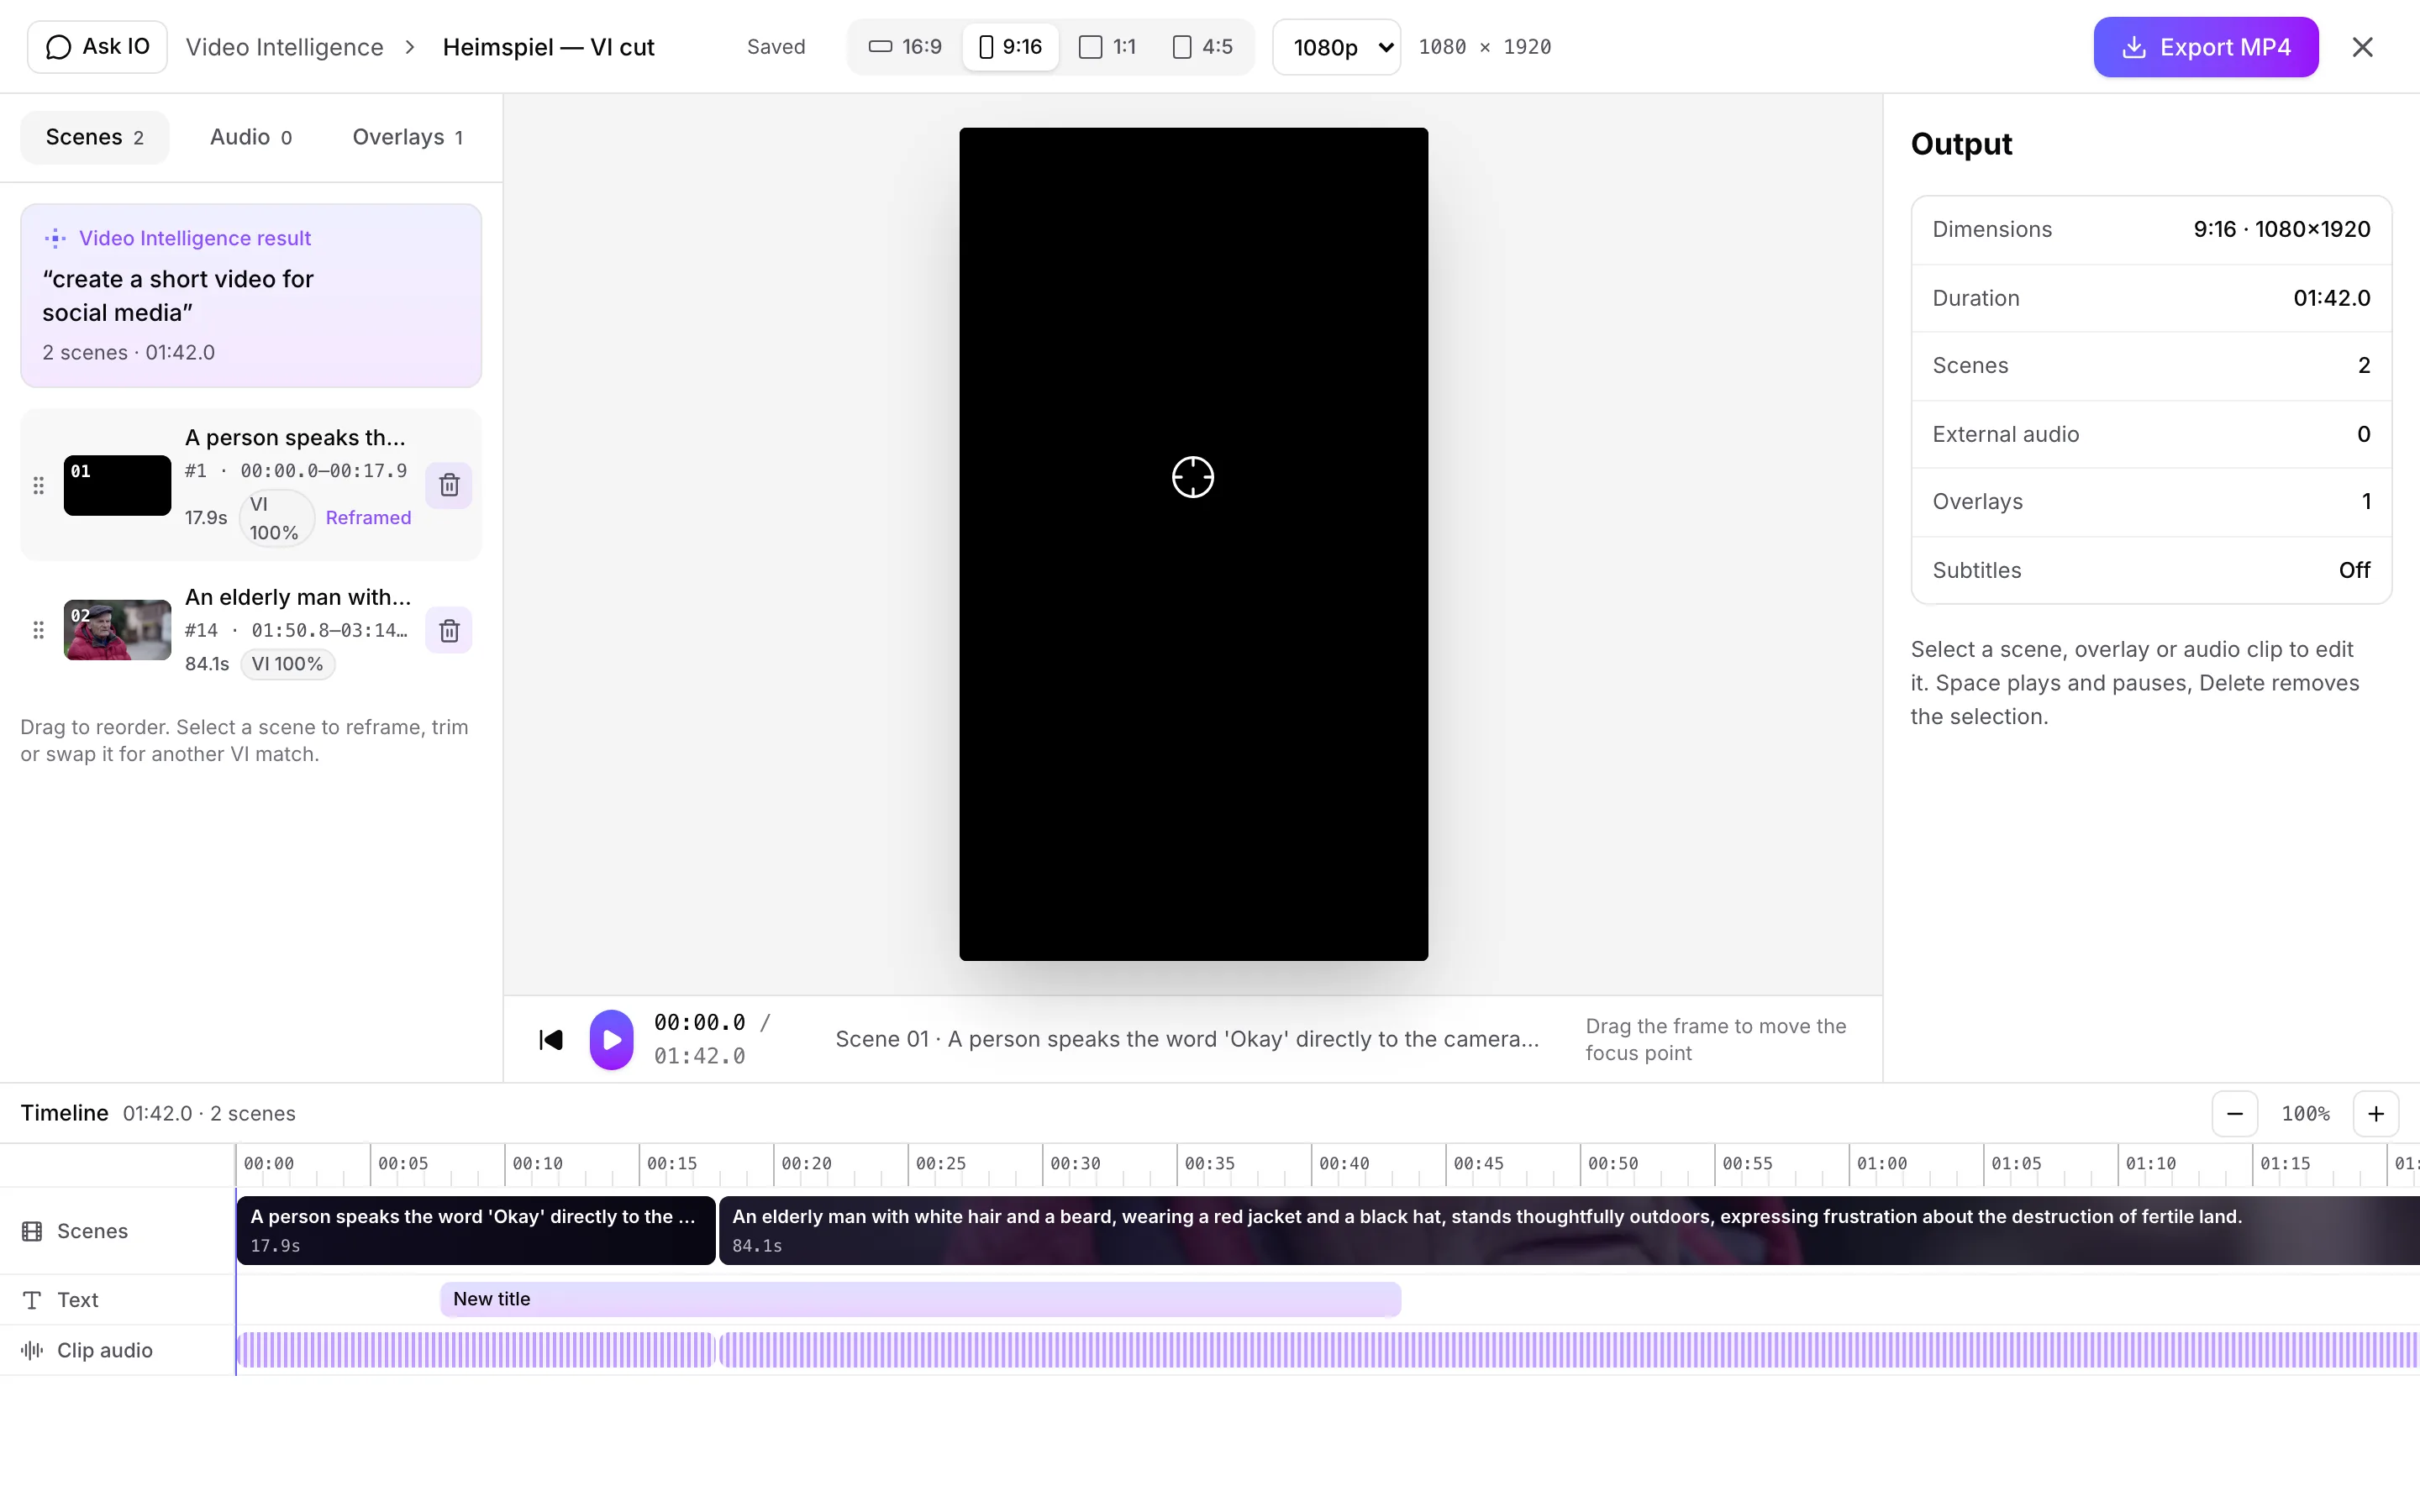
- In the header, rename the video and choose an aspect ratio:
- 16:9
- 9:16
- 1:1
- 4:5
- Choose a resolution of 720p, 1080p, or 4K. Changes save automatically.
- On the Scenes tab, drag scenes to reorder them. Select Remove scene to remove a scene, or select Restore last to bring back the most recently removed scene.
- Select a scene to edit it. You can:
- Move its focus point or reset the focus to the Video Intelligence suggestion
- Adjust the zoom
- Set the In and Out trim points
- Change the speed
- Add a Cut, Fade, Dissolve, or Slide transition
- Adjust clip audio
- Replace it with an alternate Video Intelligence match
A video must contain at least one scene.
Keyboard shortcuts include Space to play or pause, Delete to remove the selected item, and Escape to close the editor.
Add music, voiceover, or other audio
- Open the Audio tab.
- Use Original clip audio to turn the scenes' own sound on or off, and use Mix to set its volume.
- Under Add external audio, choose one of these options:
- Upload file to select audio from your computer, media assets, Bridge, the Vault, or a link
- Record voiceover to record with your microphone
- Paste an audio link and select Add
- Select an audio item on the timeline to set its volume, placement, length, fade-in, or fade-out. You can also remove it.
Add text, images, and subtitles
- Open the Overlays tab.
- Add a text overlay using Title, Lower third, Caption, or Brand tag. Alternatively, select Upload image to add a logo or other picture.
- Select an overlay to change its text, style, color, size, position, timing, and entrance or exit animation. Available animations are None, Fade, Slide, and Pop.
- Turn on Subtitles and choose a subtitle track. Subtitle cues are retimed to match your edited video.
Subtitles come from the stream's subtitle tracks. Videos made from uploaded files do not have subtitle tracks.
Export an MP4
- Select Export MP4 in the editor.
- Review the file name, dimensions, resolution, frame rate, quality, and subtitle settings. Frame rates are 24, 25, or 30 fps. Quality options are Standard and High.
- For subtitles, choose Burn in, .srt, or Off. These options are available when subtitles are enabled in the Overlays tab.
- Select Render MP4. You can monitor the render or select Cancel render to stop it.
- When the video is ready, select Download MP4. If you chose a sidecar subtitle file, you can also select Download .srt.
- To keep the video in the catalogue's media assets, select Save to archives.
Saving to archives requires the stream to be linked to a catalogue. If rendering fails, select Try again.
Looking for a quick answer? Read the FAQ