
DOCSSTREAMS AND MEDIA DELIVERY
Distribute titles to Prime Video Channels
Updated 31 October 2026
EYZFlow connects to your Prime Video Channels partner account so you can send titles, manage availability windows (avails), and check what Amazon received. Account connection and title management are available under Distribution. Files are sent from a delivery.
Important
You need the Distribution module in your plan. Connecting and managing an account requires Manage Platform Accounts. Adding and managing titles and avails requires Manage Avails; viewing Prime Video status requires View Avails.
1. Connect your Prime Video account
- Open Distribution > Platforms.
- Select Connect Prime Video.
- Under Account, enter the account Name and Licensor code supplied during Amazon API onboarding. Choose the default video quality, payout currency, and marketplaces. GLOBAL covers every territory; add a country marketplace only when Amazon has configured one for you.
- Enter the credentials supplied by Amazon for the Content API, Aspera delivery, and Analytics API. You can add these later.
- Select Connect account.
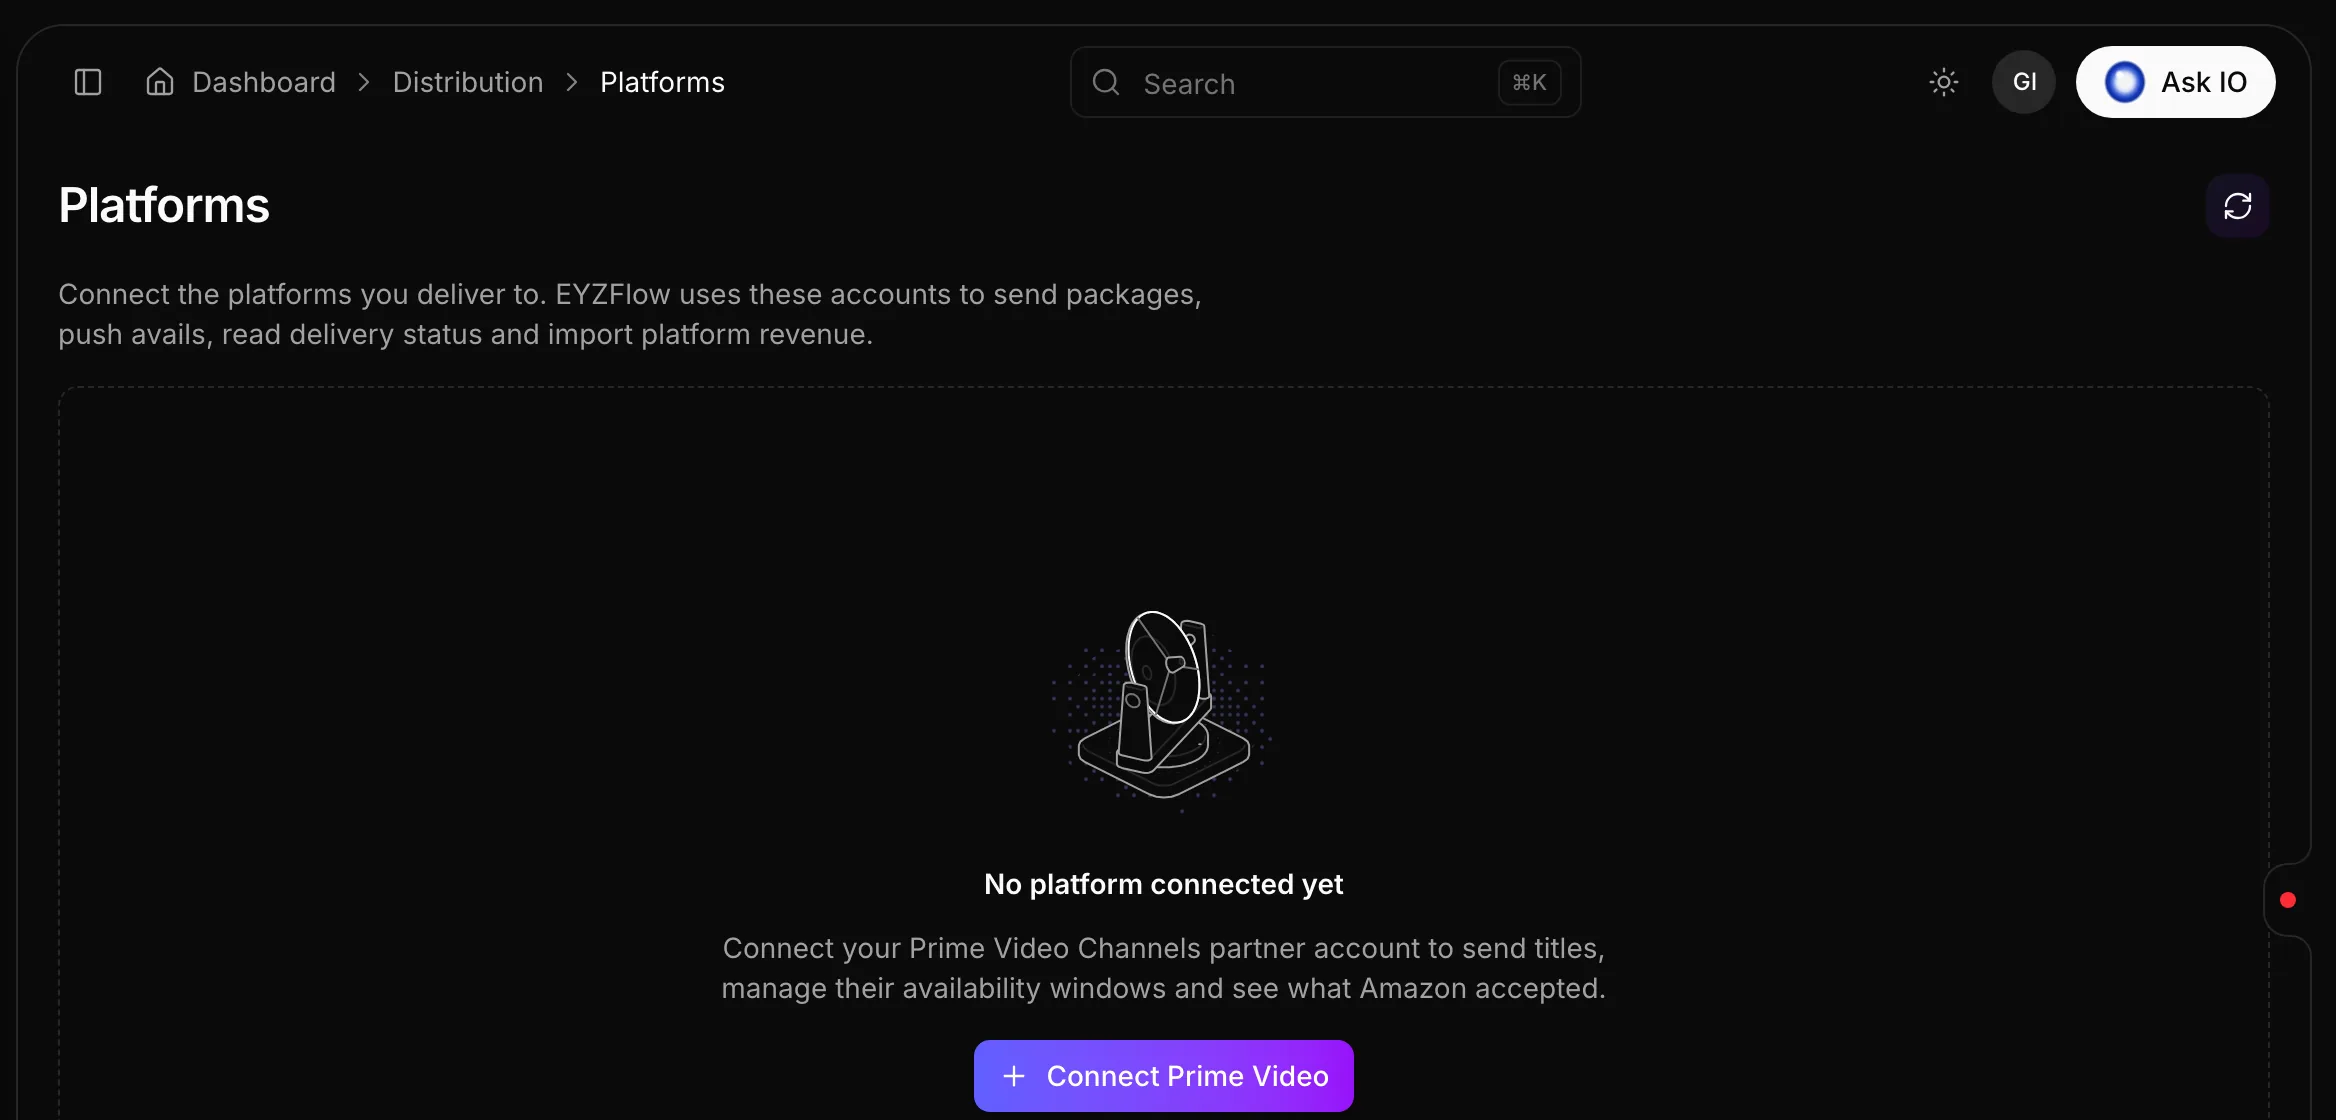
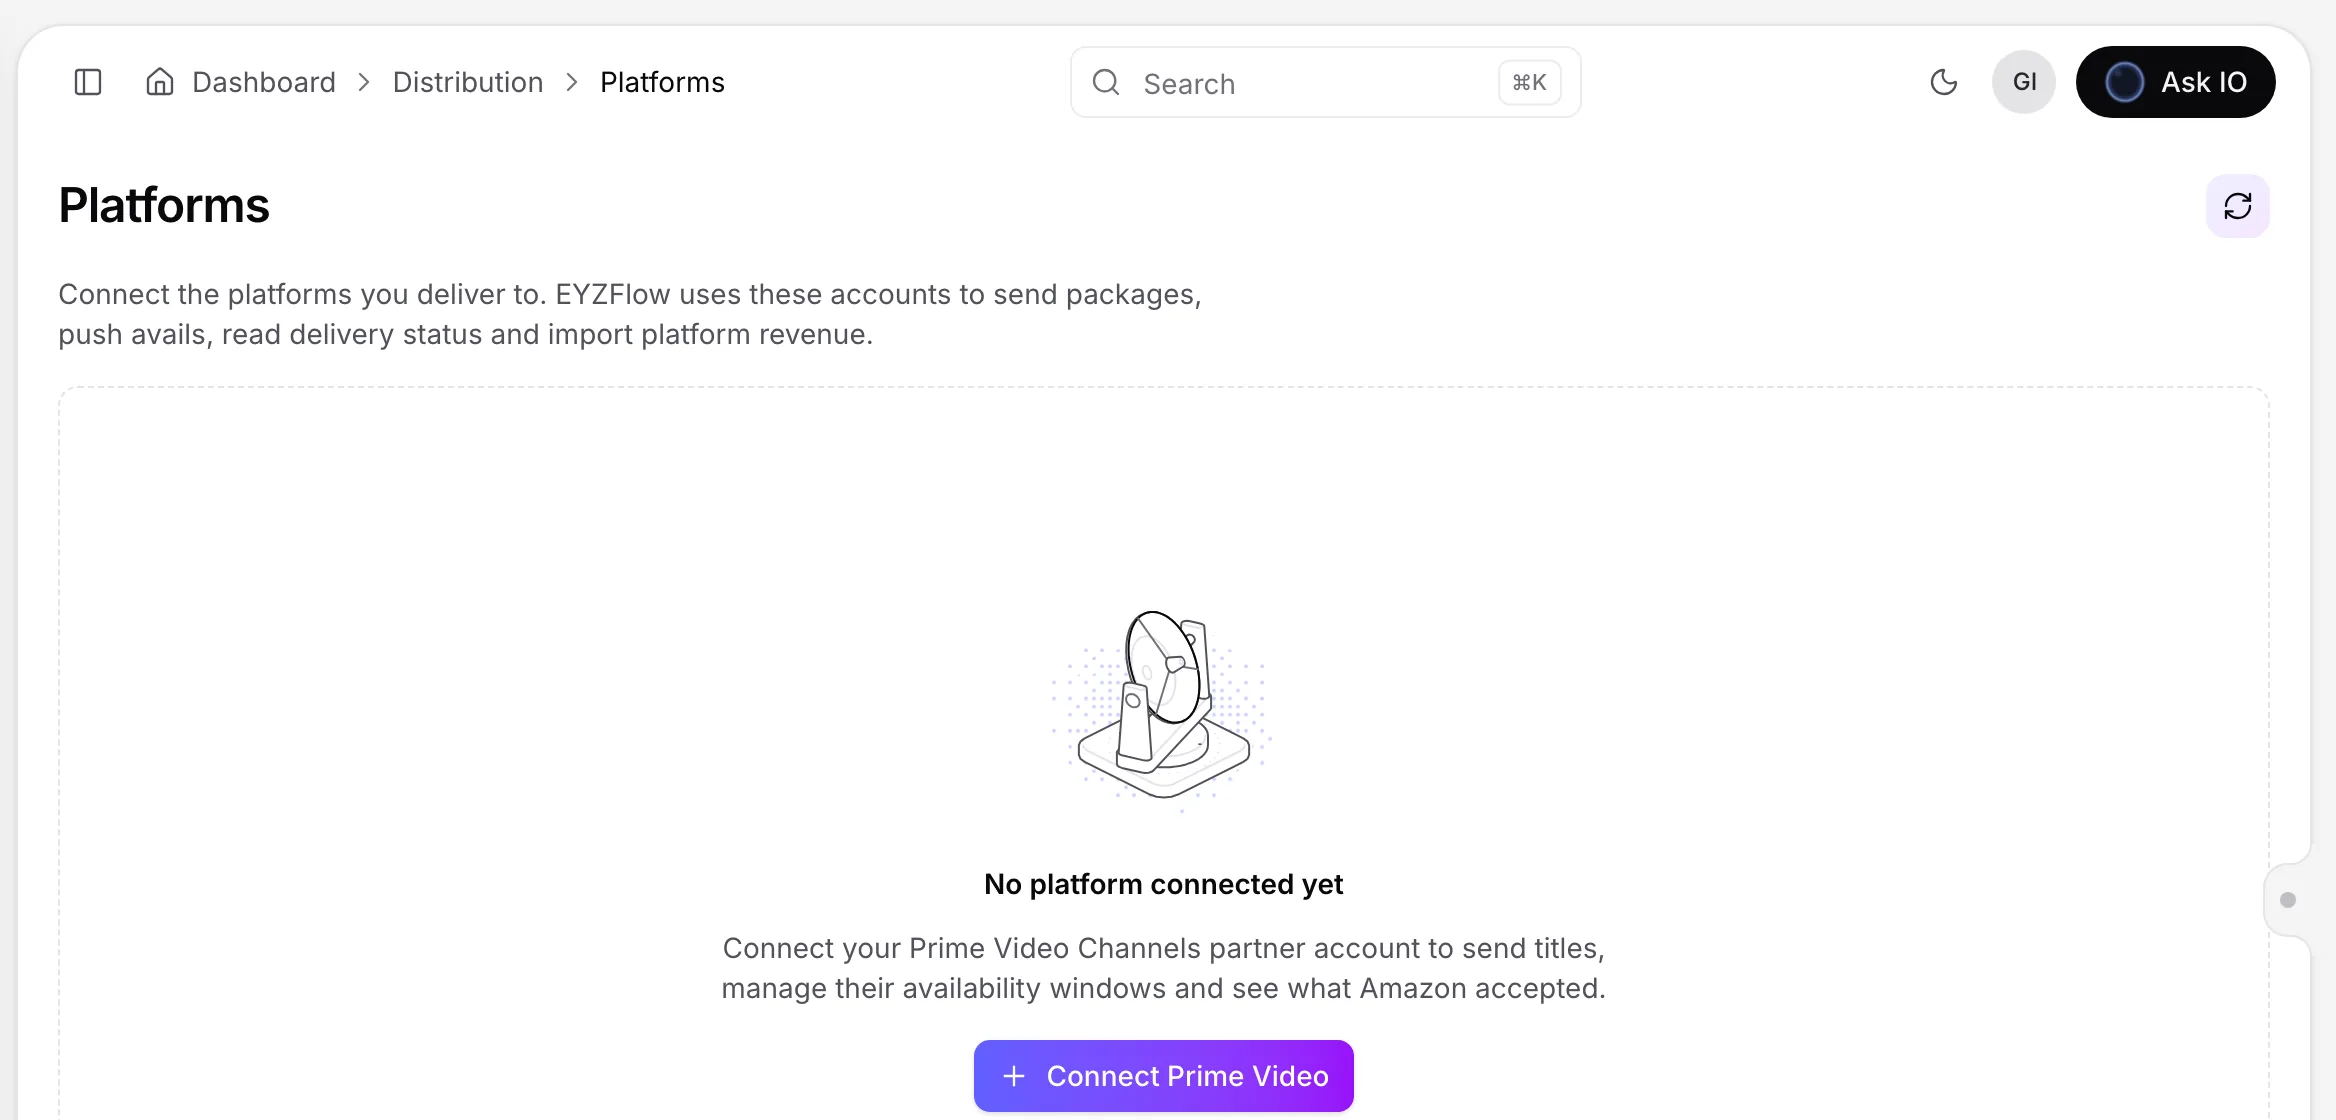
The account page includes Connection, Notifications, and Channels. Saved secrets are encrypted and are not shown again. Each secret is marked Stored or Not set. Use Replace, Remove, or Keep stored value when editing credentials.
Credentials and settings
- Account: Name, Licensor code, default video quality, payout currency, marketplaces, and whether the account is active. An inactive account retains its data but EYZFlow stops calling Amazon with it.
- Content API: API certificate, private key, API key, and Content API URL. This supports avails, offer status, and asset status. Leave the URL empty for production; use Amazon’s sandbox URL when testing avails.
- Aspera delivery: Host, port, user, target folder, and either a password or SSH private key, depending on Amazon’s setup. Enter both host and user, or neither. This connection uploads video, audio, subtitles, and artwork.
- Analytics API: Client ID, Analytics account ID, client secret, and refresh token from a Login with Amazon security profile. This supports financial statements, viewing reports, and subscription events.
The Platforms page shows the readiness of the Content API, Aspera, and Analytics API, along with certificate expiry, channels, and the last connection check.
2. Test and maintain the connection
To test the connection:
- Open the account from Distribution > Platforms and save any changes first.
- Optionally enter a Title ALID that Amazon already knows. The check can then also read its offer status.
- Under Connection, select Test connection.
The result reports whether the Content API and Analytics API are working, along with Amazon’s message and the check time.
To edit an account, open it from Platforms, make changes, and select Save changes. To remove it, select Disconnect account and confirm. Its channels are removed from EYZFlow, but titles already on Amazon remain there.
3. Connect Analytics with Login with Amazon
Analytics statements and reports arrive automatically after the Analytics API has a refresh token.
- Enter the security profile’s Client ID and Client secret on the account page, then save.
- Select Connect with Amazon. If a token is already stored, select Connect again.
- In Slate, allow the application under Account Settings > Applications > Add Application, enter the Client ID, and enable Reporting.
- Add the return address shown by the connection dialog to the security profile’s allowed return URLs. Use Copy address to copy it.
- Select Sign in with Amazon, sign in to Slate, and select Allow.
If Amazon cannot return to the dashboard, choose Paste a code instead, open Amazon sign-in, select Allow, and paste the code—or the complete address of the page Amazon shows—within a few minutes. Then select Connect. A code can be used once.
4. Add channels
Channels are managed under the connected account. Avails, status, and revenue are kept per channel.
- Open the account from Platforms and select Add channel.
- Enter the channel Name and ChannelIdentity supplied by Amazon.
- Enter default territories as two-letter country codes separated by commas.
- Select Save channel.
After connecting the Analytics API, select Import from Amazon to list channels found in Amazon reports. Review the results, select the channels to add, and import them. You can edit or remove a channel later. A channel with avails must have those avails withdrawn on Amazon before the channel is removed.
5. Add or import titles
Add a catalogue title
- Open Distribution > Prime Video.
- Select Add title.
- Choose the platform account if necessary, then select Choose title and select a catalogue title. Selecting a series or season adds its episodes.
- For a single movie or episode that already exists on Amazon under another identifier, enter its Existing ALID. Otherwise, EYZFlow uses its own identifier.
- Select Add.
Import titles already live on Amazon
- On Prime Video, select Import live titles.
- Choose an account if you have more than one.
- Select Check … with Amazon. EYZFlow checks ALIDs from your offers, catalogues, and Amazon usage reports.
- Select the titles to bring into EYZFlow, then select Import.
Importing only tracks the selected titles under their existing ALIDs; it does not deliver files or change Amazon. Series and season offers cannot be imported as a whole, so import their episodes using their individual ALIDs.
6. Review title status
The Prime Video list shows titles delivered to Prime Video Channels, including:
- Asset state: Ready, Issue, In process, or Missing
- Offers per channel and their windows
- Territories
- The last check time
Search by title or ALID, or filter by account, channel, assets, offer, territory, Needs action, or Ending in 30 days. Titles needing action appear first. Select the refresh icon on a row to read its status from Amazon again.
A title page contains these tabs:
- Assets: Expected files, statuses, errors, and matching EYZFlow files
- Avails: Your channel windows
- On Amazon: Offers reported by Amazon, including dates, territories, and licence information
- Deliveries: What was sent and Amazon’s verdict
Select Refresh status to read the title from Amazon. With the required permission, you can change its ALID or stop tracking it in EYZFlow. Neither action changes the title on Amazon.
7. Create and push an avail
An avail is the period during which a title is offered on one channel. It must fit within the licensor offer’s licence window and territories.
- Open a title and select Avails.
- Select New avail.
- Choose the Channel, Quality, and Licensor offer.
- Enter territories, Available from, and Available until, or select No end date. Add notes if needed.
- Select Save avail. The avail is saved as a draft.
- Optionally select Check with Amazon.
- Select Push to Amazon.
The avail shows when it was pushed or why Amazon refused it. Resolve listed problems before pushing. A title needs a licensor offer before you can create its avail, and the account needs at least one channel.
Avail statuses include Draft, Sent, Live, Ended, and Withdrawn. Select Show ended and withdrawn to view past avails.
Edit, delete, or withdraw an avail
- Edit a draft, sent, or live avail with the pencil, then push the changes again.
- Delete a draft that has never been pushed with the bin icon.
- Select Withdraw on a pushed avail to stop the title being offered on that channel in those territories.
8. Link existing Amazon avails
For titles offered on Amazon before EYZFlow began managing them:
- On Prime Video, select Link avails from Amazon.
- Select Link avails. If the list is filtered by account, EYZFlow processes titles for that account.
Each reported window becomes an avail on its channel when it can be matched to the appropriate offer. Existing matching avails are retained, and nothing is sent to Amazon. Unmatched windows are reported with a reason, such as no matching offer, multiple possible offers, or a channel that is not configured on the account. Fix the issue and select Run again.
9. Turn Amazon notifications on or off
Notifications let Amazon tell EYZFlow when an asset is accepted or rejected, or when a title goes live or is no longer live. This updates delivery results and the Prime Video page promptly.
- Set up the Content API first.
- Under Notifications, select Turn on notifications.
To return to scheduled checks, select Turn off and confirm.
Looking for a quick answer? Read the FAQ