
DOCSSTOREFRONTS AND VIEWER SUPPORT
Set up and manage viewer support
Updated 31 October 2026
Viewer support helps your team answer people who use chat on your storefronts and websites. The assistant answers first using your published help pages. If someone asks for a person or the assistant cannot help, the conversation becomes a case for your team.
Important
You need Handle Viewer Support to work with cases. Setting up storefronts, websites, and their chat requires Update Storefronts; creating a website also requires Create Storefronts.
Get started
- Set up the chat from Support > Setup. Configure the chat window, assistant, topics, knowledge base, saved replies, and closed-case retention.
- Turn on chat for each storefront or website from its Support tab.
- Publish help pages in the knowledge base so the assistant has approved answers to use.
- Open Support > Inbox to review cases that need your team.
Configure the shared support experience
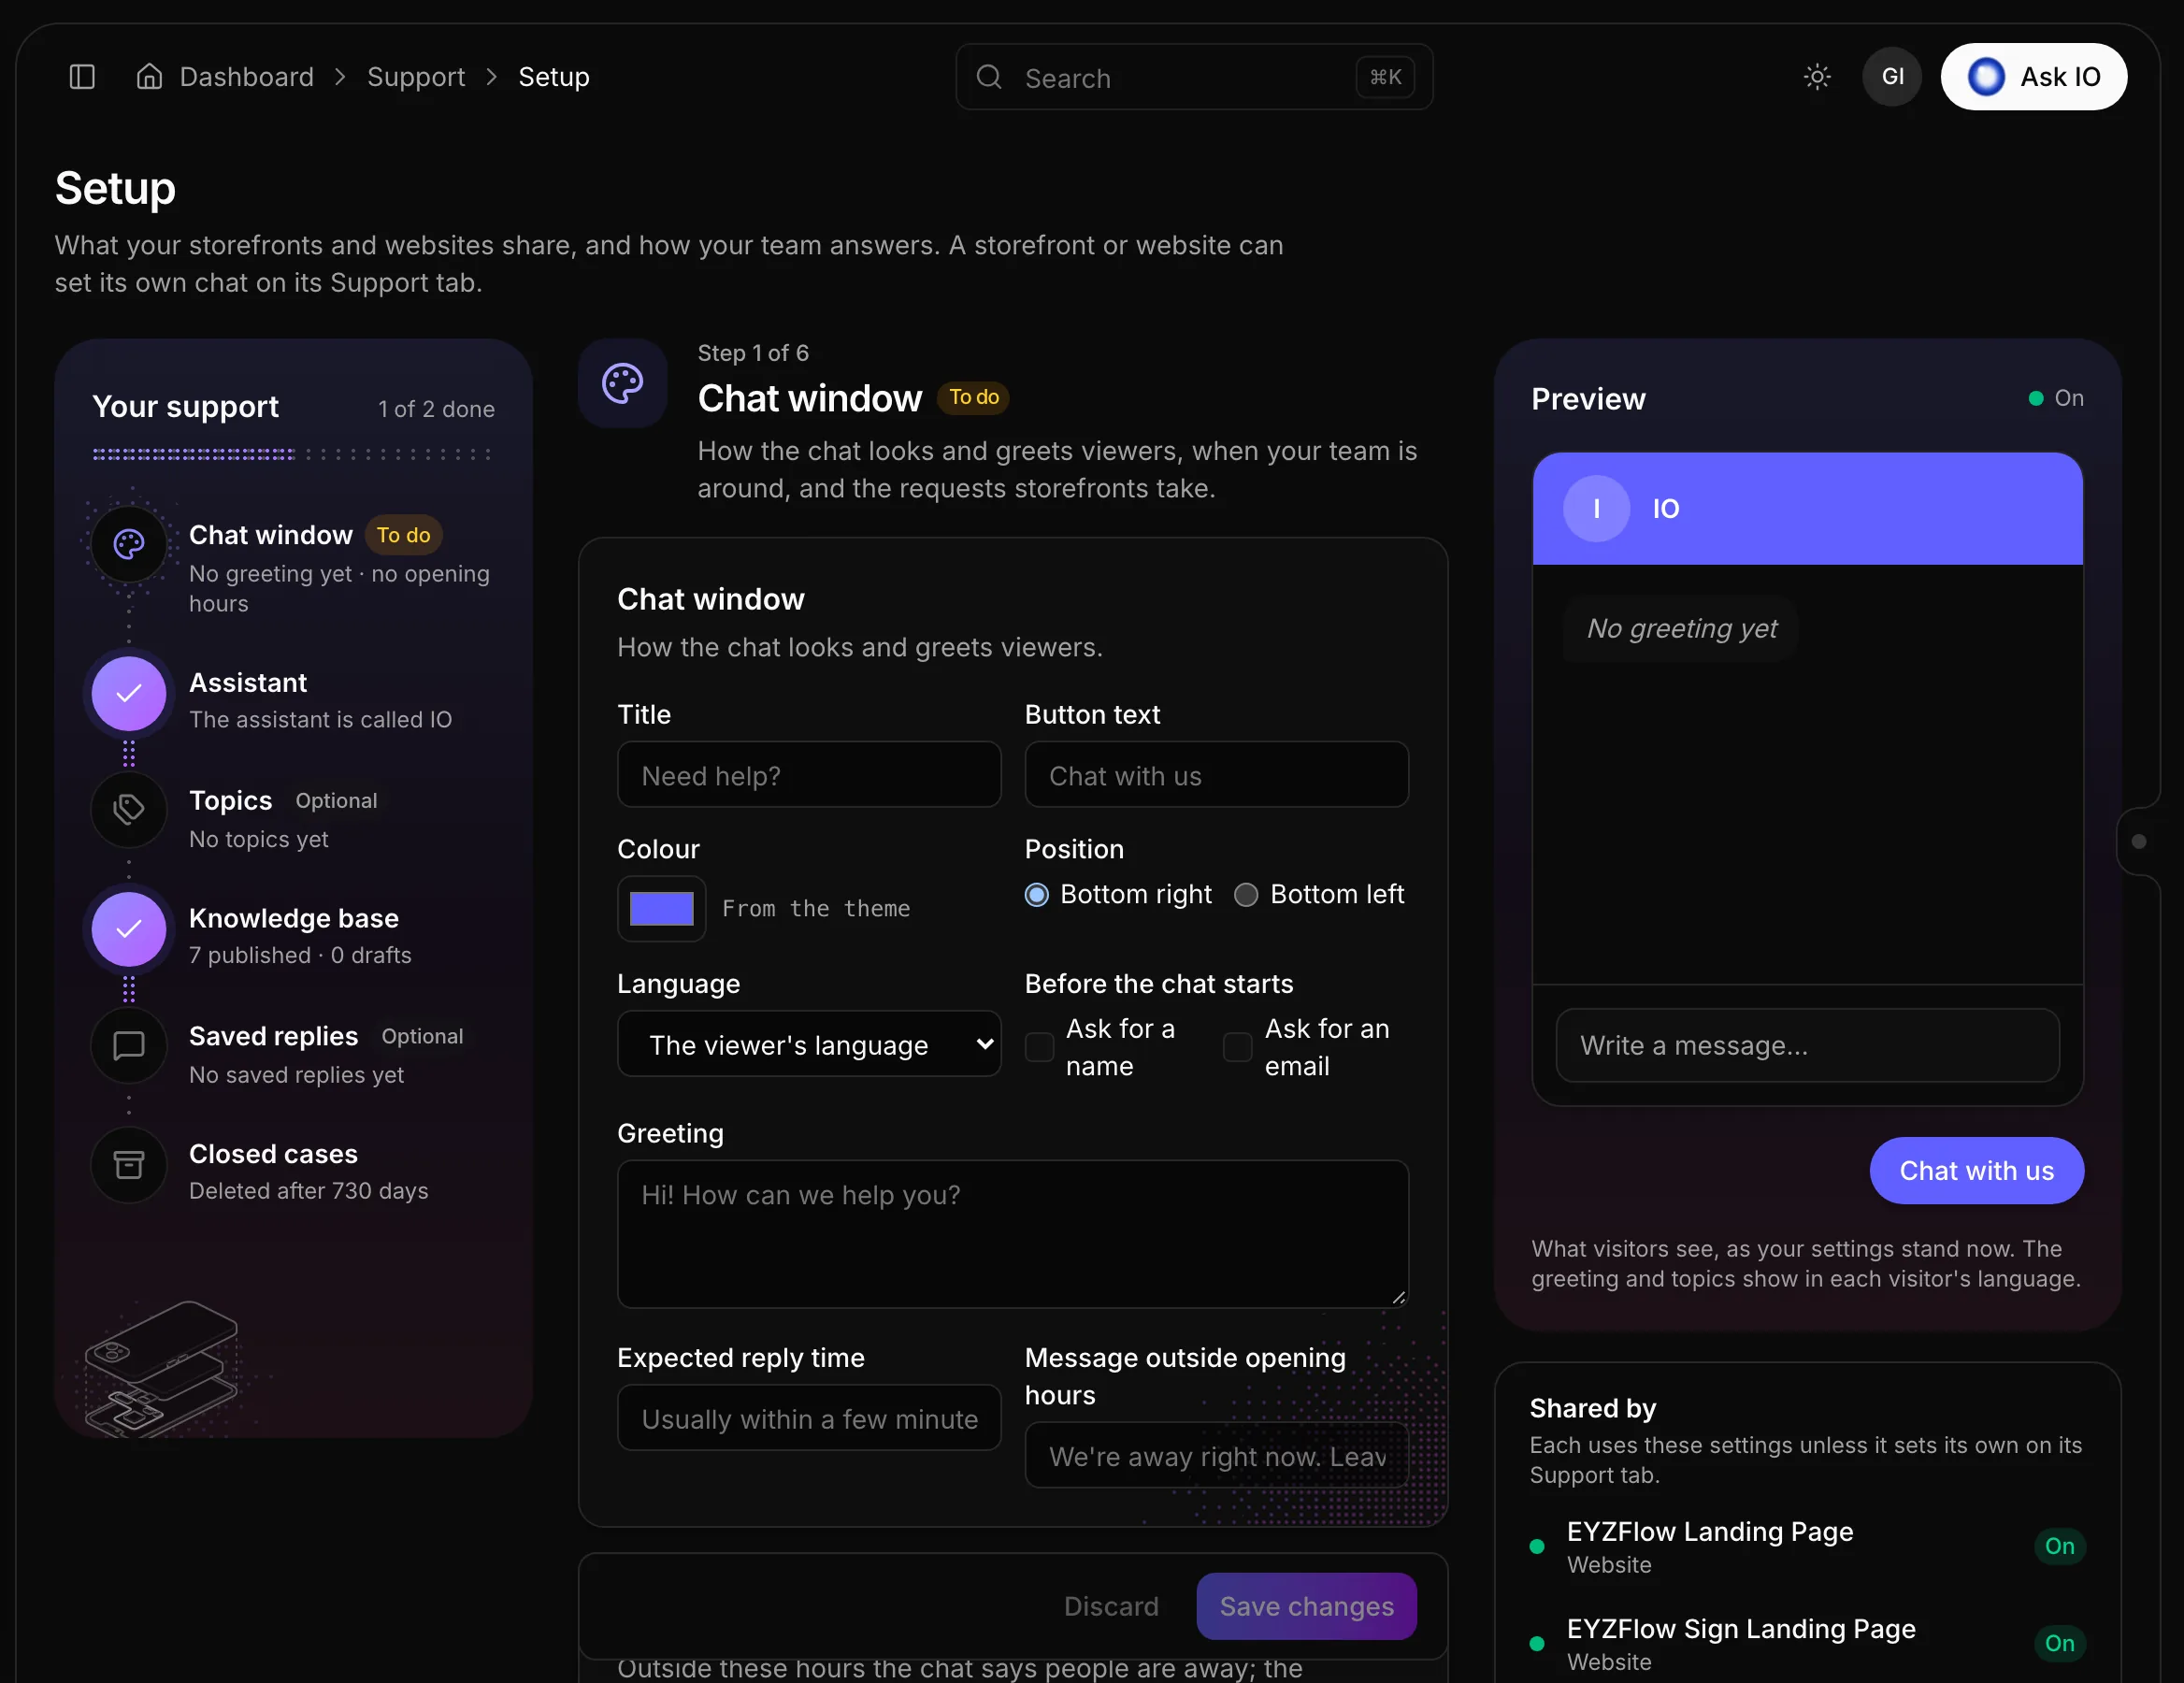
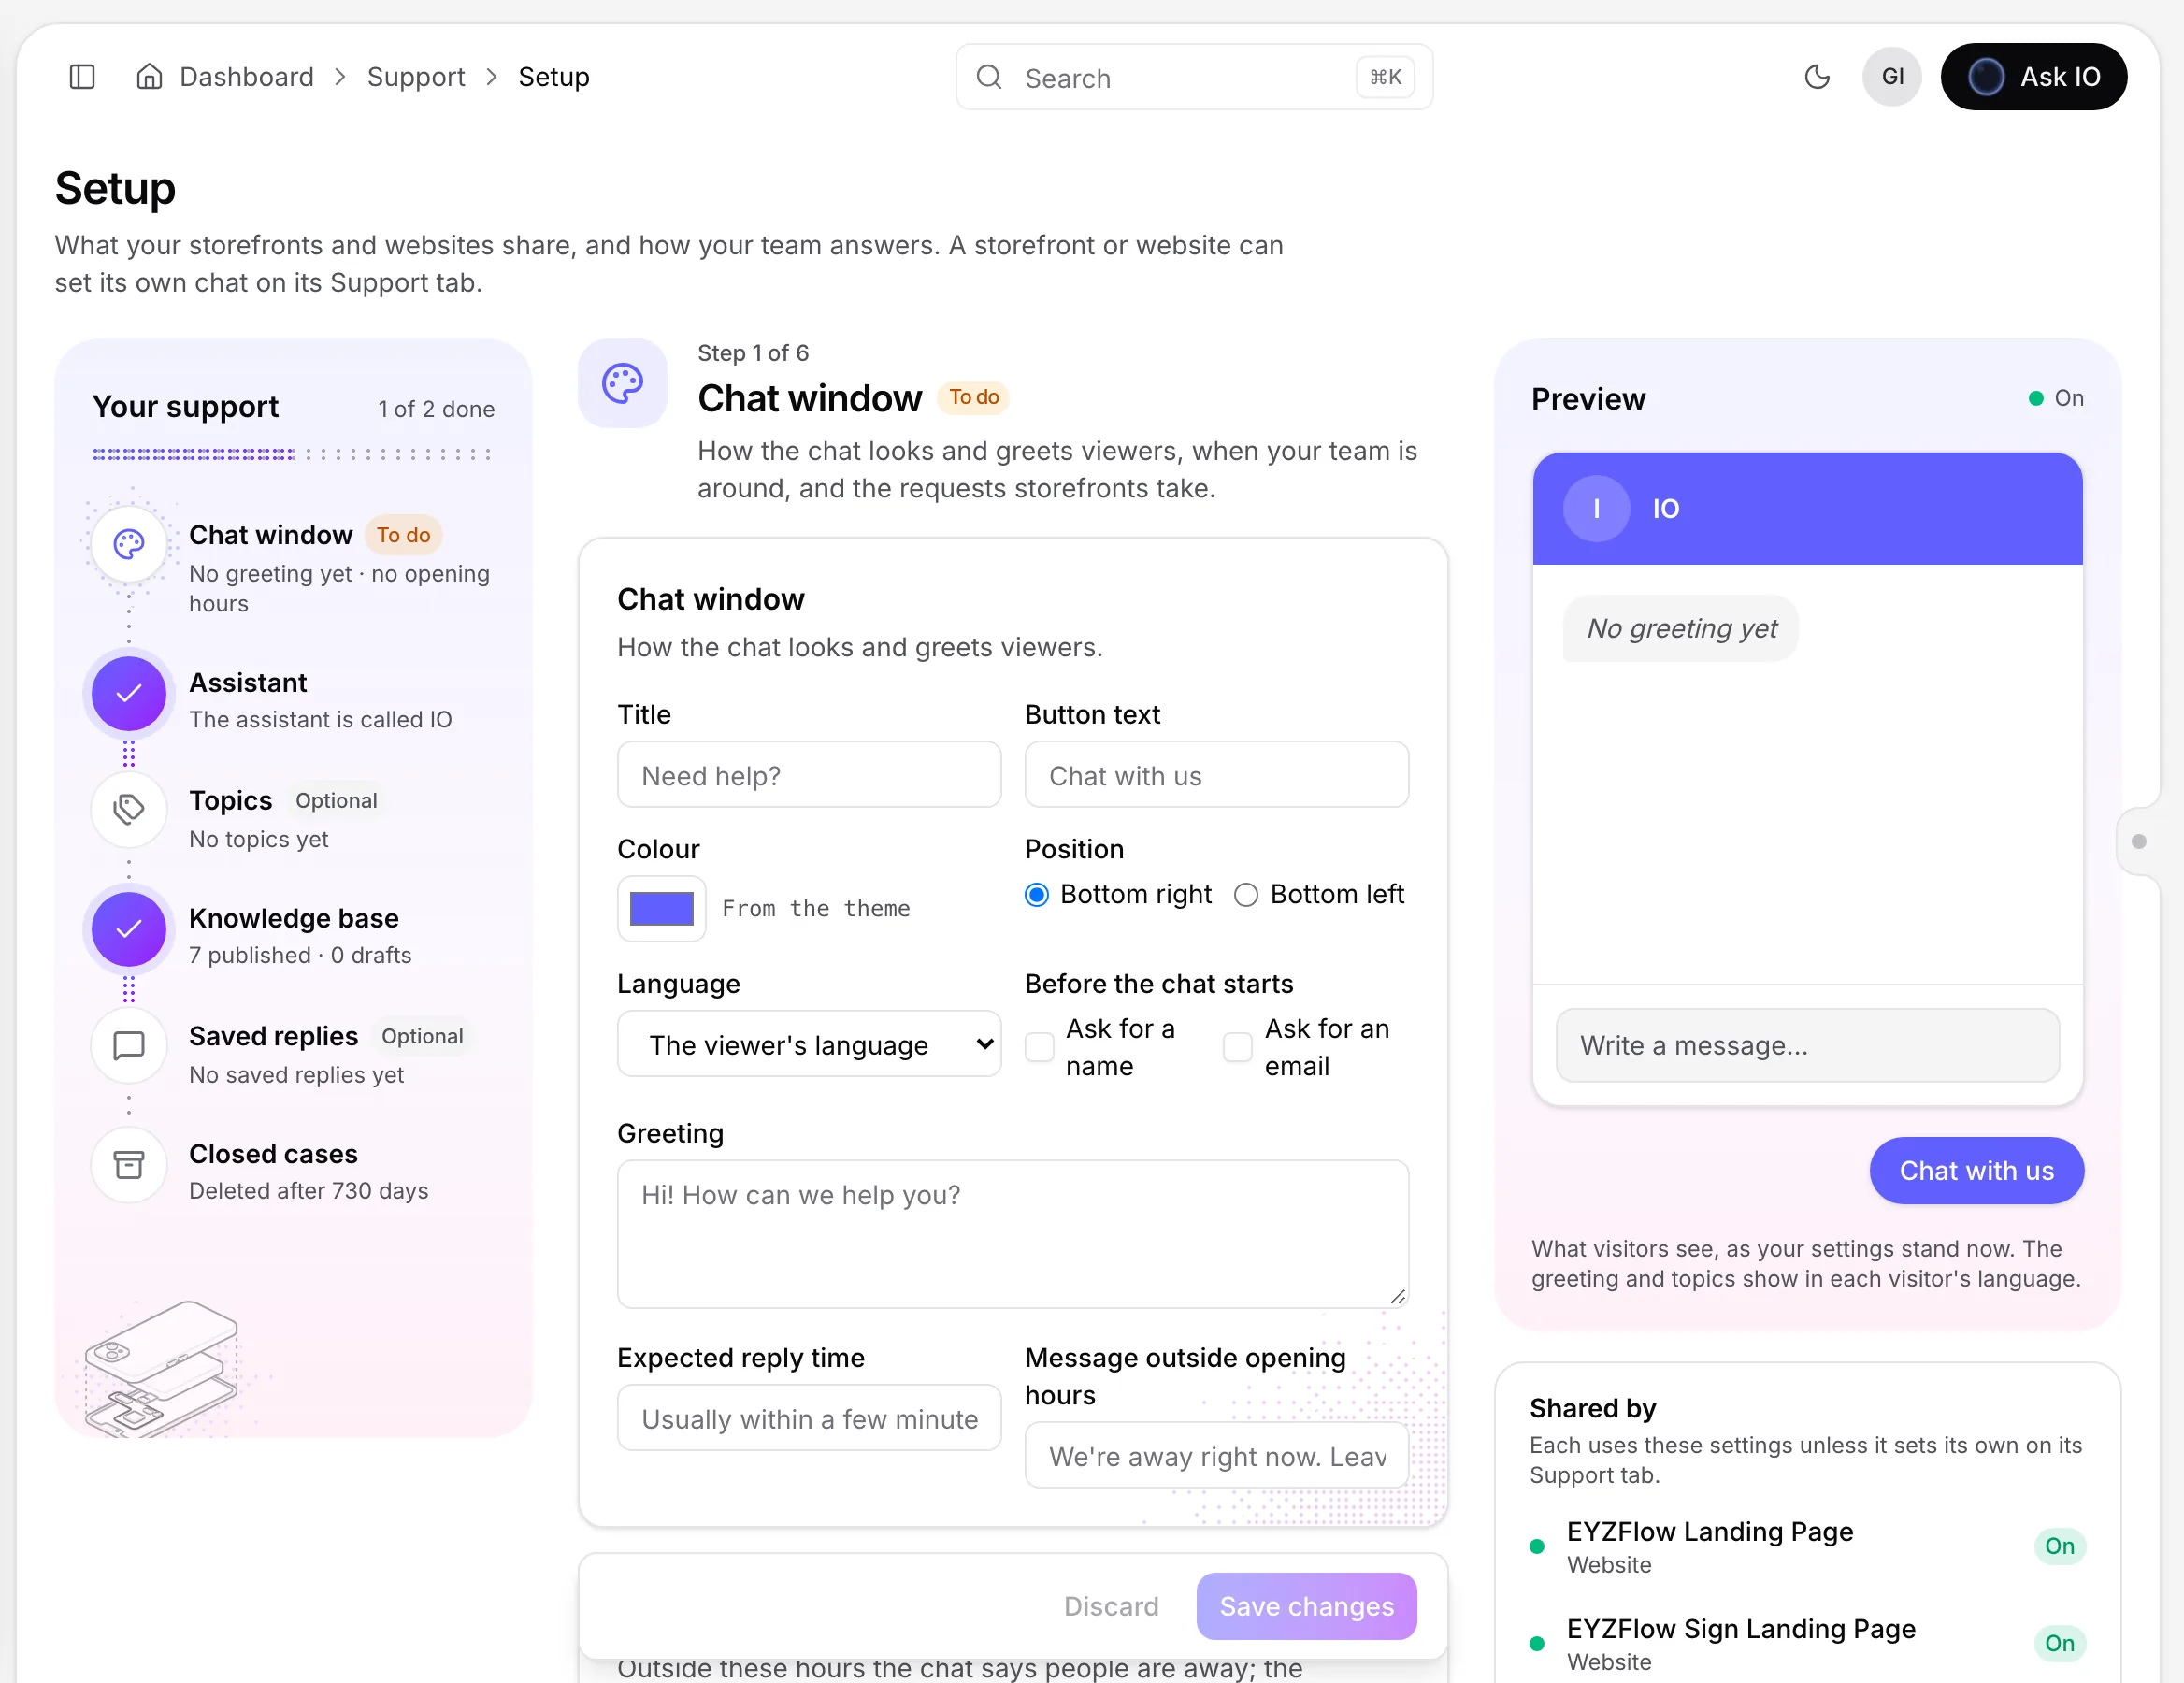
Support > Setup guides you through the settings shared by your storefronts and websites:
- Chat window: Set the title, button text, colour, position, language, pre-chat questions, greeting, opening hours, and requests that storefronts accept.
- Assistant: Set the assistant's name, picture, answering behaviour, and permitted actions.
- Topics: Create the buttons viewers can choose and control where each appears.
- Knowledge base: Create and manage the pages used by the assistant.
- Saved replies: Create reusable responses for your team.
- Closed cases: Delete closed cases after a period from 30 to 3,650 days, or keep them. Deleting closed cases also removes related copies at EYZMedia, conversations that never became cases, and inactive viewers after the selected period.
The setup page includes a preview and shows which storefronts and websites have chat enabled.
Add chat to a website
A website is a site that runs only the chat; it does not include sign-in, payments, or playback.
- Open Storefronts and choose New storefront.
- Under What it is, select Website, enter its name, slug, and public website, and continue through creation.
- On the website's Support tab, turn on and configure chat, then save your changes.
Work with cases in the inbox
Open Support > Inbox to see cases. Cases are grouped by the next action they need, including:
- Waiting for a person
- Waiting for your reply
- In progress
- Waiting on the viewer
- On hold and snoozed
- Solved and closed
Use the available views, search, ordering, and filters to find cases by type, severity, site, source, or topic. You can also select multiple cases to assign them to yourself or change their status.
To manage an individual case, you can assign it, take it, change its status, snooze it, set its priority, or add tags. Add an Internal note for information only your team should see.
Join and reply to a live chat
- Open a case in the inbox.
- Select Join the chat. If a colleague is already handling it, select Take over.
- Write a response and select Send reply. In a live chat, pressing Enter also sends the message.
- When finished, choose whether to leave the case waiting on the viewer, solved, or open.
If the viewer has left, you can still send a reply. Choose the resulting case status in Then set, then send the response. The viewer receives it in chat, or by email if they left an email address. Without an email address, they can see it only in the website chat.
Use AI-assisted drafts
Select Draft with IO in the reply box to generate a suggested response from the conversation and published help pages. You can add guidance and choose Draft again to revise it.
Review Taken from to see the sources used and How IO got there to understand what it read. Select Use it or Add to reply, check the text, and send it yourself.
Note
IO never sends a draft directly to the viewer. If it cannot find reliable information, it says so instead of guessing. Drafts are available for storefront cases; on websites, the assistant answers without opening cases. An organisation can draft about 30 replies per minute.
Use saved replies and help pages
- In the reply box, open Saved replies, search, and select a response. Placeholders such as the viewer's name, case number, your name, and site name are filled in automatically. A saved reply can also set the case's status, priority, and tags.
- In the Help tab, select a matching published help page and choose Insert into reply to add its passage and link.
- Use the Viewer tab to view available account, purchase, and viewing information, and the History tab to open earlier chats or similar cases.
Always review the response before sending it.
Create saved replies
- Open Support > Setup, select Saved replies, and choose Edit saved replies.
- Select New reply and enter a name and response text.
- Add placeholders for the viewer's name, first name, case number, your name, or site name.
- Choose any status, priority, and tags to apply when the reply is used.
- Save the reply.
Saved replies are shared across your organisation.
Build the knowledge base
- Open Knowledge base and select New page.
- Enter a title and the page text. You can use headings, bold text, lists, links, tables, and Markdown shortcuts.
- Choose the language, the sites where the page appears, its address, and—when available—a folder and audience:
- Visitors and the chat: shows the page to visitors and makes it available to the chat.
- Only the chat: makes the content available to the chat without displaying it as a visitor-facing page.
- Optionally add a visitor link for an Only the chat page.
- Save, then publish the page.
Start each topic with a heading phrased as a visitor might ask it. The chat reads up to 1,200 characters from the section that best matches a question and may also read a second strong-matching section from the same page.
Use Ask the chat to test a page as a visitor would. It shows the answer, pages used, and sections read. History lets you review saved, published, and restored versions. If another person saves the page while you are editing, your save is refused and their version is shown so you can load it or save yours over it.
A published page is available to the chat immediately. Unpublish it to remove it from use, or delete it from the knowledge base.
Escalate a case
- Open the case's Case tab and select Pass to EYZMedia.
- Add a note explaining what should be reviewed, then choose Pass on.
EYZMedia's support team receives the case, conversation, and note. They respond to your team in the case; they do not write directly to the viewer. Their answered cases appear in the Answered by EYZMedia view.
Permanently erase a viewer's data
- Open one of the viewer's cases and go to the Viewer tab.
- Select Erase this viewer's data.
- Review the deletion summary, then select Erase for good.
This removes the viewer's conversations, cases and history, team notifications, and EYZMedia copies of cases passed on. The action cannot be undone.
Looking for a quick answer? Read the FAQ