
DOCSWORKFLOWS AND AUTOMATION
Build and run workflows with IO
Updated 31 October 2026
Workflows automate a sequence of actions in EYZFlow. A workflow can start when an event occurs, on a schedule, or when someone starts it manually. Its steps can perform actions, ask someone for approval, wait, run in parallel, or repeat for items in a list.
Note
You need View workflows to see workflows and Manage workflows to create, edit, save, switch on or off, test, and archive them. Each step also requires the permission used by that step.
Open your workflows
Open My workflows under Workflows in the sidebar.
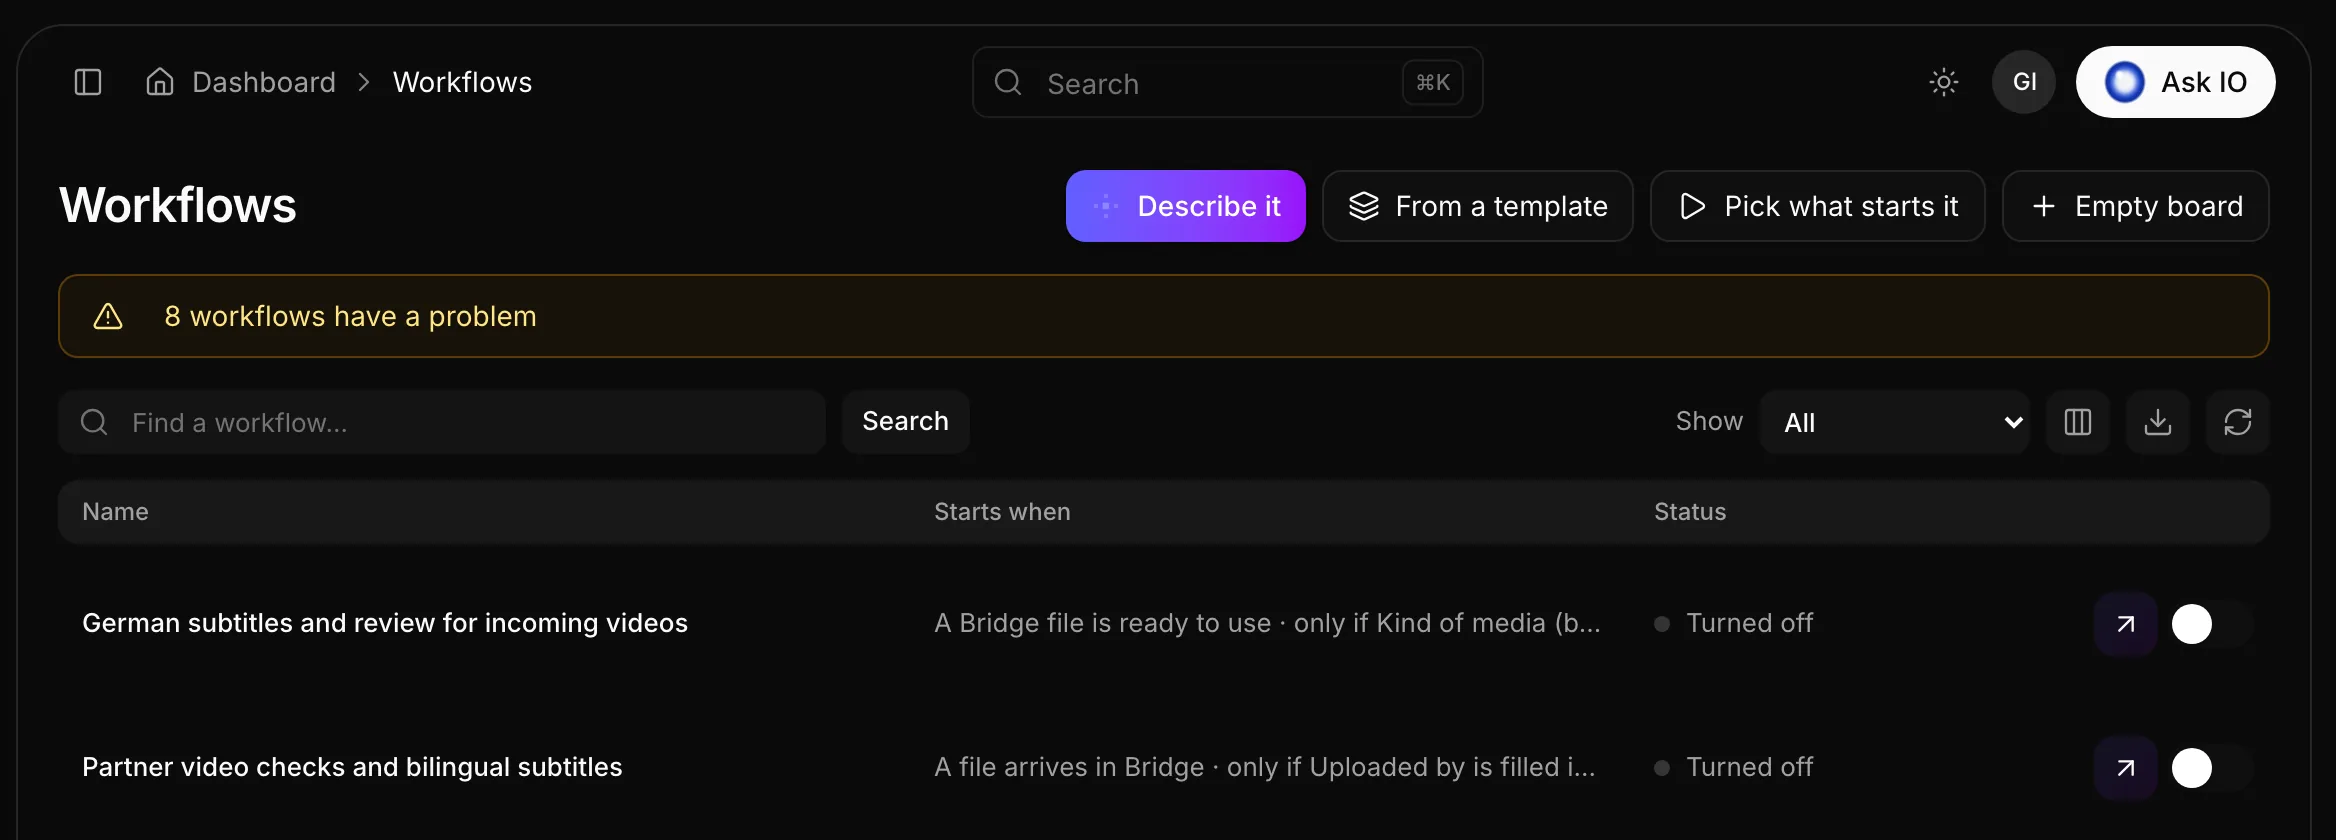
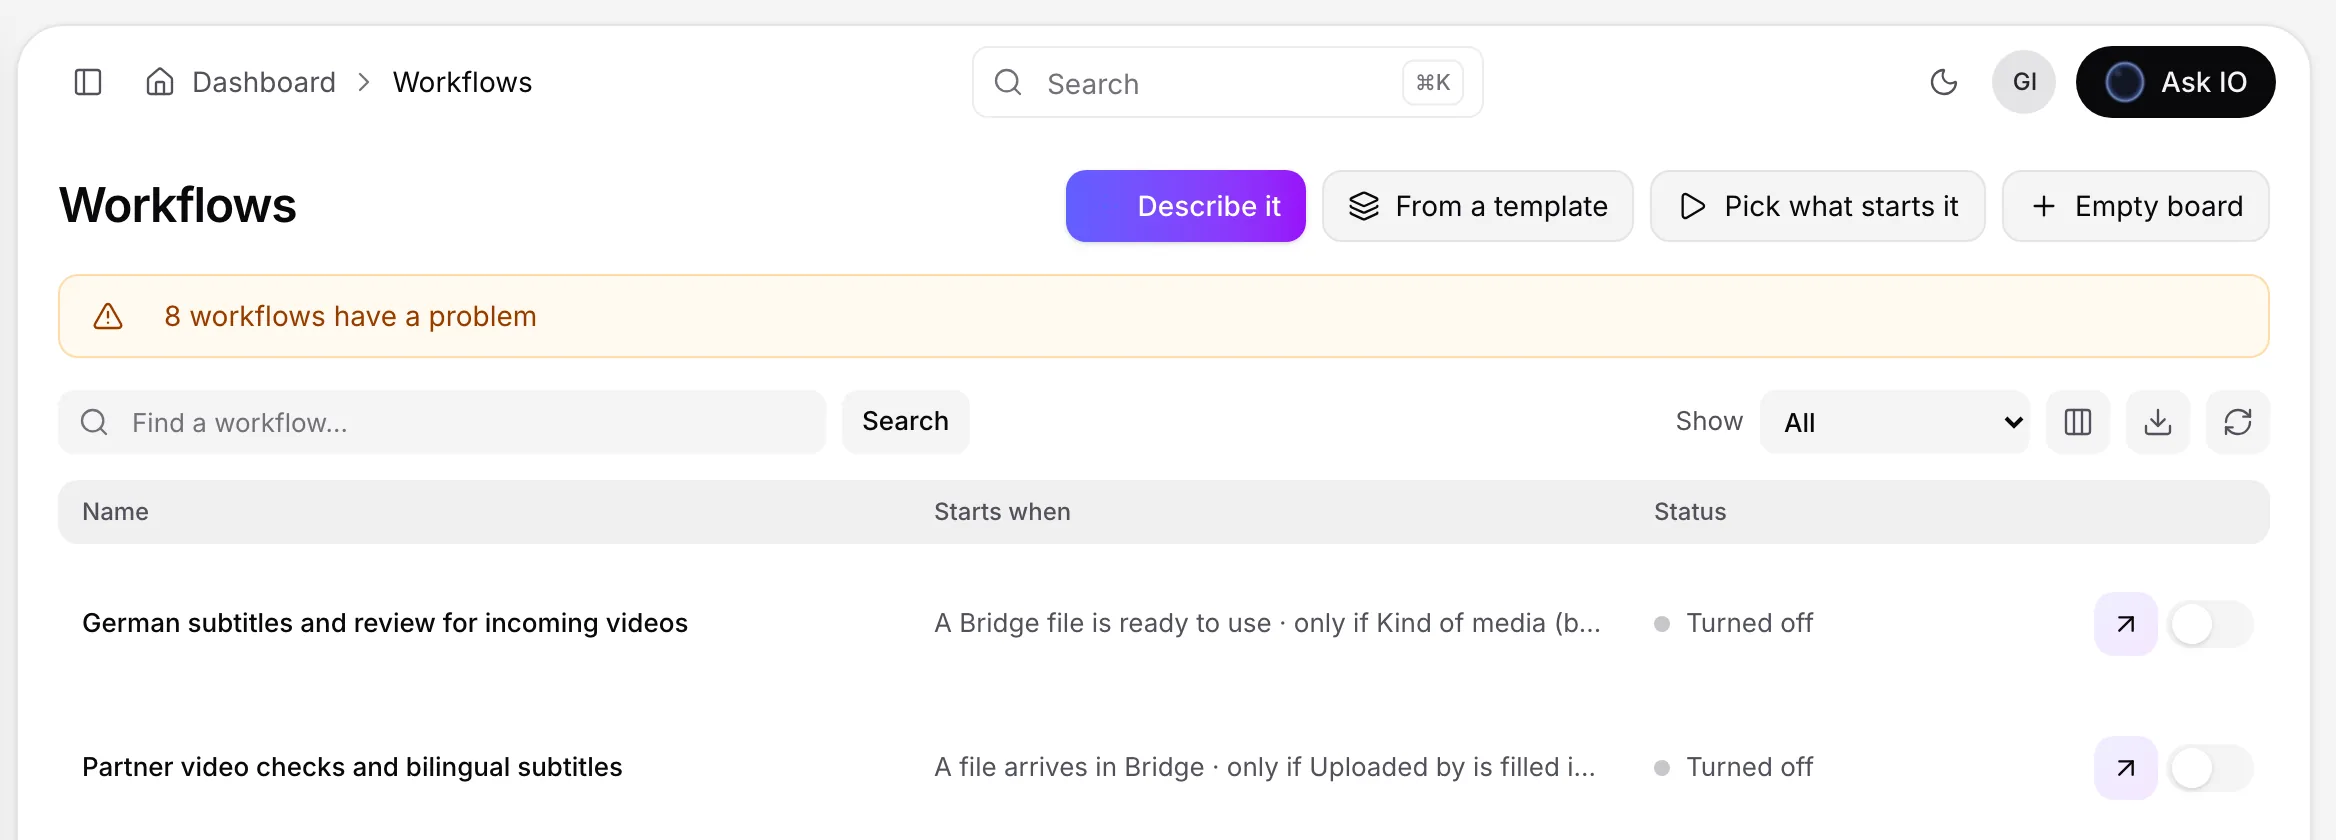
The list shows each workflow's name, labels, trigger, and status. Use Find a workflow… and Search to locate a workflow. You can also filter by status or label. If you have permission to manage workflows, use the switch on a row to turn a workflow on or off.
The list can also show alerts when approvals, runs needing review, or workflow problems require attention.
Create a workflow
From My workflows, choose one of these options:
- Describe it to explain the automation in your own words.
- From a template to start with a ready-made workflow and save your own copy.
- Pick what starts it to choose a trigger before building the workflow.
- Empty board to start from scratch.
You can also ask IO to create a workflow from the What should IO work on? box on the home page.
Let IO create or change a workflow
- Choose Describe it, or select Ask IO on a workflow board.
- Describe what you want the workflow to do. IO may ask a clarifying question.
- Review IO's proposal on the board. The proposal explains what it covers, its assumptions, and its estimated cost.
- Accept the proposal to put it on the board and save it, accept the changes, or discard them.
- Review the resulting workflow and fix any problems shown on the board.
Saving a draft or change creates a version but does not start a run. For an enabled workflow, changes apply from the next run; runs already in progress continue with the version they started with.
If IO proposes a step your role cannot use, the proposal warns you. Accepting it does not bypass the permission check, so someone with the required permission must accept or save it.
Build a workflow on the board
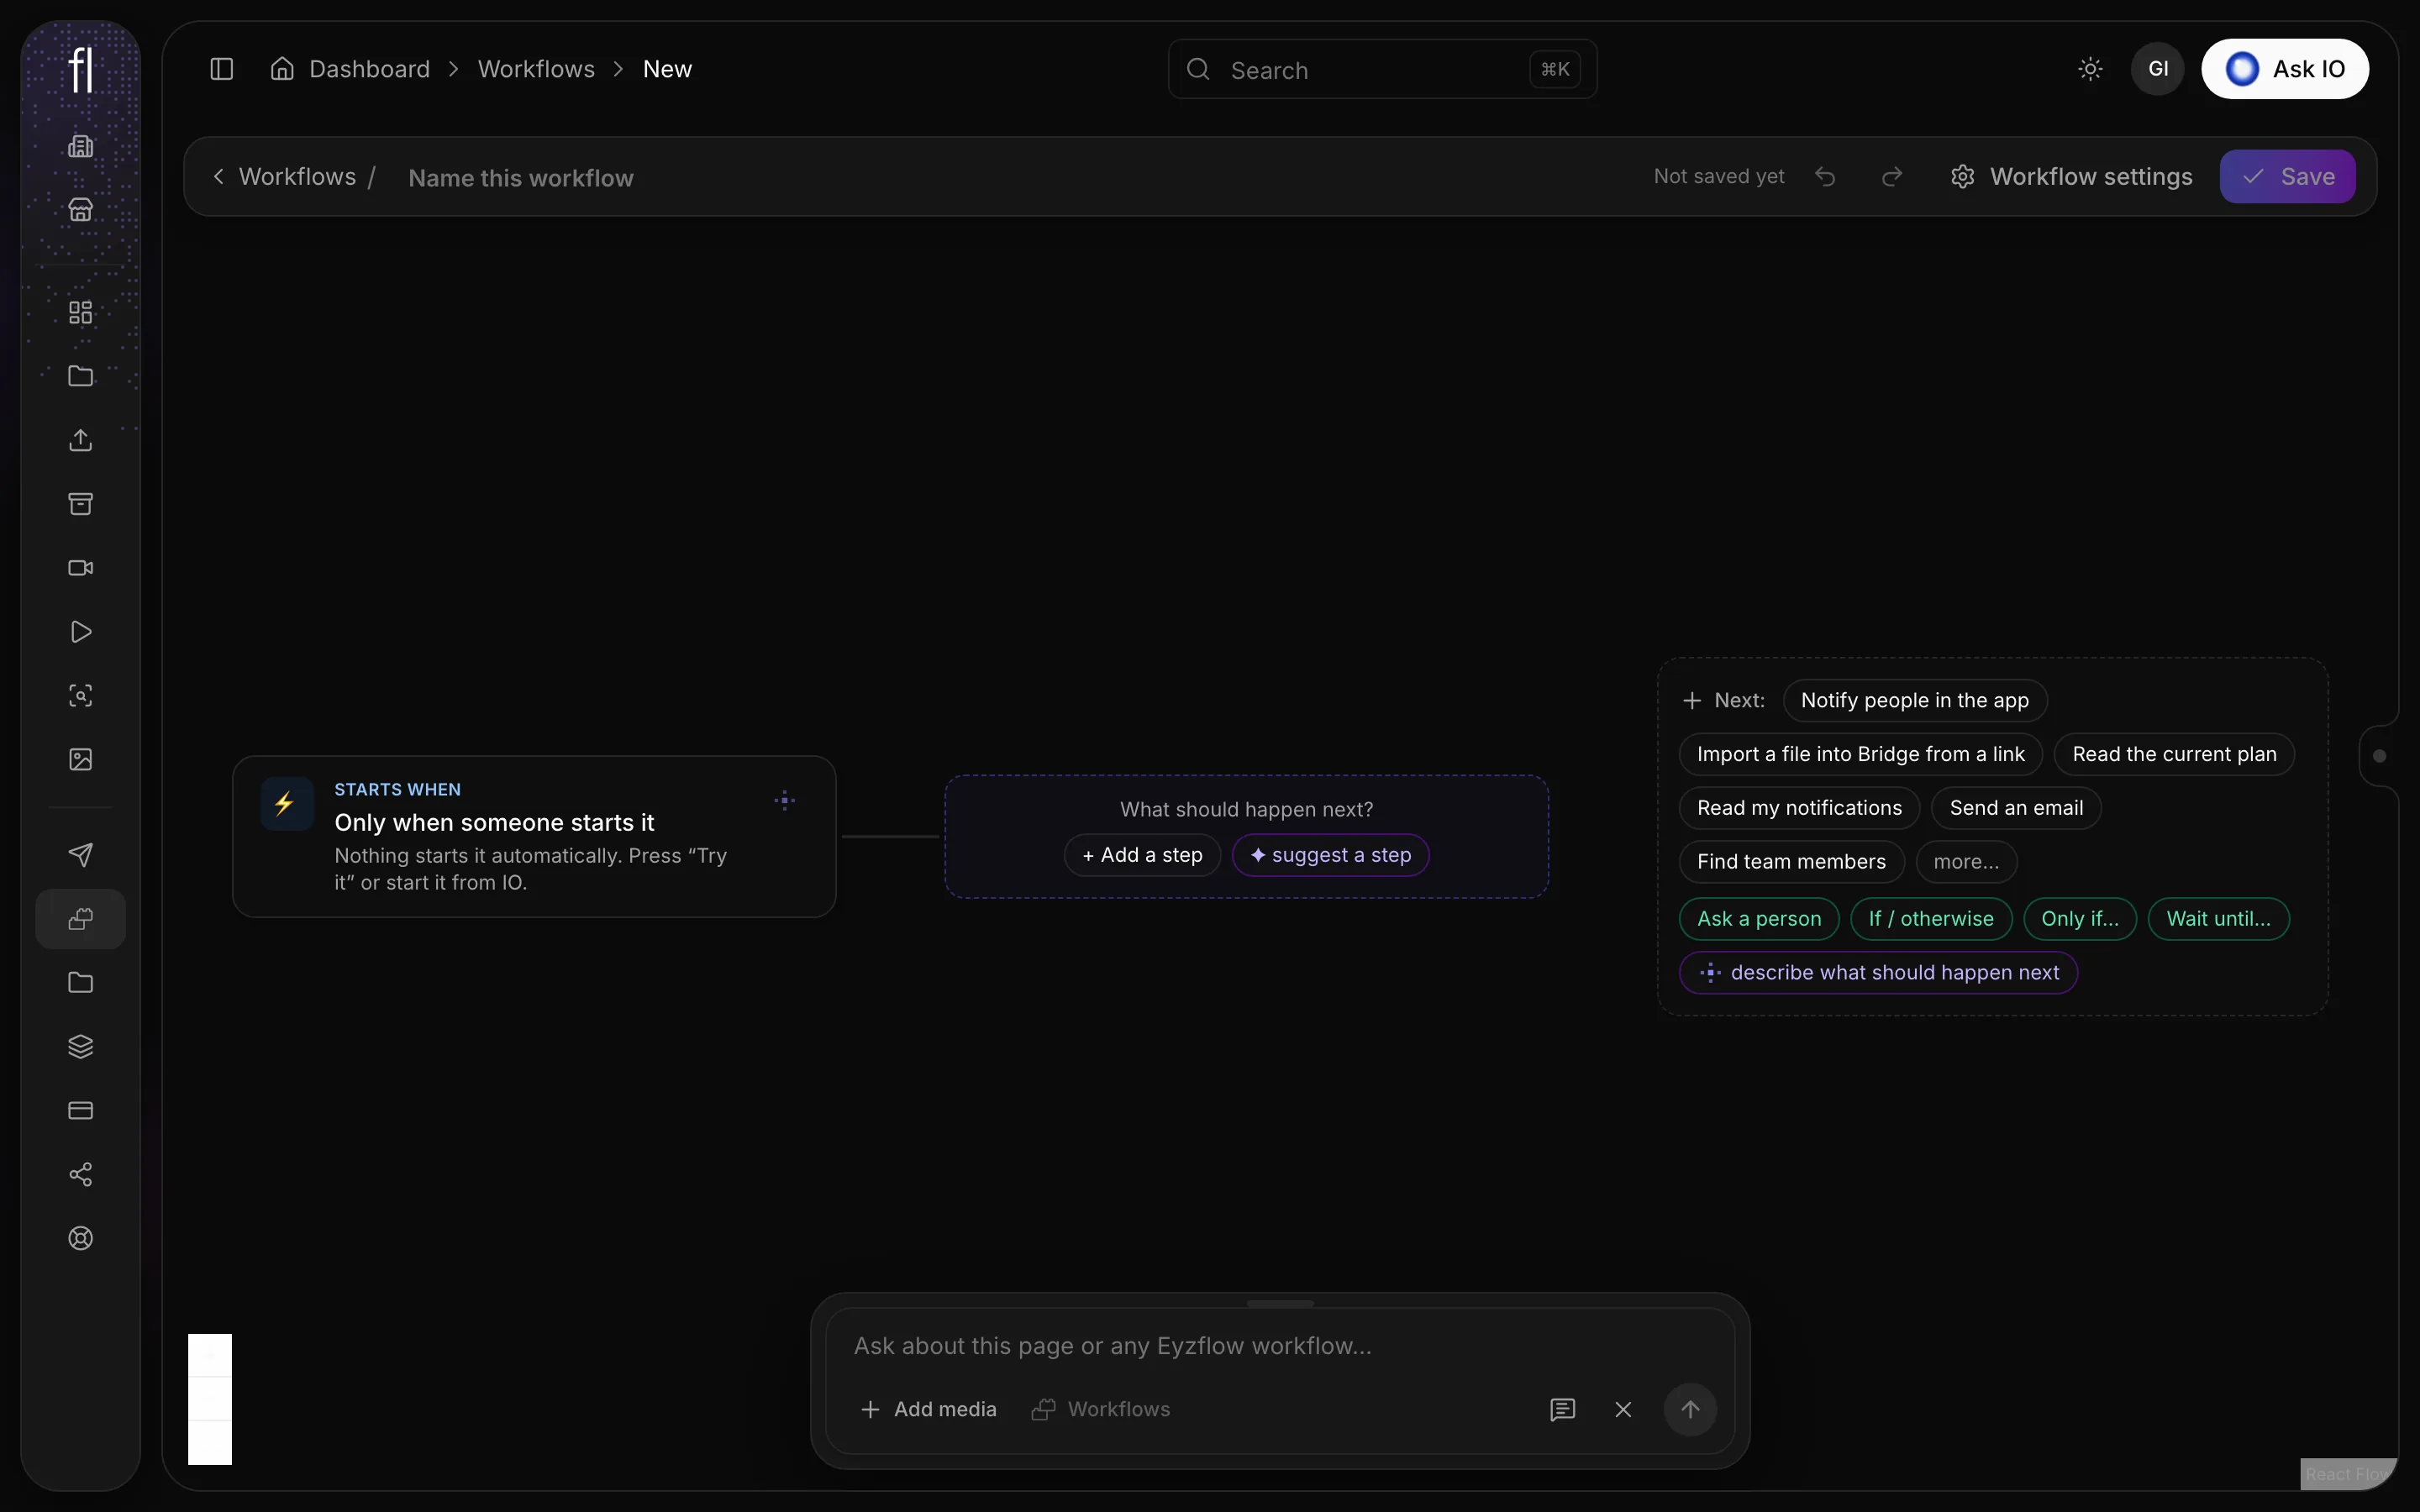
- Select the trigger card and choose what starts the workflow.
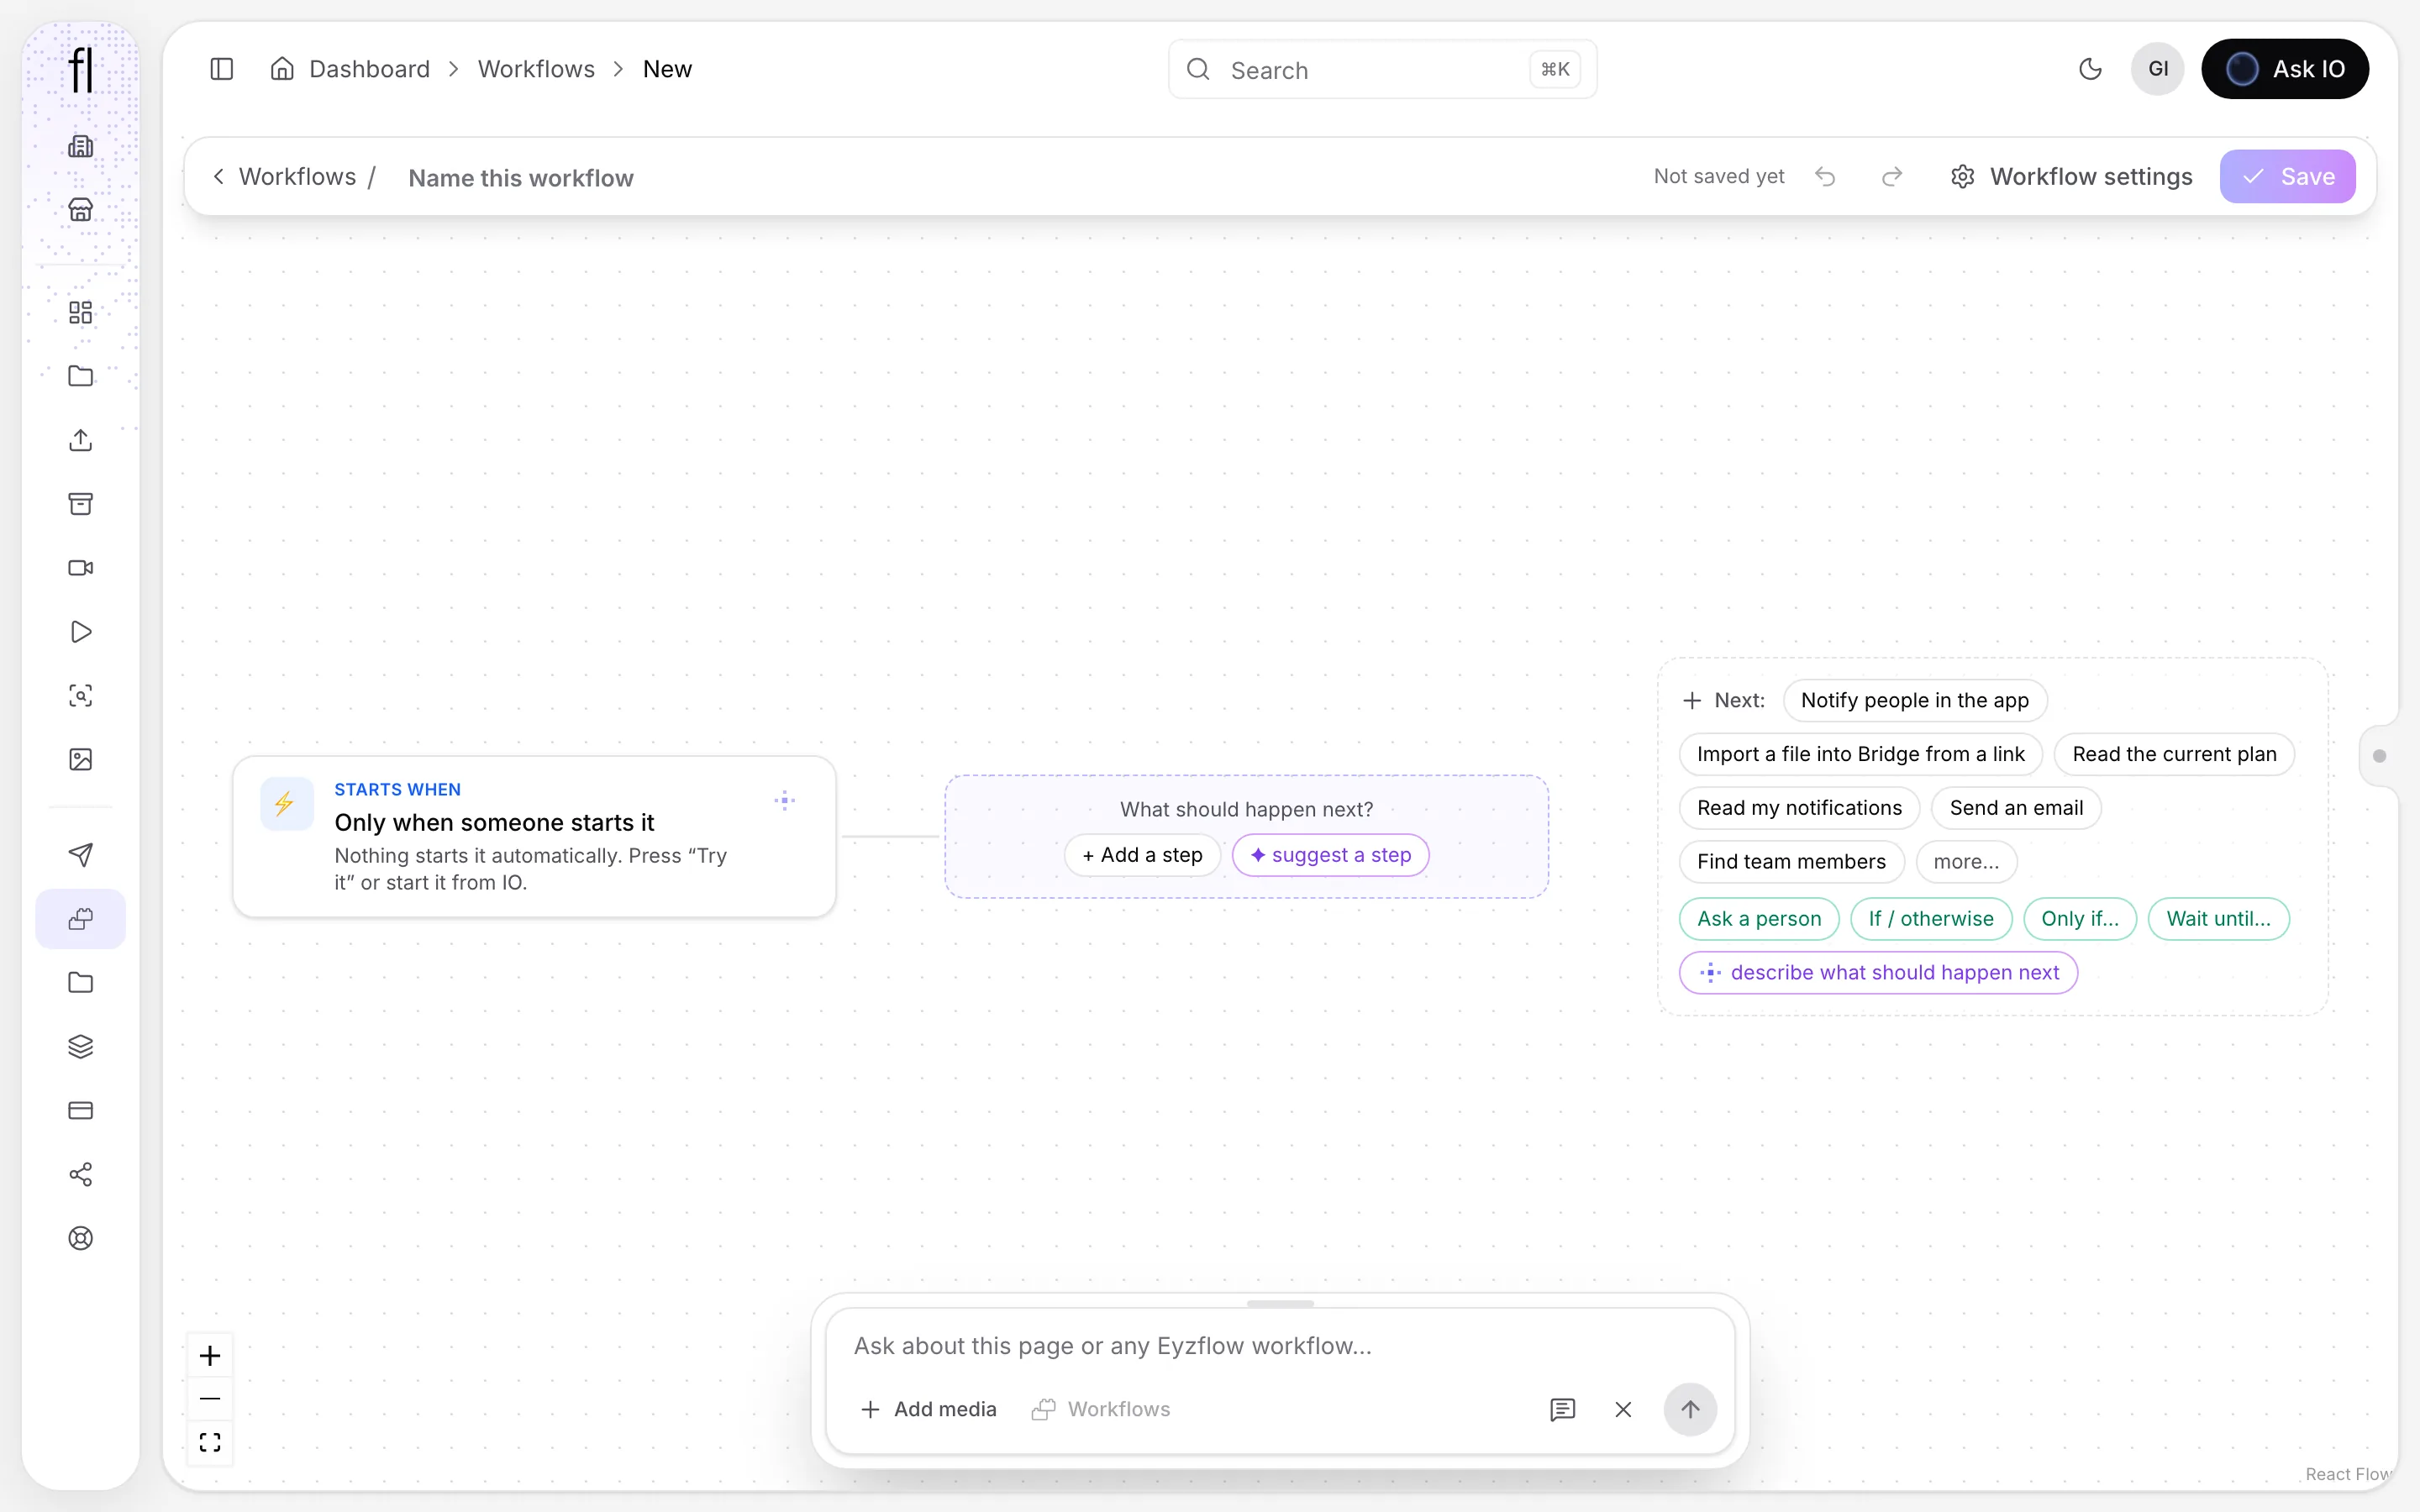
- Add steps using a suggested step, Add a step, the + between cards, or a description of what should happen next for IO.
- Select each card and configure it in the panel on the right. Steps that use credits show an approximate cost.
- Open Workflow settings to configure the name, description, error handling, approvers for steps that ask first, budgets, manual-start questions, and labels.
- Select Save. For an existing workflow, choose Save version.
Use Undo and Redo while editing. If you leave with unsaved changes, EYZFlow asks whether you want to continue.
A workflow started by an event or schedule runs as the person who configured the trigger, using that person's permissions and plan when each step runs.
Manage permissions for steps
When you save a workflow, EYZFlow checks the permissions for every new or changed step. Existing steps that have not changed are not checked again. This permission check also applies when you accept an IO change or save a restored version. A template copy treats all of its steps as new.
If you lack a required permission, saving is refused and identifies the step that needs a different role. Ask someone with the required permission, such as a workflow administrator who has that permission, to add or change the step.
Turn on, test, and check a workflow
On a saved workflow's board:
- Use the On/Off switch to enable or disable the workflow. An off workflow does not start automatically.
- Choose Try it to start a real run of the saved version. Save any changes first. If the workflow starts from an event, the test uses the newest matching event; otherwise, EYZFlow asks for the required inputs. A step that asks first pauses for a response.
- EYZFlow can check a saved workflow against the newest real event without running it or using credits. If the check finds a problem, choose Check now to check again or Run a real test to run every step for real and use credits.
- Open Versions to review saved versions. Restore this version loads a version as a draft; nothing changes until you save it.
For help reviewing runs and activity, see Workflow runs, activity and reviews.
Add labels or archive a workflow
To manage labels:
- Open Workflow settings on the workflow board.
- Under Labels, enter a label and press Enter.
- Select the × on a label to remove it.
Labels take effect immediately and can be changed while a workflow is archived.
To archive a workflow, first save or undo unsaved changes, then choose Archive workflow in Workflow settings. Archiving switches the workflow off, hides it from the normal list and pickers, and prevents it from starting. An archived workflow is read-only.
To use it again, choose Unarchive on its board or from the archived workflow's row. It remains off after unarchiving, so turn it on when you are ready.
Looking for a quick answer? Read the FAQ