DOCSMONETIZATION
Set up monetization for your storefront
Updated 31 October 2026
Monetization connects the titles in your catalogue to products, prices, storefronts, and payment methods. Use it to sell subscriptions, rentals, purchases, passes, and other types of access.
Important
Your plan must include the monetization module. You also need a storefront before you create products and offers.
Set up monetization in order
Complete these steps:
- Create and configure a storefront.
- Add payment providers on the storefront’s Payments tab. Viewers can pay through Stripe or PayPal on the storefront, or through App Store and Google Play in-app purchases in your apps.
- Create products and pricing plans.
- Create offers that connect catalogue titles to products, storefronts, licence terms, and video streams.
- Optionally create coupons, then use Purchases and the Financial dashboard to monitor sales.
A storefront can also use your own domain. Verify the domain with a DNS TXT record on the storefront’s Hosting tab.
Create a product and pricing plans
A product is what a viewer buys, such as a subscription, rental, permanent purchase, or pass. Its plans define the price and access rules.
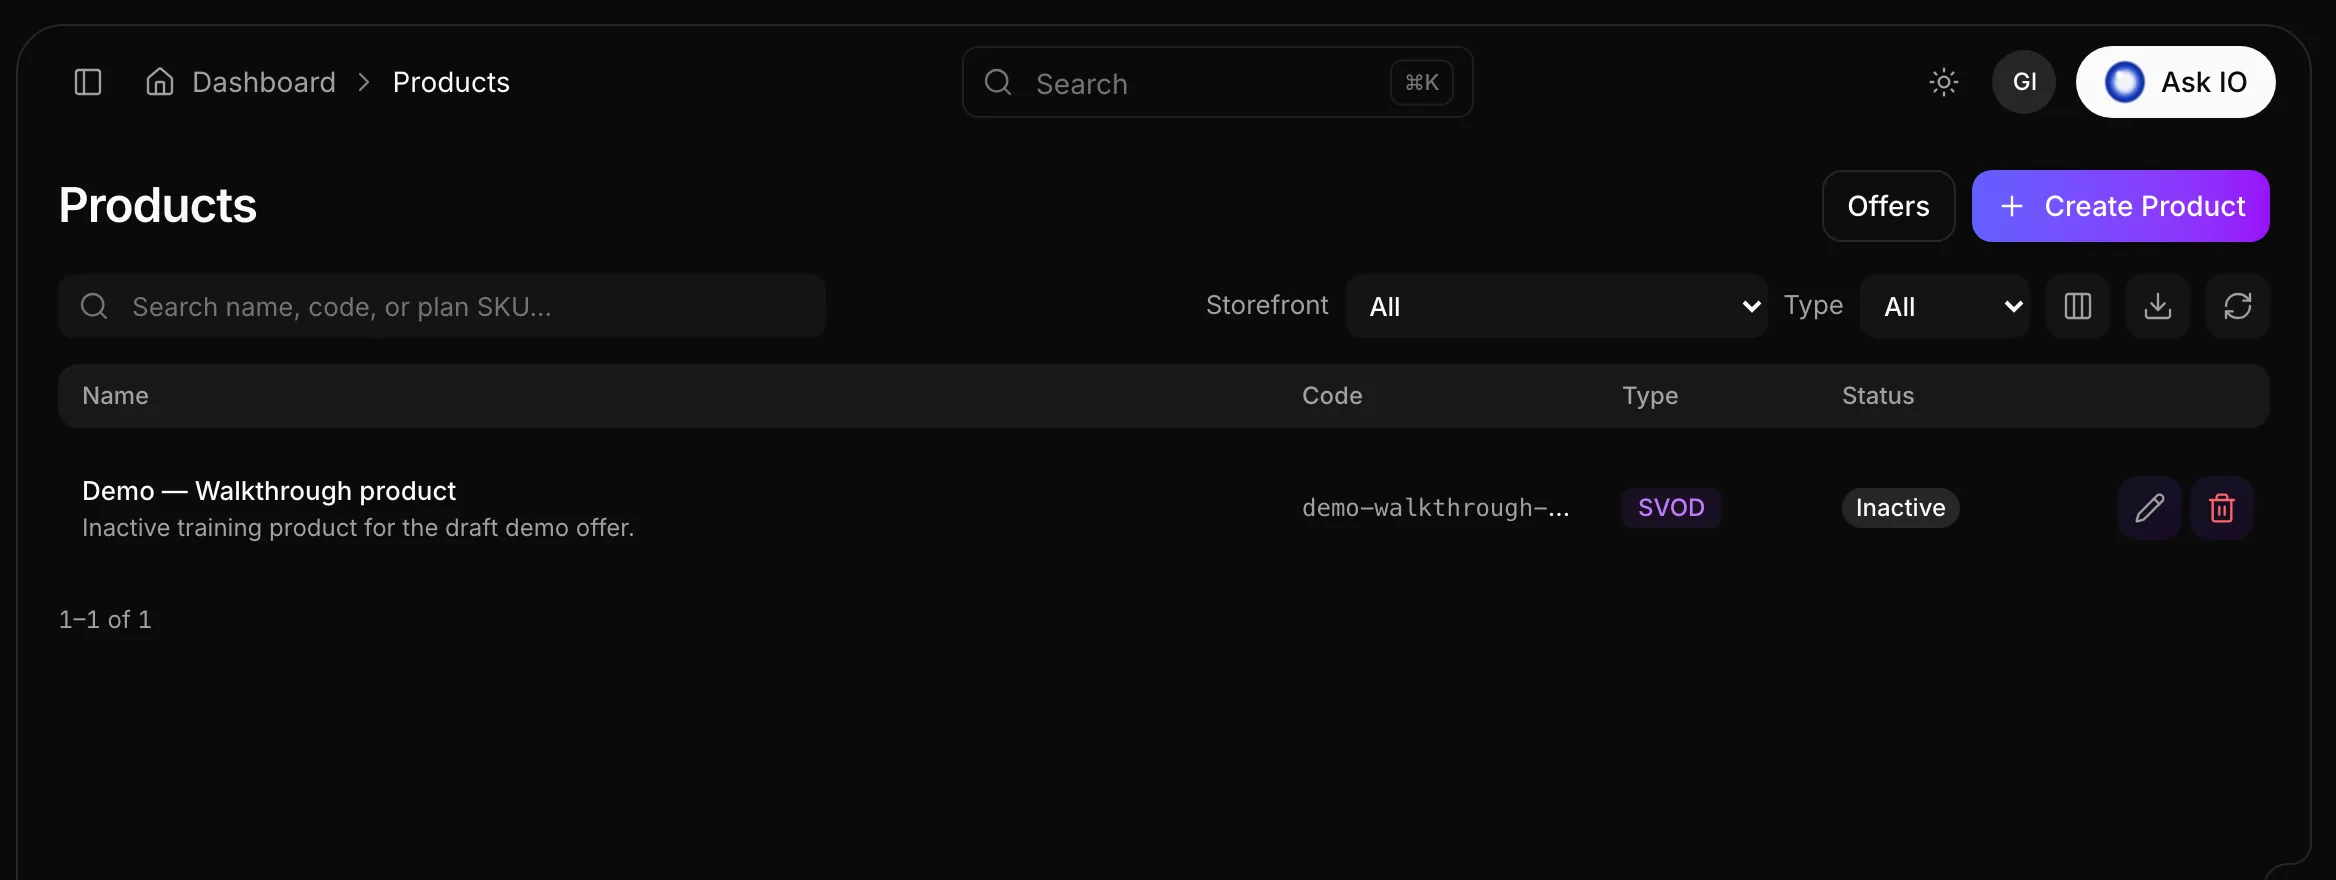
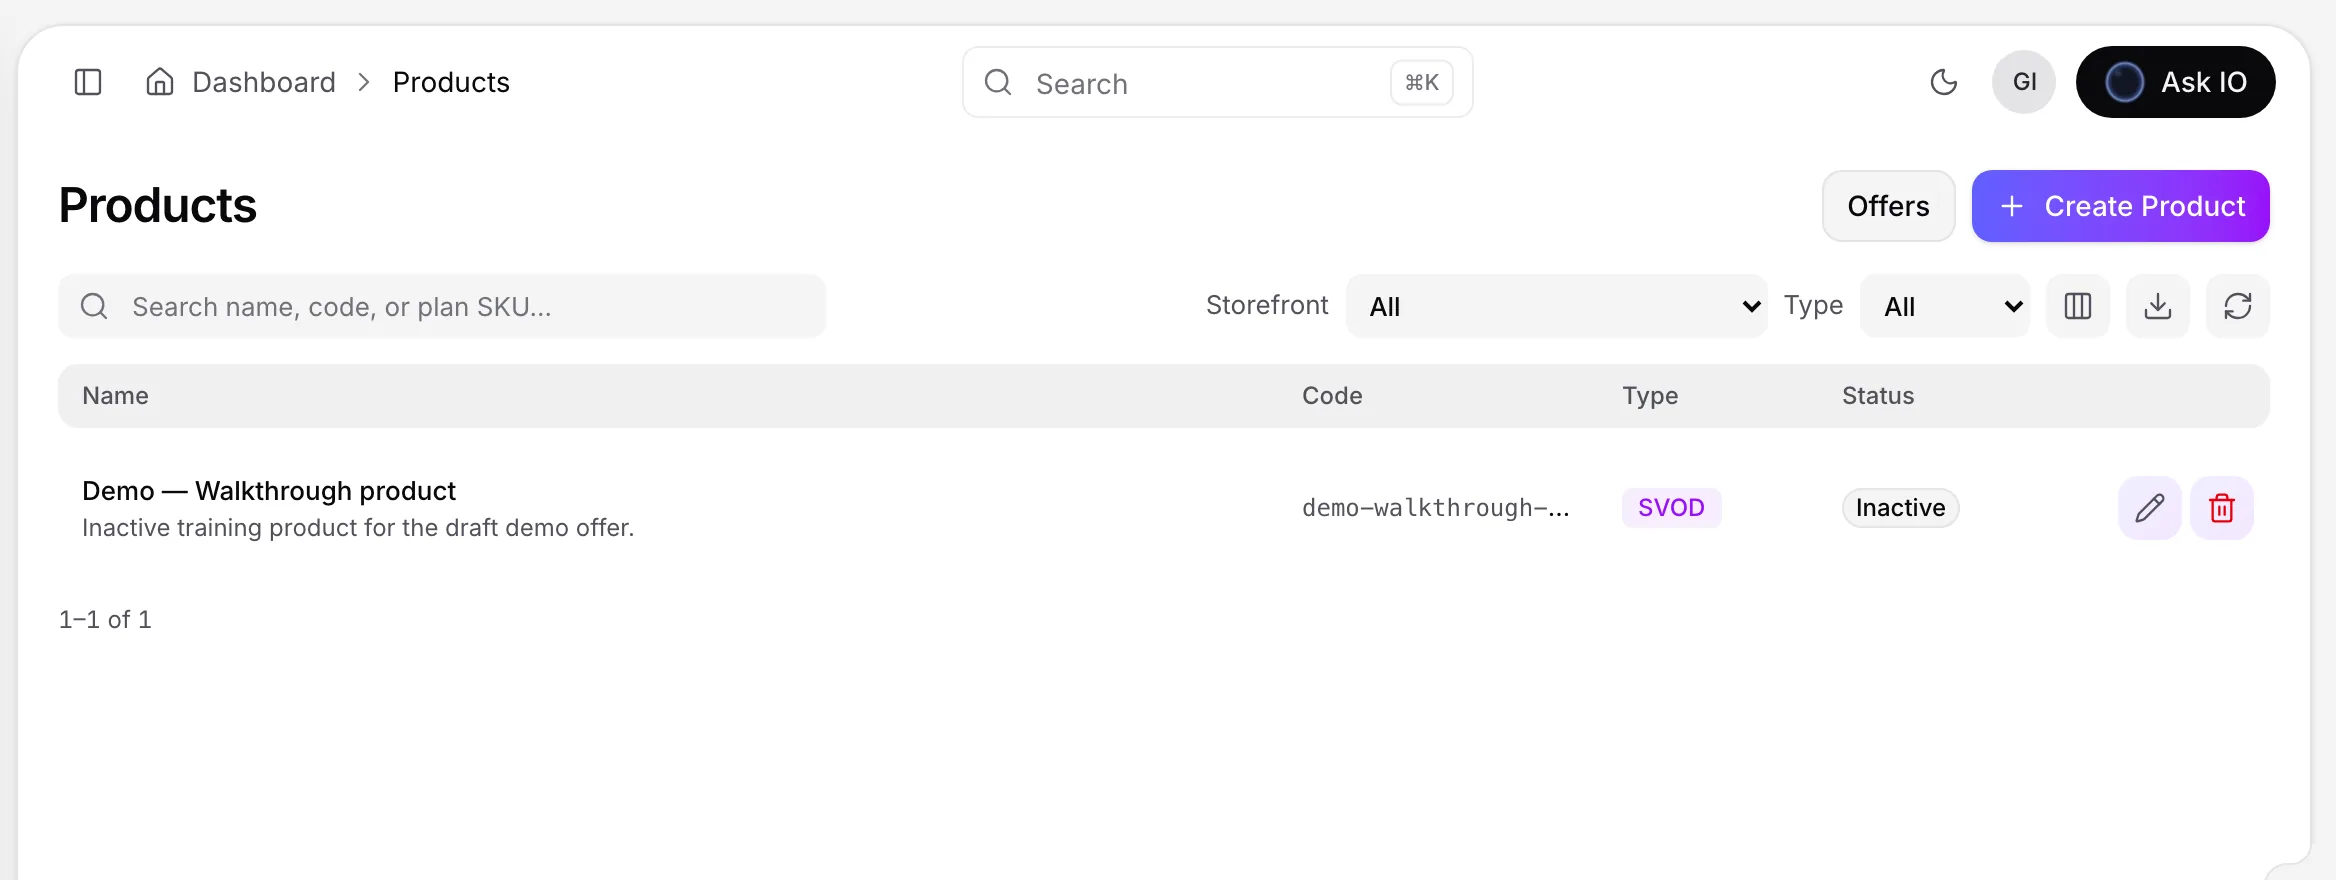
- Open Monetization > Products and select Create Product.
- In Product Details, enter a product code, name, and type. Product types include SVOD, TVOD, EST, PVOD, PASS, AVOD, FVOD, FAST, PROMO, and HYBRID.
- Add a description, status, sort order, and optional featured-product setting. Select the storefronts where the product will be sold.
- Under Pricing Plans, select Add Plan for each plan. AVOD, FVOD, FAST, and PROMO products do not use plans.
- Select Create Product.
A plan can specify:
- SKU, name, billing cycle, and price
- When access starts: at purchase or at first play
- Access and playback windows
- Maximum video quality, concurrent streams, and devices
- Free-trial settings
- Country availability and sales platforms
- Viewer-facing copy in each language
You can add or edit plans from the product page.
Create an offer for a title
An offer puts one catalogue title on sale. It identifies the licensor and licence terms, availability window, products and storefronts, and the streams that viewers can play.
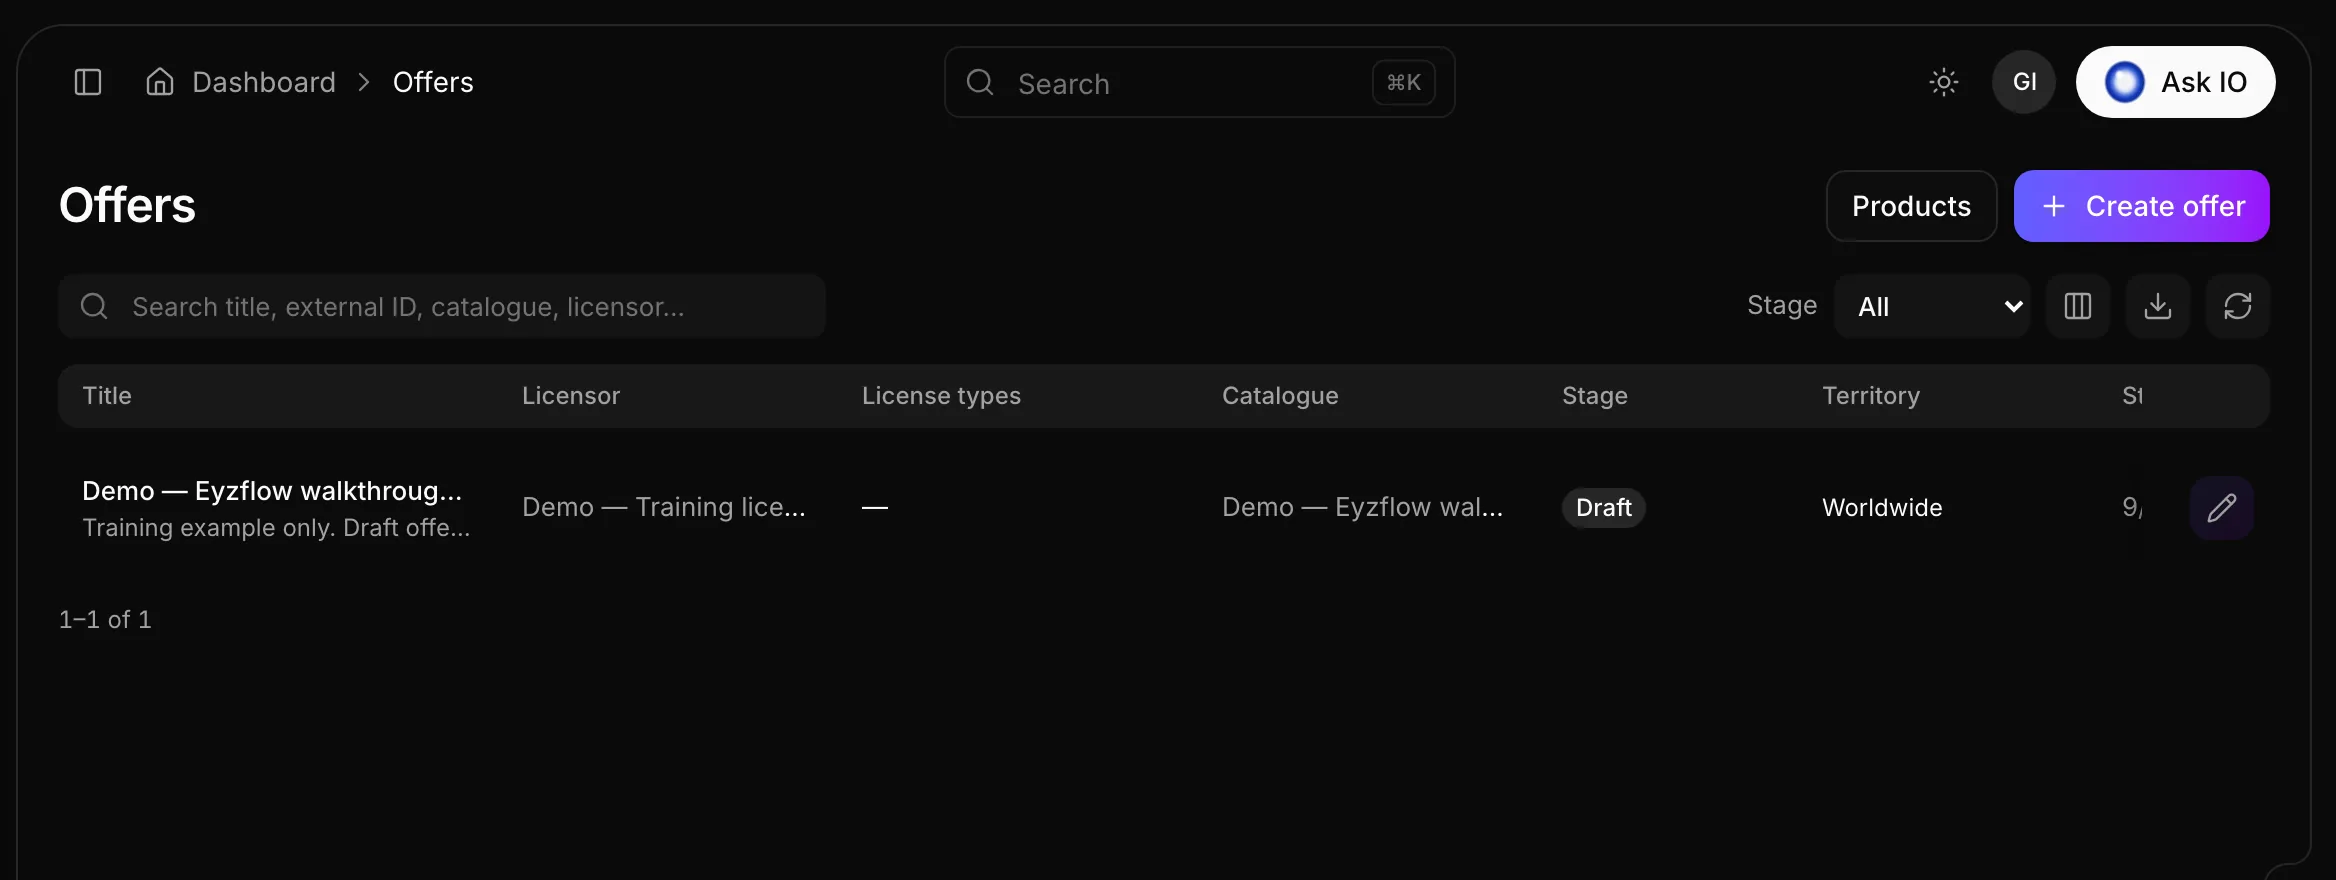
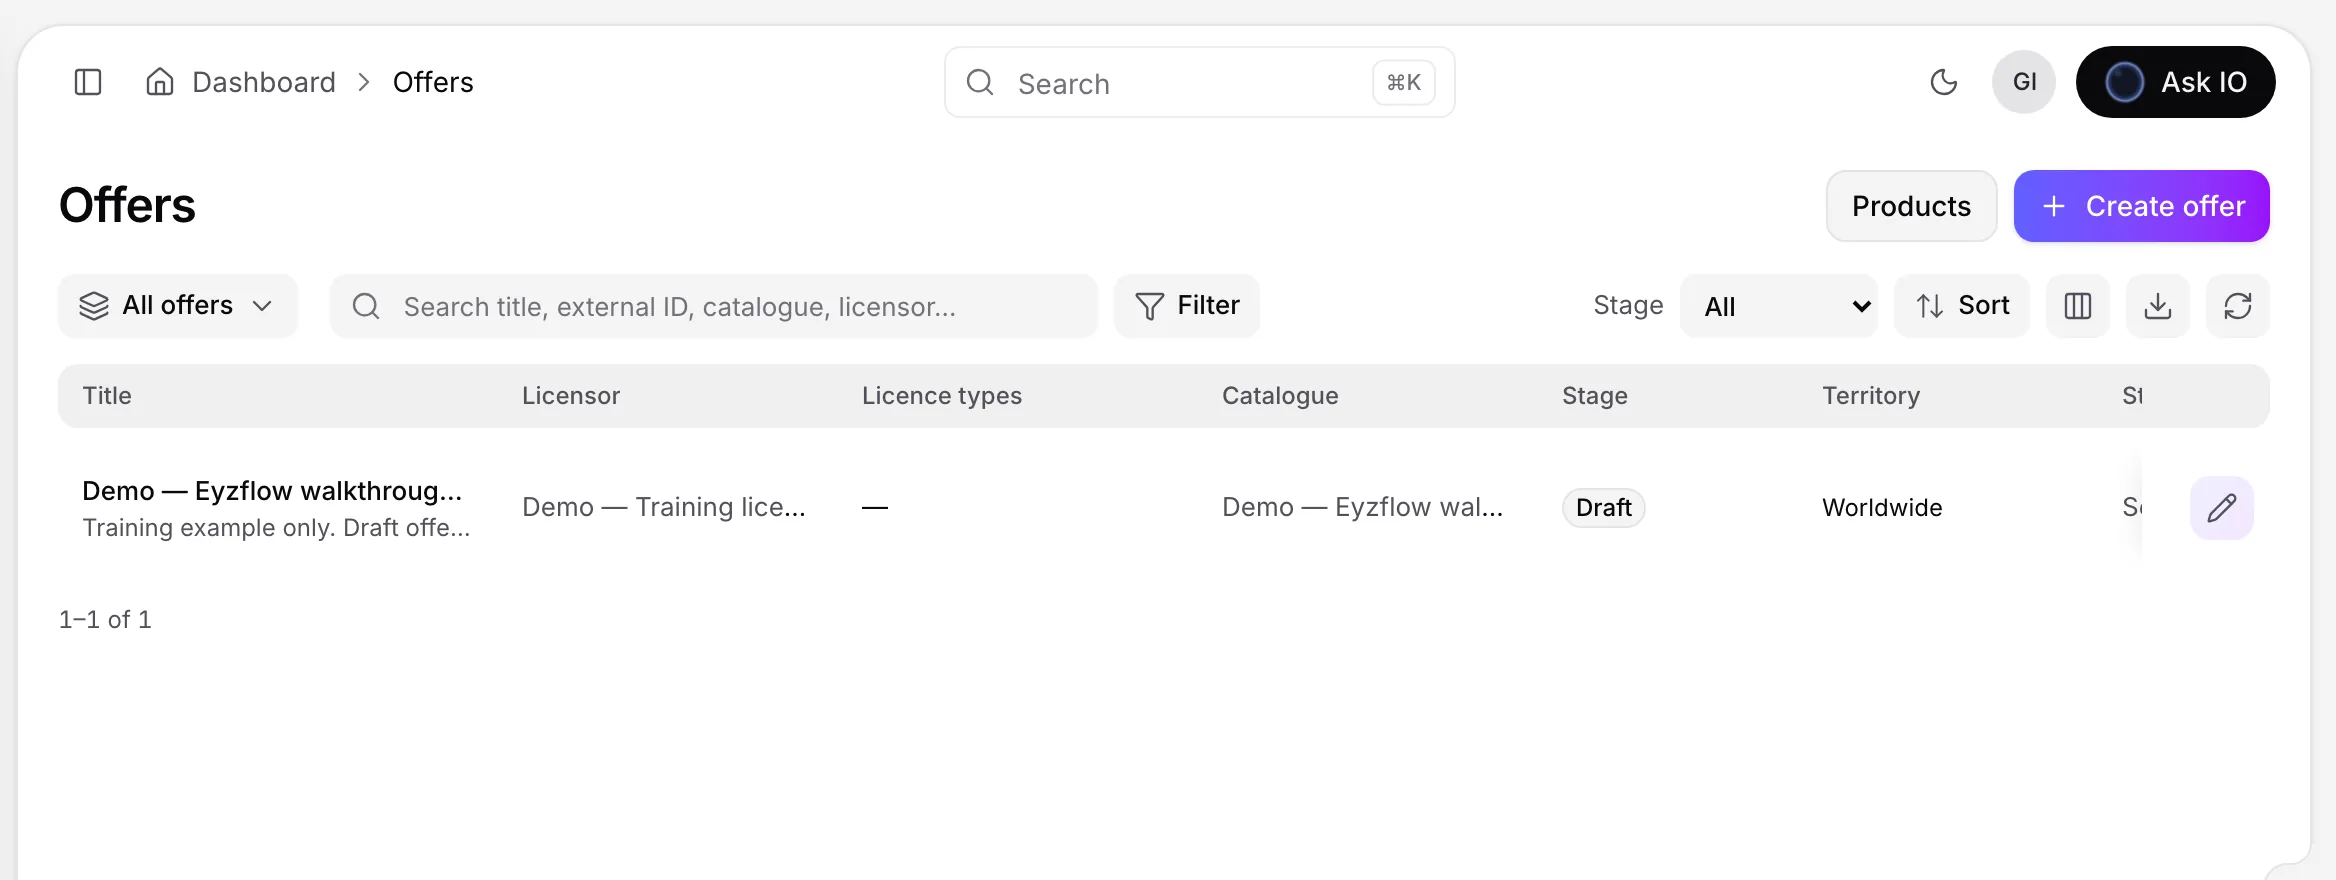
- Open Monetization > Offers and select Create offer. You can also start from a catalogue title’s Offers tab.
- Under Title, name the offer and select the catalogue title. For a series, select the season and episode as needed.
- Under Licensor, select the licensor and open Licence terms. Set the licence model, licence types, rights scope, territories, licence term and renewal, exclusivity, and commercial terms. Select Apply.
- Under Availability, choose the stage—Draft, Test, or Published—and set the offer start and end dates. You can also set a pre-order end date.
- Under Products and storefronts, select the products and plans that sell the title and the storefronts where it appears.
- Under Streams, select the full film, trailer, and any extra videos.
- Select Create offer.
Schedule a pre-order
A pre-order lets viewers buy a title before playback begins.
- Set Offer window start to when viewers can begin buying.
- Set Pre-order end to when viewers can begin watching, such as the release date.
- Check the availability notice below the dates. It indicates whether the offer is available, in pre-order, scheduled, ended, or licence-ended.
- Create the offer or save the changes.
The pre-order end cannot be later than the licence end, and the offer cannot start after the licence ends.
Add a free trailer
A trailer can appear on the title page and play without sign-in or payment.
- Open or create the title’s offer and go to the Streams step.
- Under Trailer, select Choose stream…, then choose a trailer linked to the offer’s catalogue title.
- Save the offer or create it.
For the trailer to be available to everyone:
- Leave Protected (DRM) turned off for the trailer. The full film is protected during ingest, but a protected trailer plays only for viewers who can watch the title.
- Add the trailer to the offer that contains the full film.
- Make sure the offer is shown on the storefront, is within its window and territories, and is Published. A Test offer is shown only with the storefront’s preview key.
On the storefront, the trailer starts muted at the top of the title page. Depending on the theme, viewers can also use a Trailer button or Trailers & More tab.
Restrict an offer by country
Each offer can have its own territory rules, so you can make a title available only in selected countries.
- Open or create the offer and go to Licensor > Licence terms.
- Under Territory, turn off Worldwide.
- Select countries under Allowed, or select countries under Blocked. Use Region to narrow the list.
- Select Apply, then save or create the offer.
A blocked country takes precedence over an allowed country. Signed-in viewers are checked against the country on their account, including when they travel. Outside the permitted territories, they cannot see the title in lists and feeds, and a new purchase is refused. Existing purchasers and viewers watching through a subscription can continue watching.
To restrict an entire subscription plan, edit the plan’s Availability and choose Only these countries or Blocked in these countries, then add the countries.
Create a coupon
- Open Monetization > Coupons and select Create coupon.
- Enter a name, internal description, status, discount type, and value. Discount types are Percent, Fixed amount, Fixed price, and Free.
- Keep Public coupon selected for a shared code. Clear it to bind each code to one storefront user.
- Set validity dates and maximum redemptions overall and per user. You can optionally enter a first code.
- Under Where it applies, select storefronts, products, and plans. Leave a field empty for no restriction.
- Select Create Coupon.
From the coupon page, you can add codes, bulk-generate private codes, activate or revoke codes, view redemptions, and edit the coupon.
Review purchases and financial results
Look up a purchase
- Open Monetization > Purchases.
- Search by email, username, or user ID.
- Filter by storefront, status, or type. Statuses include completed, pending, failed, refunded, and cancelled; types include new and renewal.
- Open the user to view their storefront account. Refunds are made from the account’s Purchases tab with Refund purchase.
Use the financial dashboard
- Open Monetization > Financial dashboard.
- Choose a period: 7 days, 30 days, 90 days, or YTD.
- Select one storefront or all storefronts.
- Review revenue, completed purchases, average order value, registrations, daily revenue, top products, top offers, purchase statuses, payment gateways, engagement, registration-to-purchase rate, and licensing-pipeline figures.
The dashboard also includes licence fees, minimum guarantees, and the amount retained after fees. View all opens the complete top-product or top-offer list for the selected period.
Permissions
Access to monetization features depends on your role permissions:
- Products: View Products, Create Products, Edit Products, and Delete Products
- Offers and coupons: View Offers, Create Offers, Update Offers, and Delete Offers
- Licensor selection: View Licensors
- Product selection for offers or coupons: View Products
When you do not have the required permission, the relevant buttons or actions may not appear.
Looking for a quick answer? Read the FAQ