
DOCSCMS AND CATALOGUES
Manage storefront content: feeds, promos, pages, menus, and forms
Updated 31 October 2026
Use the Content area to manage what your storefronts show around your titles. You can create curated feeds, promotional slides, landing-page blocks, content pages, navigation menus, and forms. These features require the storefronts module. For storefront setup, see Storefronts: create and configure.
Create and manage feeds
Feeds are curated shelves for apps and can contain titles, people, genres, other feeds, festivals, or awards.
Find a feed
- Open Content > Feeds.
- Search by keyword, or use Use the Assistant to describe the feeds you want to find.
- Narrow the results by storefront or feed type. Advanced filters and Show item preview can help you inspect the results.
Create a feed
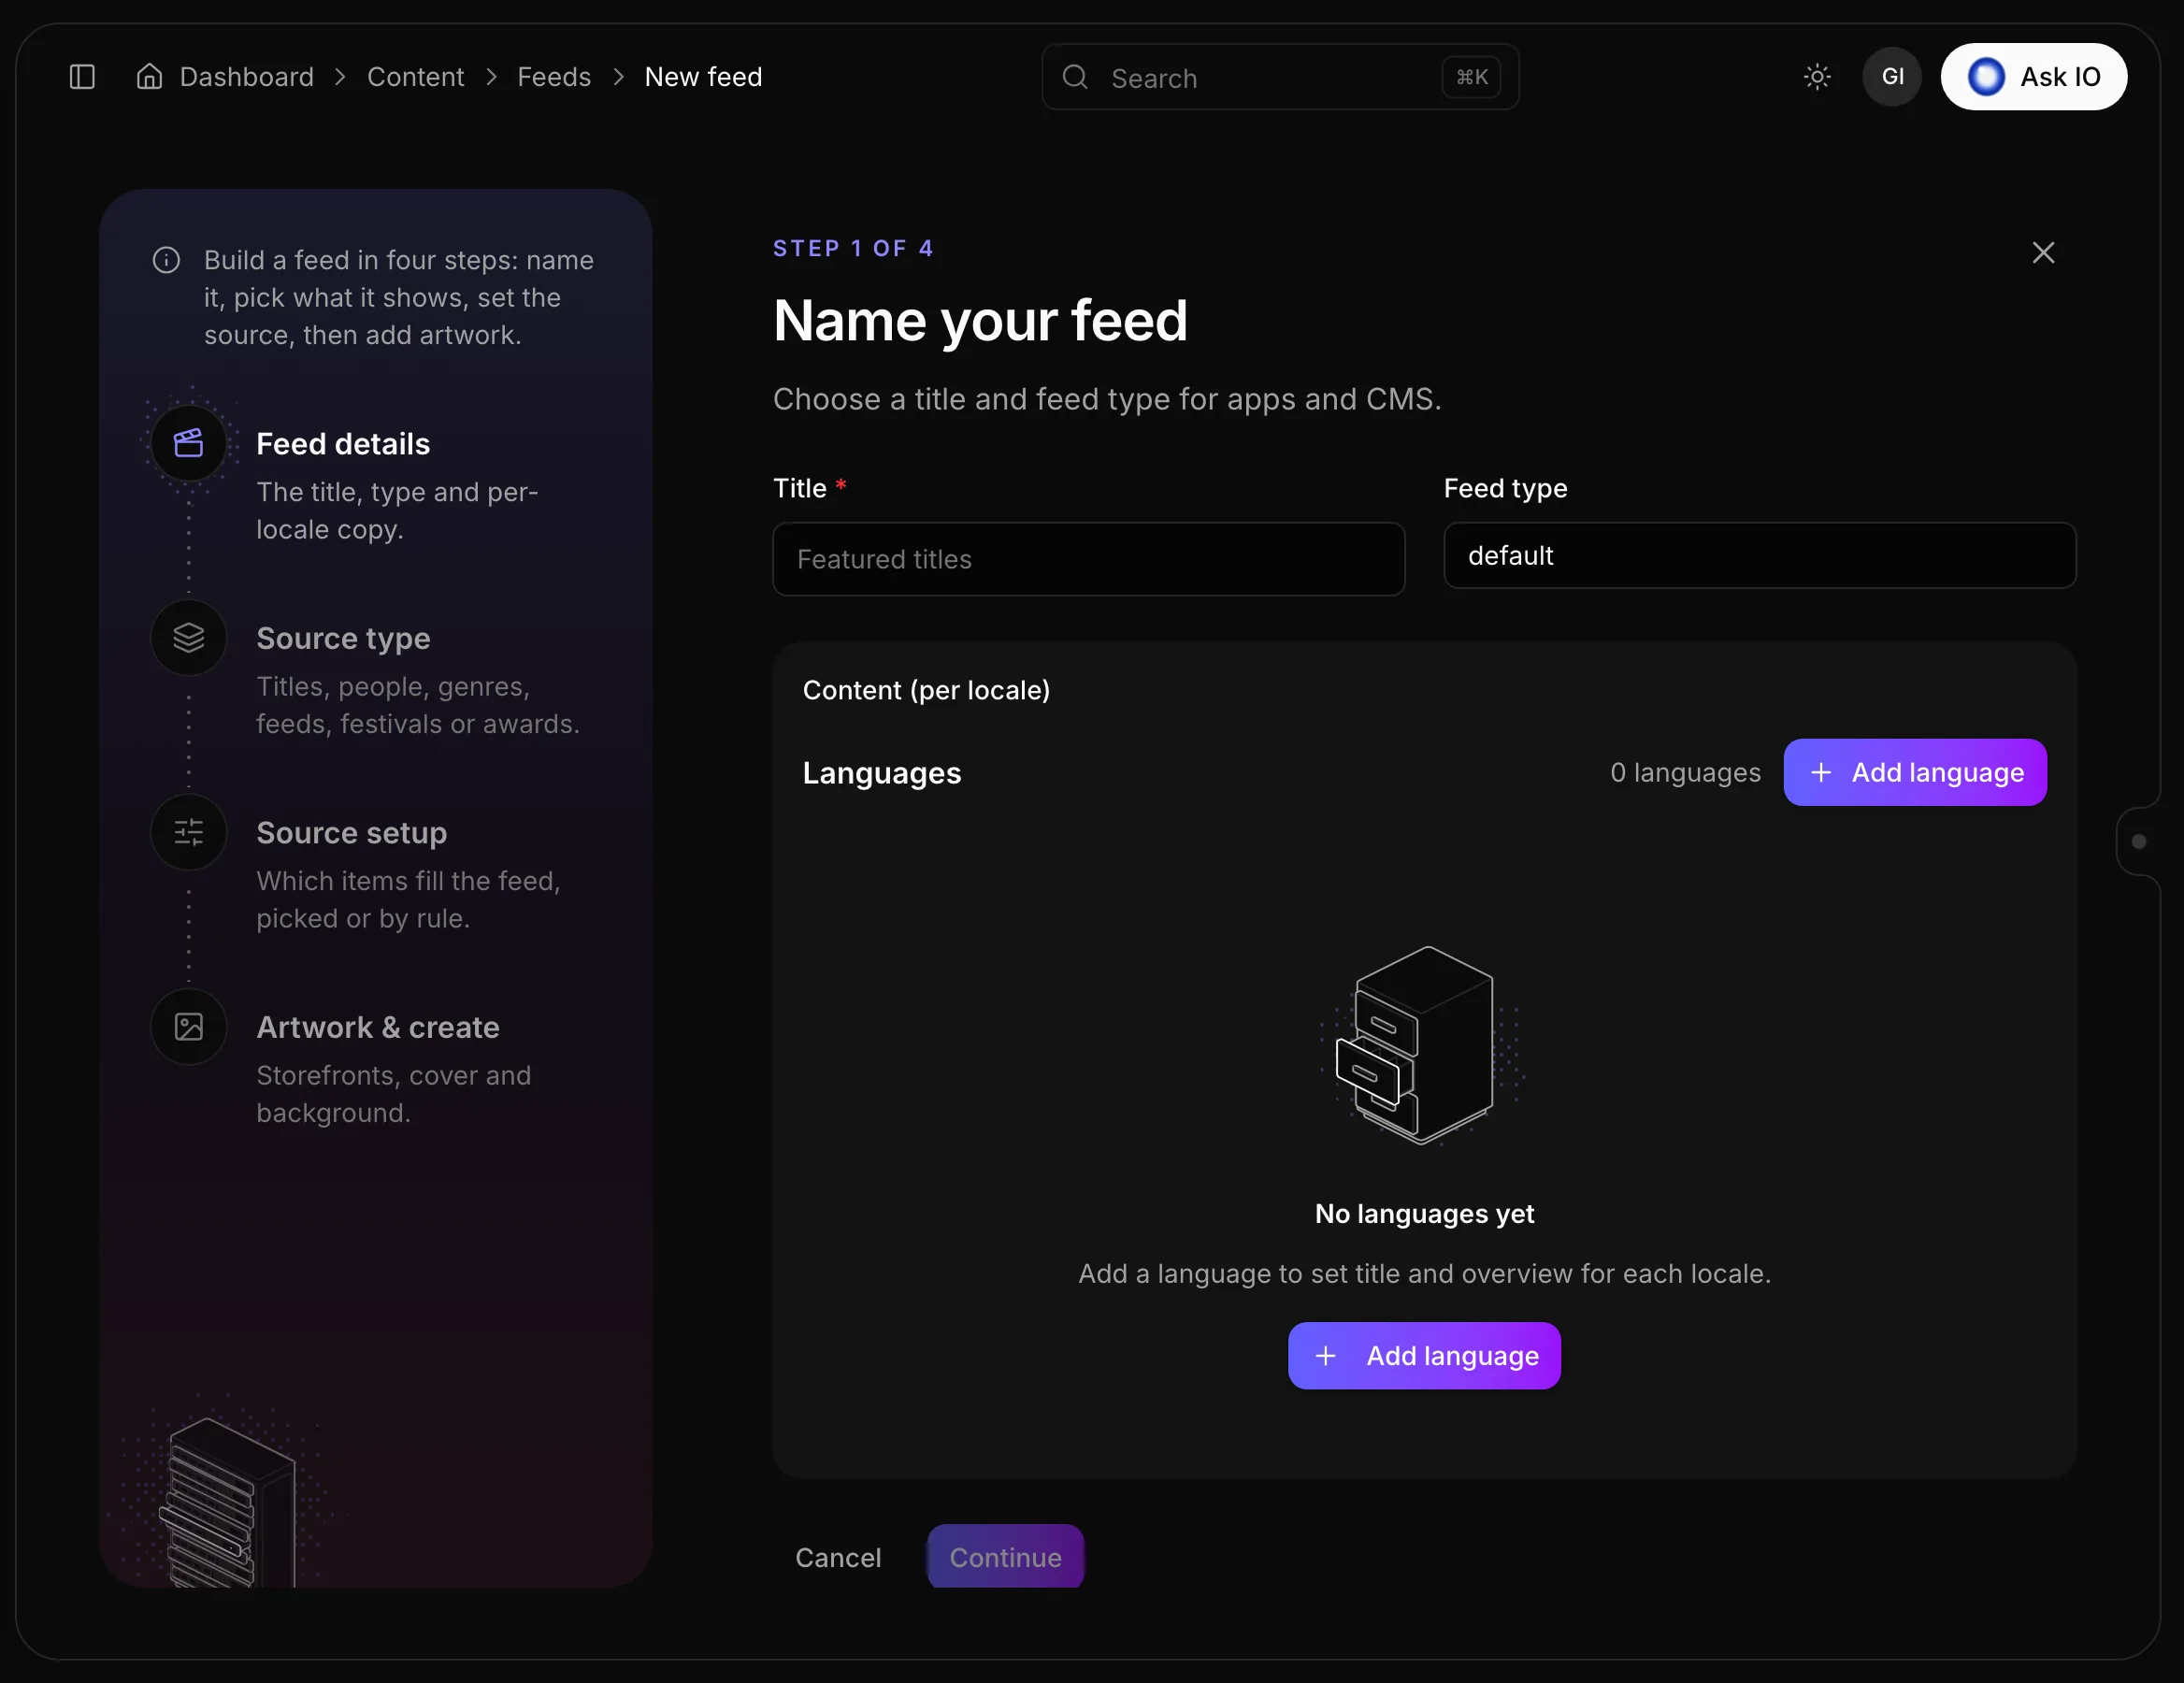
- Open Feeds and select New feed.
- In Feed details, enter the feed title, choose the feed type, and add the title and overview for each language.
- Select what the feed shows, such as titles, people, genres, feeds, festivals, or awards.
- In Source setup, choose items manually or define rules to fill the feed.
- In Artwork & create, select the storefronts that offer the feed, then add a cover and background.
- Select Create feed.
Fill a title feed with rules
For a feed containing titles, open its Source tab or use Source setup while creating it.
- To select titles manually, choose Choose catalogues.
- To create rules from a description, enter a sentence such as “newest French comedies since 2018” and select Fill in rules.
- Review the generated filter and sort rules. Select Edit all rules to change them and view the preview count.
- Select Apply, review the preview, and then select Save feed.
Manually selected titles appear before titles found by rules. Clear rules removes the rules. Rules based on viewing history can show each signed-in viewer their own titles. Feeds of people, genres, feeds, festivals, and awards use Choose … and Edit rules instead.
Edit a feed
Open the feed and use its tabs to change details, localized content, the source, or artwork. Select Save feed when finished.
Create a promotional slide
- Open Content > Promos and select New promo.
- Under Details, enter an internal name, choose a group, and set the rank. Promos in the same group share a slider; lower rank numbers appear first.
- Under Copy, add a language, headline, call to action, and description.
- Under Artwork and link, add an image or stream, and specify where the button leads. You can also add an external ID.
- Under Schedule & rules, set when the promo appears and optionally limit it to viewers matching criteria such as country or subscription.
- Under Publish, choose Draft, Staging, or Live, select the storefronts, and select Create promo.
A promo appears on a storefront only when it is Live. Use Preview to inspect the slider. To reorder promos, sort by Rank in ascending order and drag them into place.
Create a content block
- Open Content > Content blocks and select New block.
- Enter the title, group, stage, rank, and storefront. You can also add an external ID.
- Add visibility rules if the block should be shown only to certain viewers.
- Choose a layout template and add a language block for each language.
- Select Create.
Only Live blocks appear on the public storefront.
Build and publish a content page
- Open Content > Content pages, select a storefront, and choose New page.
- Choose a parent page, enter the title and slug, and select Create and open editor.
- In the editor, add a row. Drag blocks and promos from the Library into the row, or use Add. You can create a new block from the library.
- Select Save to keep the working copy.
- Select Publish. If the page contains blocks or promos that are not live, choose whether to publish the page with its dependencies or publish the page only.
You can unpublish a live page, show it in a header or footer menu, and restore earlier versions with Revision history. The page list indicates whether a page is Live, has Unpublished changes, or is a Draft.
Configure storefront menus
- Open Content > Menus and select a storefront. Each storefront has Header and Footer menus.
- To create another menu location, select Add location, enter its slug, and continue. Otherwise, select a menu location to edit it.
- Select Add item, choose whether the item links to a content page, app path, external URL, or group of items, and enter its label. Labels can be localized.
- Set the item to Visible, arrange items, and nest child items under groups.
- Select Save. Use Discard to remove unsaved changes.
Unpublished content pages do not appear in the live menu.
Create a form and view submissions
- Open Content > Forms and select New form.
- Under Basics, enter the name and slug, choose Draft or Published, and select the storefront.
- Under Fields, add fields such as text, email, phone, long text, number, dropdown, radio, checkbox, checkbox group, date, or hidden. Configure each field's label, placeholder, options, and required status.
- Under Security, choose Cloudflare Turnstile or Google reCAPTCHA v3, configure its keys and submission limits, and specify which websites may send submissions.
- Select Create.
To read submissions, open the form and select View submissions, or select the submissions icon in the forms list.
Note
What you can view, create, edit, save, or publish depends on your assigned permissions. If an action or button is missing, contact an administrator about your access.
Looking for a quick answer? Read the FAQ