
DOCSWORKSPACE ADMINISTRATION
Manage team roles, permissions, and plan access
Updated 31 October 2026
EYZFlow access is controlled by two things:
- Roles determine what a person can do.
- Your organisation’s plan and add-ons determine which product modules are available.
A missing permission hides the related page or controls. A module that is not included in your plan remains visible but appears locked.
View people in your organisation
- Open User Management from the account menu.
- Use the Users list to see each person’s account, full name, roles, and join date.
- Search by name or email, sort by full name or join date, or change how many people appear on each page.
From User Management, you can also open Invitations and Roles.
Invite someone
- Open User Management, then select Invitations.
- Select Invite.
- Enter the person’s email address and full name, then choose a role. All three fields are required.
- Select Send.
The invitation appears in the invitation list with its role and status. To withdraw a pending invitation, select Cancel on its row and confirm.
The invitee must sign in or create an account using the invited email address. They can then accept or decline the invitation. If they are signed in with a different email address, they can sign out and continue with the invited address.
Change a person’s name or role
- Open User Management.
- Select Edit on the person’s row.
- Change the full name or choose a different role, then select Save.
Saving replaces the person’s other roles with the selected role, except for protected roles. To remove one individual role, select the × beside it in the person’s Roles column. Protected roles cannot be removed this way.
Create a custom role
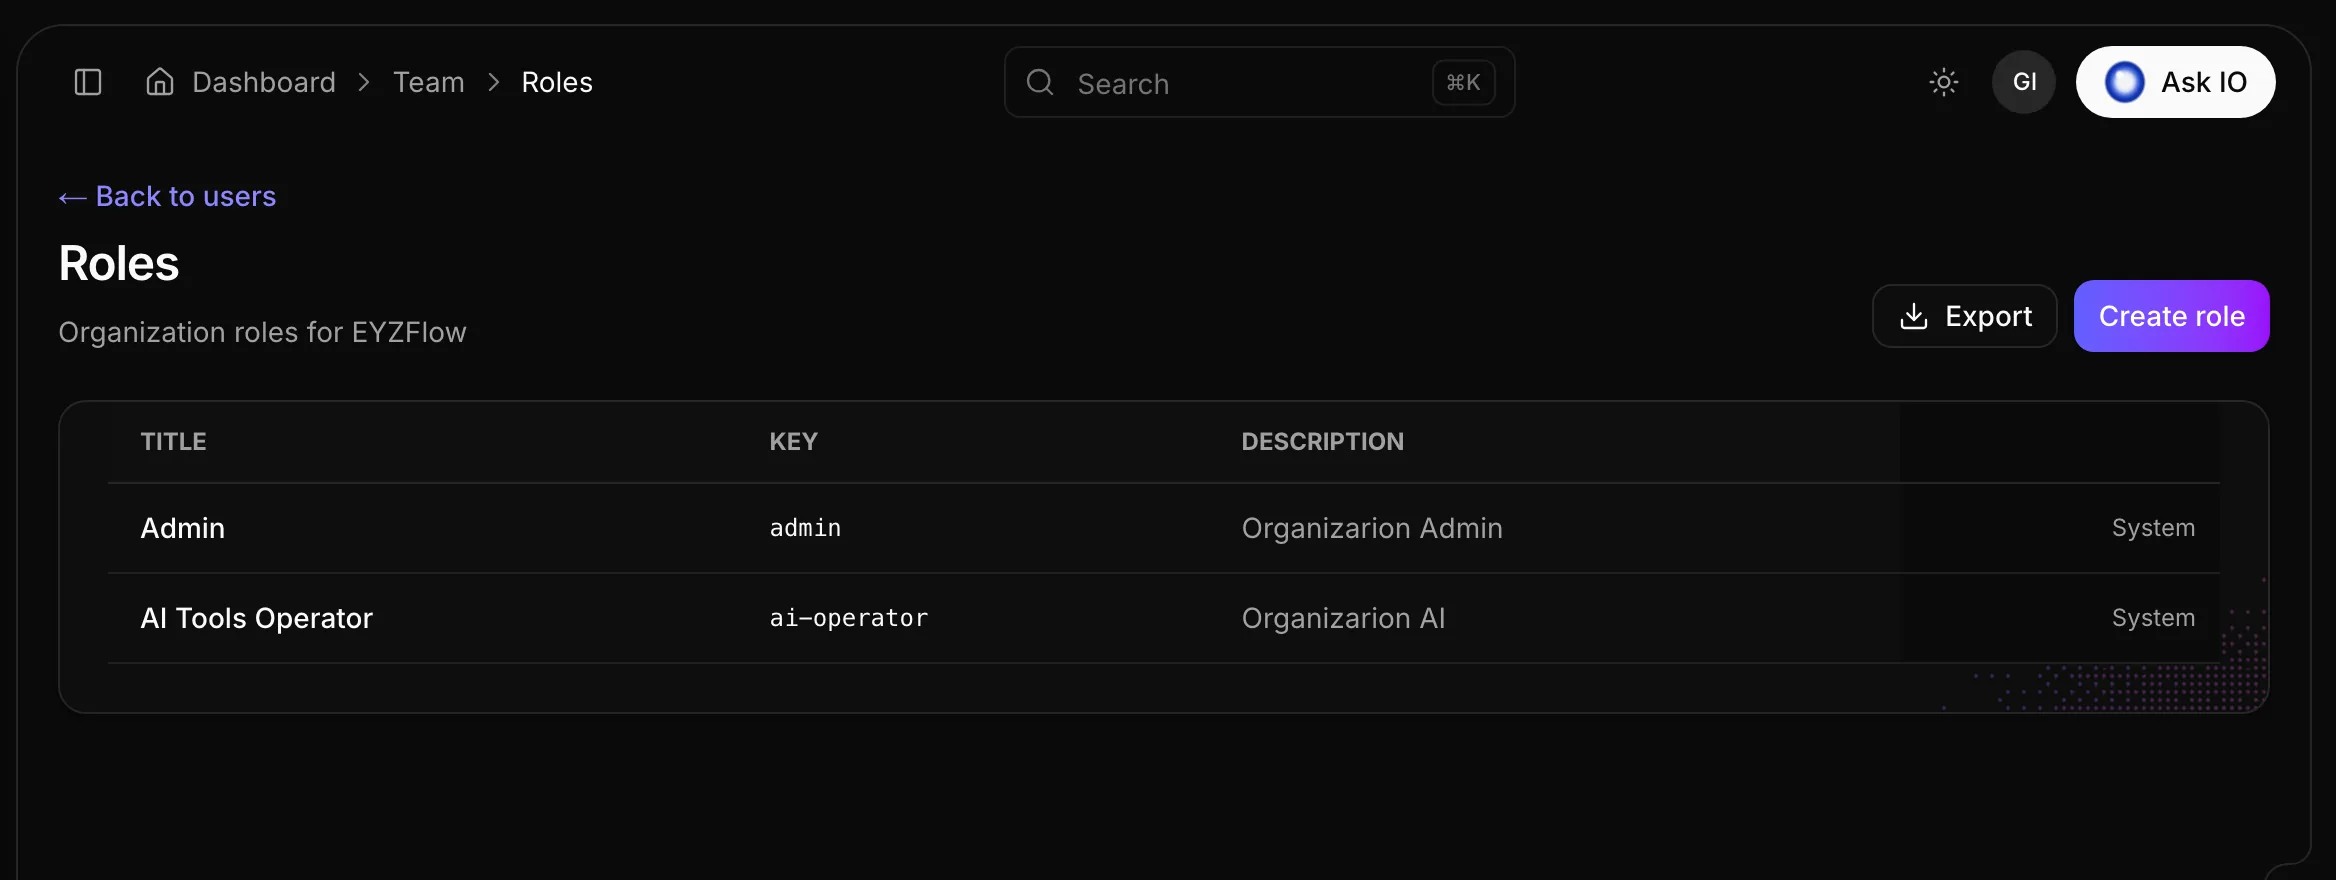
- Open User Management, then select Roles.
- Select Create role.
- Enter a role key, title, and description. All three fields are required.
- Select Create.
The new role opens ready for you to configure its permissions.
System roles are built in and cannot be changed from this area. Custom roles can be managed and edited.
Configure a role’s permissions
- Open Roles and select Manage for the role.
- Open the Permissions tab, then select Edit.
- Choose a permission group and select or clear the permissions the role should have.
- Select Save.
Every role includes access to the dashboard. This permission cannot be removed. Roles also start with access to view catalogues, subtitle projects and the user list; an administrator can remove these permissions.
Permissions can control access to areas such as streams, artworks, collaborators, Bridge, offers and coupons, products, licensors, promotions, content blocks, content pages, forms, and projects. When a role does not have access to an area, its related pages and controls are hidden for members of that role.
Important
A person needs the relevant permission to see and use a product area. If the area is absent from the navigation, check the person’s role before checking the organisation’s plan.
Add or remove role members
- Open the role and select the Members tab.
- Select Edit.
- Choose a person in Add a user…, then select Add.
- To remove a person, select Remove beside their name.
- Select Done.
Protected members cannot be removed. The role’s Overview tab shows its title, key, description, number of permissions, and number of members.
Understand locked modules
If your plan does not include a module, its sidebar item appears under More on Platform with a padlock. Select the item to see information about the module and whether it is available through another plan or add-on. Select Compare plans to review the plans available on the Subscription page.
Upgrading unlocks the module for the existing organisation; existing content does not need to be moved or uploaded again.
Live channels are available only with the Live add-on. The module page provides access to Premium Addons, where the add-on can be purchased.
The available modules include Projects, Video Intelligence, Ingest, Deliveries, Distribution, Streams, Library, Archives, Artworks, Storefronts, Monetization, Player, Bridge, Collaborators, and Live channels.
Note
Permissions and plan access work differently: permissions hide pages a role cannot use, while plan restrictions leave the module visible as locked.
Looking for a quick answer? Read the FAQ