
Frequently asked questions
Short answers to what people ask most about EYZFlow.
Browse the guidesWorkspace administration
How do I create and manage API keys, and what should I do if an API key secret is lost?
API keys are managed in Settings on the API keys tab.
Create an API key
- Open Settings and select API keys.
- Select Create key.
- Enter a required name and choose the Live or Test environment.
- Optionally add scopes and an expiry date and time.
- Select Save.
- Copy the secret from the API key secret window and store it securely outside the browser. The secret is shown only once.
The API keys list shows each key's name, prefix, environment, and active status.
Change, deactivate, or revoke a key
- Select Edit on a key to change its name, environment, scopes, or expiry.
- To stop a key working without deleting it, clear Active and save.
- To permanently remove a key, select Revoke and confirm.
If you lose the secret, it cannot be displayed again. Create a new key and revoke the old one.
How do I navigate EYZFlow and find the pages I need?
EYZFlow is organised into three main areas:
- Sidebar: Open workspace pages such as Dashboard, Projects, Ingest, Vault, Streams, Player and Artworks. Expand sections such as Distribution, Workflows, Library, Content, Monetization, Bridge and Support to find related pages.
- Header: Use Search to find catalogues and streams by name. Enter at least two letters, or press ⌘K on Mac or Ctrl K elsewhere to start searching from any page. The header also provides theme controls, your account menu and access to IO when available.
- Right-edge dock: On wider screens, open the dock to access notifications, workflow activity, IO and other ongoing items. On phones, notifications are available from the bell in the header.
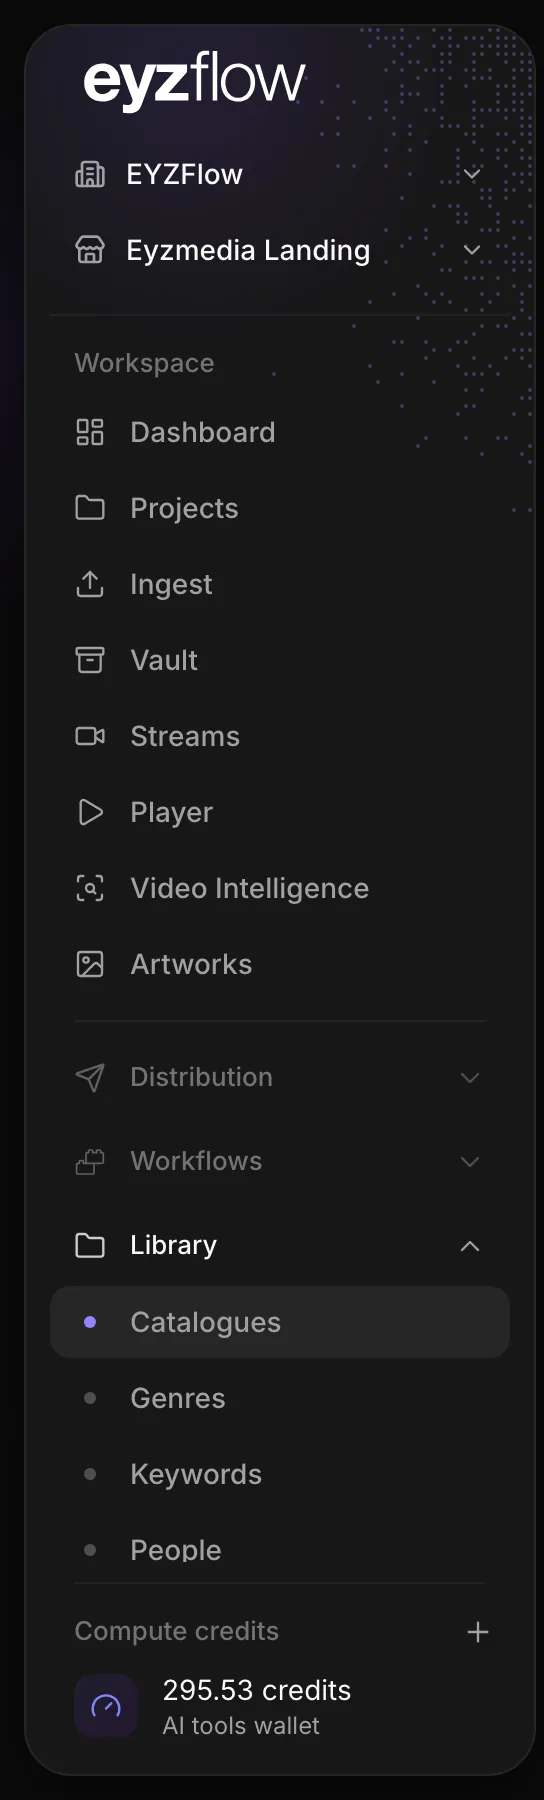
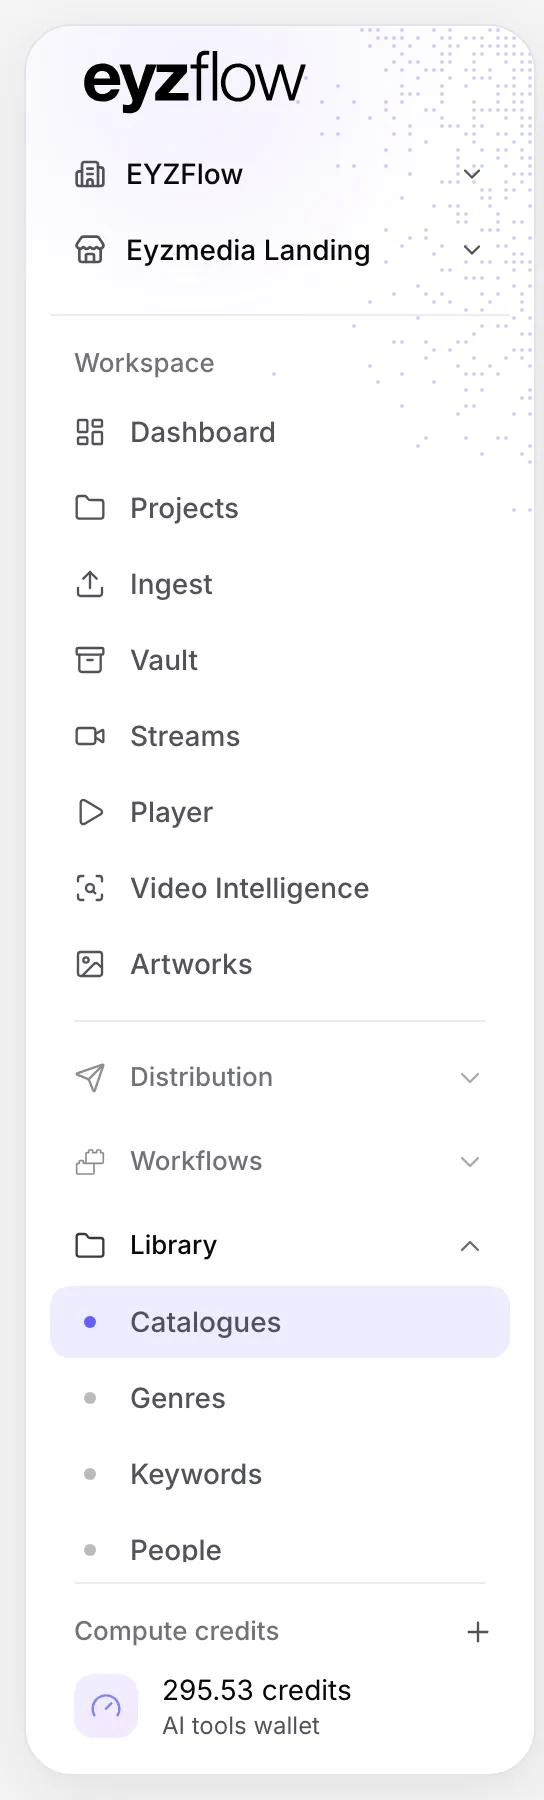
To switch context, select your organisation at the top of the sidebar. If your organisation has storefronts, select the storefront shown beneath it; storefront-specific pages then use the selected storefront.
What appears in your navigation depends on your role's permissions and the modules included in your organisation's plan. Modules that are not included may appear locked, while pages you are not permitted to use may not appear. On a computer, use the panel button in the header to collapse or expand the sidebar; on a phone, the same button opens and closes the menu.
For alerts and activity, open Notifications from the dock or the phone header bell. The Notifications page contains the full list, while the Dashboard's Needs attention widget highlights active warnings and errors.
What can I configure in Dashboard Settings, and which settings require specific permissions?
Dashboard Settings includes both personal preferences and workspace administration options. Open Settings from the account menu.
- Account: Set your dashboard language, graphics quality, password, and personal IO choices. This tab is available to everyone.
- Encoding profiles: Configure the stream flavours and segment duration used for encoding.
- DRM validation: Configure how player licence requests are checked.
- Subtitle rules: Manage the limits used when subtitles are created. This tab is shown to users with View Subtitle Projects.
- Webhooks: Configure workspace events sent to an HTTPS endpoint. This tab is shown to users with View Webhook.
- Connections: Manage other applications that workflows can communicate with. This tab is shown to users with View workflows.
- API keys: Manage keys for the EYZFlow API. This tab is shown to users with View APIKey.
- Organisation: Manage the organisation’s decision about keeping IO conversations and EYZMedia. This tab is shown to users with Decide on Keeping IO Conversations.
Tabs that you do not have permission to access are not shown. The dashboard also provides separate User Management, Audit Logs, and Change Password areas from the account menu.
How do I change my dashboard language, graphics quality, or password?
You can change all three from your account settings.
Change the dashboard language
- Open Settings and stay on the Account tab.
- In the Language card, select English, Deutsch, or Français.
The language names are shown in their own languages, so you can identify them even if the dashboard is currently displayed in another language.
Choose the graphics quality
- Open Settings on the Account tab.
- Under Graphics quality, choose Auto, Light, or High.
Auto enables animated effects when your browser can run them smoothly and otherwise keeps effects light. Light keeps effects still, while High always enables them. This setting is saved only in the current browser, and reduced-motion preferences are always respected.
Change your password
- Open Change Password from the account menu, or use the Account tab in Settings.
- Enter your current password, a new password, and confirmation of the new password.
- Select Save password.
Your new password must contain at least eight characters, including an uppercase letter, a lowercase letter, a number, and a special character. It must differ from your current password, and both new-password fields must match. A Password updated. message confirms the change.
How do I view, manage, and search notifications?
Notifications appear in the dock on wider screens or under the bell in the header on phones. The notification count shows items received since you last opened the list; opening the list or the Notifications page clears that count.
To review notifications:
- Open the dock’s Notifications list, the phone header bell, or the Notifications page.
- On the Notifications page, search by entering text in Search notifications and pressing Enter or selecting Search.
- Review each notification’s title, message, status, and time. You can sort by notification or time, choose how many rows to display, and move between pages.
- Select a notification to open the related stream, workflow, subscription, support case, ingest, catalogue, or other page when one is available.
For an active warning or error, select Acknowledge to mark it as seen or Dismiss to clear it. Mark all as read acknowledges every active notification at once. Notification statuses include Active, Acknowledged, Resolved, and Dismissed. Errors use a red icon, warnings amber, and information notifications blue.
How do I create and manage a webhook listener, and which events can it receive?
Webhook listeners send workspace events to an HTTPS endpoint as they happen.
Add a listener
- Open Settings and select the Webhooks tab.
- Click Add listener.
- Enter your HTTPS endpoint URL.
- Under Actions, enter at least one event name. Add actions one per line or separate them with commas.
- Optionally enter a secret and custom headers in
Key: valueformat. - Keep Active selected and click Save.
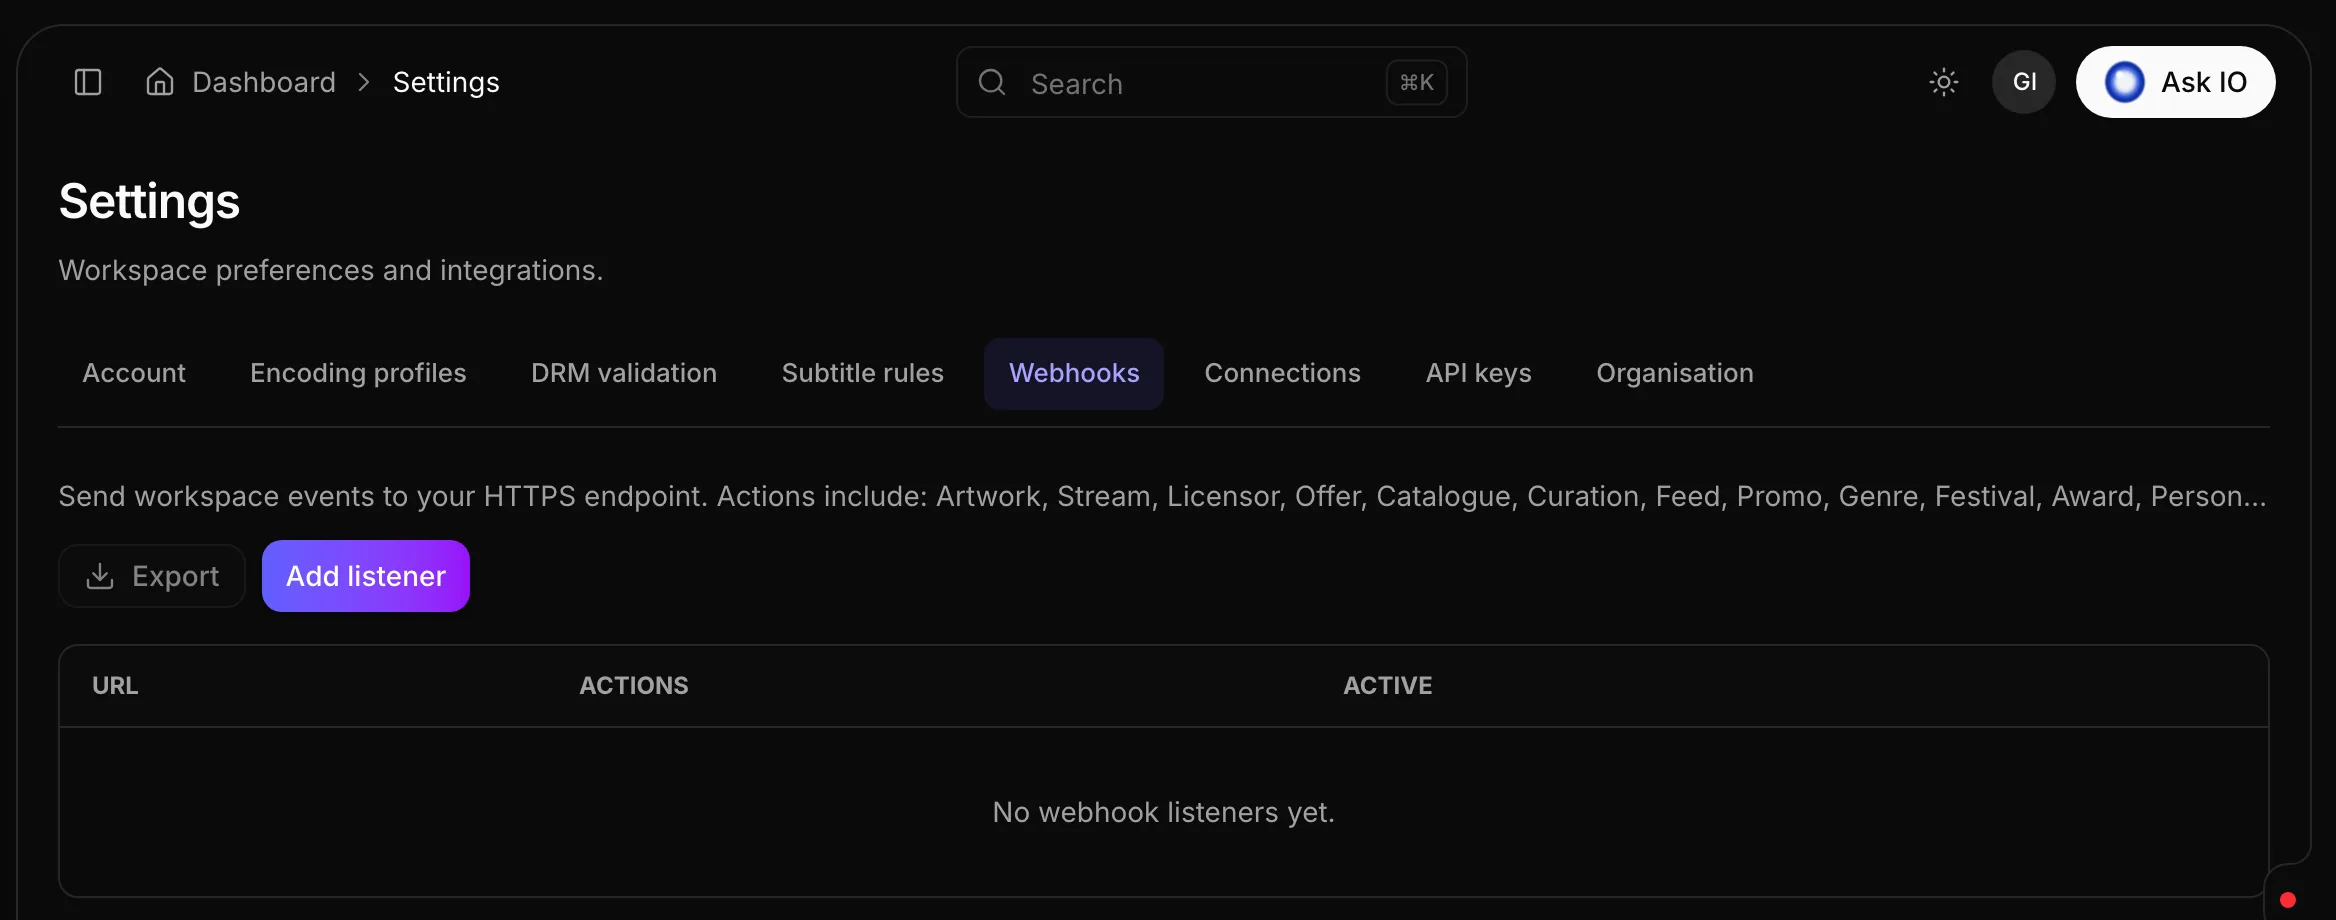
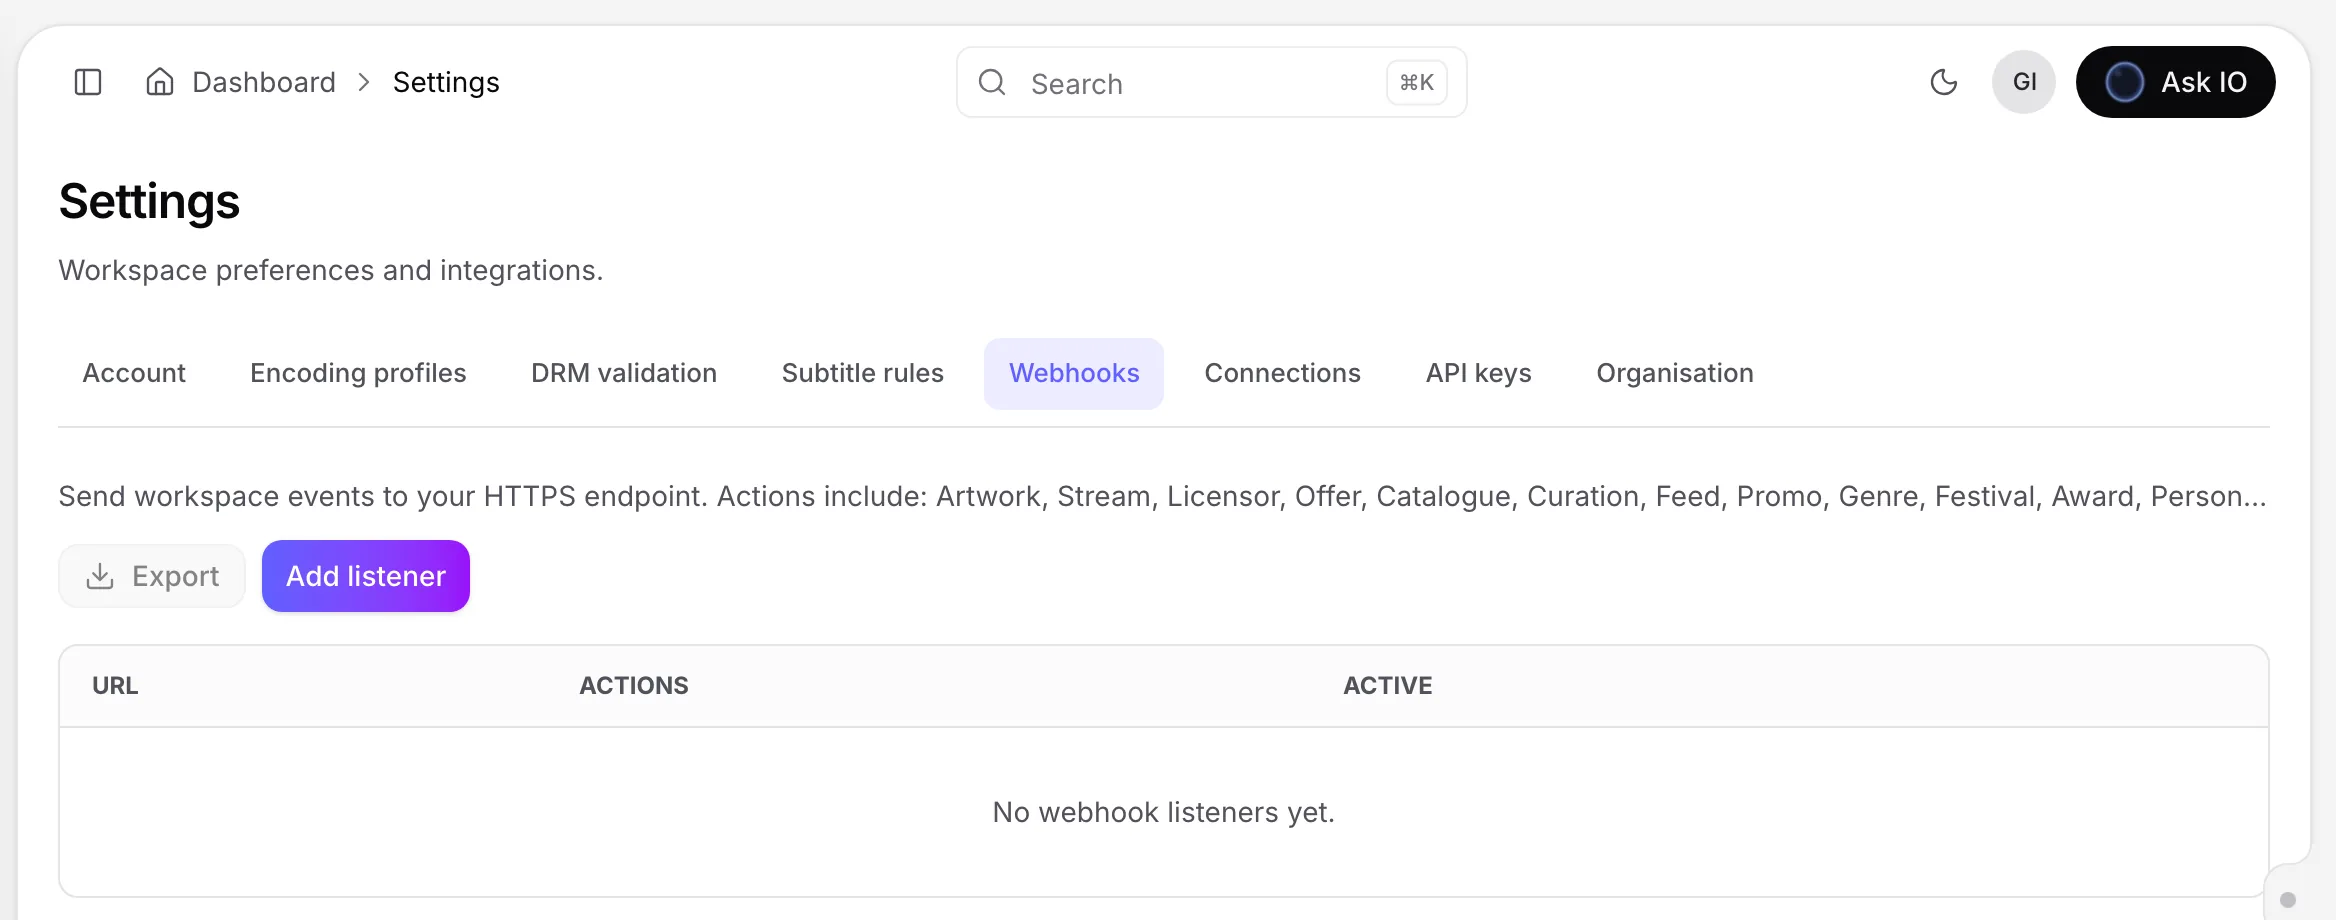
The listeners list shows each endpoint, its number of actions, and whether it is active.
Choose events
You can subscribe to a specific event, such as Stream.create or Workflow.run.failed. You can also enter an entity name by itself to receive every event for that entity—for example, Artwork receives all Artwork.… events, while Workflow.run receives all workflow-run events.
Available event groups include:
- Entities: Artwork, Stream, Licensor, Catalogue, Curation, Feed, Promo, Genre, Festival, Award, Person, Rating, ContentForm, Audio, Caption, Flavor, Job, JobSet, Offer, Platform, Product, StreamPackage, Workflow, and Ingest.
- Streams: creation, updates, deletion, upload requests and upload or archive processing events.
- Library: catalogue, curation, genre, person, rating, feed, promotion, festival, award and licensor changes.
- Artworks: creation, updates, deletion, uploads, CMS links, linked streams or people, generated variations and file processing.
- Forms: creation, updates, deletion and submissions.
- Workflow runs: queued, started, waiting, completed, failed, cancelled, retried and other run-state changes.
- Workflow steps and reviews: step status changes, review and approval requests or decisions, and administrative workflow actions.
- Ingest: session status changes, analysis, catalogue approval, stream status, track publication and notes.
The Webhooks tab displays the first few available actions to help you choose event names.
Edit, pause or delete a listener
- Open Settings and the Webhooks tab.
- Select Edit on the listener's row.
- Change the endpoint URL, actions, secret or headers. To pause delivery without deleting the listener, clear Active.
- Click Save.
To remove a listener permanently, select Delete on its row and confirm.
How do I get started with EYZFlow and create my team?
When you sign up without a team, EYZFlow shows a welcome tour before asking you to create one. Use Next and Back to move through the steps, select a step from the bar at the top, or use the arrow keys. You can skip the tour at any point before the final step.
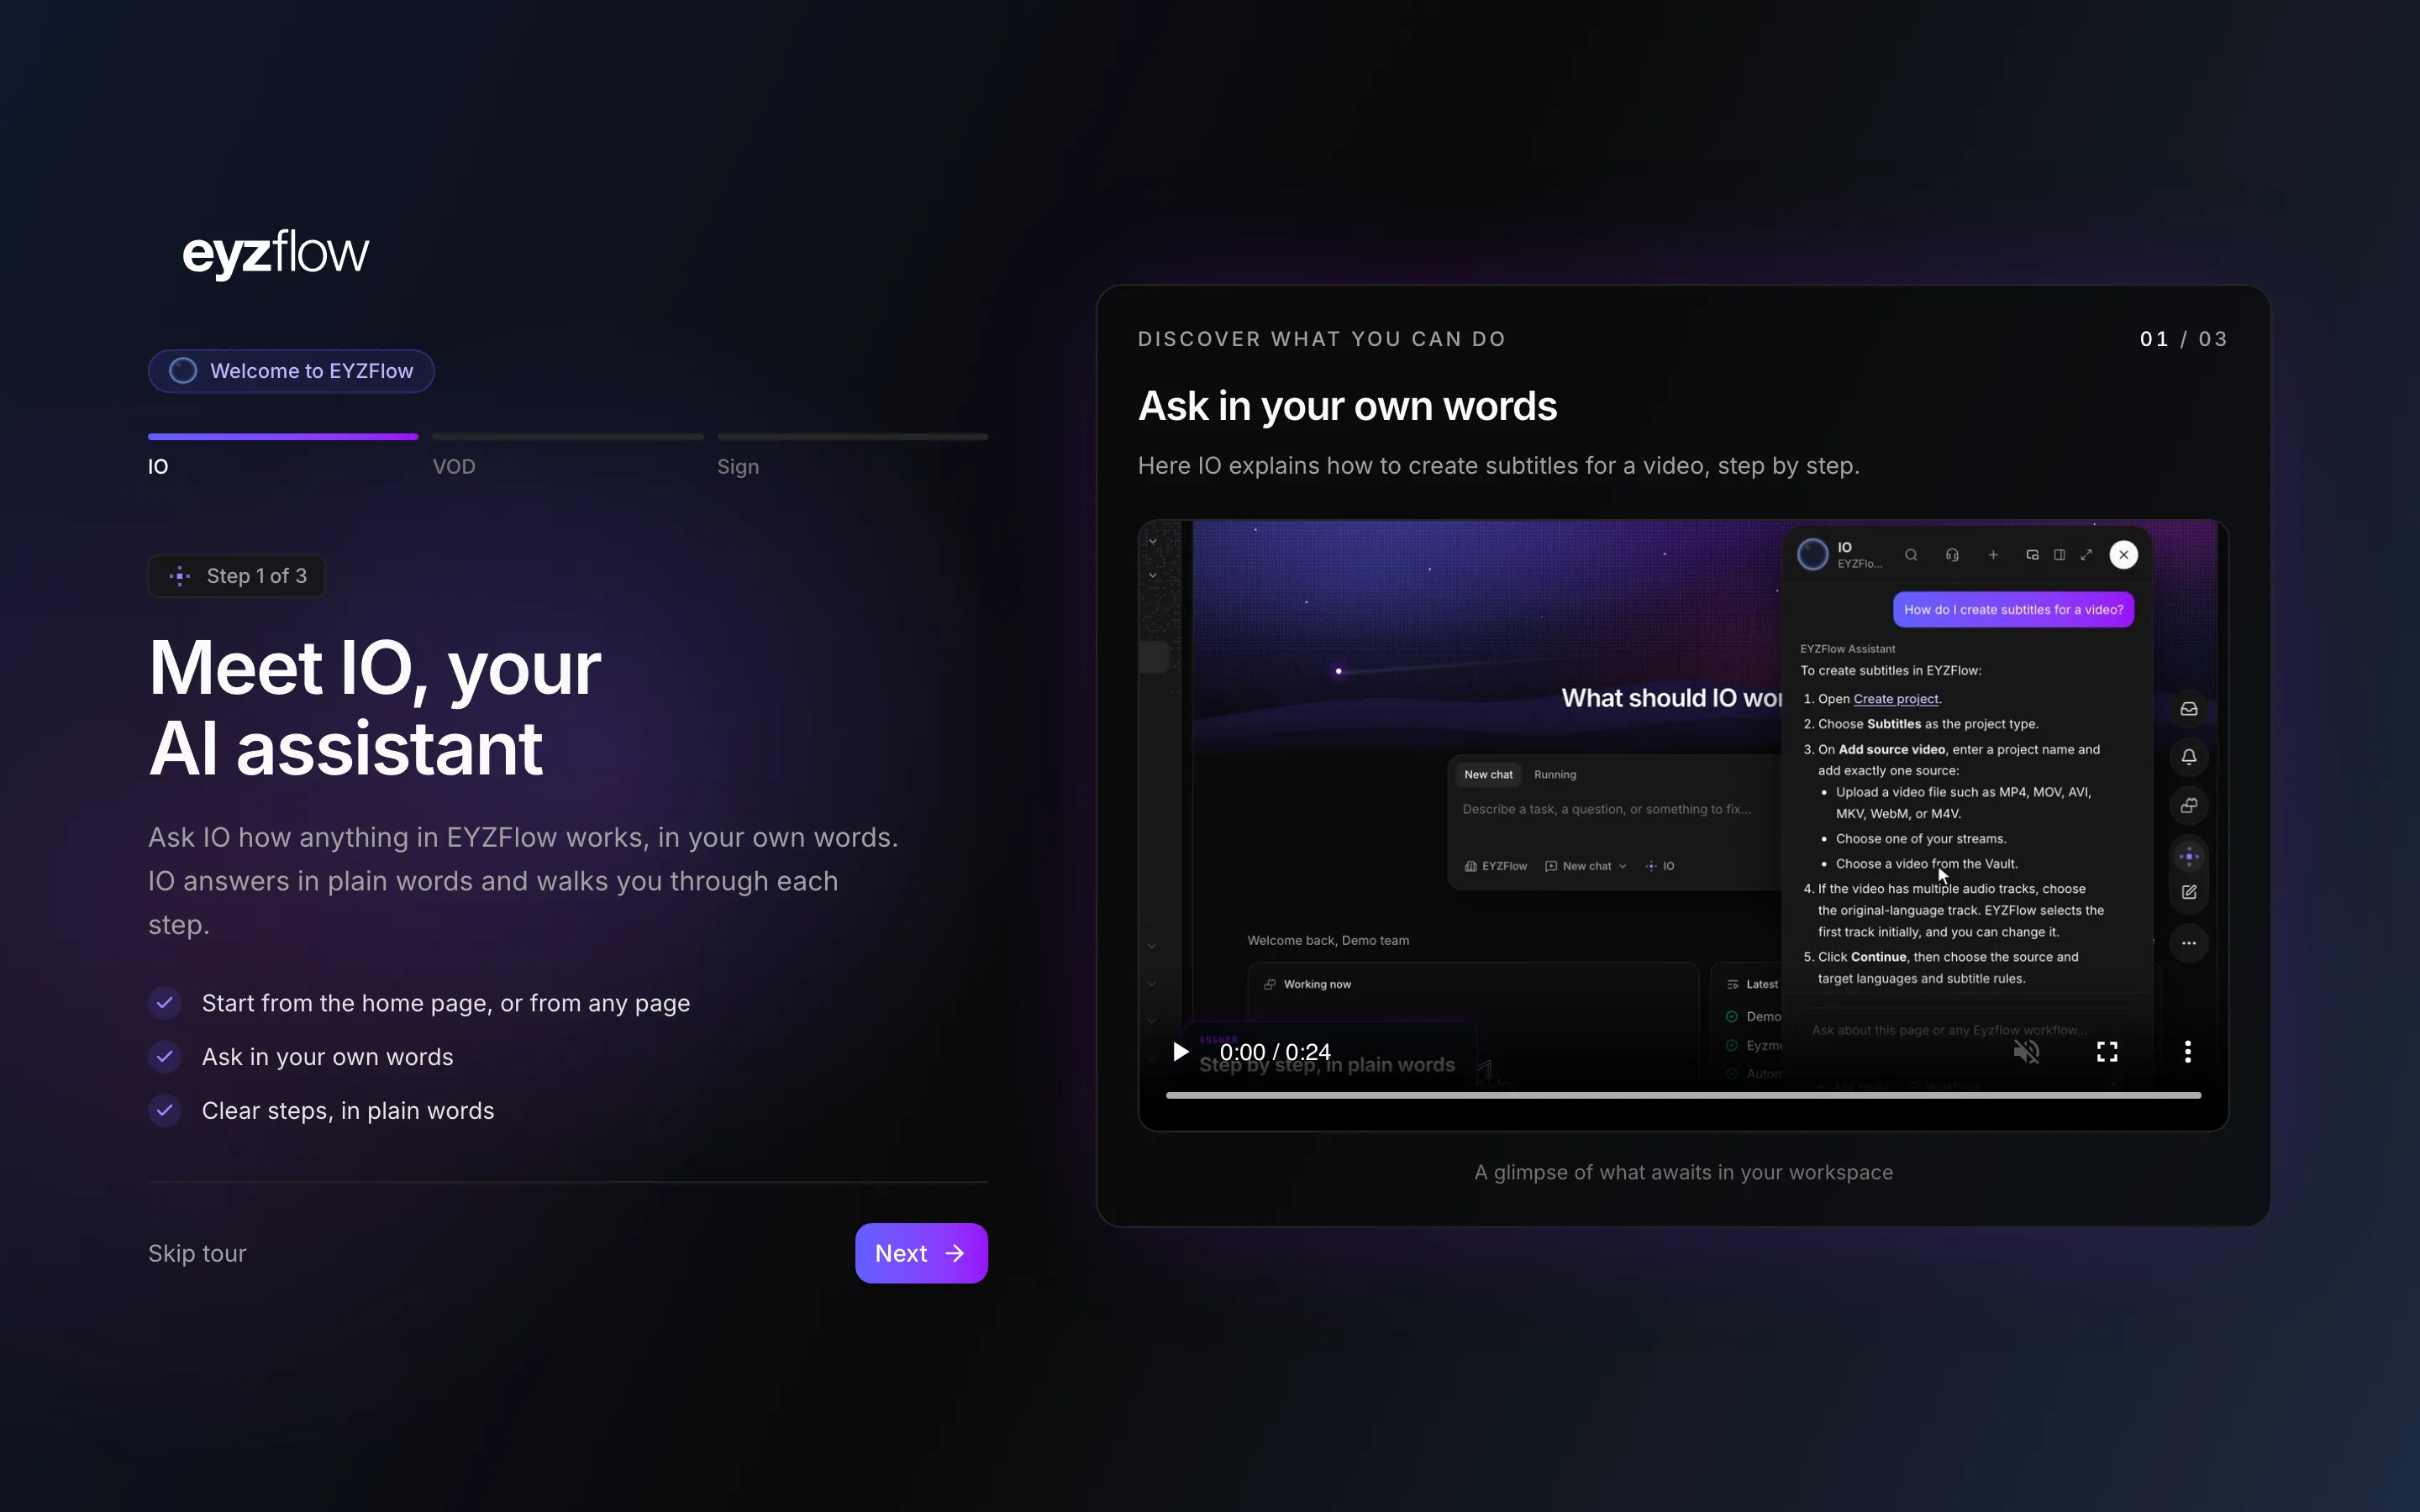
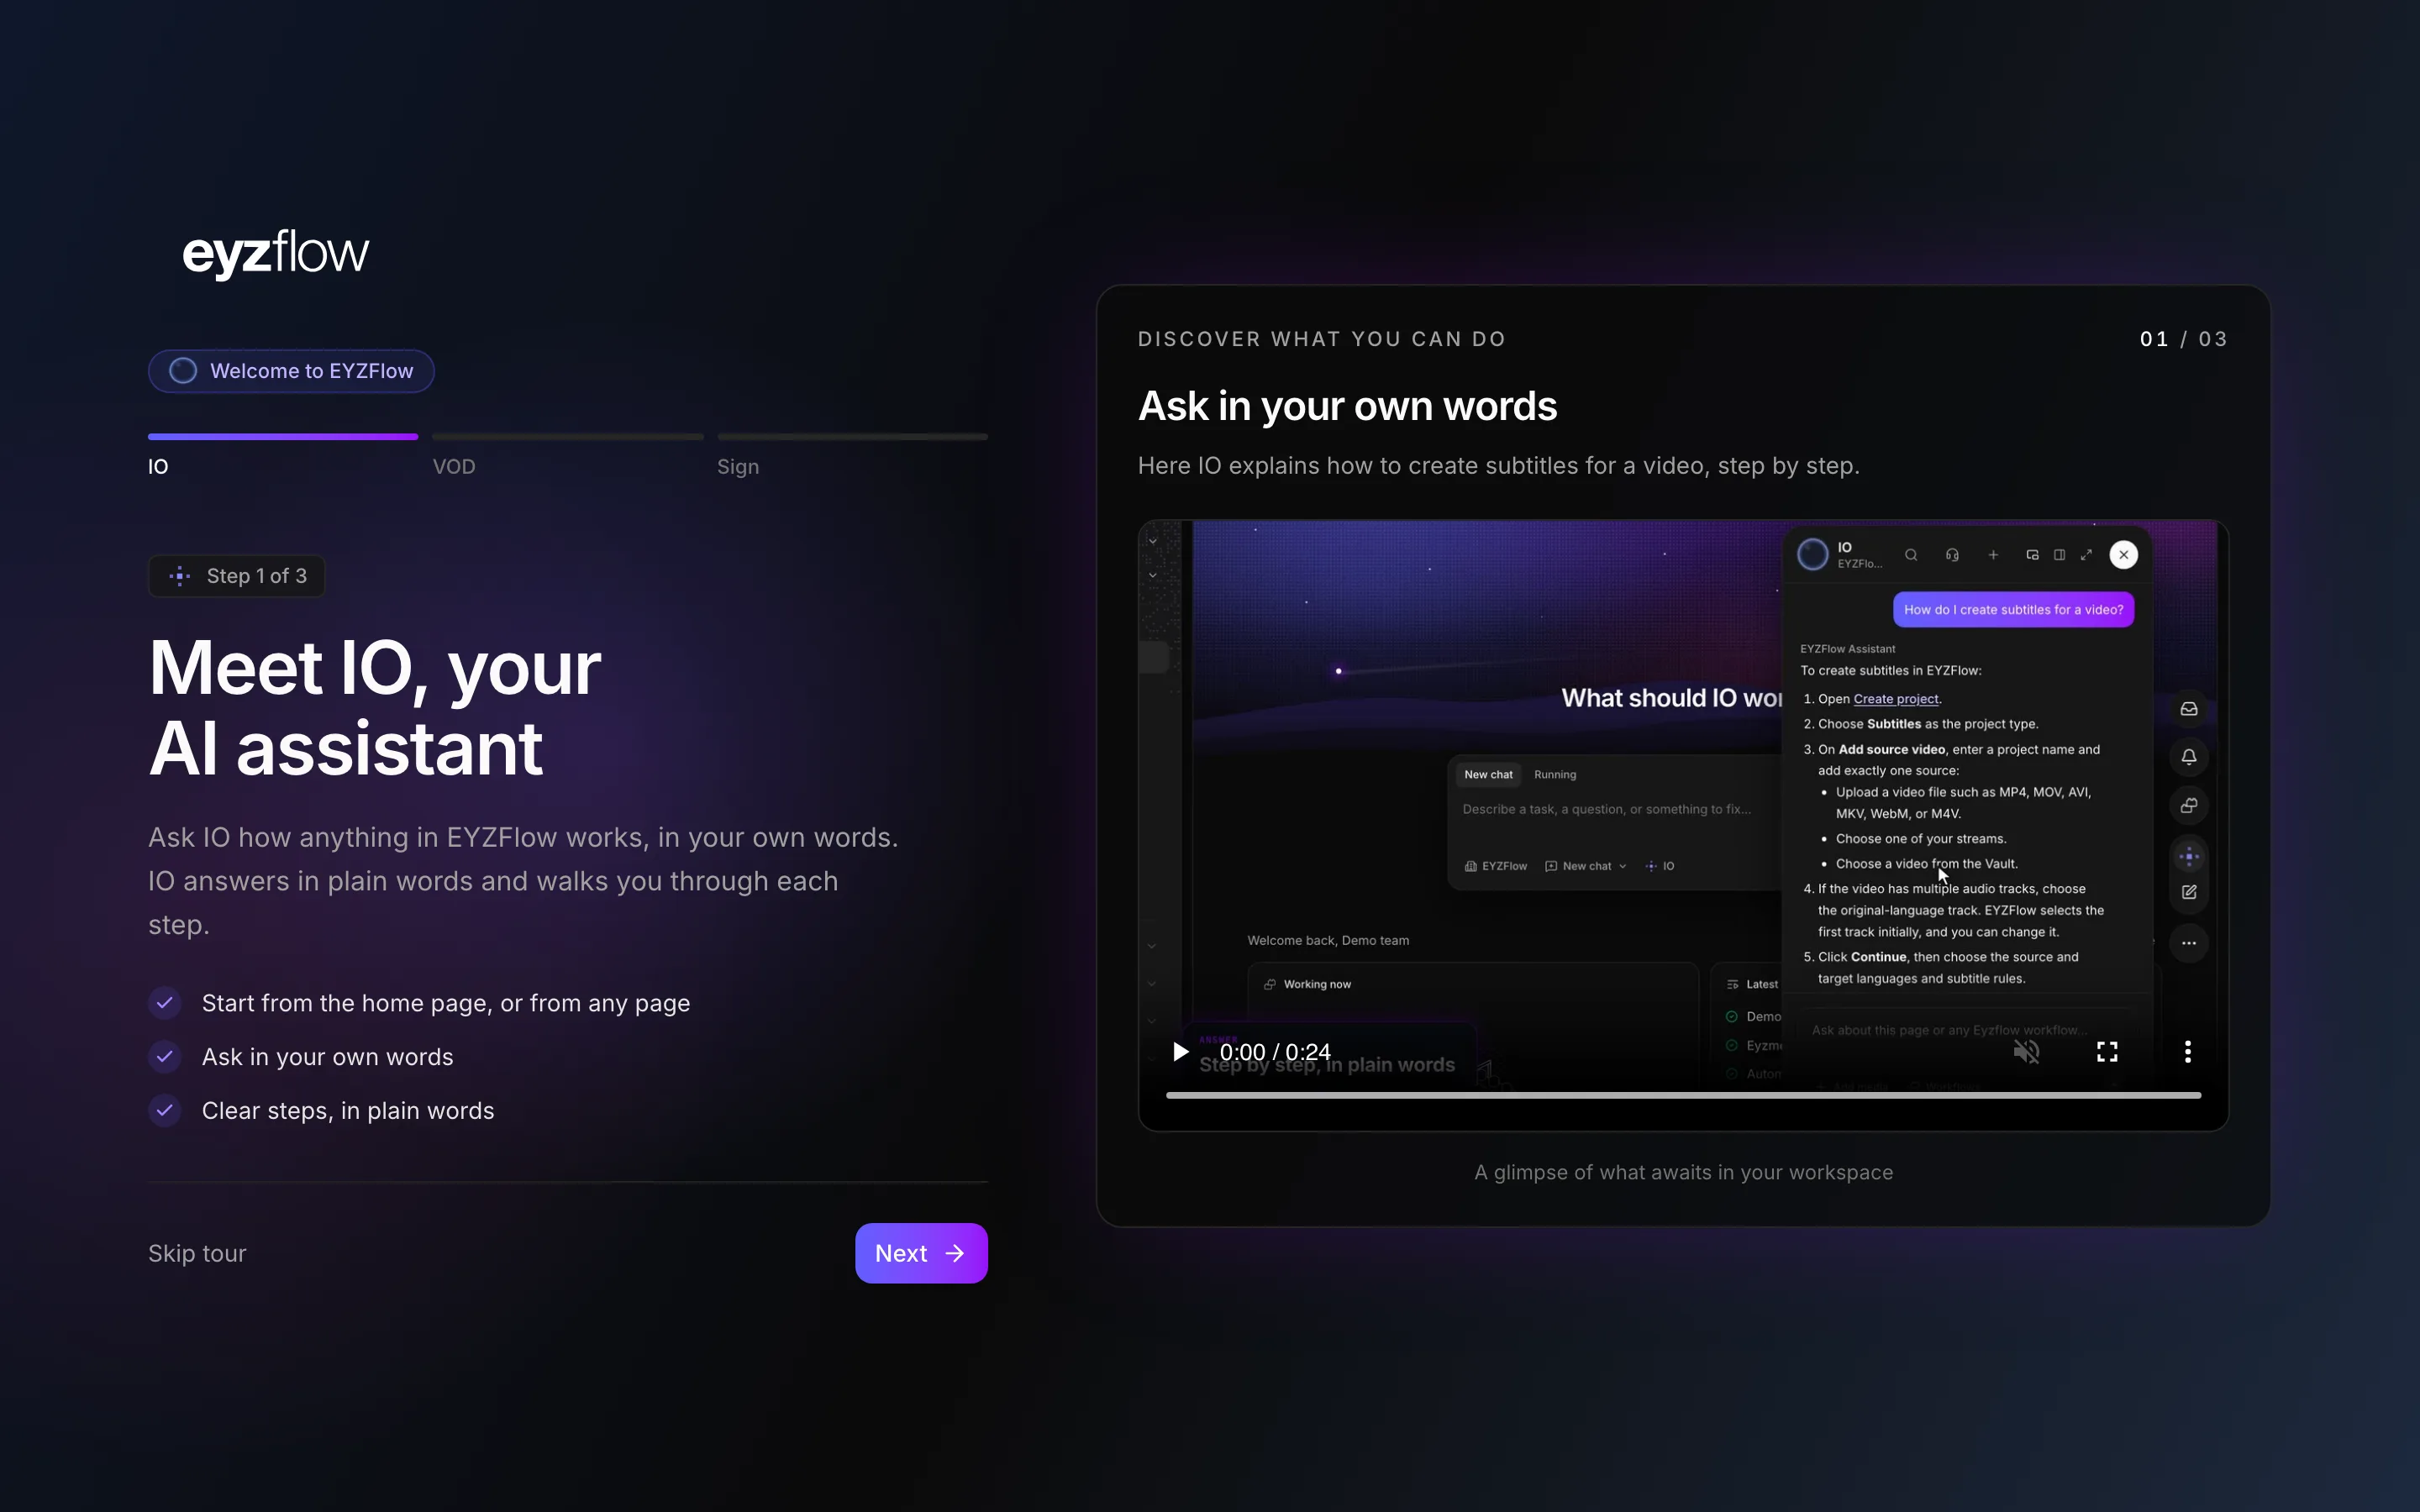
On the final step, select Create team when setting up your account. Then:
- Enter your workspace name under Team name.
- Select Create team.
EYZFlow opens your new workspace's home page. If you were invited to a team before signing up, you go to that invitation instead of the welcome tour. You can watch the tour again later, and it is available in English, German, or French according to your EYZFlow language preference or browser language.
Accessibility and language projects
How do I create a subtitles, transcription, HoH Audio, or Audio Description project?
Choose the project type that matches your goal, add a source video, review the settings and start processing.
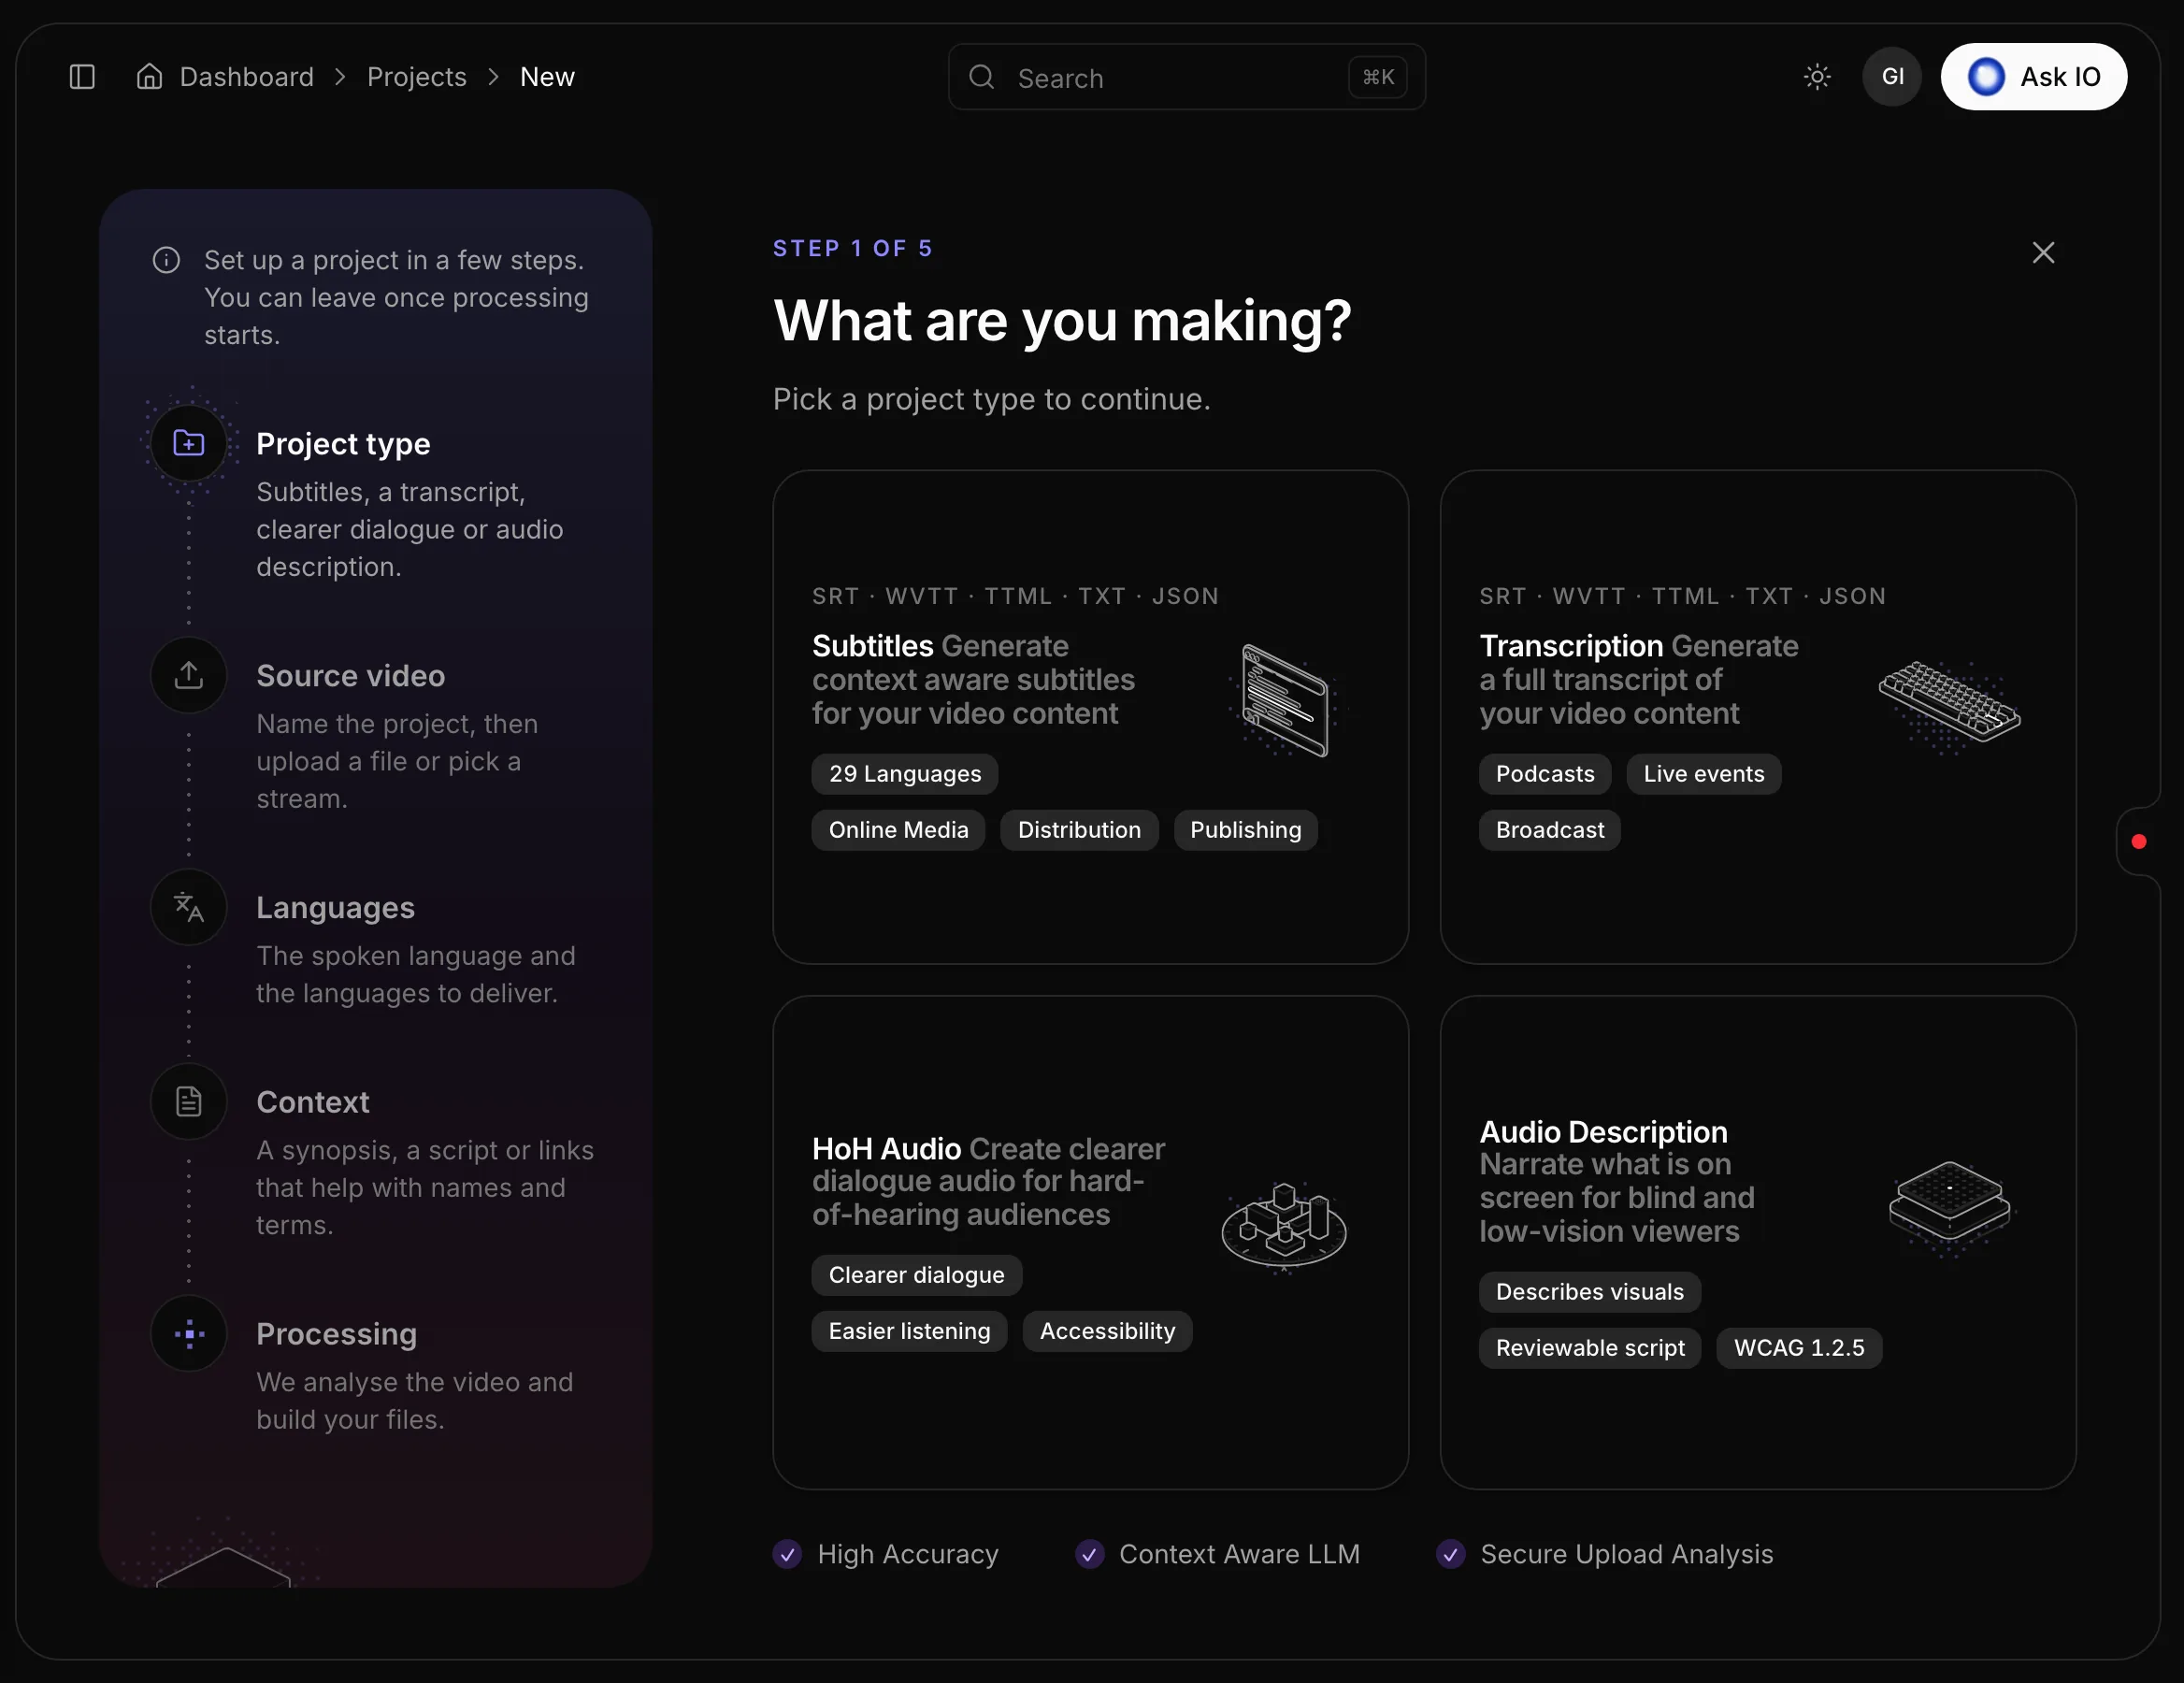
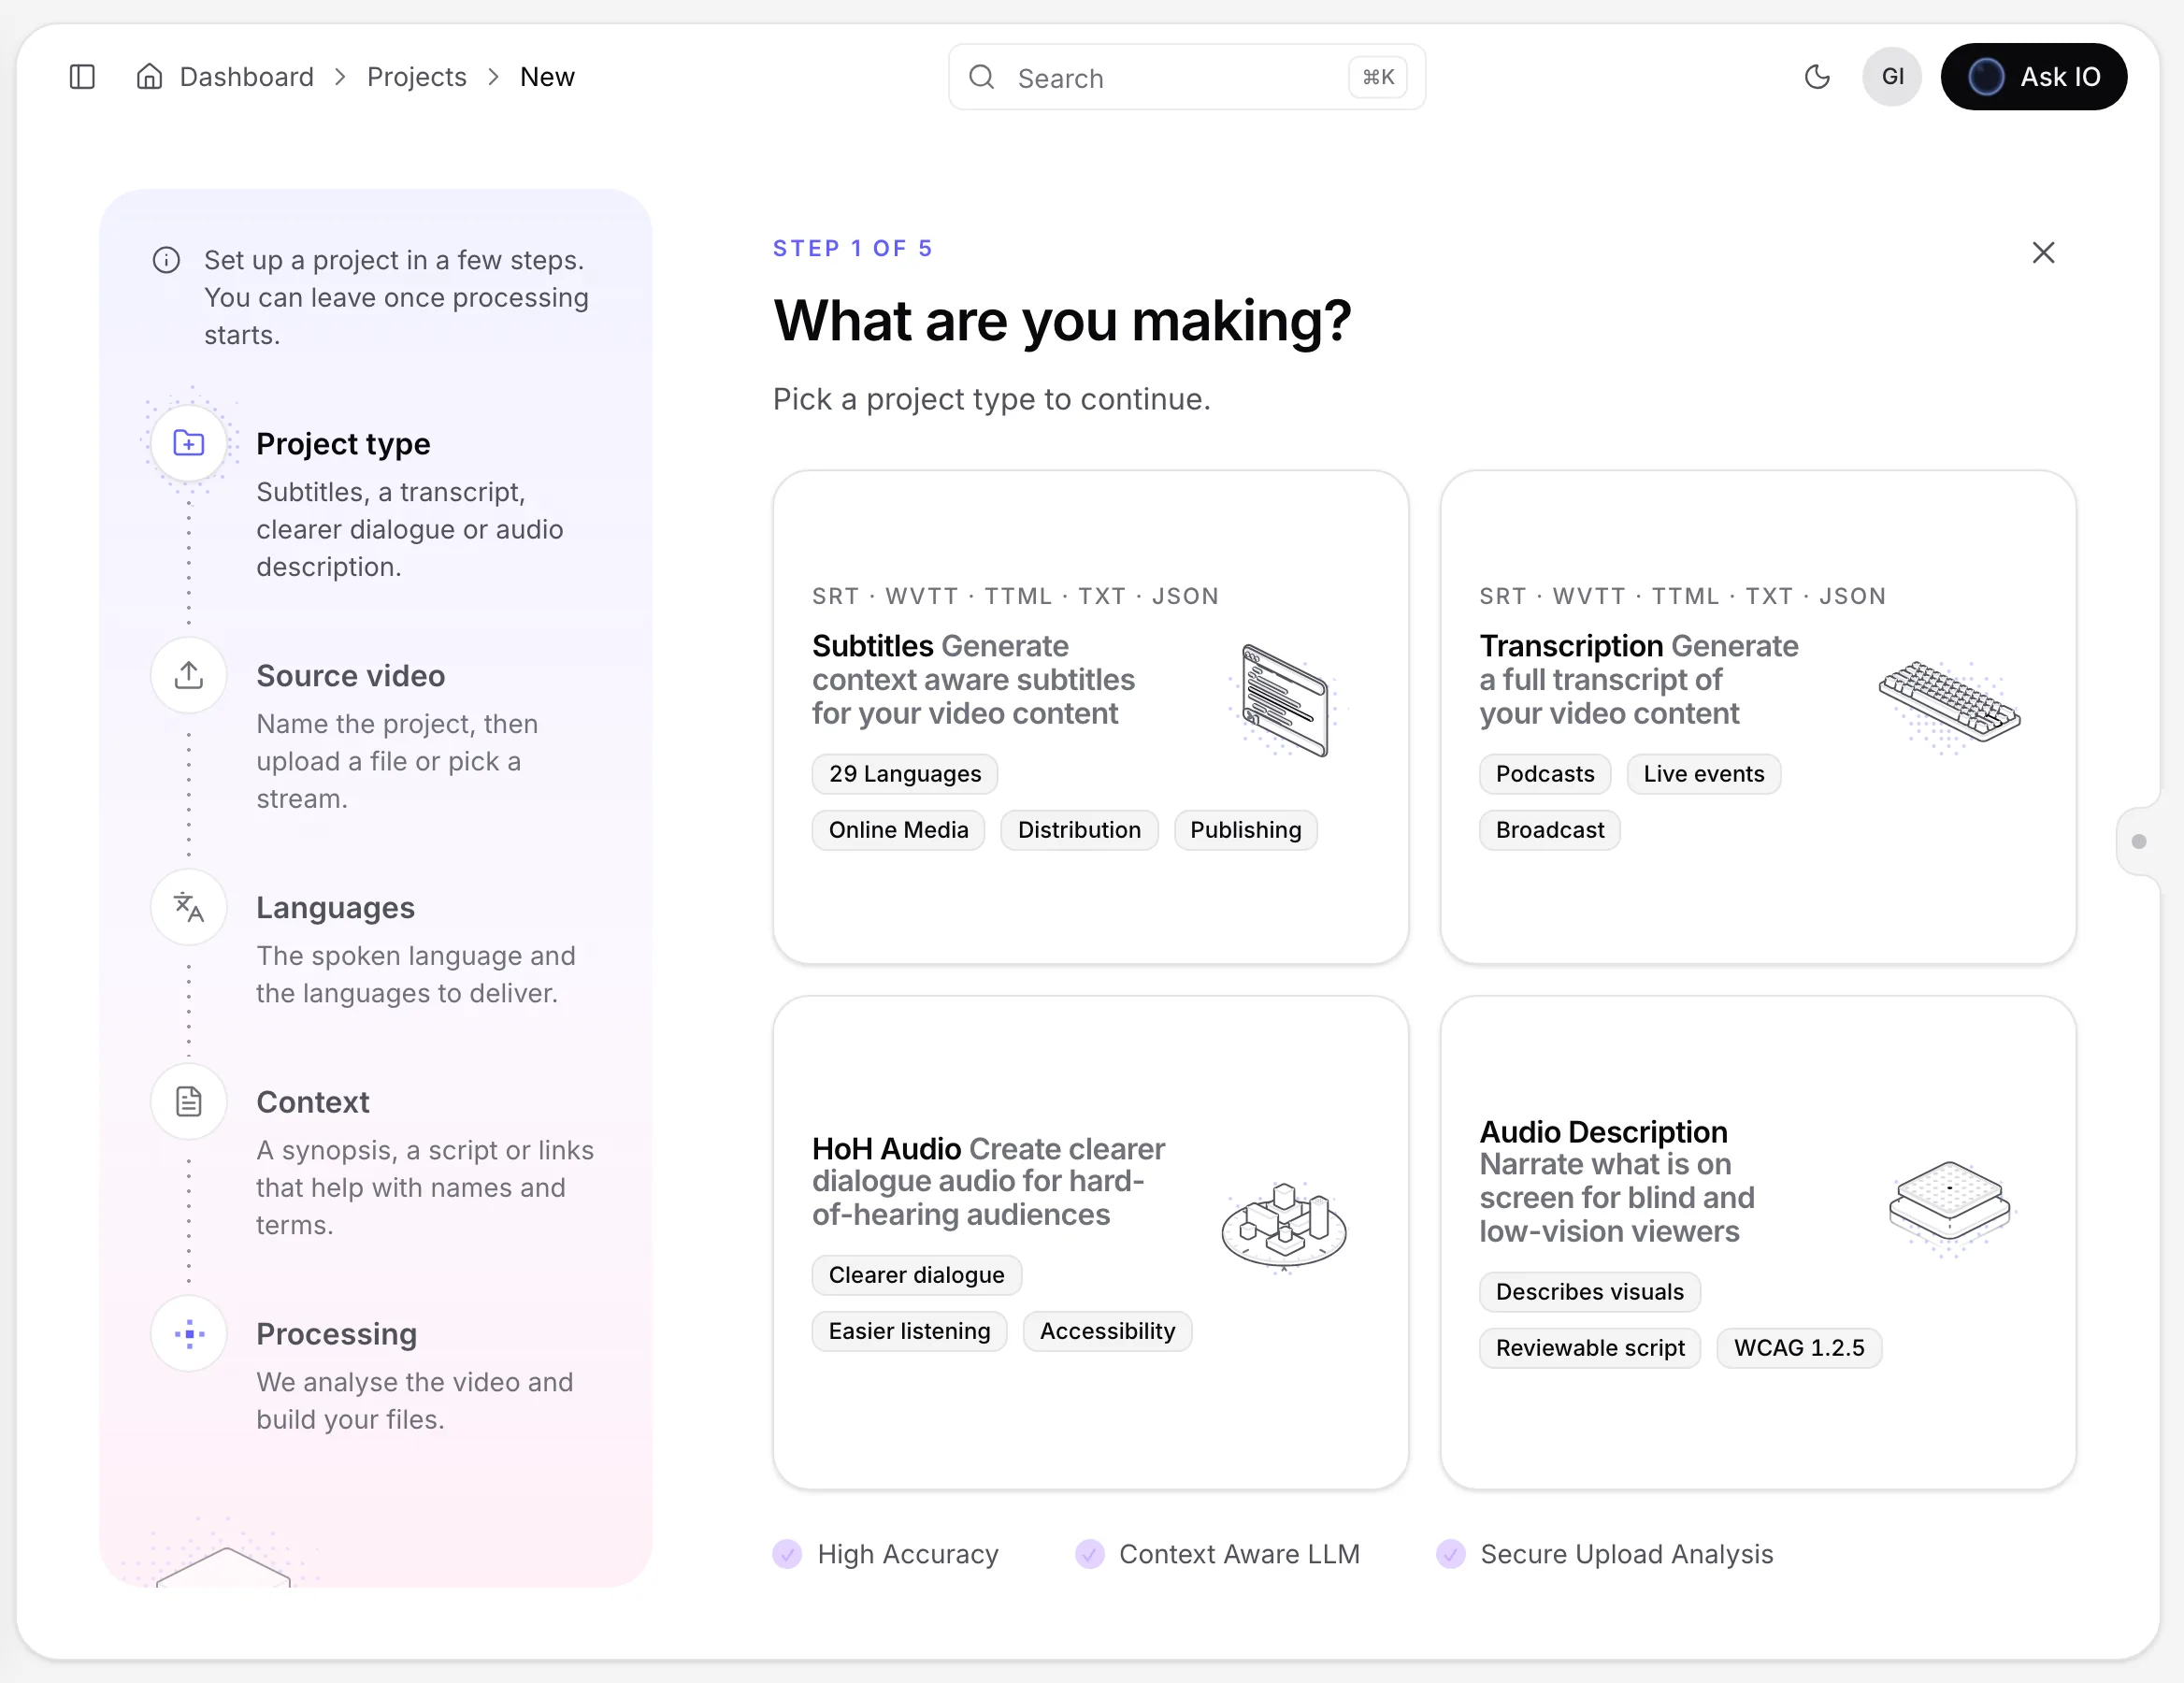
Create a project
- Open Projects and select Add new. You can also start from a Vault file by opening its Use… menu and choosing the project type under New project.
- Choose one of these types:
- Subtitles for context-aware subtitles.
- Transcription for a full transcript.
- HoH Audio for clearer dialogue audio for hard-of-hearing audiences.
- Audio Description for narration of on-screen content for blind and low-vision viewers.
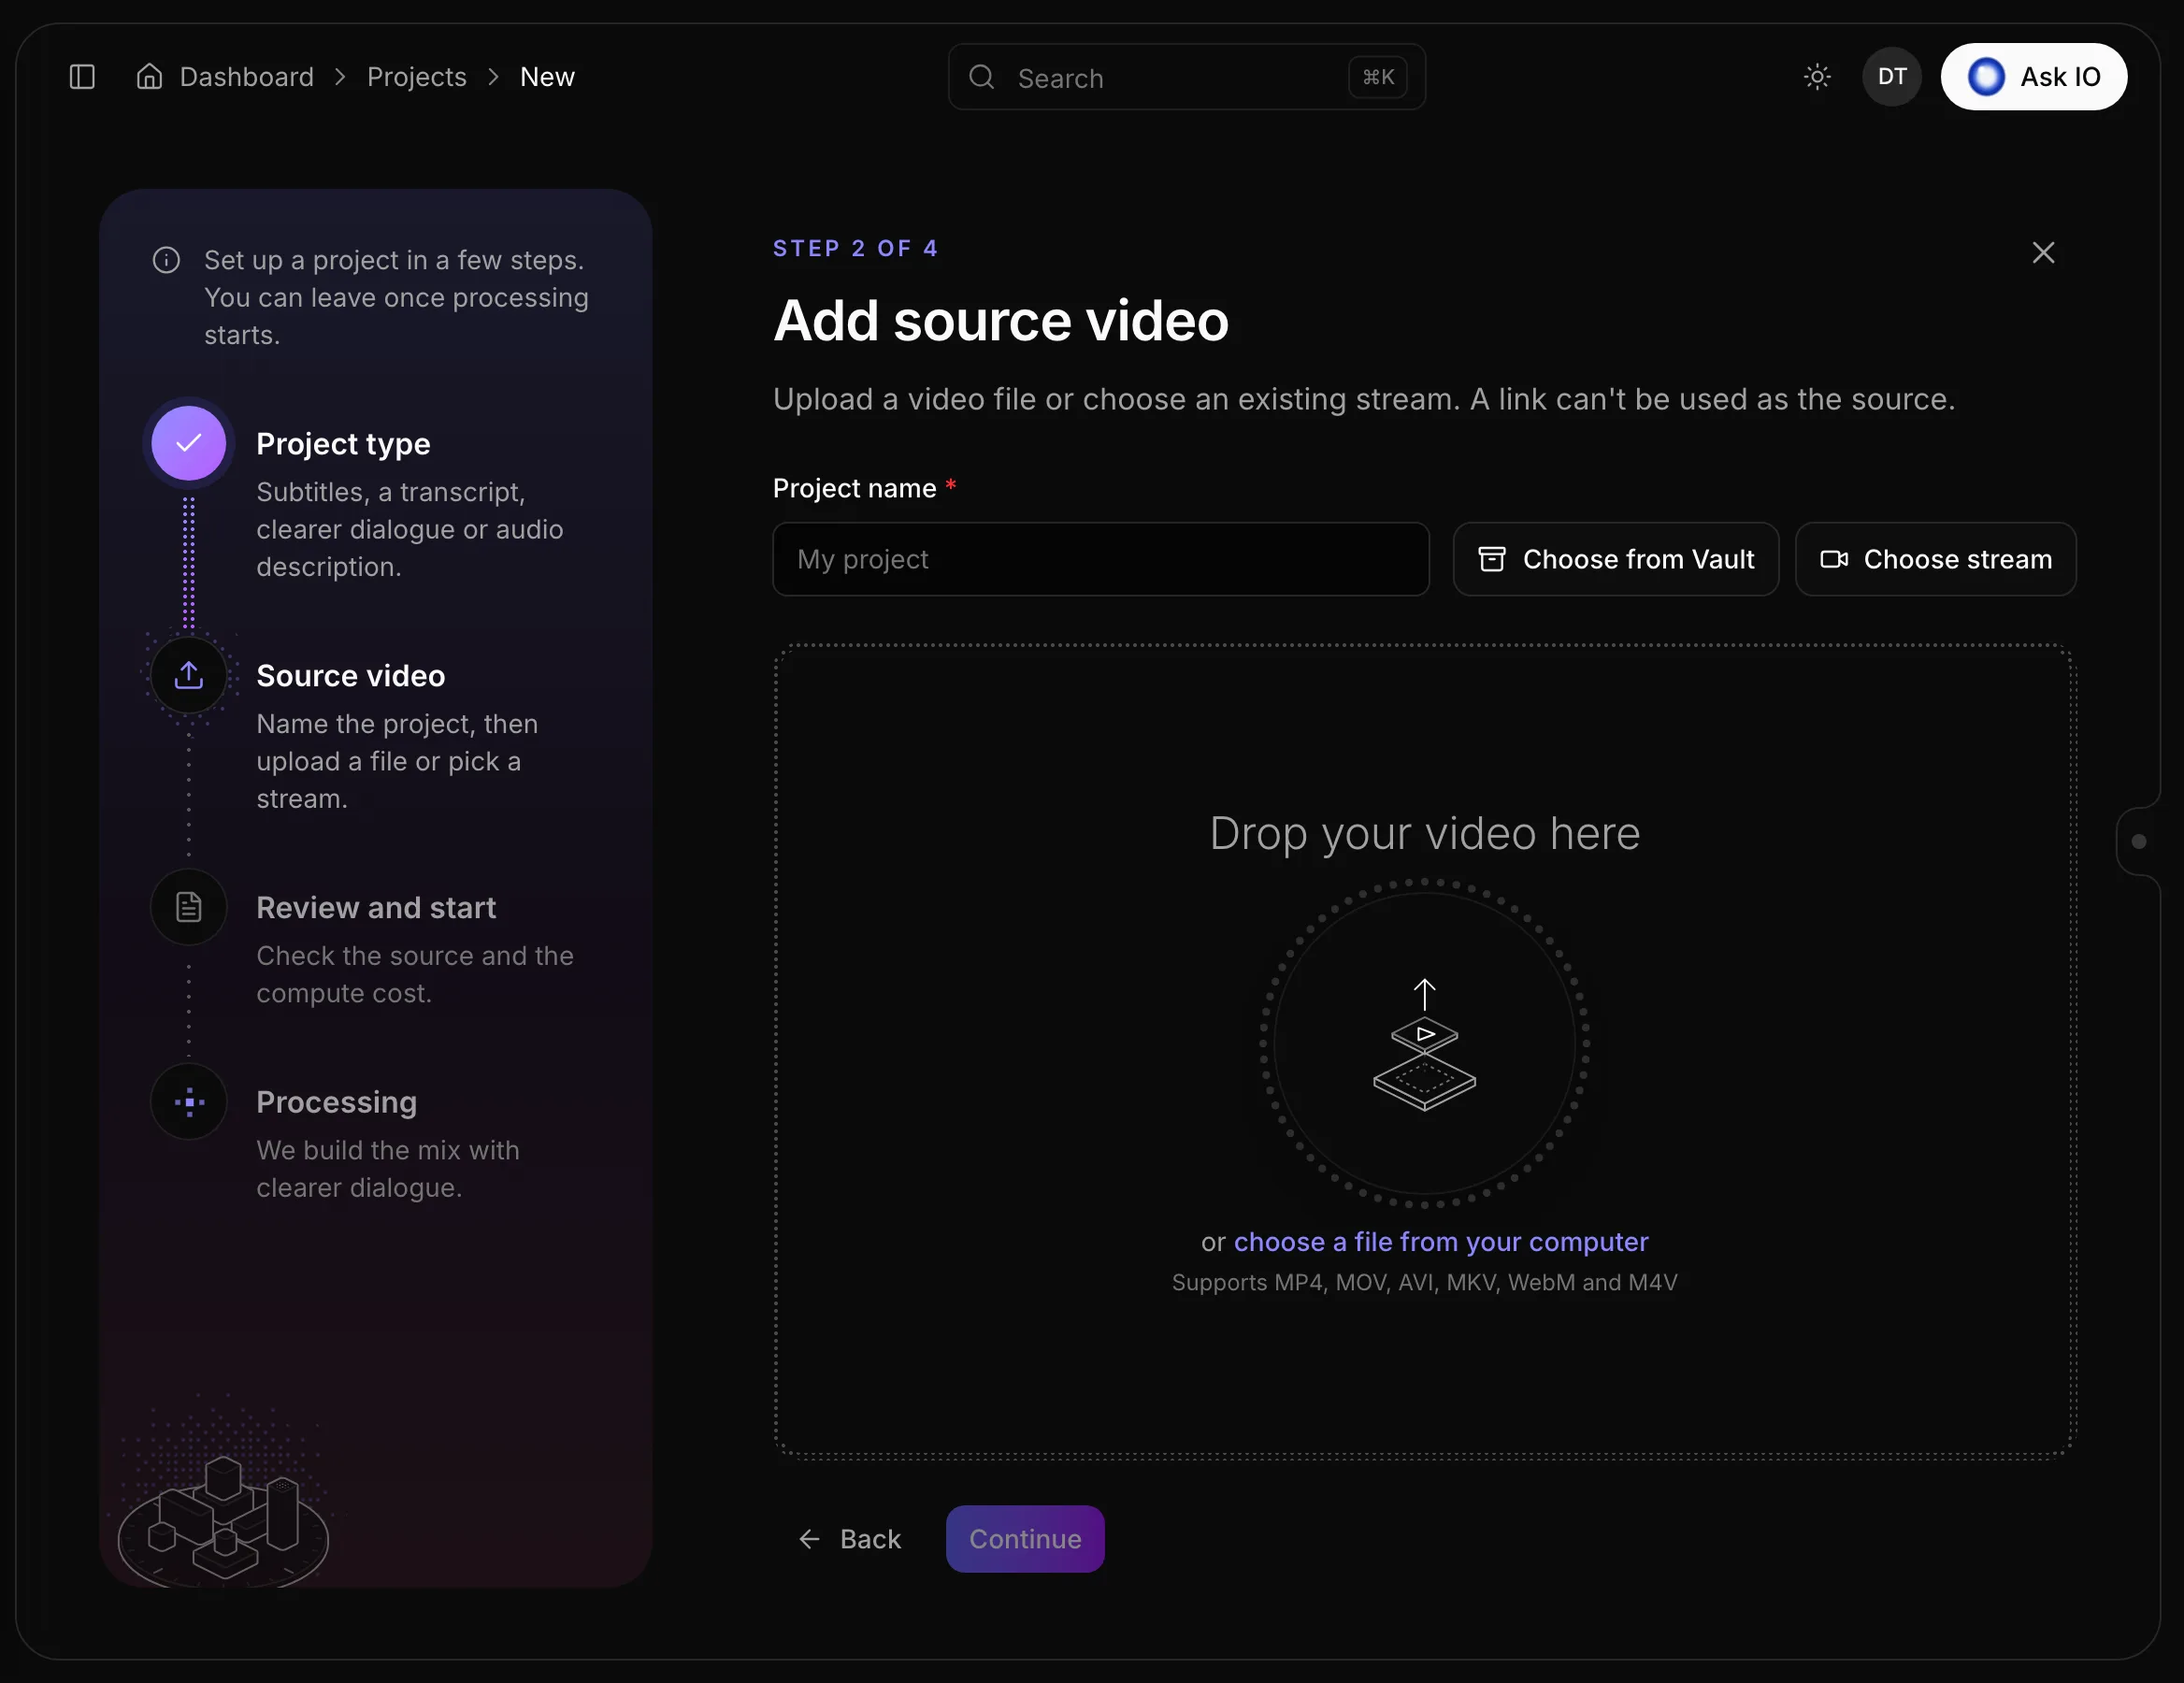
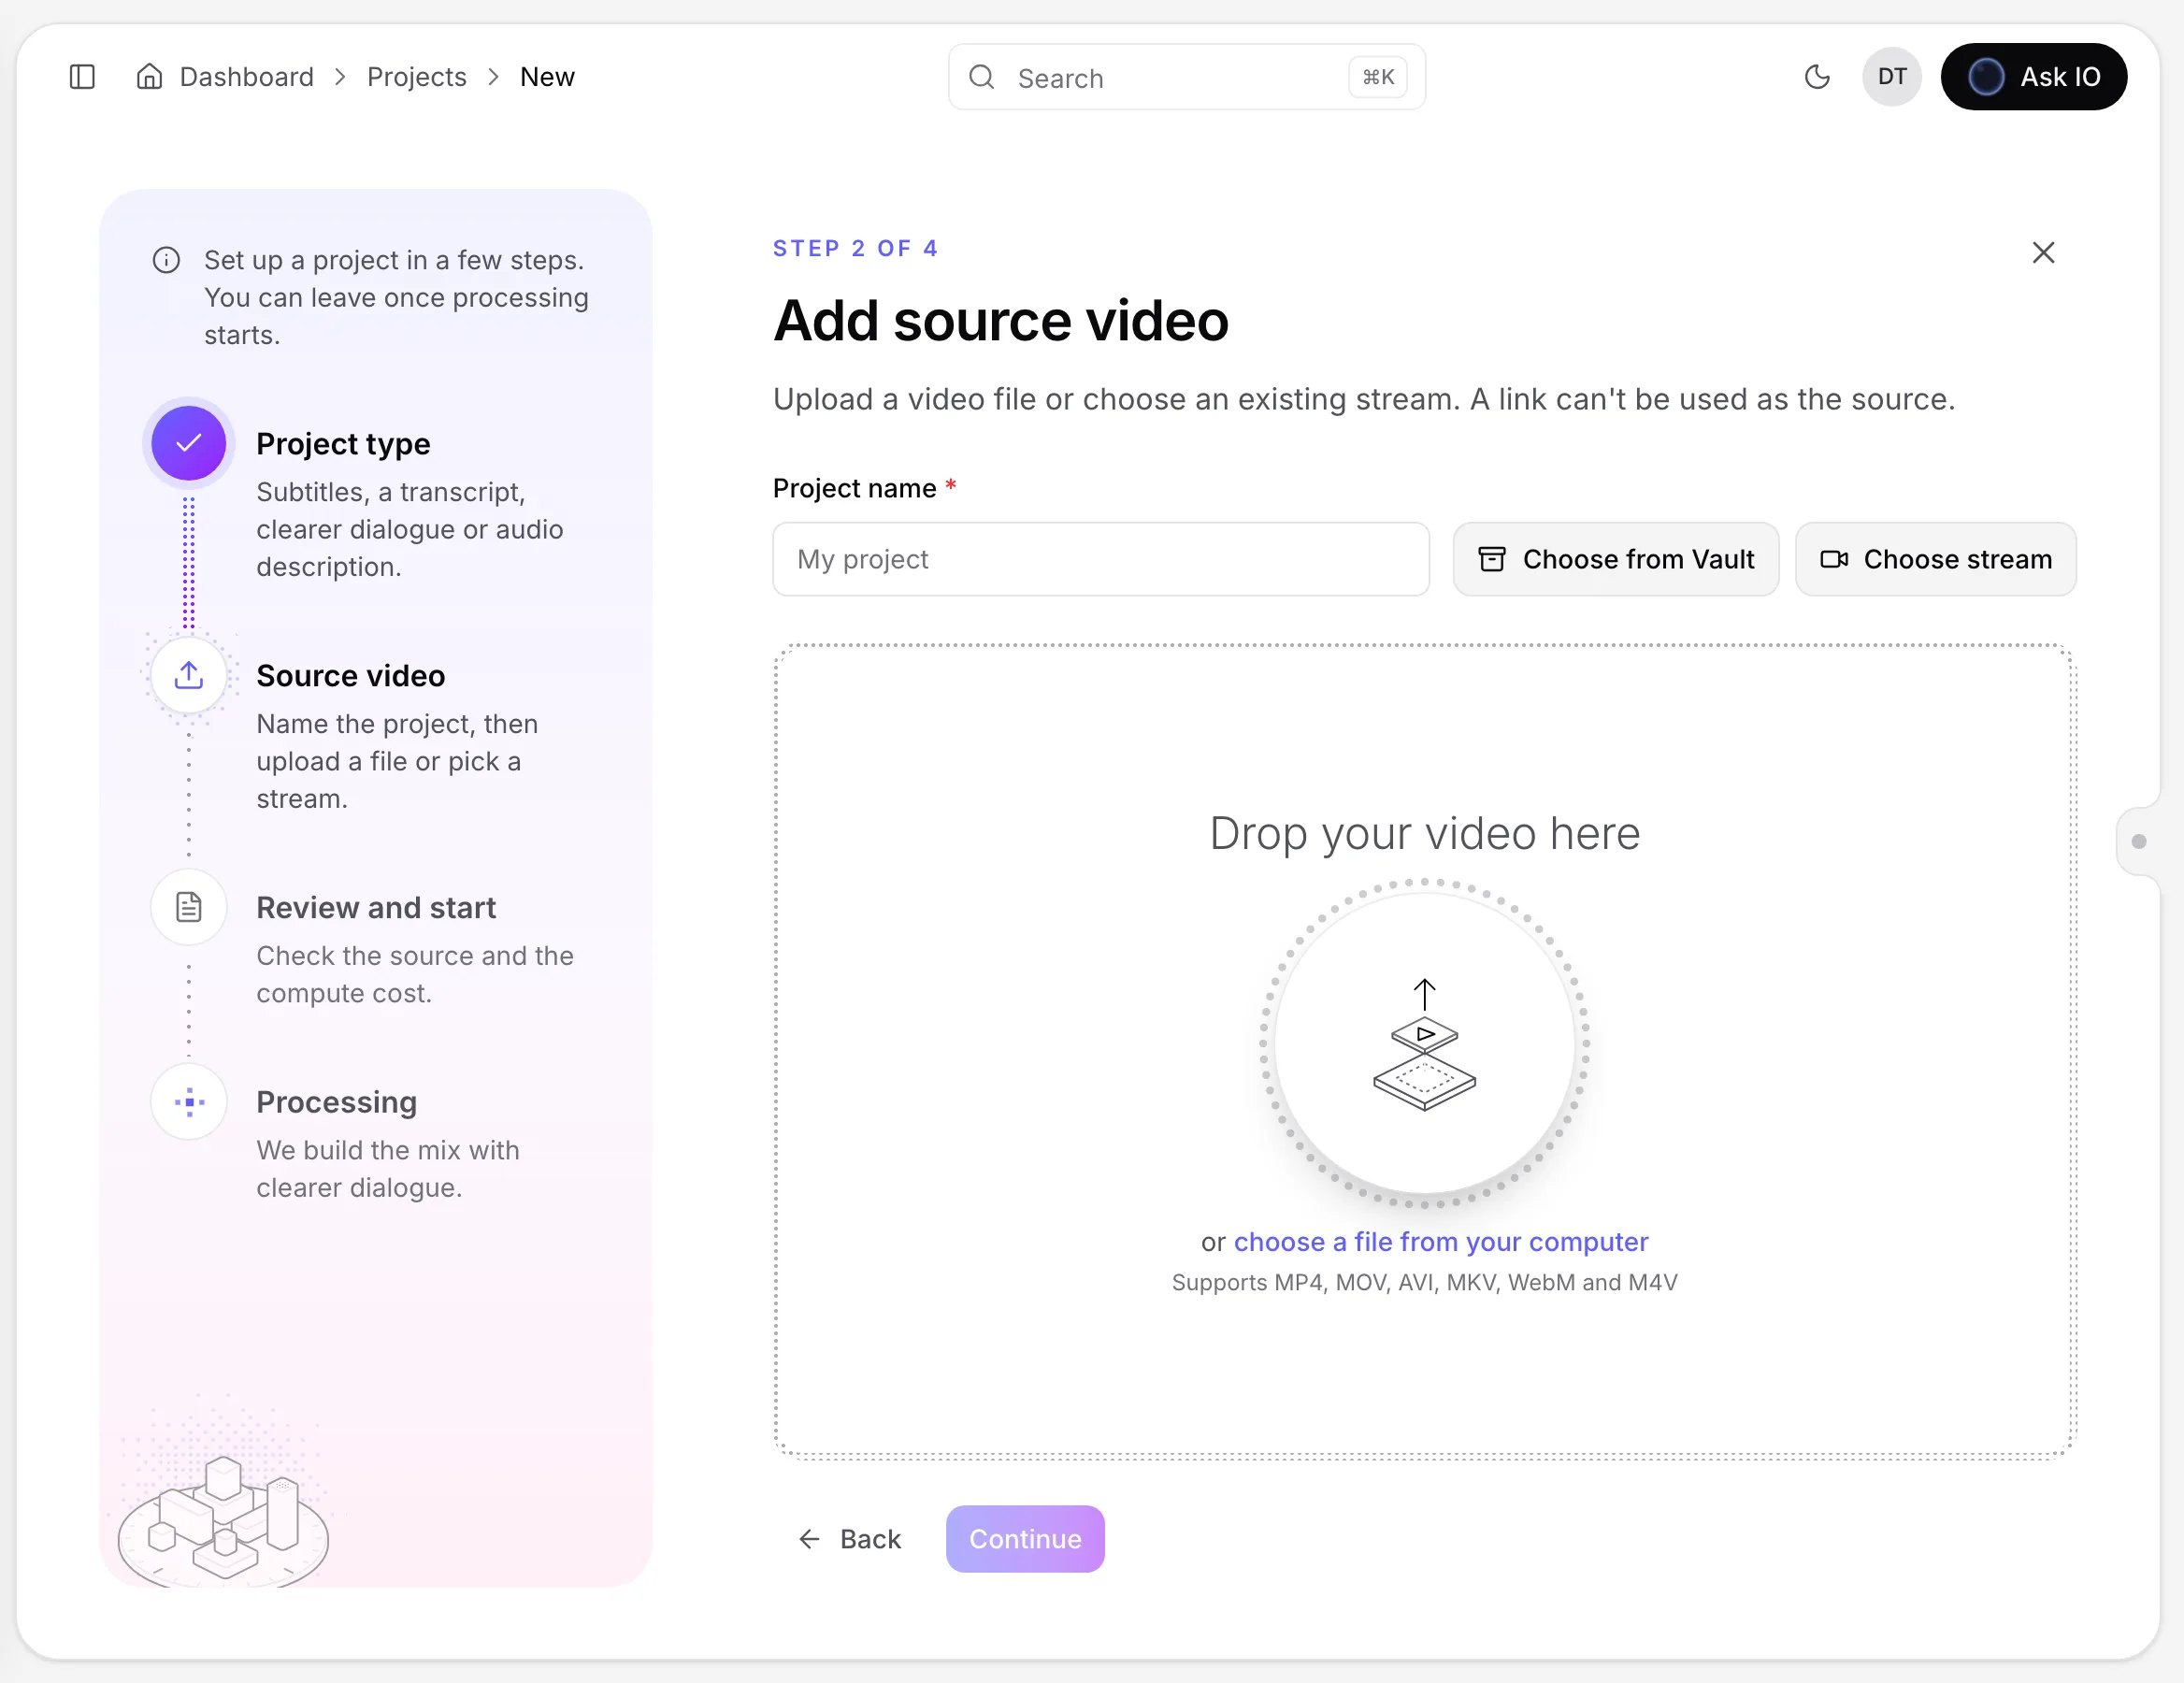
- Add the source video. Depending on the project type, you can upload a file, choose a stream, or choose a file from Vault. Audio Description projects do not support video links.
- Complete the remaining steps:
- Subtitles and Transcription: choose languages, optionally add context such as text, documents, a supporting web page, or an IMDb title, then review the runtime and estimated cost.
- HoH Audio and Audio Description: review the runtime and estimated cost. For Audio Description, choose which audio track the narration should be mixed under when the video has multiple audio tracks.
- Check your compute-credit balance and select Start. If your balance is insufficient, you can pay for the missing credits for that job or buy a credit package.
The available project cards and actions depend on your permissions. Starting from Vault also requires permission to view Vault and permission to create the selected project type.
While the project processes
The wizard shows progress for the selected project type. You can leave the page and later find the project in Projects. When processing finishes, the project opens in its relevant workspace or review page. If processing fails, open the project for details.
Which languages does EYZFlow Sign support for subtitles, transcription, and closed captions?
EYZFlow Sign supports 29 languages for subtitles, transcripts, and closed captions:
- English
- Dutch
- German
- French
- Spanish
- Italian
- Portuguese
- Polish
- Russian
- Ukrainian
- Swedish
- Danish
- Norwegian
- Finnish
- Czech
- Slovak
- Hungarian
- Romanian
- Greek
- Turkish
- Arabic
- Hebrew
- Hindi
- Japanese
- Korean
- Chinese
- Indonesian
- Thai
- Vietnamese
Each language can be used as the video's spoken source language, a subtitle target language, or a closed-caption language. In a project, choose one source language, one or more target languages, and—if needed—one or more closed-caption languages. A target language matching the source produces a transcript; a different target language produces translated subtitles.
How are subtitle cues checked against a project's rule set, and what happens when cues exceed the limits?
Each subtitle project uses a subtitle rule set that defines limits such as characters per line, number of lines, reading speed, subtitle duration, gaps between subtitles, and frame rate. The project keeps a copy of the selected rules, and language-specific overrides can apply to tracks in that language.
In the subtitle workspace, the cue list identifies the rule set used by the track. Reading speed is shown in characters per second and turns red when it exceeds the allowed limit. Other violations appear as notes beneath the cue, such as too many characters or lines, a duration outside the allowed range, an insufficient gap, or an overlap with the next subtitle. These notices update as you edit text or timing.
Saving does not block cues that break the rules. The workspace saves the changes and reports how many subtitles still violate the rule set, so you can correct them during review.
How do I create and manage subtitle rule sets, including language overrides, defaults, built-in sets, and project-specific choices?
Subtitle rule sets define the limits used to create and review subtitles, including text length, line count, reading speed, subtitle duration, gaps between subtitles, and frame rate. A project keeps a copy of the selected rules, so later changes to a rule set do not change projects that already use it.
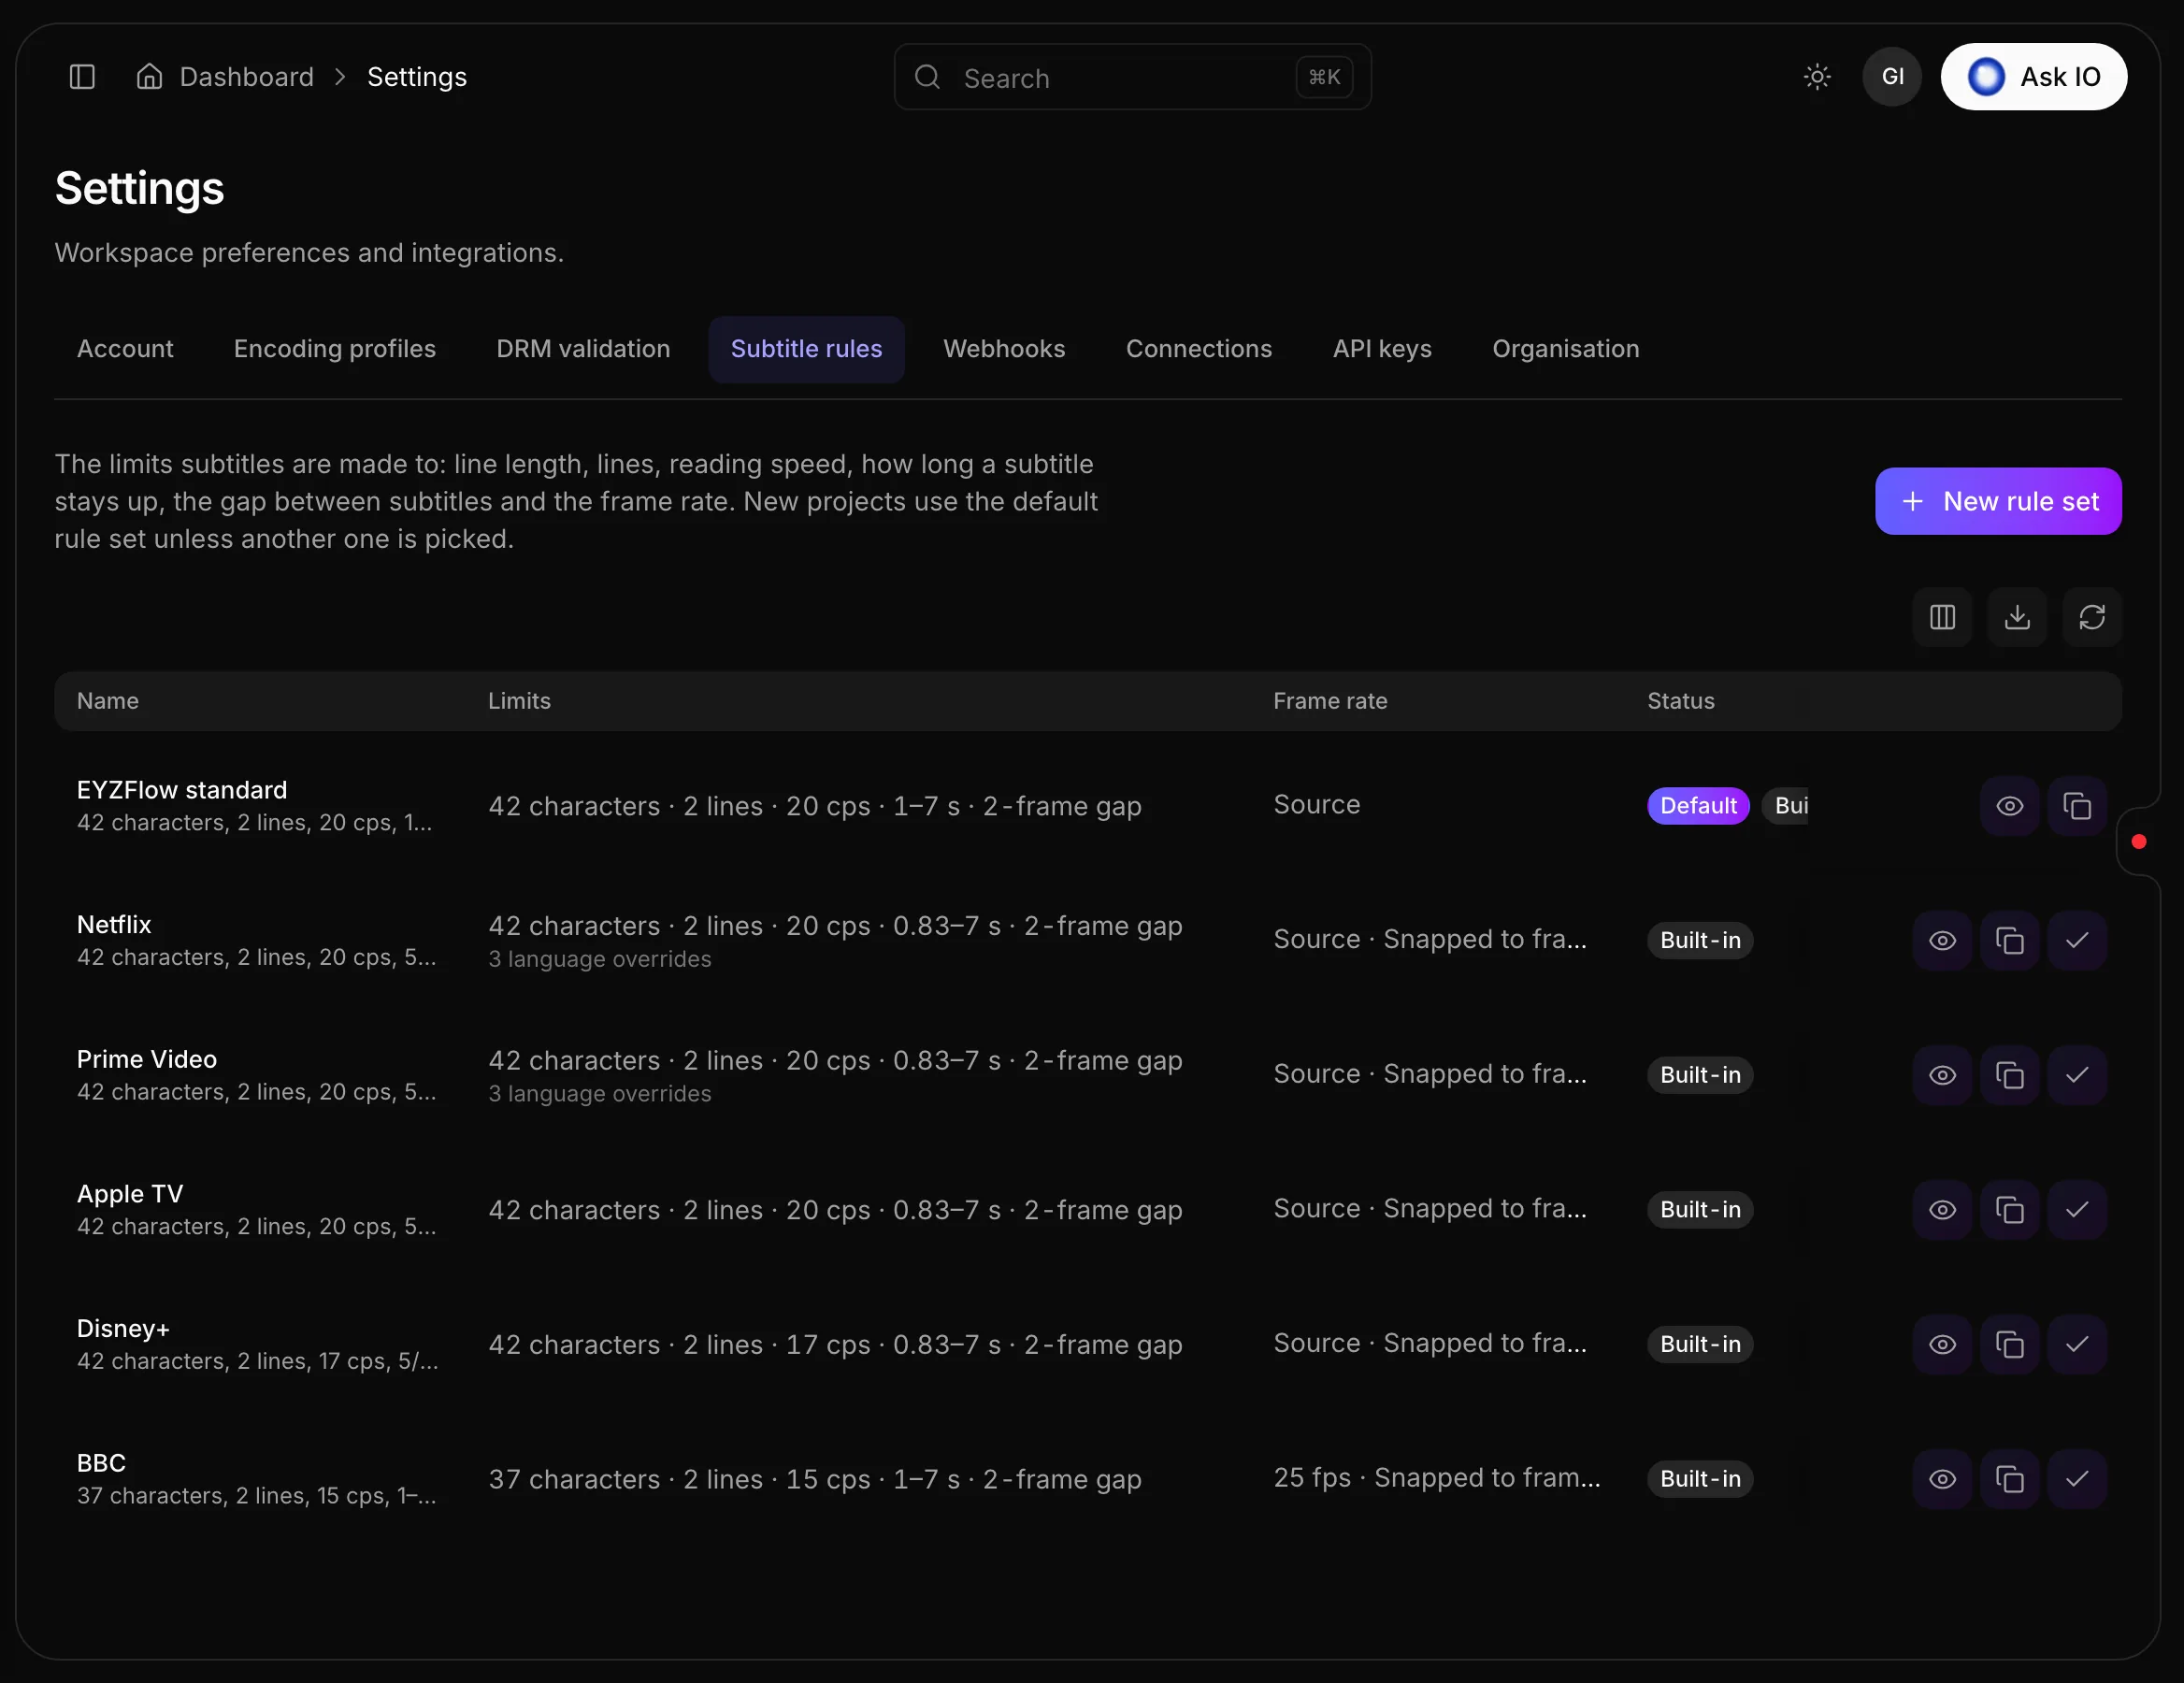
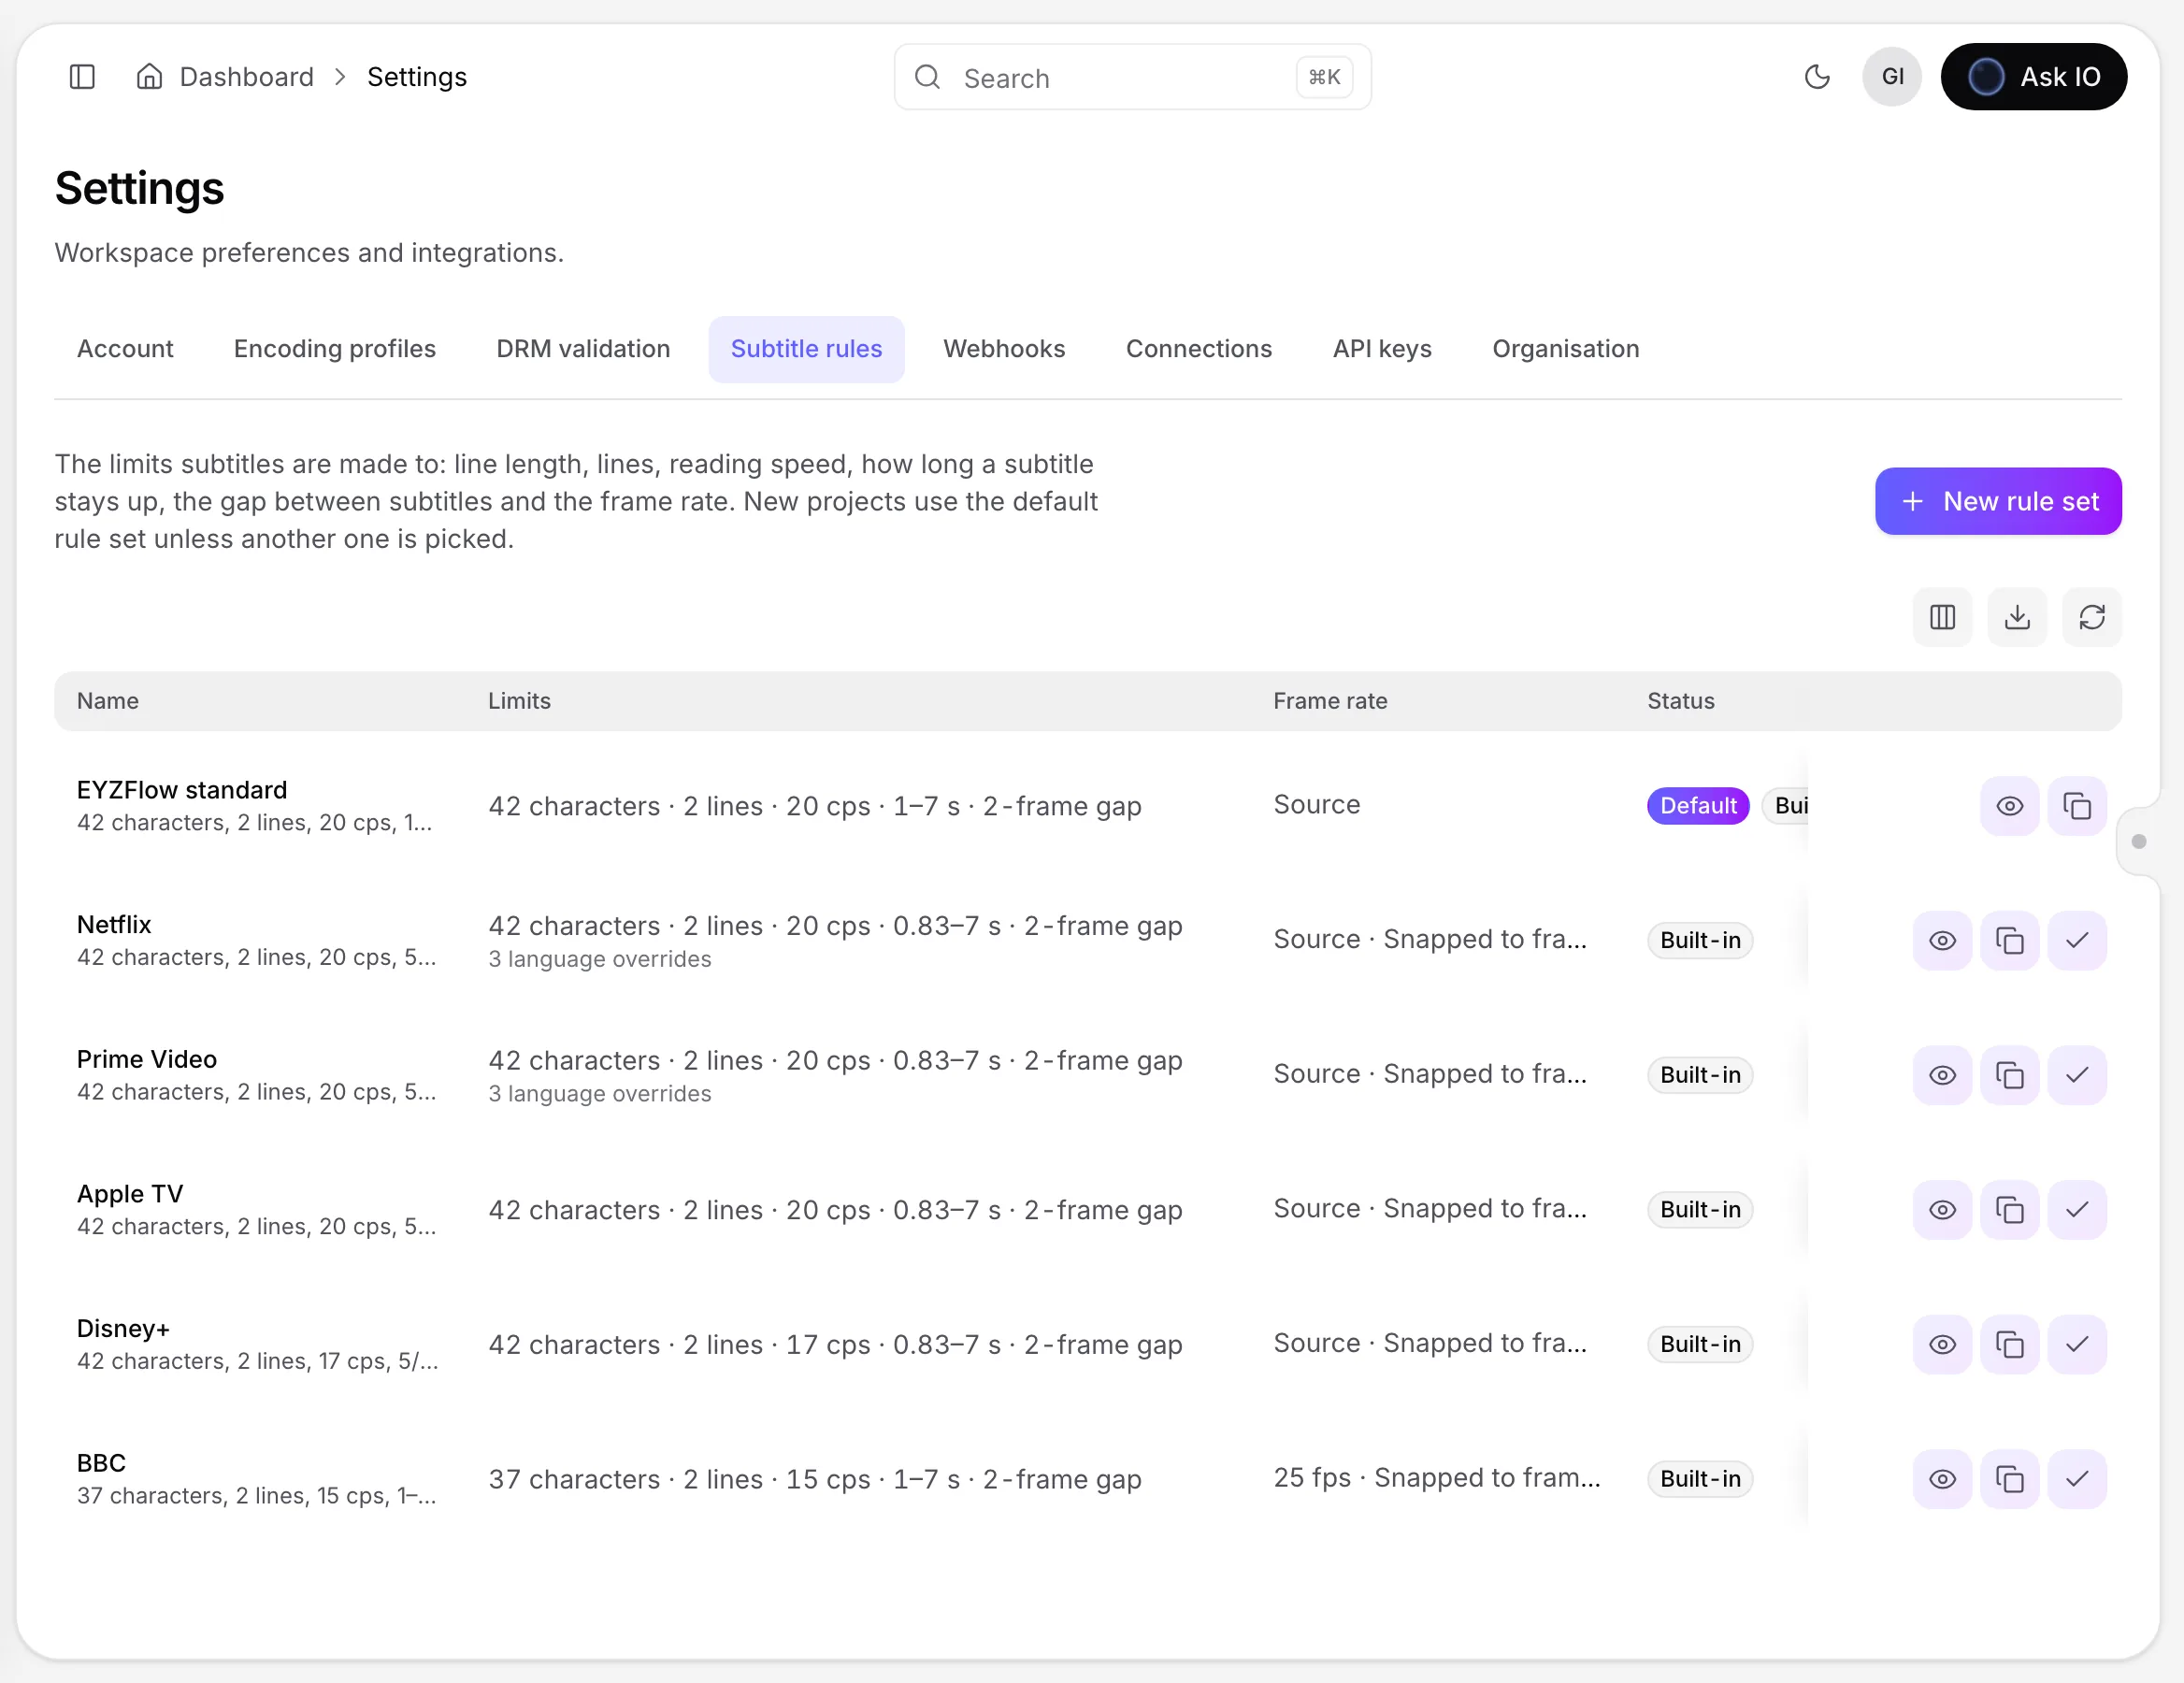
Open subtitle rules
- Open Settings.
- Select Subtitle rules.
You can view rule sets with the permission to view subtitle projects. Managing them requires Manage Subtitle Rules. Without that permission, rule sets are read-only.
Create a rule set
- Select New rule set, or choose Duplicate on an existing rule set.
- Enter a required name and, optionally, a description.
- For a new rule set, choose a built-in set under Start from if you want to use it as a starting point.
- Set the text and timing limits.
- To customize limits for a language, select Add language, enter its language code, and set the values that should differ.
- Select Save rule set.
A language override can specify its own characters per line, number of lines, reading speed, and shortest subtitle duration. Leaving an override field empty keeps the rule set's general value.
The available limits include:
- Characters per line: 8–80
- Lines: 1–3
- Reading speed: 3–40 characters per second
- Shortest subtitle: 0.2–20 seconds
- Longest subtitle: 0.5–20 seconds
- Gap between subtitles: 0–12 frames
- Frame rate: the video's own rate or a fixed rate of 23.976, 24, 25, 29.97, 30, 50, 59.94, or 60 fps
- Optional snapping of subtitle times to frames or nearby shot changes
The shortest duration must be less than the longest duration. Values outside the supported ranges are rejected.
Use built-in rule sets
Built-in sets include EYZFlow standard, Netflix, Prime Video, Apple TV, Disney+, and BBC. They cannot be edited or deleted. To customize one, duplicate it and edit the copy. A built-in set can still be selected as the default.
Edit, delete, or set the default
For an organisation-owned rule set, select Edit, change its values, and save. Existing projects keep the rules they had when they were created.
To remove an organisation-owned rule set, select Delete and confirm. The default rule set and built-in sets cannot be deleted.
To choose the set used automatically for new projects, select Make default. Both built-in and organisation-owned sets can be the default.
Choose rules for a project
During the Language settings step of a new Subtitles or Transcription project, the Subtitle rules selector starts with the organisation's default. Choose another set when the project needs different limits. The selector displays the chosen set's limits and frame rate.
HoH Audio and Audio Description projects do not use subtitle rule sets.
Review subtitles against the rules
The subtitle workspace identifies the rule set used by the track. It reports issues such as excessive characters, too many lines, reading speed above the limit, subtitle durations outside the allowed range, insufficient gaps, or overlapping subtitles. Language overrides apply to tracks in the corresponding language.
Rule violations are shown as you edit, but saving does not refuse cues that break the rules. After saving, the workspace reports how many subtitles still violate the selected rule set.
How can I compare subtitle tracks and copy feedback between versions?
On the Project review page:
- Select the track you want to review.
- Open Compare with and choose another track. This option appears when the project has more than one track. The two tracks play side by side on the same timeline, with Current on the left and the comparison track on the right.
- If the comparison track has feedback, use the arrows beside its name to move between cues with feedback.
- If a cue has feedback on the comparison track but not on the current track, click Copy to copy that feedback to the current cue.
- Choose None to stop comparing.
Comparing is useful after Reprocess, which creates a new track while keeping the existing track available.
How do I review and approve subtitle cues?
You can review a subtitle track in the subtitle workspace and use Project review for written feedback or comparison with another version.
Approve or flag cues
- Open the project from Projects and select the subtitle track.
- For each cue, select Approve when it is correct or Flag when it needs work. Select the same control again to clear the mark.
- Select Save changes. Approval and flag marks are saved with the open track.
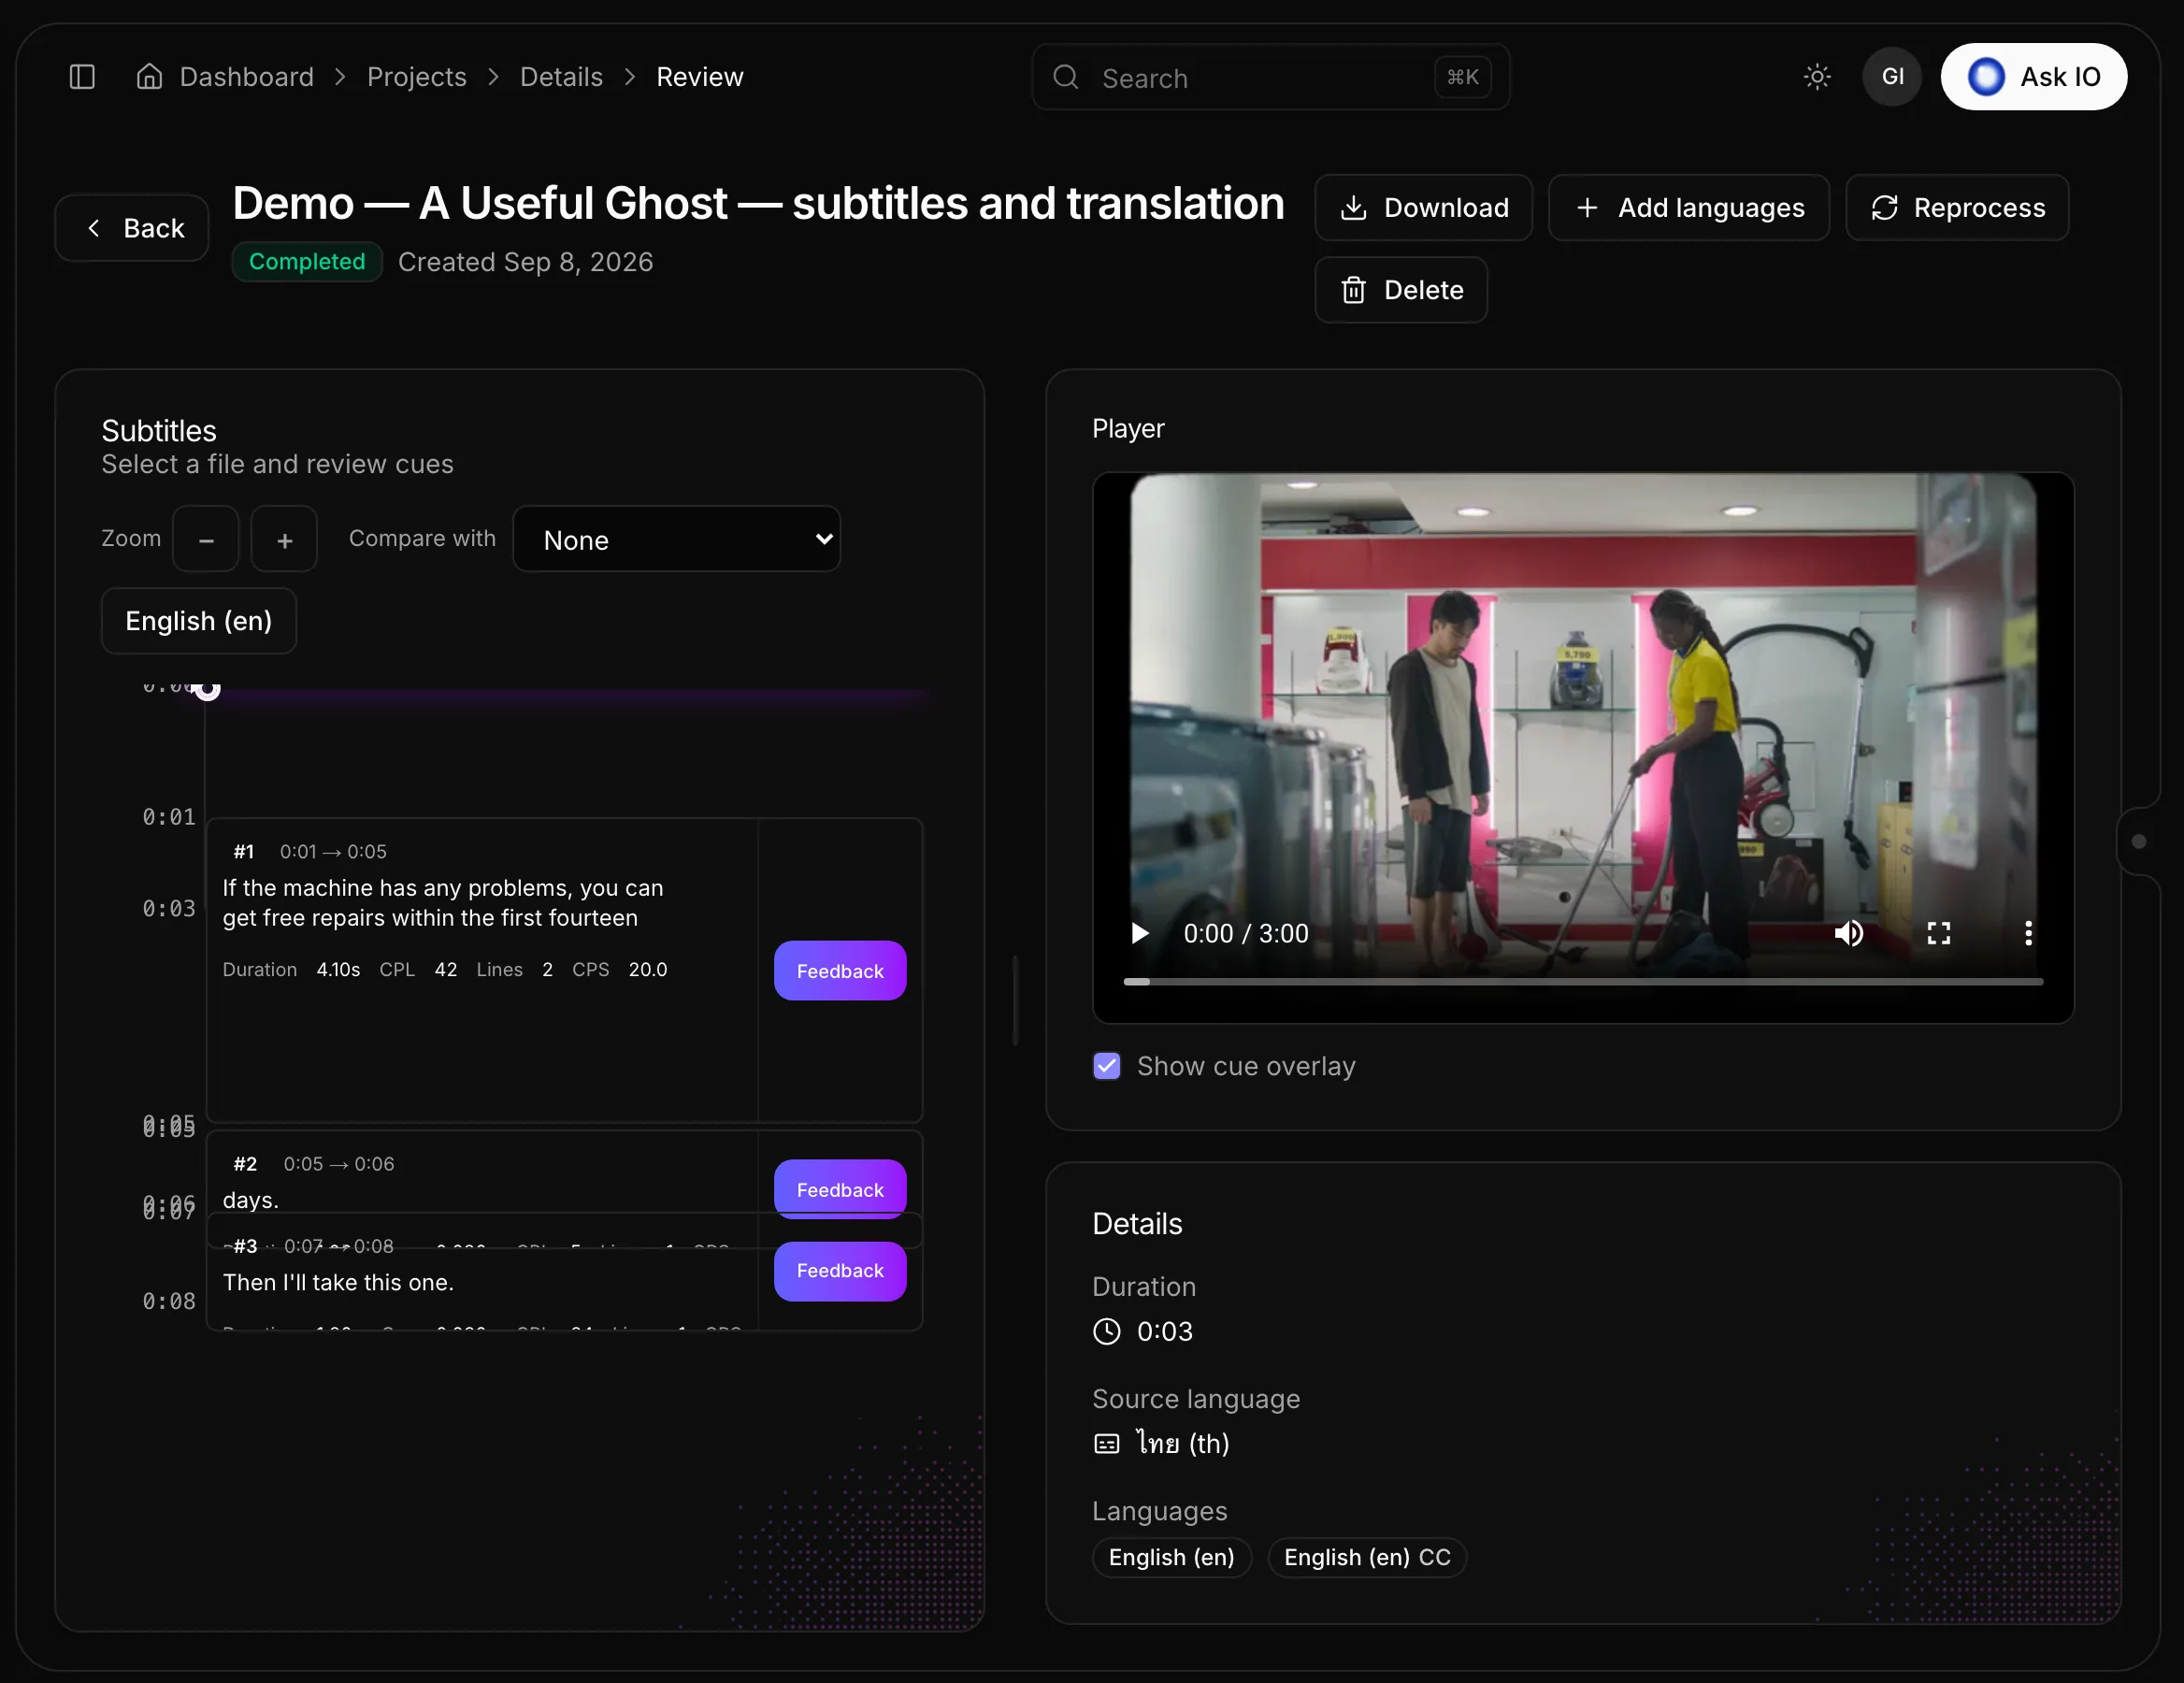
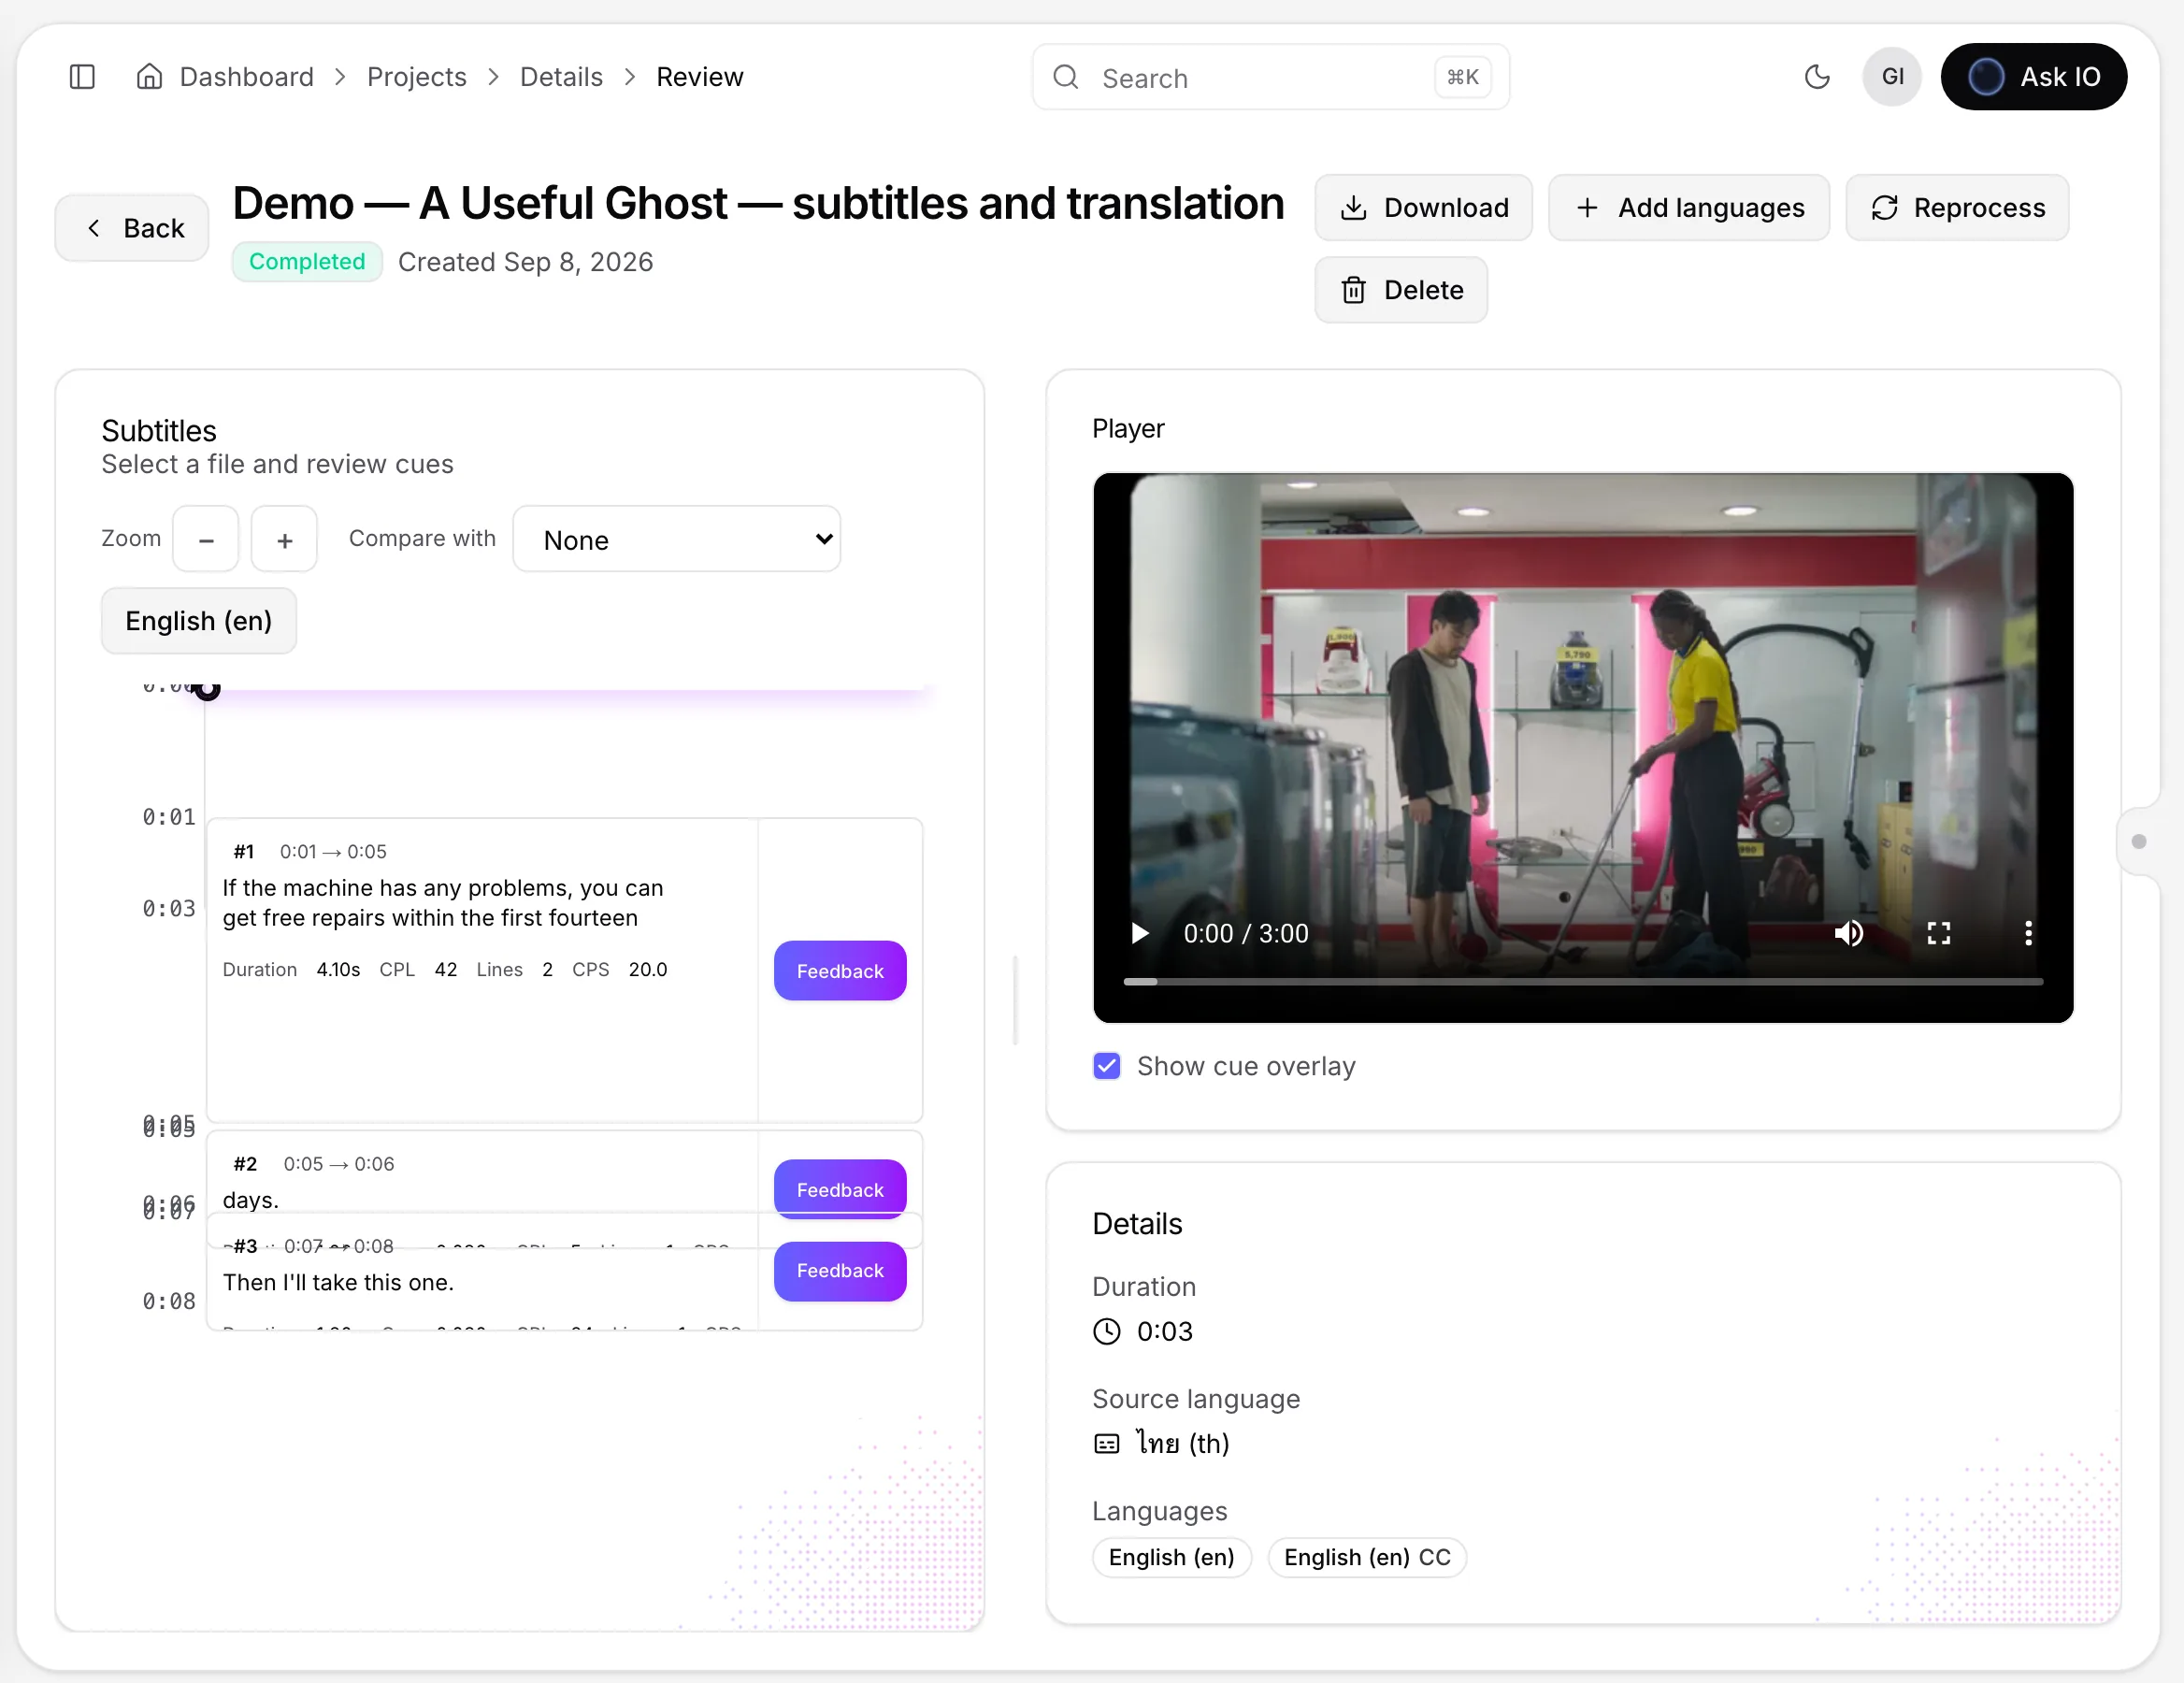
The workspace header shows the number of approved, flagged, and still-open cues. On wide screens, the Approved cues bar also shows review progress.
You need Edit Subtitles permission to approve or flag cues. Without it, you can see the approval status but not change it.
Leave feedback
To add written feedback, select Review in the workspace header, choose the track, find the cue, and select Feedback. Choose a feedback type—Time, Format, or Text—write a comment, and select Submit. Reviewers can read existing feedback and add more entries.
There is no separate request-changes step: flag the cue and leave feedback, then an editor corrects it in the workspace.
Compare versions
On the Project review page, choose another track under Compare with. The tracks play side by side on the same timeline. If the other track has feedback that the current track does not, Copy can copy that feedback to the current cue.
How do I edit subtitle text, timing, and cues, and save my changes?
Open the project from Projects to enter its subtitle workspace. You need the Edit Subtitles permission to make changes; without it, the workspace is read-only.
Edit subtitle text
- Select a cue in the subtitle list.
- Double-click its text or press Enter.
- Edit the text. Use a line break to create a second line.
- Press Esc, press ⌘/Ctrl+Enter, or click elsewhere to finish.
Change timing
Select a cue and use one of these methods:
- Click In −0.1s, In +0.1s, Out −0.1s, or Out +0.1s.
- Drag the cue’s in and out grips on the timeline.
- Use Shift+←/→ to move the whole cue by 0.1 seconds, or Alt+←/→ to change its out point.
Every cue must have an out-point after its in-point, or saving is refused.
Add or delete a cue
To add a cue, select the cue it should follow and click Add cue, or press N. The new empty cue is placed in the gap before the next cue and opens for typing. On an empty track, it becomes the first cue; set its timing on the timeline.
To delete a cue, select it and click Delete cue, or press Delete or Backspace.
Save your changes
Click Save changes in the workspace header, or press ⌘/Ctrl+S. Saving stores the text, timing, and approval or flag status for the open track.
Save before switching tracks or leaving the page. If you have unsaved changes, switching tracks or closing or reloading the browser tab asks whether to discard them. The workspace also shows notes when cues exceed the project’s subtitle rules; these notes update as you edit, but rule violations do not prevent saving.
How do I reprocess a subtitle track, and what happens to the existing track?
To reprocess a subtitle track, open the subtitle workspace and choose More actions > Reprocess, or choose Reprocess on the Project review page. For a failed project, Retry in the Projects list performs the same action.
Confirm the action, then choose whether to include caption tracks and which caption languages, or choose Don't include. Select Continue.
Reprocessing creates a new subtitle track using the updated pipeline. Existing subtitle files remain unchanged, so you can compare the new track with the previous one on the Project review page. Reprocessing is unavailable while the project is processing and requires Edit Subtitles permission.
How can multiple reviewers work on the same subtitle project, and what happens if someone saves changes first?
Several people can review the same subtitle project, but they should take turns editing a track because there is no live collaborative editing or track locking.
- Anyone who can open the project can leave feedback on cues and read existing feedback.
- People with Edit Subtitles permission can edit cues and approve or flag them in the subtitle workspace.
- Feedback is associated with its cue and includes the feedback type and comment. Reviewers can also work by language because each track saves separately.
If someone saves the same track after you opened it, your save is refused and none of your changes are written. Choose Load their version to view the latest saved version, or choose Download my version (SRT) to keep your edits in a file so you can apply them again. To avoid conflicts, work one after another or divide work by language.
For a formal approval process, use a workflow: a review step asks selected people to review, and the Review subtitles action records an approval or rejection with a note.
How do I create a subtitle or transcription project and add subtitle or closed-caption languages?
Create a project
- Open Projects and select Add new.
- Choose Subtitles or Transcription.
- Enter a project name and add exactly one source: upload a video file, choose a stream, or select a video from the Vault.
- If the source has multiple audio tracks, select the track to use. For subtitles and transcription, choose the original-language track unless you are creating captions for a dubbed track.
- Continue to Language settings.
You need the Projects module on your organisation's plan and Edit Subtitles permission to create subtitle or transcription projects. The project also requires enough compute credits to cover its estimated cost.
Choose subtitle or transcript languages
In Language settings:
- Select the Source language—the language spoken in the video.
- Select one or more Target languages. A target matching the source language produces a transcript; a different target produces translated subtitles.
- Optionally enable Closed captions (CC) and select one or more CC languages. You must select at least one CC language when CC is enabled.
- Review the subtitle rules, estimated cost, and available balance.
The source, target, and CC selections use the same set of 29 supported languages.
Add optional context, such as a synopsis, script, supporting files, or a web page, then select Start. The project is processed and its tracks become available in the subtitle workspace when complete.
Add languages after the project is complete
After a subtitle project reaches Completed status:
- Open it from Projects.
- In the subtitle workspace, open the track selector and choose Add a language. You can also choose Add languages on the Project review page.
- Select additional Dialogue languages for subtitles and/or CC languages for closed captions. Languages that already have a track are not offered.
- Select Add.
Adding languages requires Edit Subtitles permission and is unavailable while the project is processing.
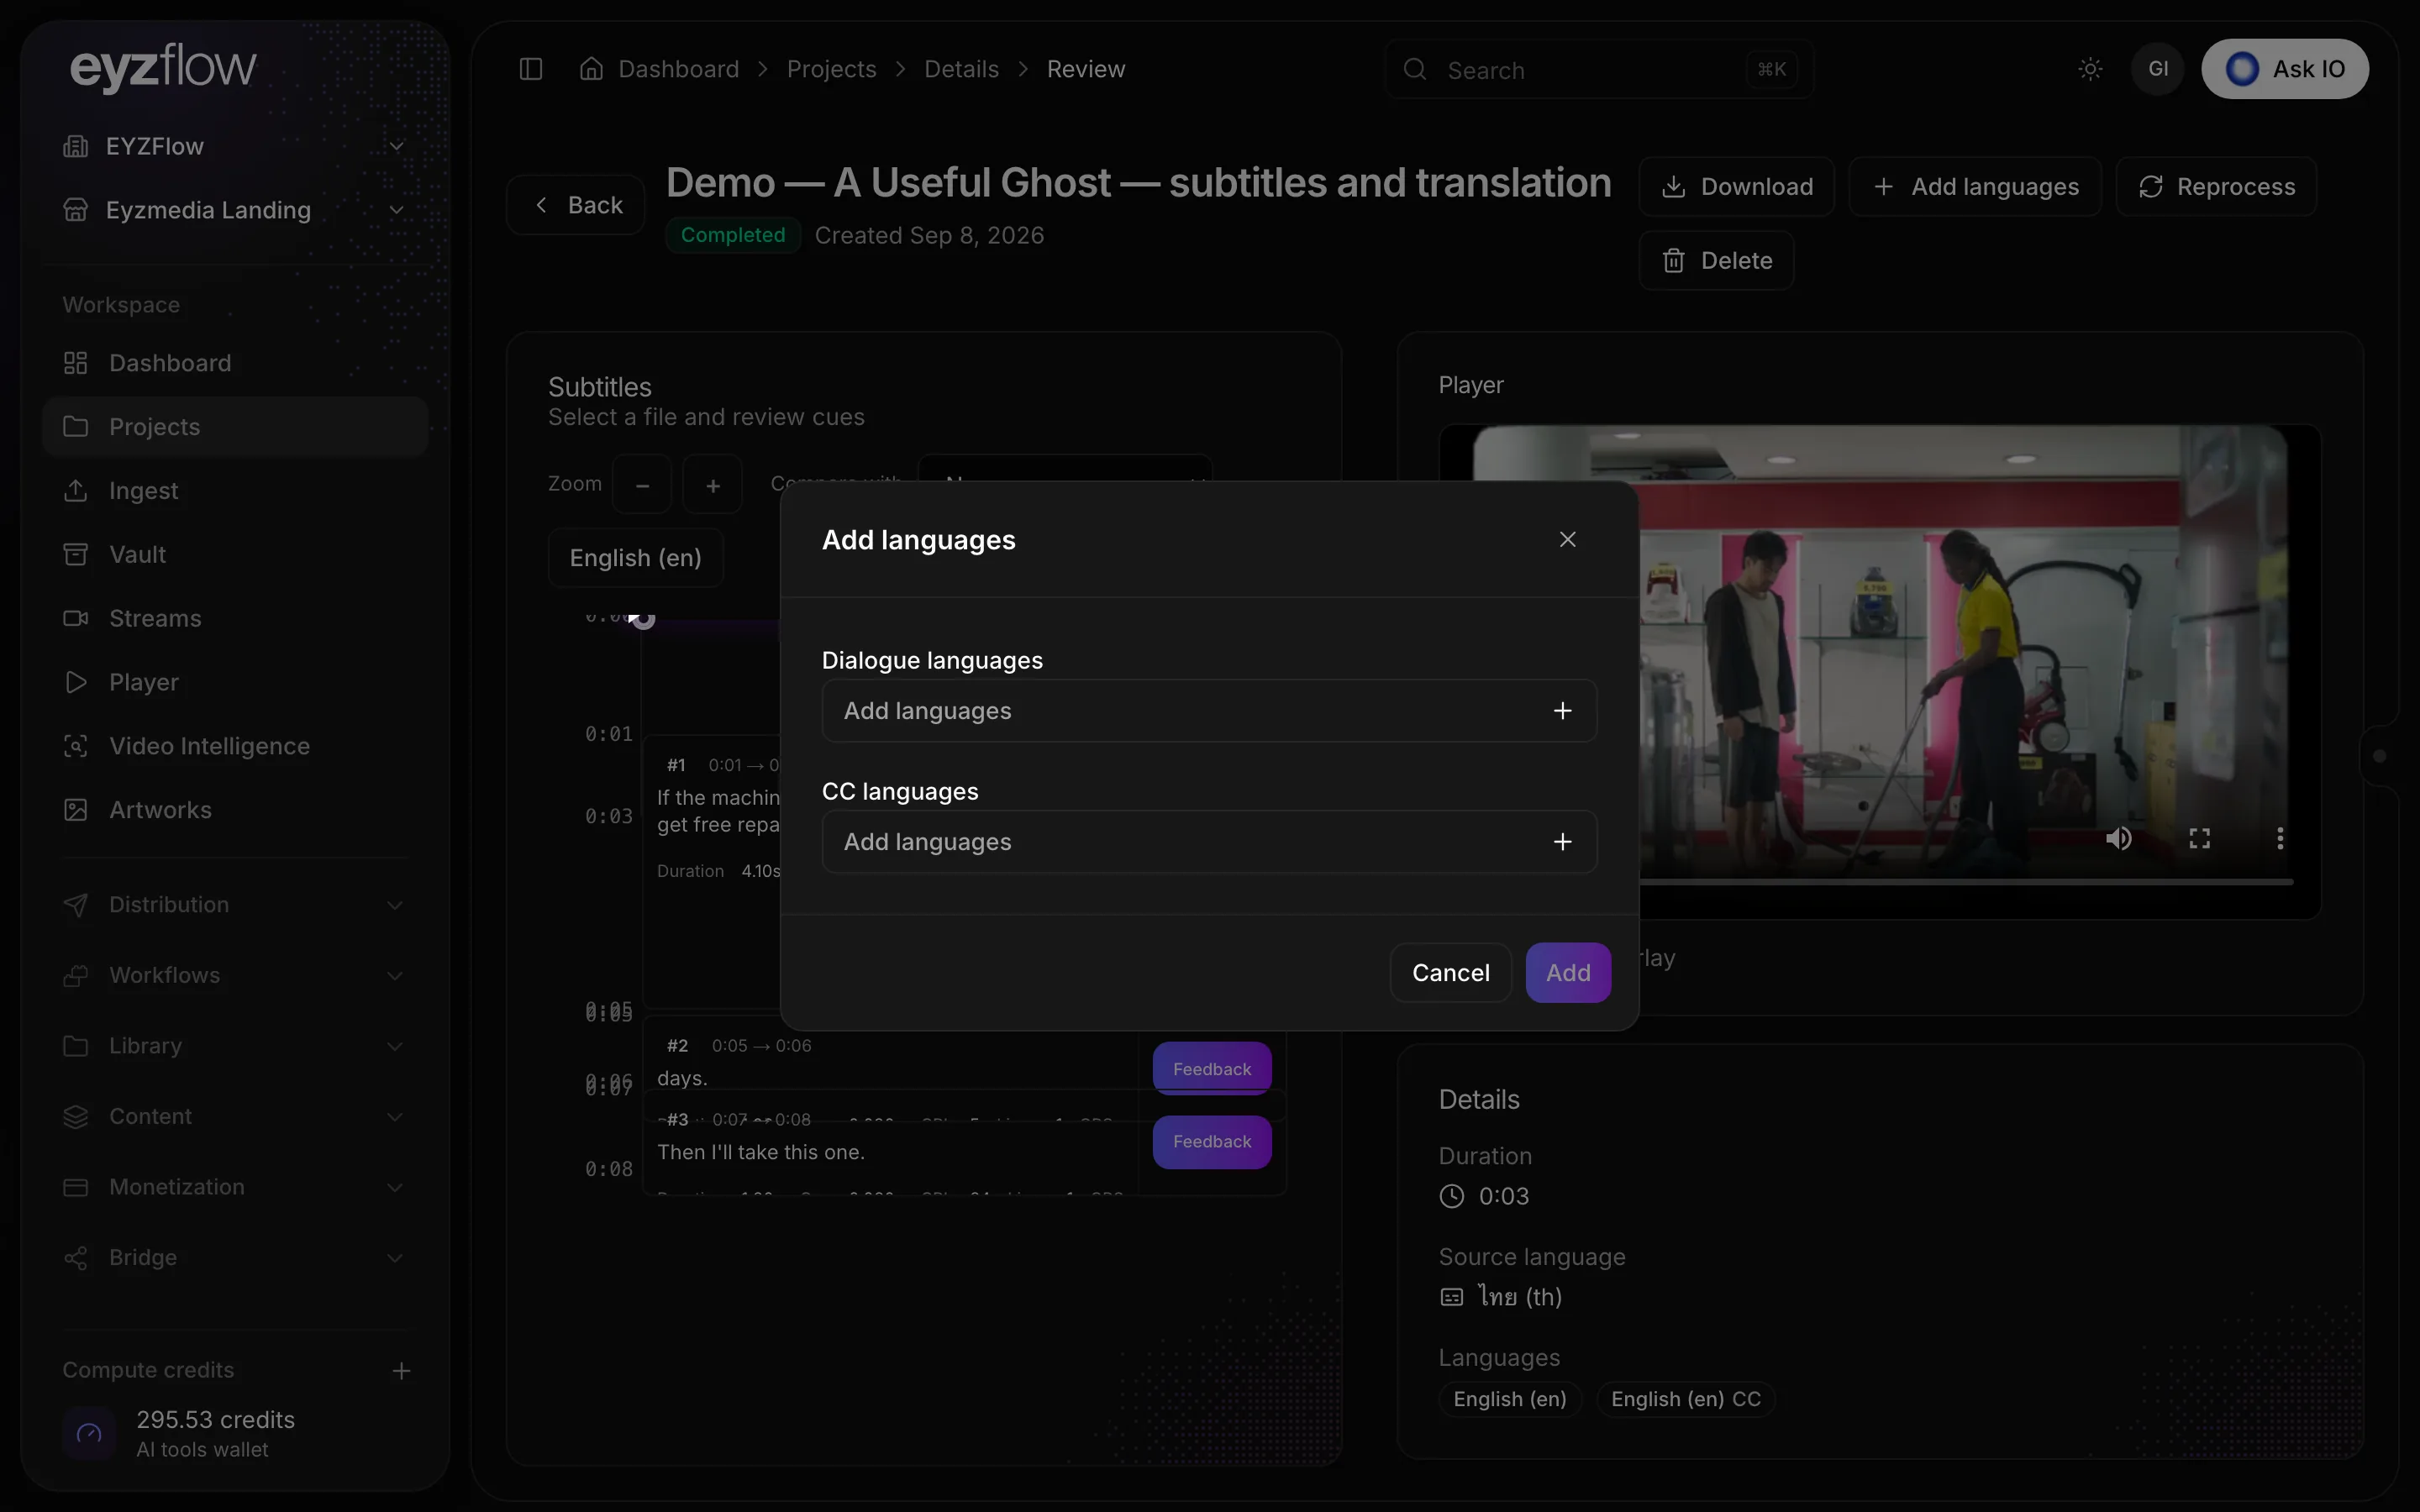
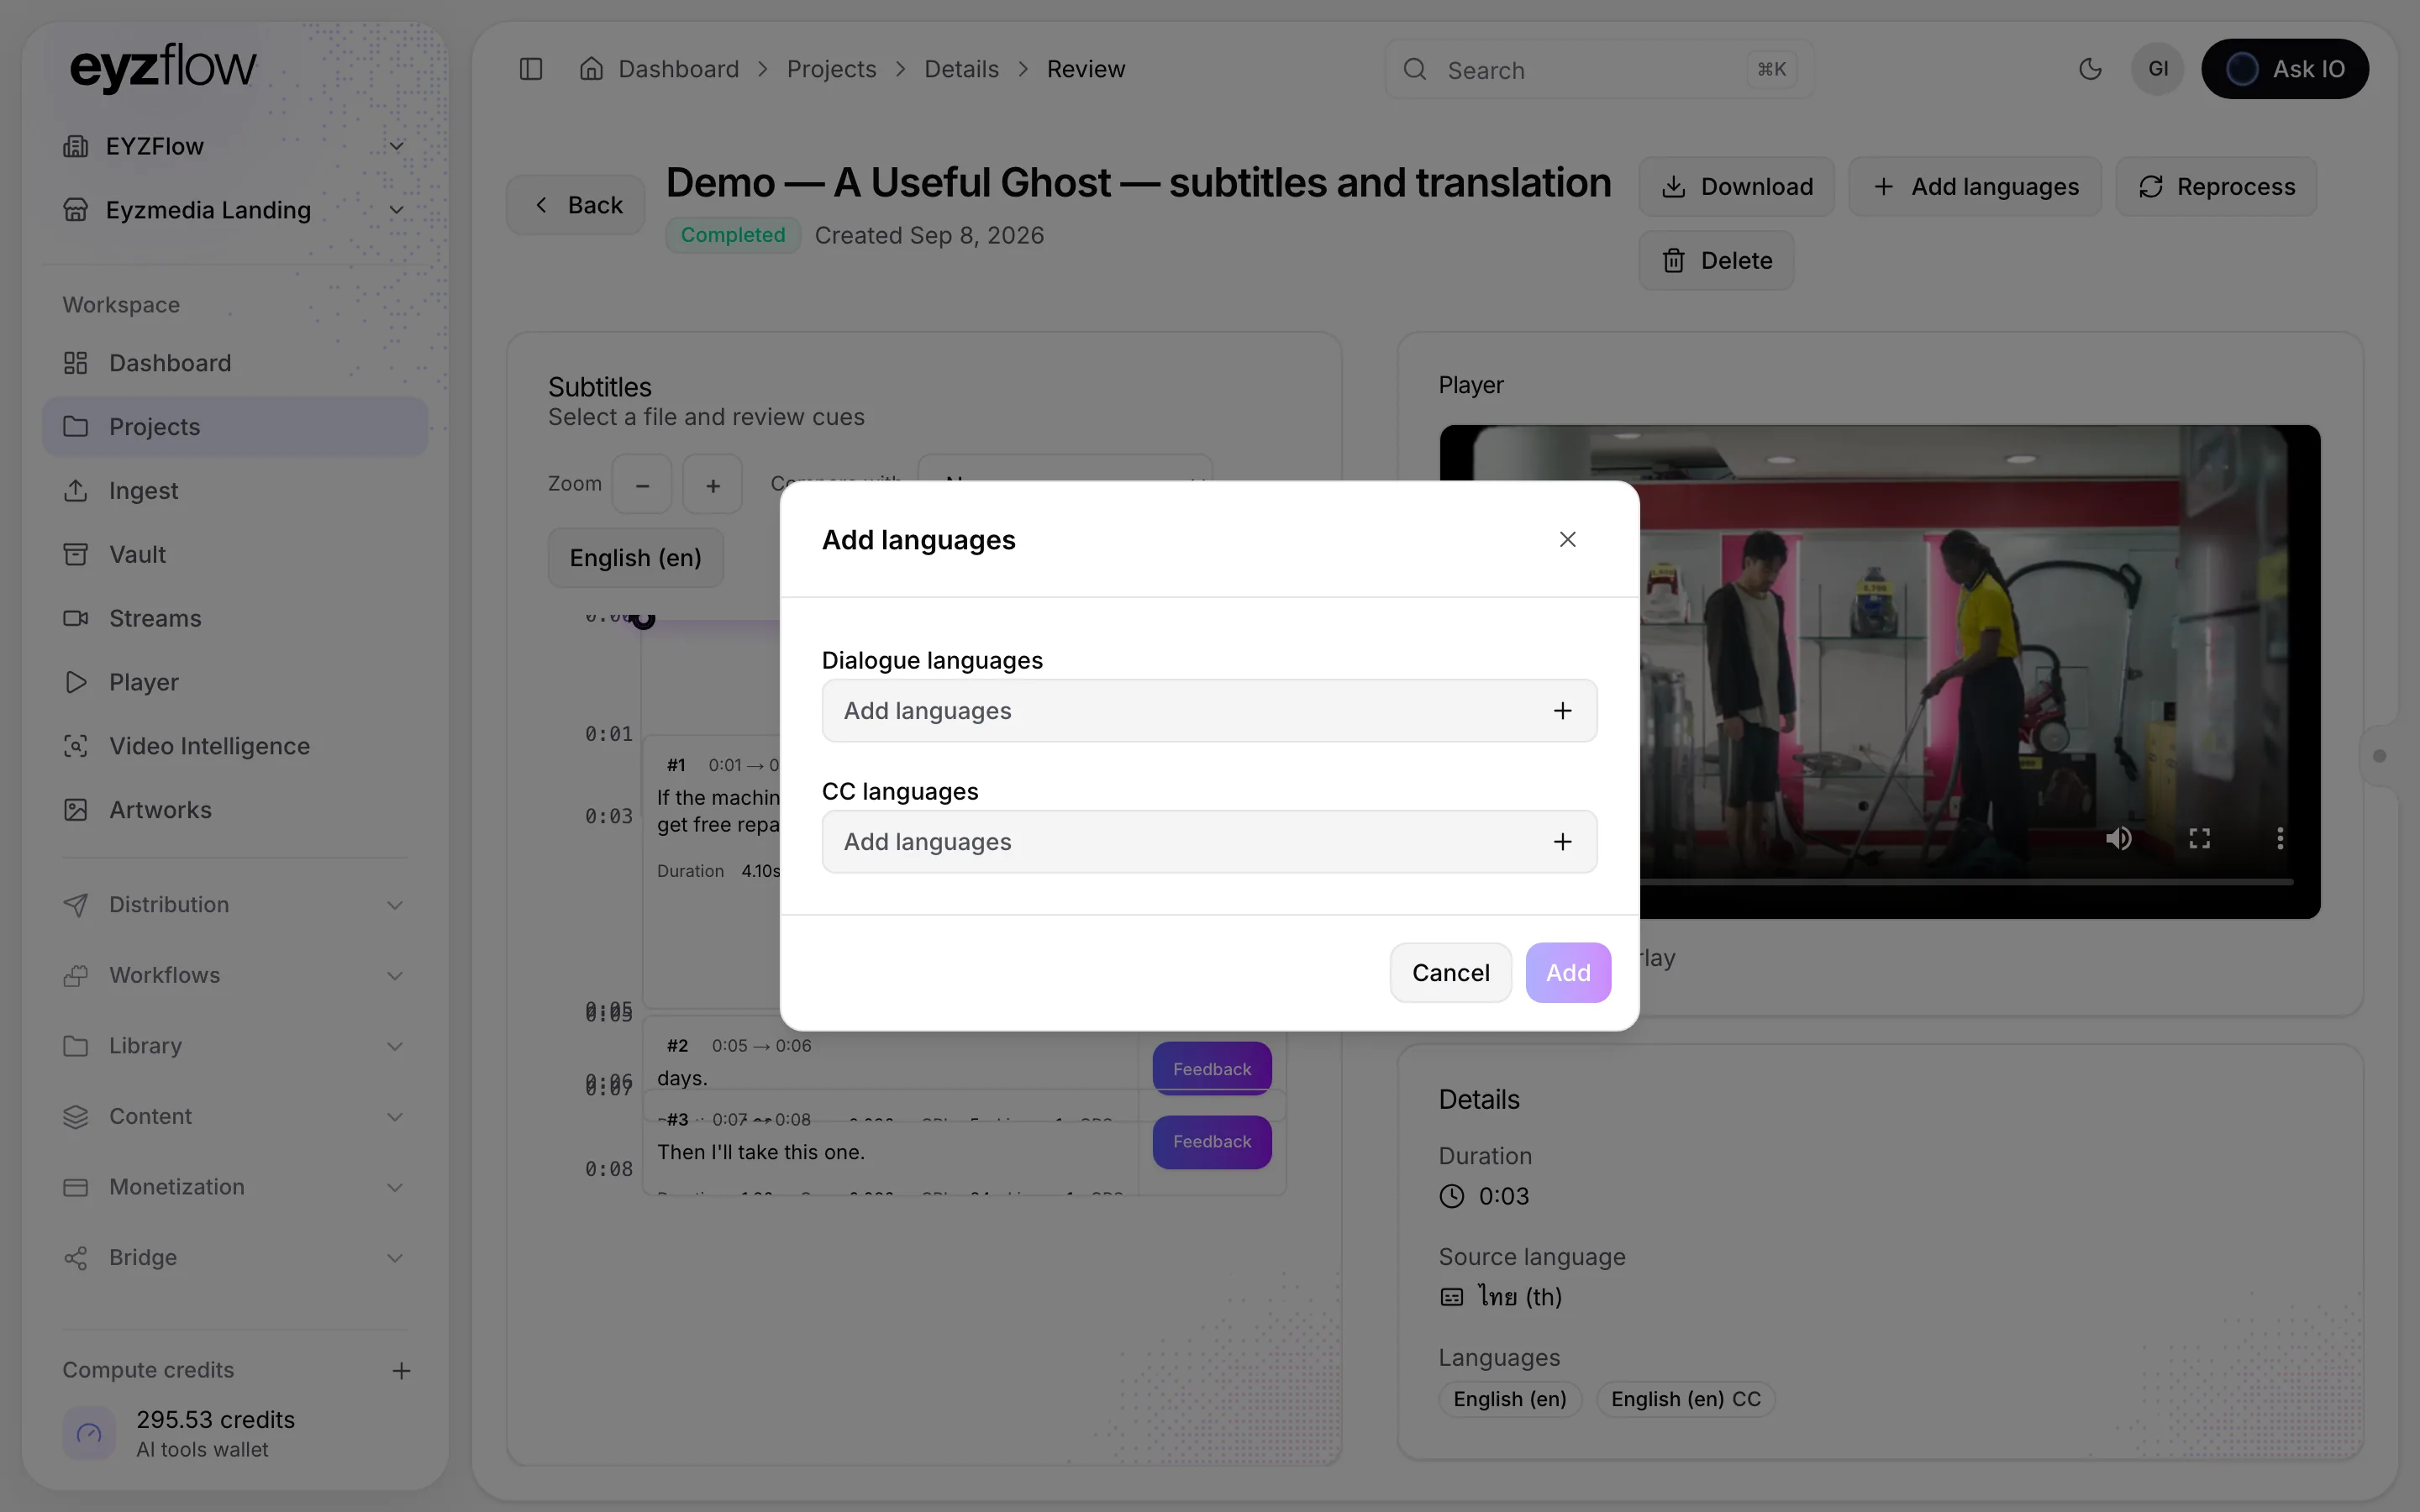
Each selected CC language creates a separate caption track. Caption tracks can be edited like subtitle tracks and downloaded as SRT files.
How do I edit, review, export, reprocess, or delete subtitle and closed-caption tracks?
Open the project from Projects and use its subtitle workspace to edit and review tracks. The workspace lets you select a subtitle or caption track, edit cue text, change timing, add or delete cues, approve or flag cues, and save your changes. Caption tracks are marked CC and are edited in the same way as subtitle tracks.
To edit, add, delete, approve, flag, save, add languages, reprocess, or delete a project, you need Edit Subtitles permission. Without it, the workspace is read-only, although you can play the video, read cues, and export them.
Use the Review page to inspect all tracks, compare tracks, review feedback, and download files. Projects export subtitle and caption tracks as SRT files. The workspace's Export SRT action exports the currently open track, including unsaved edits; the review page exports saved tracks. Caption exports include .cc in the filename. Stream caption tracks can also be downloaded as WebVTT.
To add languages, the project must be completed. Open Add a language from the track selector or Add languages from the review page, then choose available dialogue and/or CC languages. Each added CC language creates a caption track and increases the estimated project cost when added during project creation.
To reprocess a project, use More actions > Reprocess in the workspace or the equivalent action on the review page. Reprocessing creates a new subtitle track while keeping existing subtitle files. If the project has caption tracks, you can choose whether to include them. Reprocessing is unavailable while the project is processing.
To delete a project, choose More actions > Delete project in the workspace or Delete on the review page, then confirm. A project cannot be deleted while it is processing.
When reviewing, rule notes appear beneath cues for issues such as excessive reading speed, too many characters or lines, short duration, long duration, insufficient gaps, or overlaps. Saving does not block cues that violate the rule set; it reports the remaining issues after saving.
Existing subtitle files can be imported onto a stream in SRT, WebVTT, TTML, iTT, or DFXP format. Uploading requires Edit Streams permission.
What are the requirements, statuses, permissions, and limitations for subtitle and transcription projects?
Subtitle and transcription projects contain one video and timed tracks: one subtitle track per target language and one closed-caption track per CC language.
Requirements and access
- The Projects area requires the Projects module on your organisation’s plan.
- View Subtitle Projects lets you read projects, tracks, cues, and feedback, and add feedback to a cue.
- Edit Subtitles is required to create subtitle or transcription projects; edit, add, delete, approve, or flag cues; save changes; add languages; reprocess or retry a project; and delete a project.
- View Video Intelligence is required to see speaker, chapter, and scene-context information when a finished Video Intelligence analysis is available.
Without Edit Subtitles, the subtitle workspace is read-only. You can play the video, read cues, and export them, but editing controls and actions such as saving, adding cues, approving, flagging, deleting, reprocessing, and deleting the project are unavailable.
Project statuses
- Draft: The project is not processing and is not finished.
- Processing: The video is being analysed and tracks are being built. Tracks can appear as they are made.
- Completed: Tracks are available for editing, adding languages, and downloading.
- Failed: Processing stopped. You can open the project to see what happened or retry/reprocess it when permitted.
- Cancelled: The project has been cancelled.
After a project starts, the video is analysed and tracks are generated according to the project’s subtitle rule set. A completed project opens in the subtitle workspace, where cues can be reviewed and edited. The Project review page provides a project-wide view and export controls.
Limitations and workflow rules
- You can add dialogue or CC languages only after the project is completed, and only languages that do not already have a corresponding track are offered.
- Adding CC languages creates a separate caption track for each selected language, and each caption track uses credits of its own. HoH Audio and Audio Description projects do not create captions.
- Reprocessing is unavailable while a project is processing. It creates a new subtitle track; existing subtitle files remain unchanged. Caption tracks can be included or excluded during reprocessing.
- A project cannot be deleted while it is processing.
- Saving requires every cue to have an out-point after its in-point. Subtitle rule violations do not prevent saving; instead, the workspace reports which cues still break the rule set.
- The editor can export the currently open track as an SRT file, including unsaved edits. Project-level exports provide the saved tracks from the review page.
The standard subtitle rules are 42 characters per line, two lines, 20 characters per second, a duration from 1 to 7 seconds, and a two-frame gap at 25 frames per second. Projects may use another rule set, which is shown in the subtitle workspace.
What source options and video formats can I use when creating a project?
You can provide exactly one source in the project wizard:
- Upload a file by dragging it onto the page or choosing it from your computer. Supported video examples include MP4, MOV, AVI, MKV, WebM, and M4V.
- Choose a stream from your available streams. For Subtitles and Transcription projects, you can choose whether to include existing caption tracks when they are available.
- Choose a video from the Vault. The video is processed where it is stored, so it is not uploaded again. This option requires Vault access.
The project wizard does not accept a link as a source, and Bridge files cannot be selected there. If more than one source is added, remove the extras before continuing.
How can I add context to a subtitles or transcription project?
On the optional Add context step, you can provide information that helps with names and terms:
- Enter supporting text, such as a synopsis or script.
- Select Attach file to add a document. Supported formats include PDF, TXT, DOC, DOCX, MD, RTF, ODT, SRT, VTT, CSV, HTML, EPUB, PNG and JPG.
- Select Add link to add a supporting web page.
- Optionally enter an IMDb title ID or IMDb address in IMDB Match.
Review the runtime, estimated cost and available balance, then select Start. Any attached files are uploaded when you start the project.
How do I choose the audio and languages for a subtitles or transcription project?
When you create a Subtitles or Transcription project, choose the audio track first if your video contains more than one:
- On Add source video, select the Audio to transcribe track. The first track is selected initially. Choose the original-language track for subtitles or transcription, or choose a dubbed track if you want captions for that dub.
- On Language settings, choose the Source language—the language spoken in the selected audio. The system may suggest a language from the audio track, catalogue information, or video analysis, but you can change it.
- Choose one or more Target languages. A target matching the source language creates a transcript; a different target creates translated subtitles.
- Optionally enable Closed captions (CC) and select one or more CC languages.
- If you included captions from a stream, optionally enable Keep source cue timing to preserve their timing and formatting.
- Review the subtitle rules and estimated cost, then continue.
The source, target, and CC selectors offer the same 29 supported languages. If CC is enabled, you must select at least one CC language before continuing.
How do I start a new project from a video stored in the Vault?
Open the Vault and find the video you want to use.
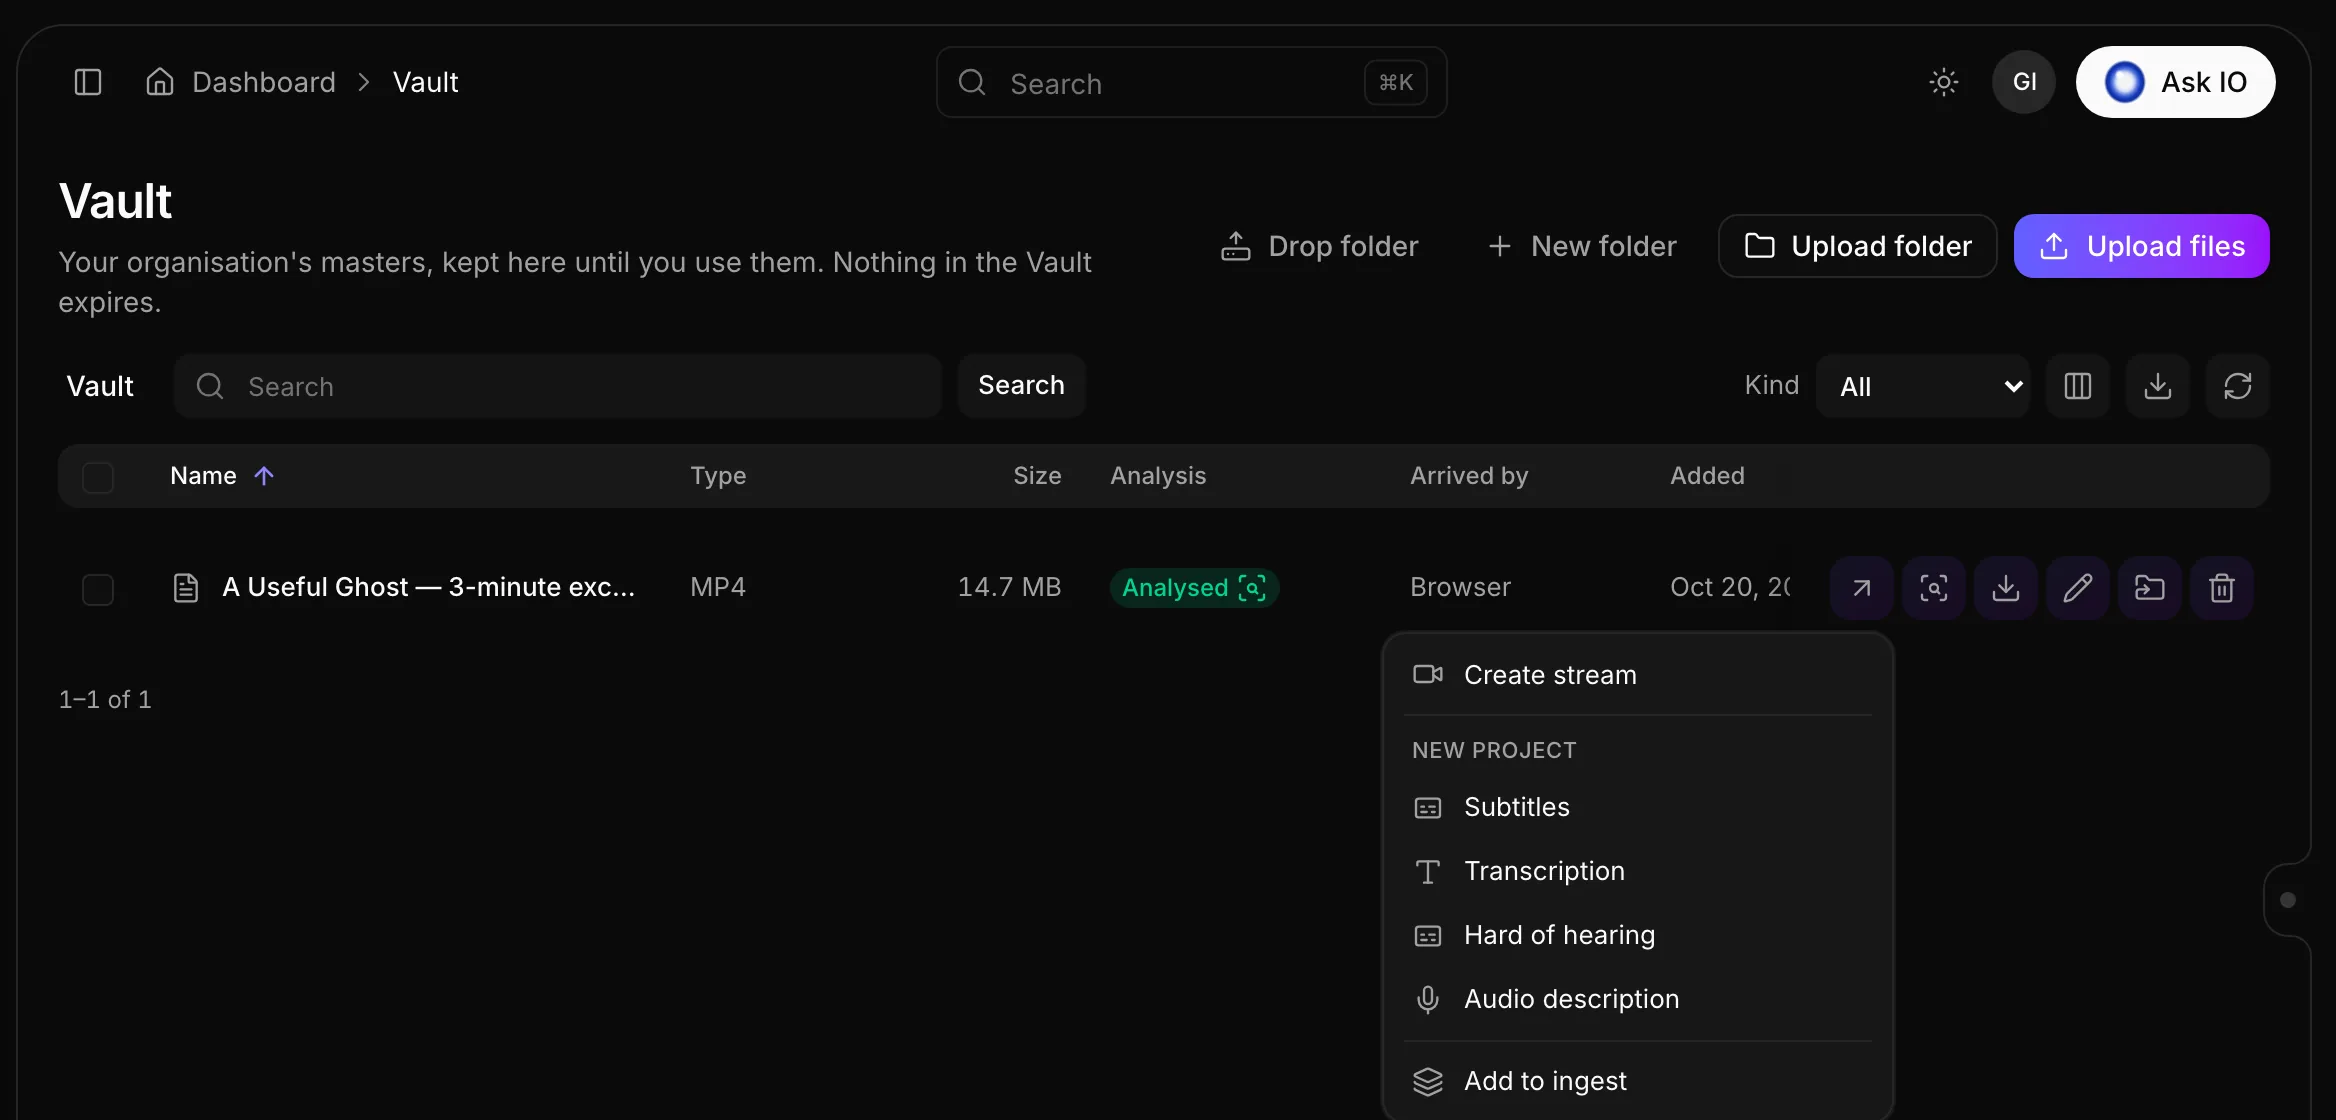
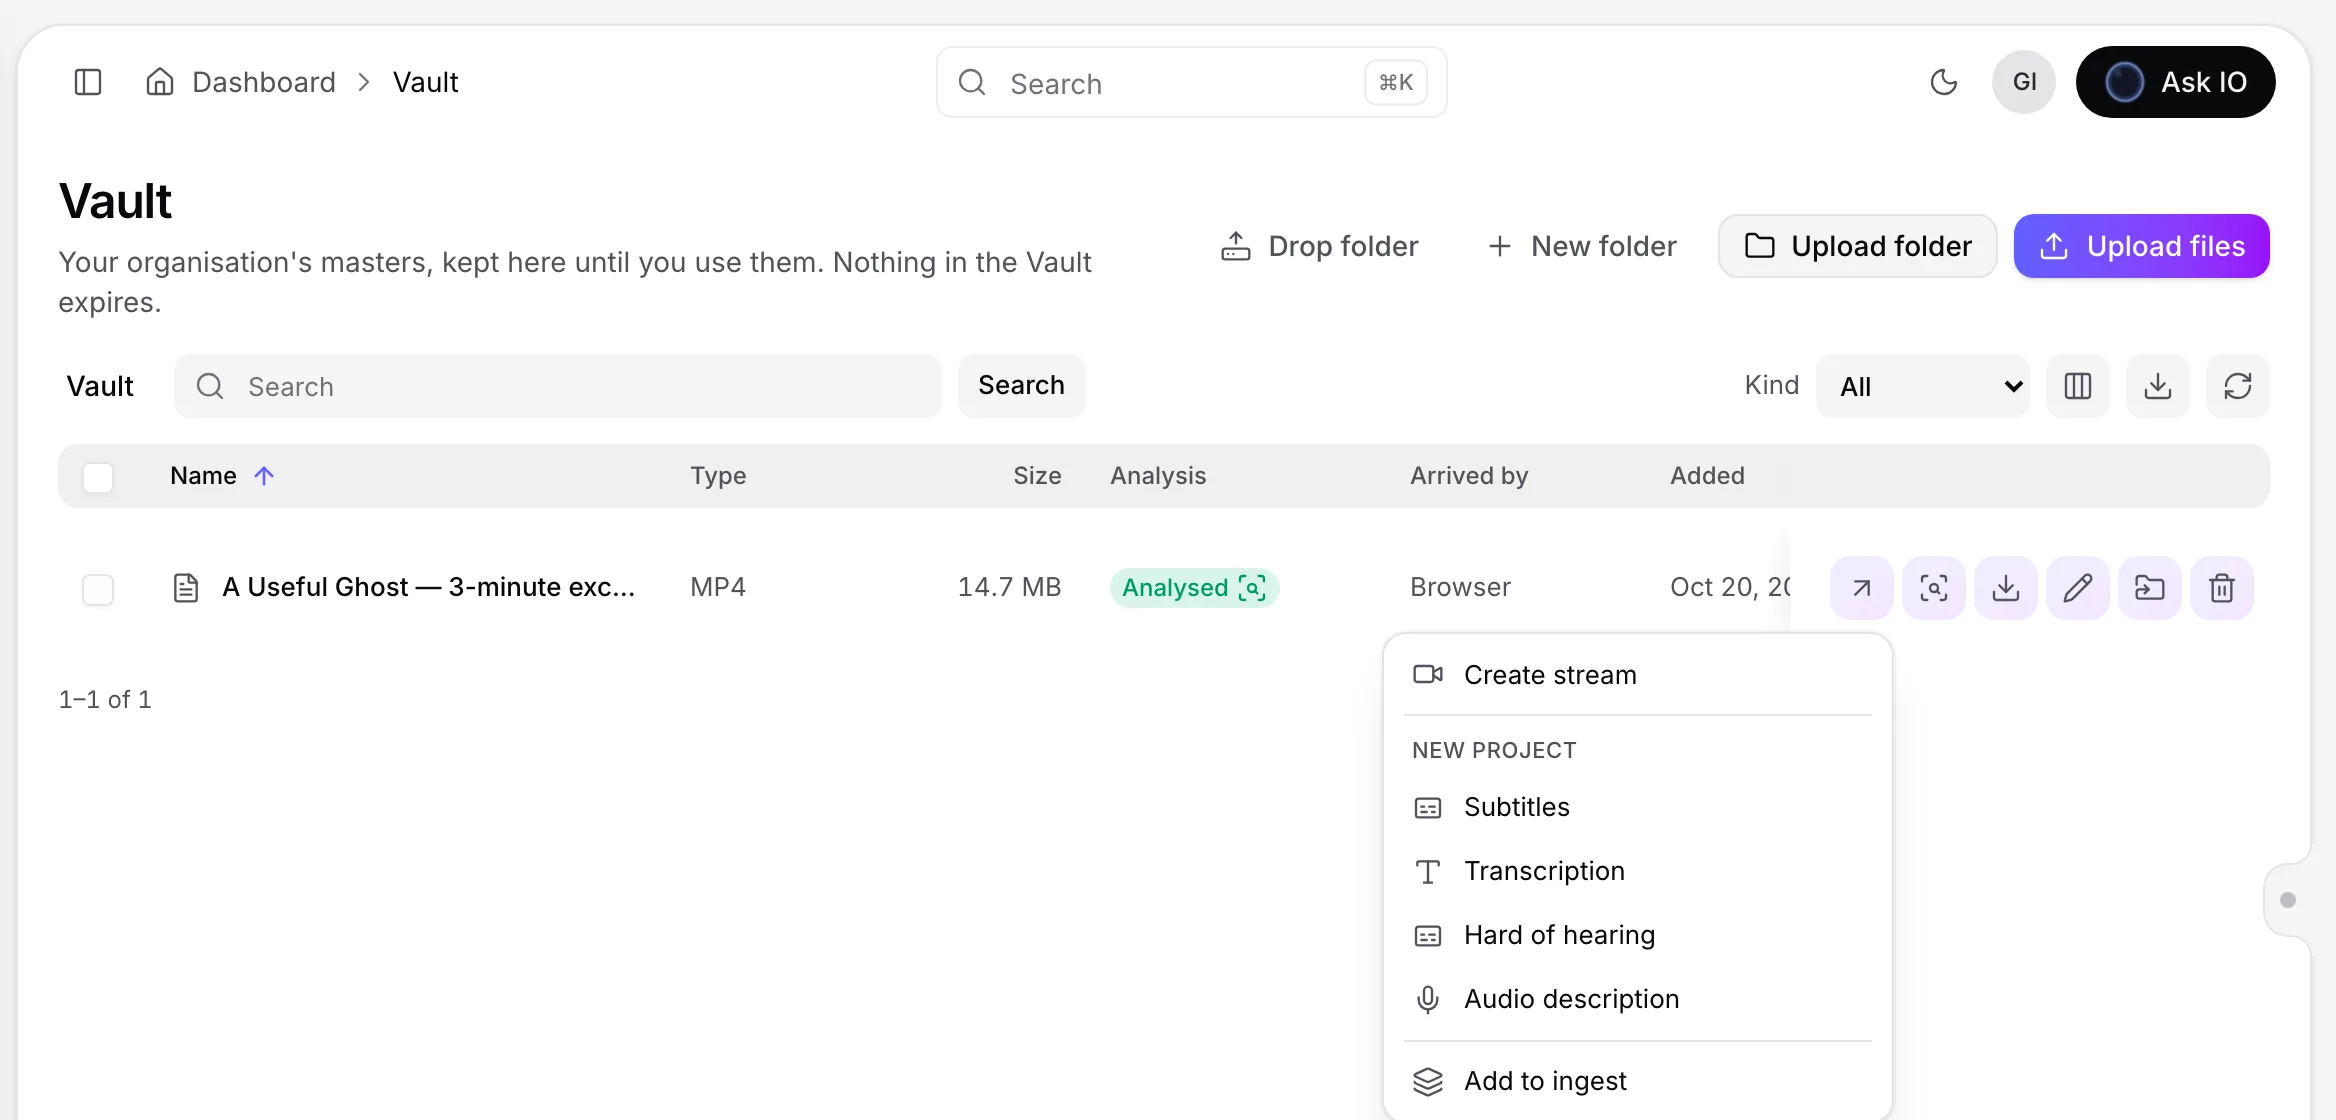
- Open the file’s Use… menu.
- Under New project, choose Subtitles, Transcription, Hard of hearing, or Audio description.
- The project wizard opens with the Vault video selected and the project name filled from the file name.
- Continue through the wizard to review the settings and start processing.
The available project types depend on your permissions. You need View Vault and the permission to create the selected project type. The Projects module must also be available on your organisation’s plan.
How do I create and review an audio description project, including editing narration lines and changing their timing?
Create the project
- Open Projects and select Add new.
- Choose Audio Description.
- Enter a project name and add exactly one video source: upload a file, choose a stream, or choose a video from Vault. Links aren't supported.
- If the video has multiple audio tracks, select the track to mix the narration under. Its dialogue determines where descriptions fit.
- Review the runtime, estimated cost, and available compute credits, then select Start.
The project analyzes the video and creates a narration script. When the script is ready, the project opens for review. You can also find it later in Projects.
Note
Creating and editing an audio description project requires the relevant audio-description creation permission. Viewing audio-description projects and estimates requires the corresponding viewing permission. A video from Vault also requires Vault access.
Review the narration
On the project page:
- Use the player to watch the video and see each narration line over the picture.
- Select a block on the timeline to jump to its line, or click and drag the timeline to move the playhead. Use −, Fit, and + to change the timeline scale.
- Review each line in the Narration script panel. The panel shows the line's timing, scene, and word count compared with the words that fit the available gap.
- Use Play line to jump directly to a line. Lines that exceed their available gap are highlighted.
- Before voicing, listen to the original audio. After voicing, switch between the original audio and the version with description.
Edit narration text
- Select Edit line for the line you want to change.
- Edit the description. The word-count guidance indicates whether it fits the available time.
- Select Save line, or use the keyboard shortcut shown in the editor. Select Cancel to discard the change.
A saved change is marked Edited until the narration is voiced again. A line cannot be empty. Use Undo and Redo to step through script changes. The script is locked while narration is being voiced.
Change when a line is spoken
You can change a line's timing in either of these ways:
- Enter new start or end times in the line's time fields and press Enter. Press Esc to undo an in-progress time entry.
- Drag the line's block on the timeline to move it, or drag its right edge to change its end time.
Each line must last at least half a second. If a line is longer than the available dialogue gap, shorten the text or extend its end time.
Add or delete lines
To add a line, move the playhead to the desired start point and select Add description at …. Enter the description and save it. The new line is created for up to three seconds, or until the next line.
To remove a line, select Delete line. The script must contain at least one line.
Voice and use the finished track
When the script is ready, choose a narrator voice and narration quality, then select Voice the narration. The project is completed when the described audio track has been mixed.
After editing, you can re-voice only the changed lines; unchanged lines reuse their existing voiced audio. When the audio is ready, select Download audio. For a project created from a stream, you can also select Add to stream.
If you edit the script after the last voicing, downloading the previous audio won't include those latest edits. Re-voice the narration to apply them.
How do I create, review, download, or add an HoH Audio mix to a stream?
HoH Audio creates a clearer-dialogue mix by separating voices from other soundtrack elements and remixing them for easier listening.
Create the project
- Open Projects and select Add new.
- Choose HoH Audio.
- Enter a project name and add exactly one source: upload a video file, choose a stream, or choose a video from the Vault. Links aren't supported as HoH Audio sources.
- If the video has multiple audio tracks, select the track under Audio to work on.
- Select Continue, review the runtime, estimated cost, and available balance, then select Start.
HoH Audio has no language or context step. It uses compute credits based on the video's duration. You need permission to create HoH content, and access to HoH projects and estimates requires permission to view the HoH tool. Choosing a Vault file also requires Vault access.
Monitor processing
After you start, the project displays progress through Job submitted, Audio analysis, Vocal separation, and Hard of Hearing. You can leave the page while processing continues. Open the project from Projects to check its progress or view an error if processing fails.
Review the mix
When the mix is ready—and, for an uploaded file, when its preview is also prepared—play the video and use the Audio control to switch between Hard of Hearing and the original sound. Both options stay synchronized, so you can compare them during playback. If the HoH audio cannot be loaded, the player falls back to the original sound and indicates that it has done so.
Download the mix
On the HoH project page, select Download HoH audio. The ready mix is downloaded as an audio file.
Add the mix to a stream
For a project created from a stream, select Add HoH to stream on the project page after the mix is ready. The button changes to Added to stream when the operation is complete. This option is available only for stream-based projects; for an uploaded or Vault file, download the audio instead.
How do I review, voice, re-voice, download, and add an audio description to a stream?
An audio description project analyzes a video, creates a narration script for the gaps between dialogue, and lets you review and edit the script before generating the narrated audio track.
Review the script
Open the audio description project and use the player, timeline, and Narration script panel to check each line against the video. Select a timeline block to jump to a line, or use Play line in the script panel. The panel shows each line's timing, scene, and word count compared with the available gap. Lines that exceed their gap are marked in amber.
Before voicing, the player uses the original sound. After voicing, you can switch between the original audio and the version with description.
Edit and retime lines
To edit a line, select Edit line, change the text, and select Save line. The word count indicates whether the text fits the line's duration. You can undo or redo edits. A line cannot be empty.
To change timing, edit a line's start or end time, or drag the line on the timeline. A line must last at least half a second. You can also add a description at the playhead or delete a line, but the script must retain at least one line.
The script is locked while narration is being voiced. If you rewrite the whole script by choosing Sparse, Standard, or Rich narration density and selecting Rewrite all, the previous script, edits, and undo history are replaced.
Voice or re-voice the narration
When the script is ready:
- Choose Female voice or Male voice.
- Choose Premium quality or Normal quality.
- Select Voice the narration.
The project is marked Voicing narration while processing and becomes Completed when the described audio track has been mixed. After you edit voiced lines, select Re-voice. Only changed lines are voiced again and charged; unchanged lines reuse their existing audio. If voicing fails, select Retry voicing.
Download or add the result to a stream
Select Download audio to download the audio with narration mixed under the soundtrack. If the script has changed since the last voicing, the button instead offers Download previous audio, which does not include those latest edits; re-voice the narration to hear them.
For a project created from a stream, select Add to stream after the audio is ready. The button changes to Added to stream when the operation is complete.
Note
Creating, editing, voicing, re-voicing, and adding the audio description to a stream require the appropriate audio-description creation permission. Viewing audio-description projects and estimates requires the audio-description viewing permission. Adding an audio track directly to a stream requires stream-editing permission.
If you need to manage the resulting track on the stream, open the stream's Audio tab. From there, you can view, edit, download, or delete an audio track, subject to the required permissions. Deletion cannot be undone.
Which subtitle formats can I import and export, and what permission is required to upload subtitles?
You can import these subtitle formats onto a stream:
- SRT
- WebVTT
- TTML
- iTT
- DFXP
To upload a subtitle, open the stream’s Subtitles tab, choose Upload subtitle, enter its title, language, and type, select the file, and click Upload. Uploading requires the Edit Streams permission.
For exports:
- Subtitle projects export SRT files.
- Stream subtitle and caption tracks can be downloaded as either VTT or SRT.
Downloading stream subtitle files requires the View Archives permission.
Compute credits and AI billing
What happens if I do not have enough compute credits to start a project?
If your compute-credit balance is zero or below, Continue remains unavailable on the source step. If your balance is lower than the project's estimated cost, Start remains unavailable.
You can choose one of these options from the warning:
- Pay for this job to purchase only the credits missing for that project. After payment, you return to the wizard and can start the project.
- Buy credits to open the available credit packages.
The wizard shows the estimated cost and your current balance before you start. The estimate can change based on the project type, video length, and—for subtitles or transcription—the target and closed-caption languages you select.
How do compute credits work for AI projects, and how can I check costs, add credits, or pay for one project?
EYZFlow AI projects use compute credits from a wallet shared across your organisation. Subtitles, transcription, HoH Audio, audio description, and starting Video Intelligence on a stream all use credits. Credits can be used across your projects, and one credit represents one Sign minute.
Check your balance and estimated cost
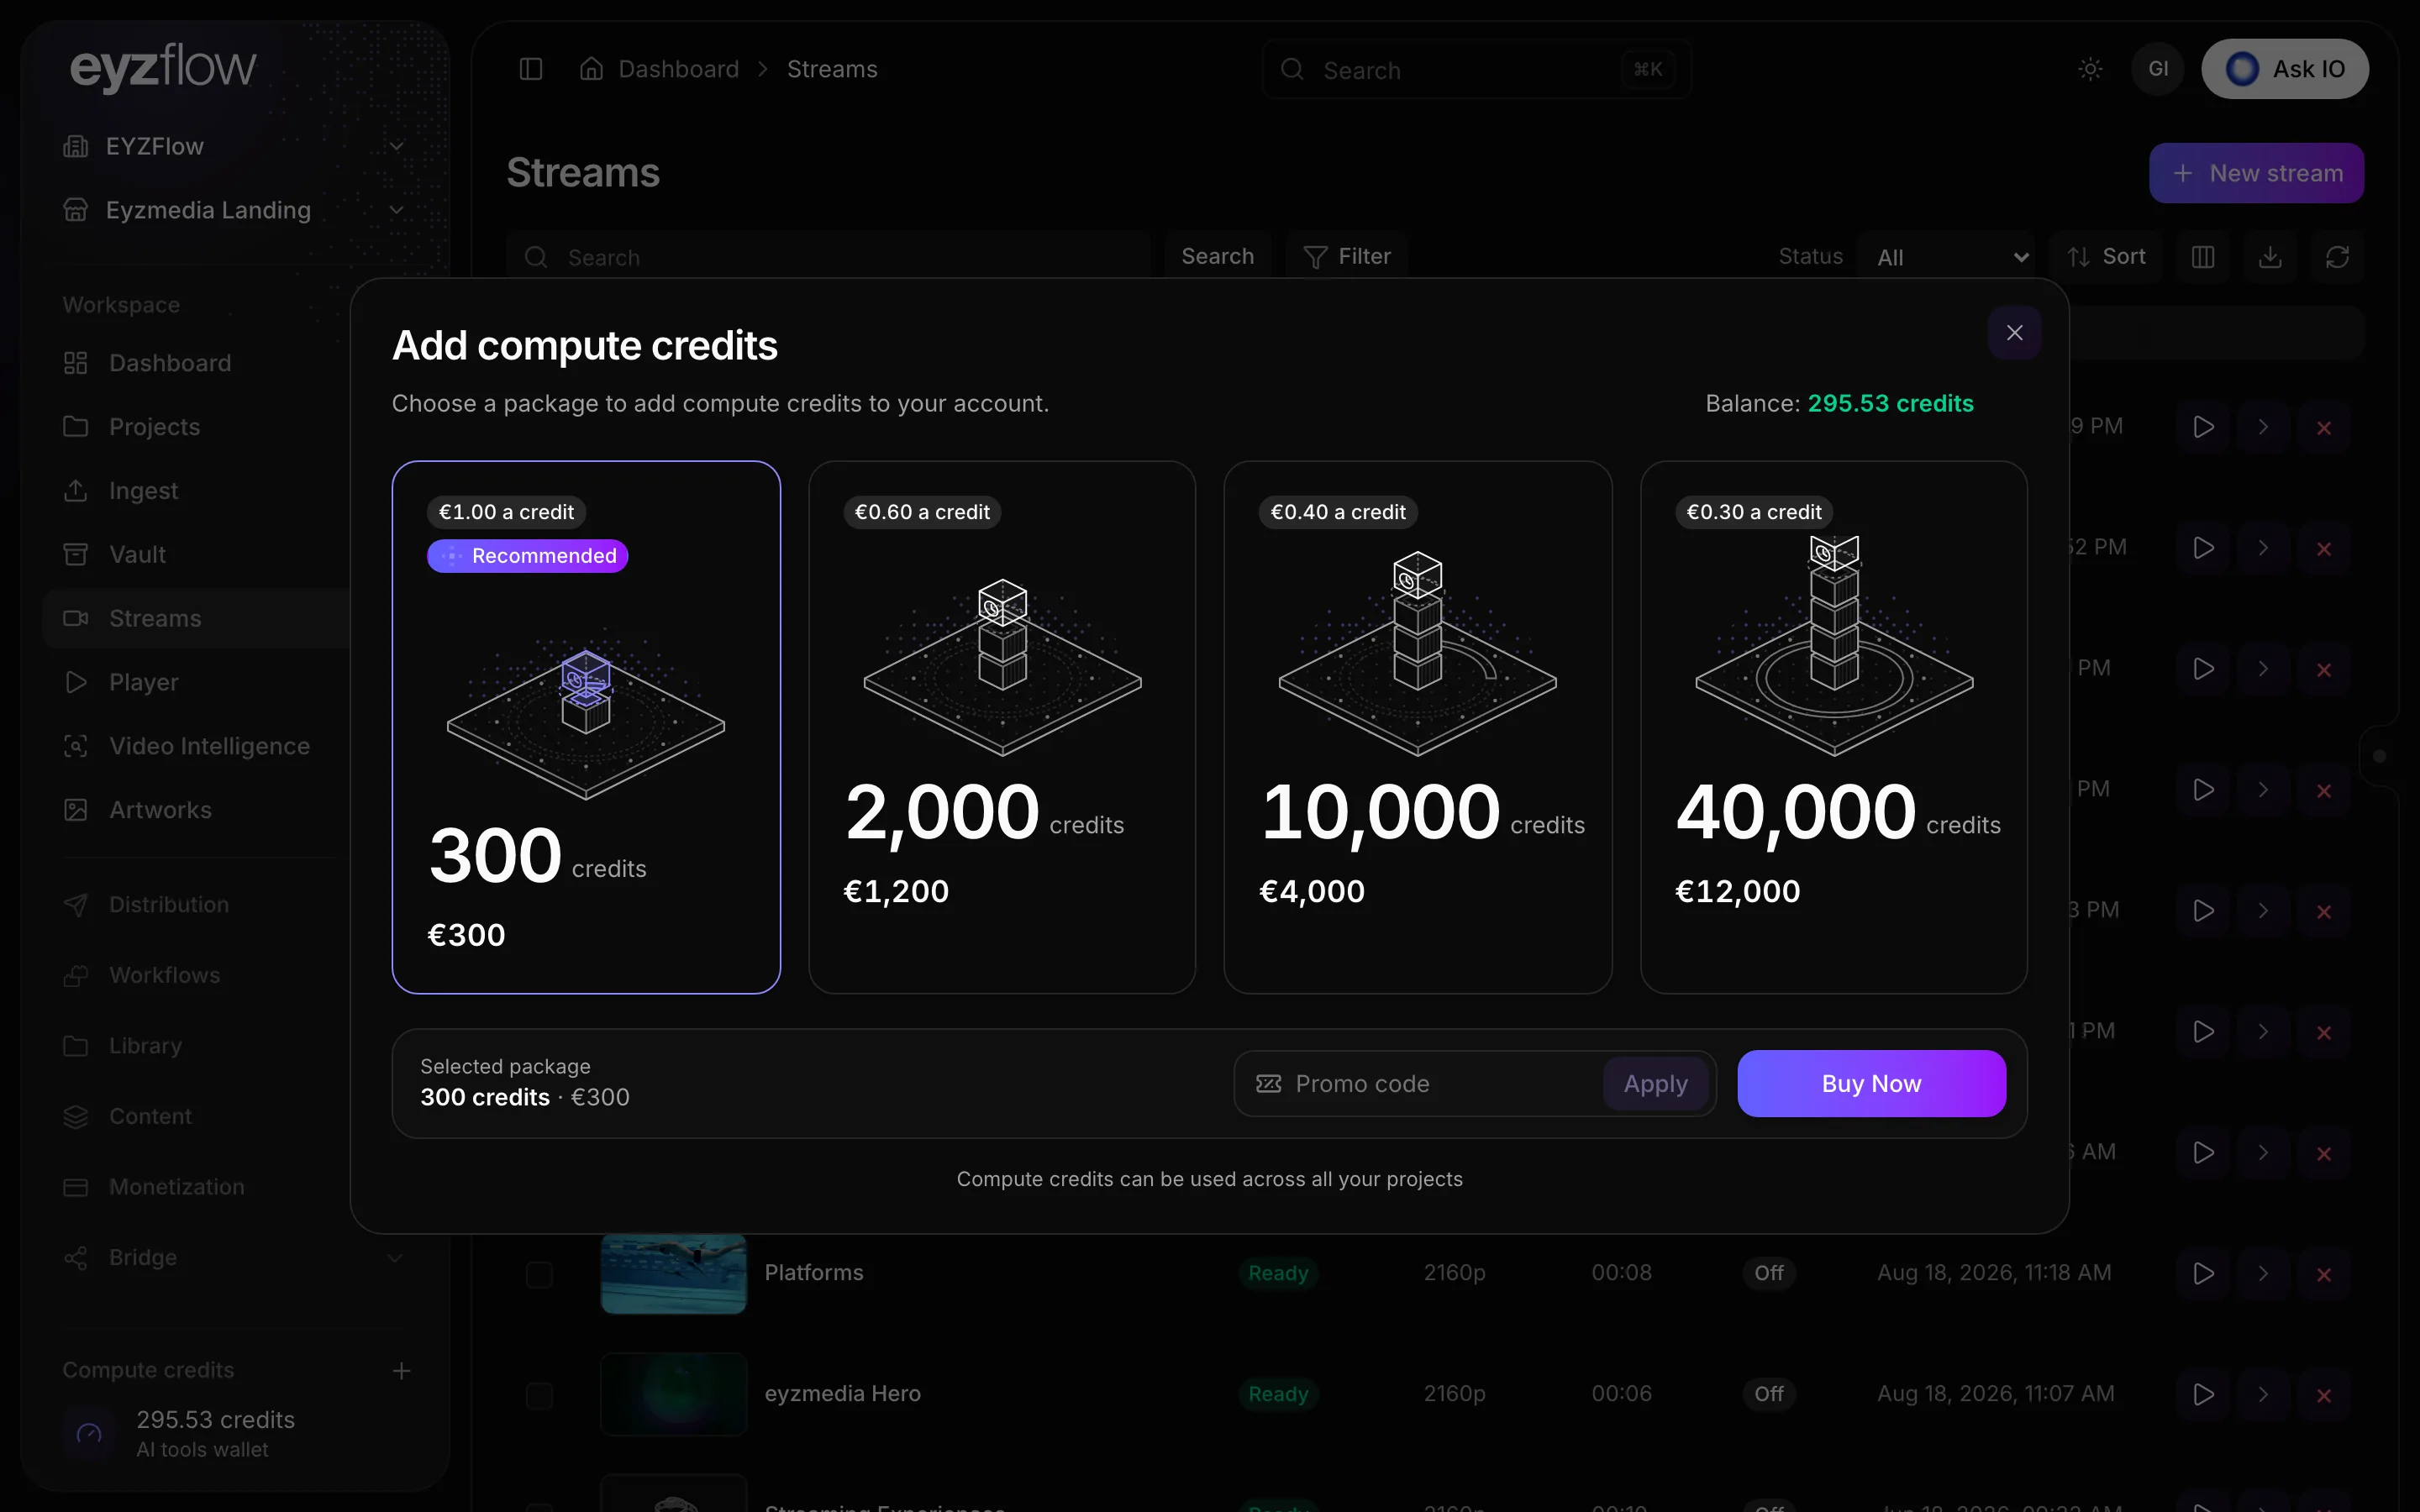
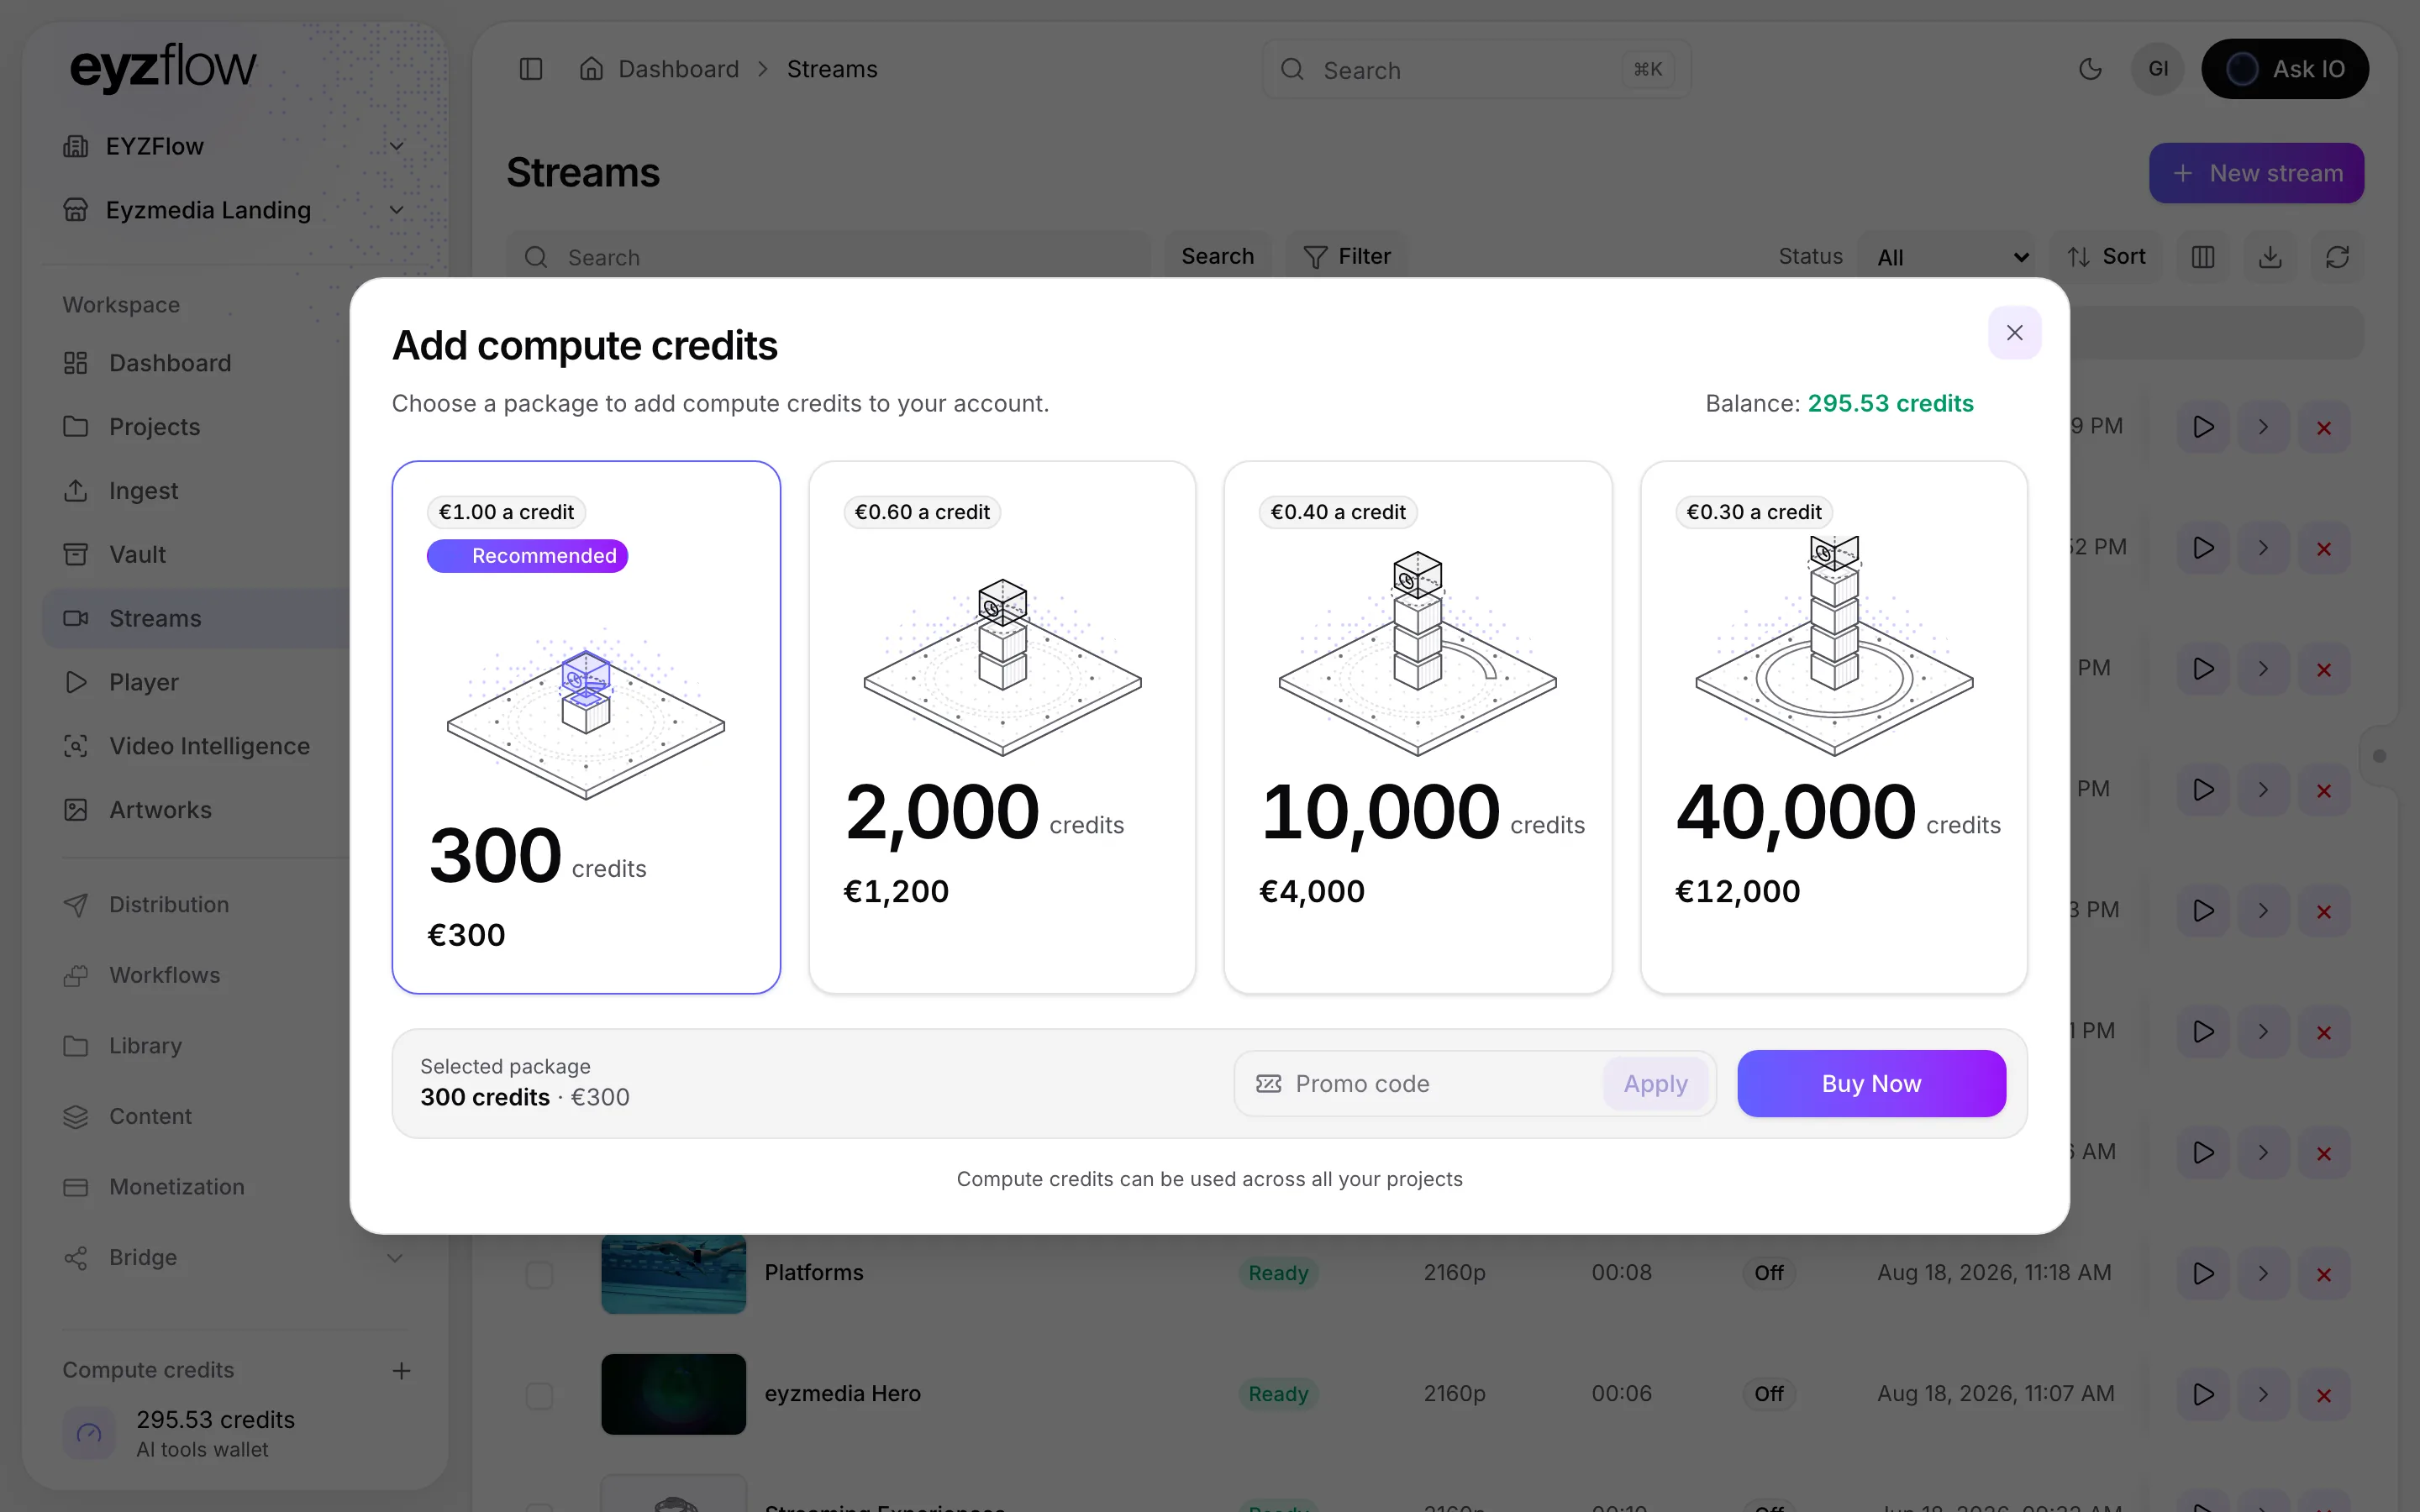
You can see your balance in the Compute credits section of the sidebar, in the create-project wizard beside Estimated cost, or at the top of the Add compute credits dialog. The balance updates automatically after a purchase.
Before you start a project, the wizard shows an estimate based on the video's length and whether its video analysis has already been paid for:
- Subtitles and Transcription show the estimate on the language settings step. Adding target or closed-caption languages changes the estimate, and it is shown again with the runtime on the context step.
- HoH Audio and Audio Description show the runtime, estimated cost, and balance on the review step.
- Video Intelligence shows its cost and your balance before you confirm.
Projects are priced in whole minutes, with at least one minute charged. Subtitle and transcription costs depend on the number of subtitle, target, and closed-caption tracks. HoH Audio and Audio Description are charged per minute. Video analysis is normally paid once per video and can be reused; a different source audio track may require its own analysis. Your organisation's pricing determines the exact rates.
Add credits
- Open Add compute credits from the plus beside Compute credits, or choose Buy credits in the relevant wizard.
- Select a package. Available packages show their credit amounts, prices, and any savings.
- Optionally enter a promo code and select Apply.
- Select Buy Now and complete payment. You return to the page you were using, and your balance updates.
Any organisation member can buy credits through the project wizard, the Video Intelligence start dialog, or an insufficient-credit warning. Access to the sidebar's Compute credits section and the Buy credits option on the Subscription page requires View Addons.
Pay only for one project
If your balance is below a project's estimate, select Pay for this job in the warning. Pay for the missing amount, return to the wizard, and select Start. This option buys only the credits required for that job, rather than a package.
When the balance is zero or below, Continue remains unavailable on the source step. When it is below the project's estimate, Start remains unavailable until you add enough credits or pay for the job.
Video Intelligence
How can I generate and save artwork candidates from a Video Intelligence analysis?
- Open the Artwork tab in the Video Intelligence player and select Generate artwork. Generation usually takes a few minutes.
- Choose a format: Hero (16:9), Poster (2:3), or Square (1:1).
- Review the candidates, which include a score and may show flags such as Text in frame, Blurry, Spoiler risk, Violence, or Nudity. If detected, a Title card section provides the film title as a transparent PNG.
- Download a candidate, or select a language under Save for and choose Save as catalogue artwork.
Generating or regenerating artwork requires the Create Video Intelligence permission. Saving it as catalogue artwork also requires access to the stream’s catalogue and the Create Artworks permission.
What can I review in the Video Intelligence player?
The Video Intelligence player helps you explore an analysed video by chapter and scene. You can review:
- Scene frames, timings, settings, descriptions and sounds.
- Detected characters, locations and objects, with links to where they first appear.
- Key events, including their importance and timing.
- Content safety information, ad suitability categories and suggested ad breaks, including whether a break is marked Safe or Don't insert.
- Artwork candidates, with scores and flags such as text in frame, blur, spoiler risk, violence or nudity.
- Music cues, including their timing, whether they play under dialogue or are sung, and the related scene.
- Insights such as runtime, indoor and outdoor scenes, counts of chapters, characters and locations, top keywords and a summary.
Use the scene rail or interactive timeline to move through the video. You can filter timeline tracks, zoom, fit the timeline to the view and click to seek. The Inspector's search finds scene descriptions, places, detected people and objects, and dialogue. The player also provides captions, focus regions, a 9:16 crop preview, content warnings and standard playback controls.
On a stream's page, the player is available when the analysis is ready. The Video Intelligence page shows the analysis status while it is being prepared and processed.
What does a Video Intelligence analysis contain, and how do I open and explore it?
A finished Video Intelligence analysis divides a video into chapters and scenes, then describes the people, places, objects and key events it detects. It can also include content-safety information, ad breaks, artwork candidates and music.
To open an analysis:
- Open Video Intelligence in the sidebar. The list shows each analysis's title, summary, status, duration and creation date.
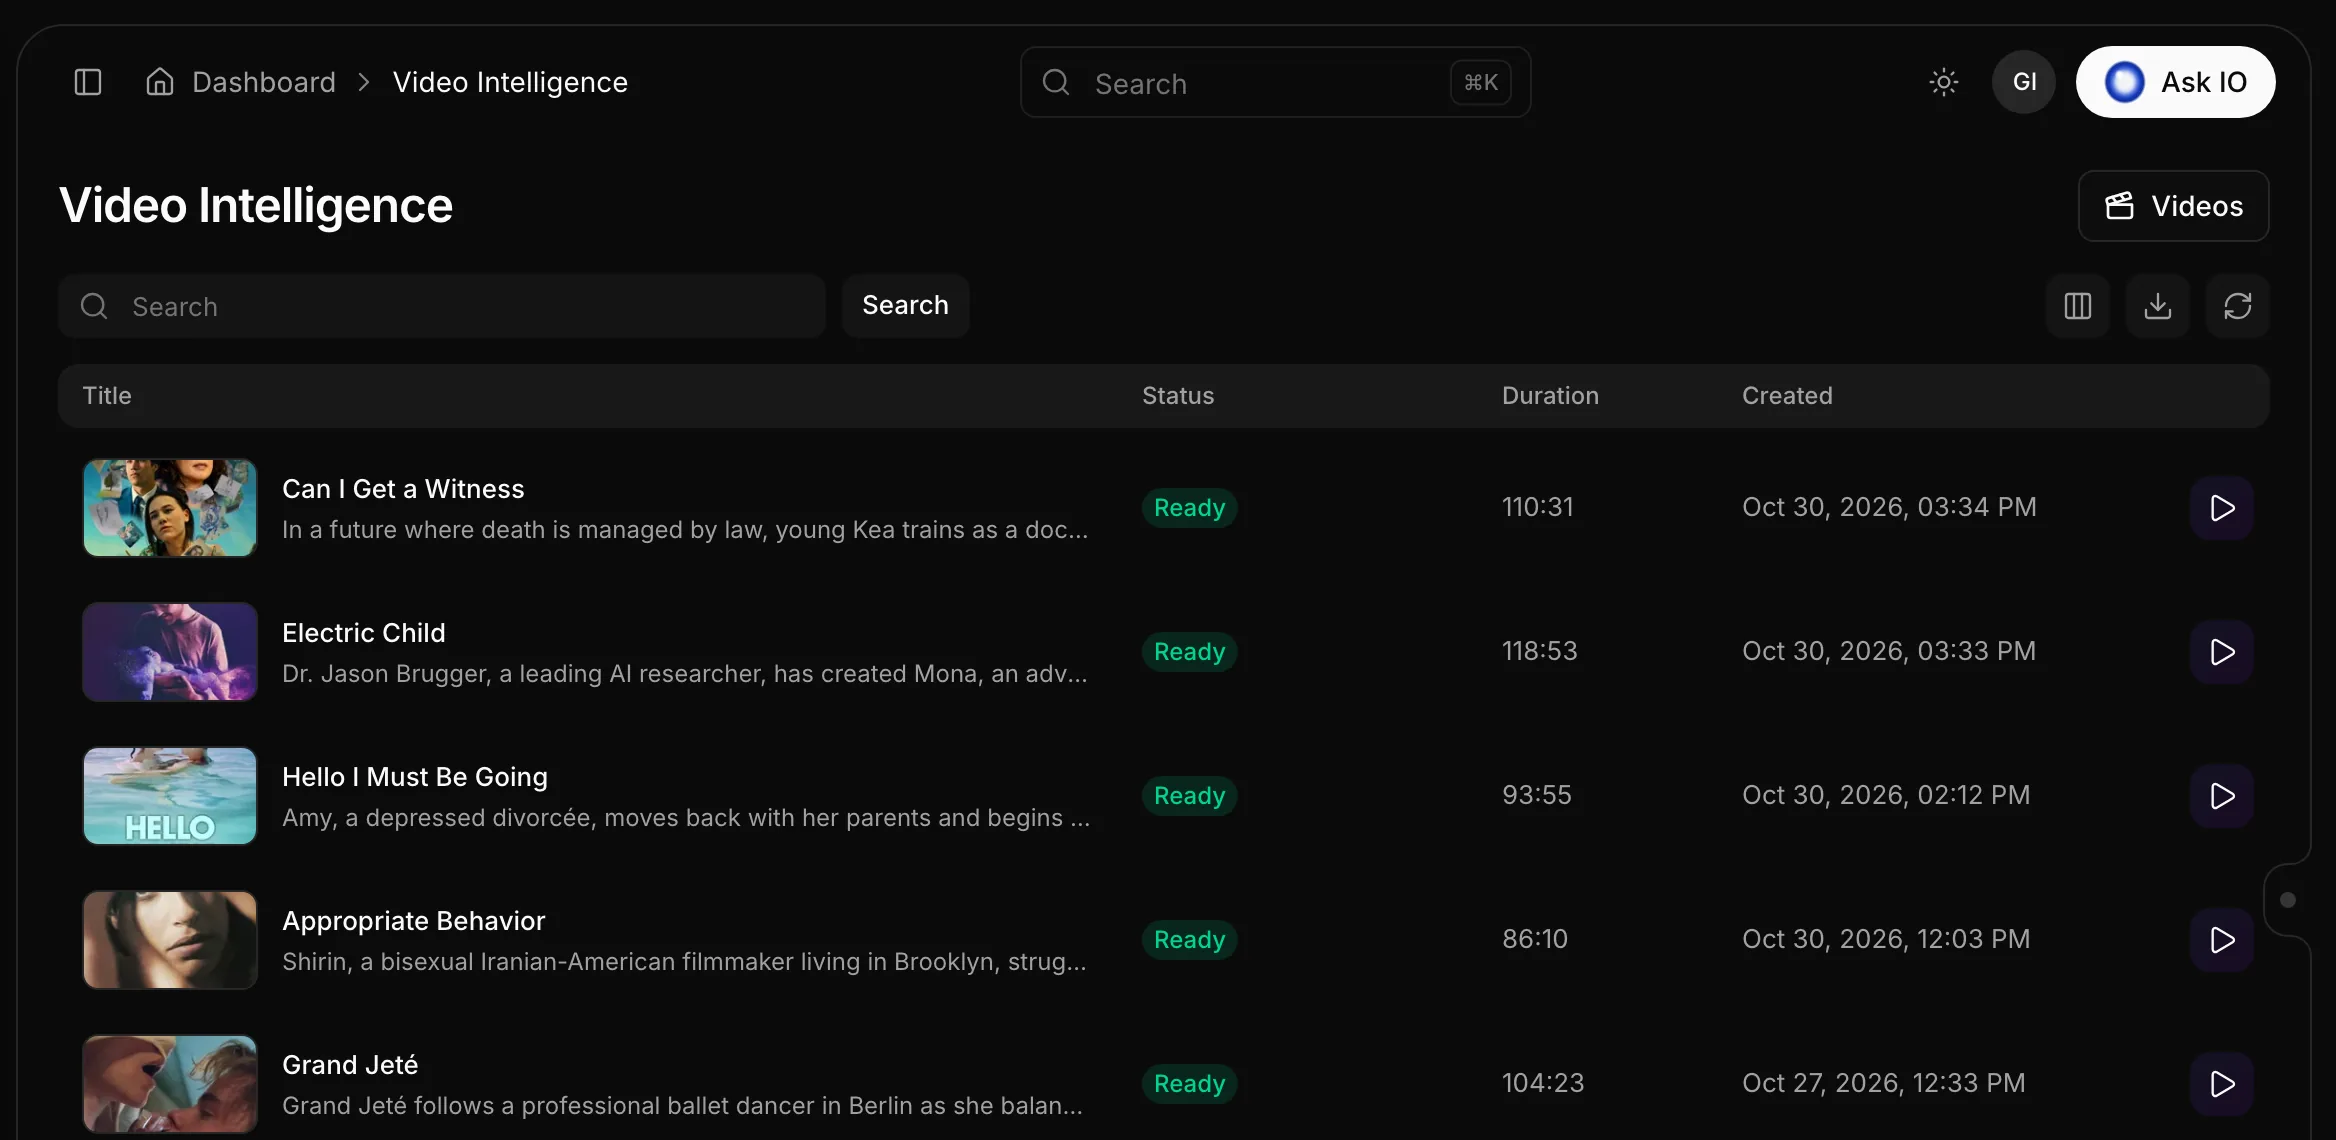
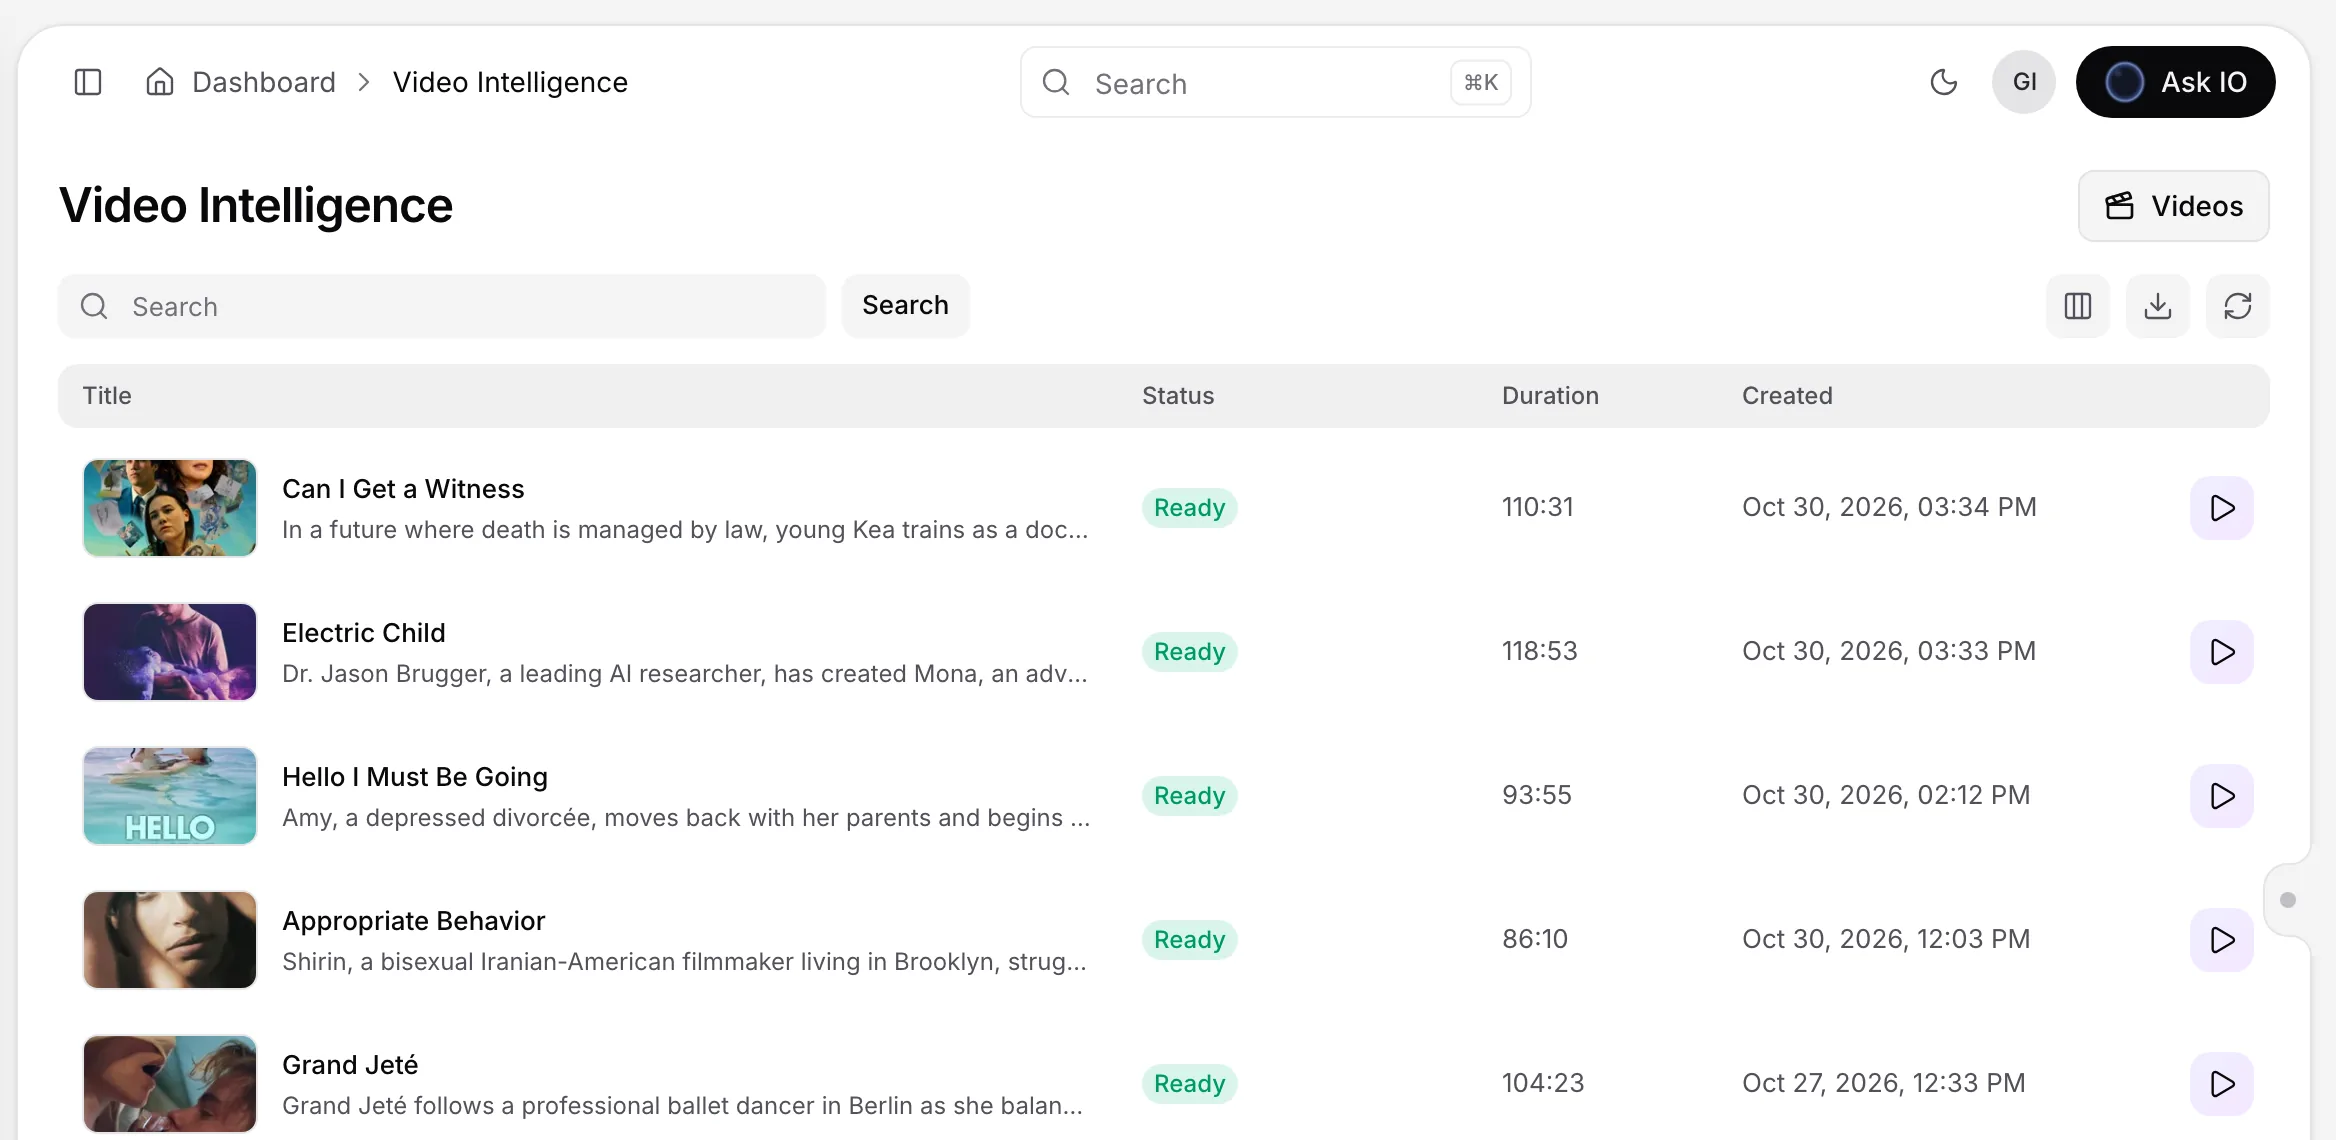
- On a Ready analysis, select Play or its picture. You can also open the player from a stream's page.
- In the player, use the scene rail to move between chapters and scenes, or use the interactive timeline to seek. The timeline can show people, objects, places, content safety and ad-break tracks; you can filter tracks, zoom, or fit the timeline to the view.
- Use the player controls to play or pause, change the volume, move to the previous or next scene, enter fullscreen, show captions, display focus regions, or preview a 9:16 crop.
- Open the Inspector to review details for the selected scene, detected characters, locations and objects, key events, ad information, artwork, music and analysis insights. You can also search the video for scene descriptions, places, detected people and objects, and dialogue.
Starting an analysis is a separate action from opening one. The stream must be Ready and starting the analysis uses compute credits. From the stream's More actions menu, choose Video Intelligence, review the runtime, estimated cost and available balance, and select Start. The analysis progresses through statuses such as Pending, Analyzing, Enriching and Ready.
You need the Video Intelligence plan module and View Video Intelligence permission to view analyses. Starting an analysis also requires Create Video Intelligence permission.
How can I identify and download music cues or a dialogue-free soundtrack from a video?
In the Video Intelligence player, open the Music tab and select Find the music. After the analysis finishes, each music cue shows its time, whether it plays under dialogue or is sung, and its scene. You can play a cue, jump to it in the player, or download the clip.
To download the soundtrack without voices, choose Whole film without dialogue. Finding music, including running it again, requires the Create Video Intelligence permission.
What permissions and plan modules are required to use Video Intelligence, generate artwork, and find music?
Video Intelligence features require the Video Intelligence plan module, with permissions depending on the action:
- View an analysis or open the Video Intelligence page: View Video Intelligence (
video_rag.view). - Start, retry, or rerun an analysis: Create Video Intelligence (
video_rag.create). The stream must be Ready before you start an analysis, and starting it uses compute credits. - Ask IO questions about an analysed video: Use the Assistant (
assistant.use) and Ask Video Intelligence (video_rag.ask). The analysis must be finished and available to you. - Generate or regenerate artwork: Create Video Intelligence (
video_rag.create). - Save generated artwork to a stream’s catalogue: access to the stream’s catalogue and Create Artworks (
artworks.create). Viewing the saved catalogue artwork requires View catalogue artworks. - Find or run music analysis: Create Video Intelligence (
video_rag.create).
If your plan does not include Video Intelligence, or you lack the relevant permission, the related feature is unavailable. Starting Video Intelligence and other compute-based actions also require enough compute credits.
How do I start, monitor, retry, and use Video Intelligence on a stream?
Start an analysis
- Open a stream from Streams. The stream must be Ready (finished encoding).
- Open More actions and select Video Intelligence.
- Review the stream runtime, estimated credit cost, and available credit balance.
- Select Start.
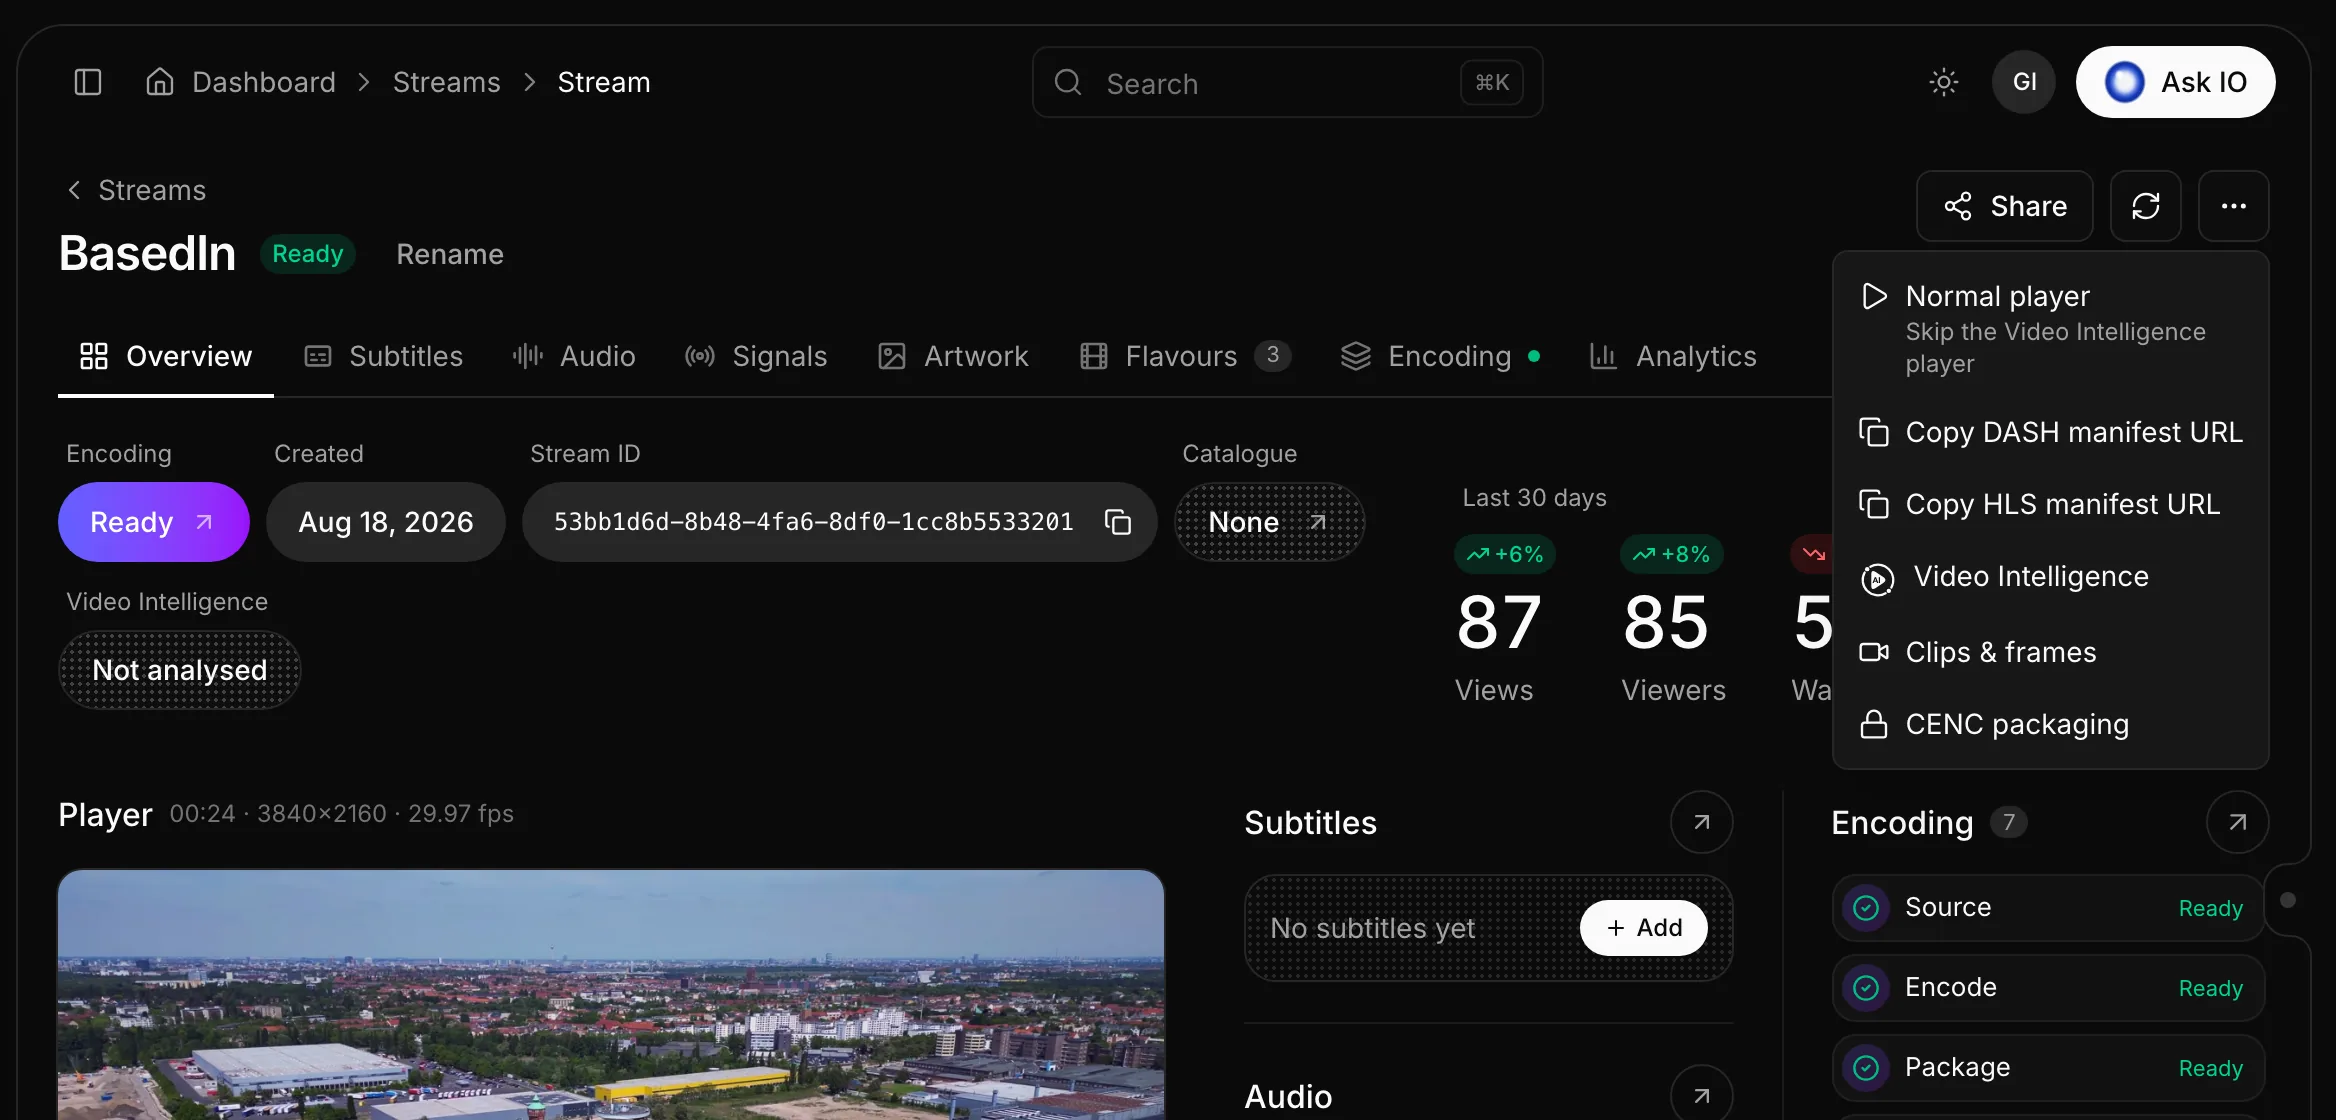
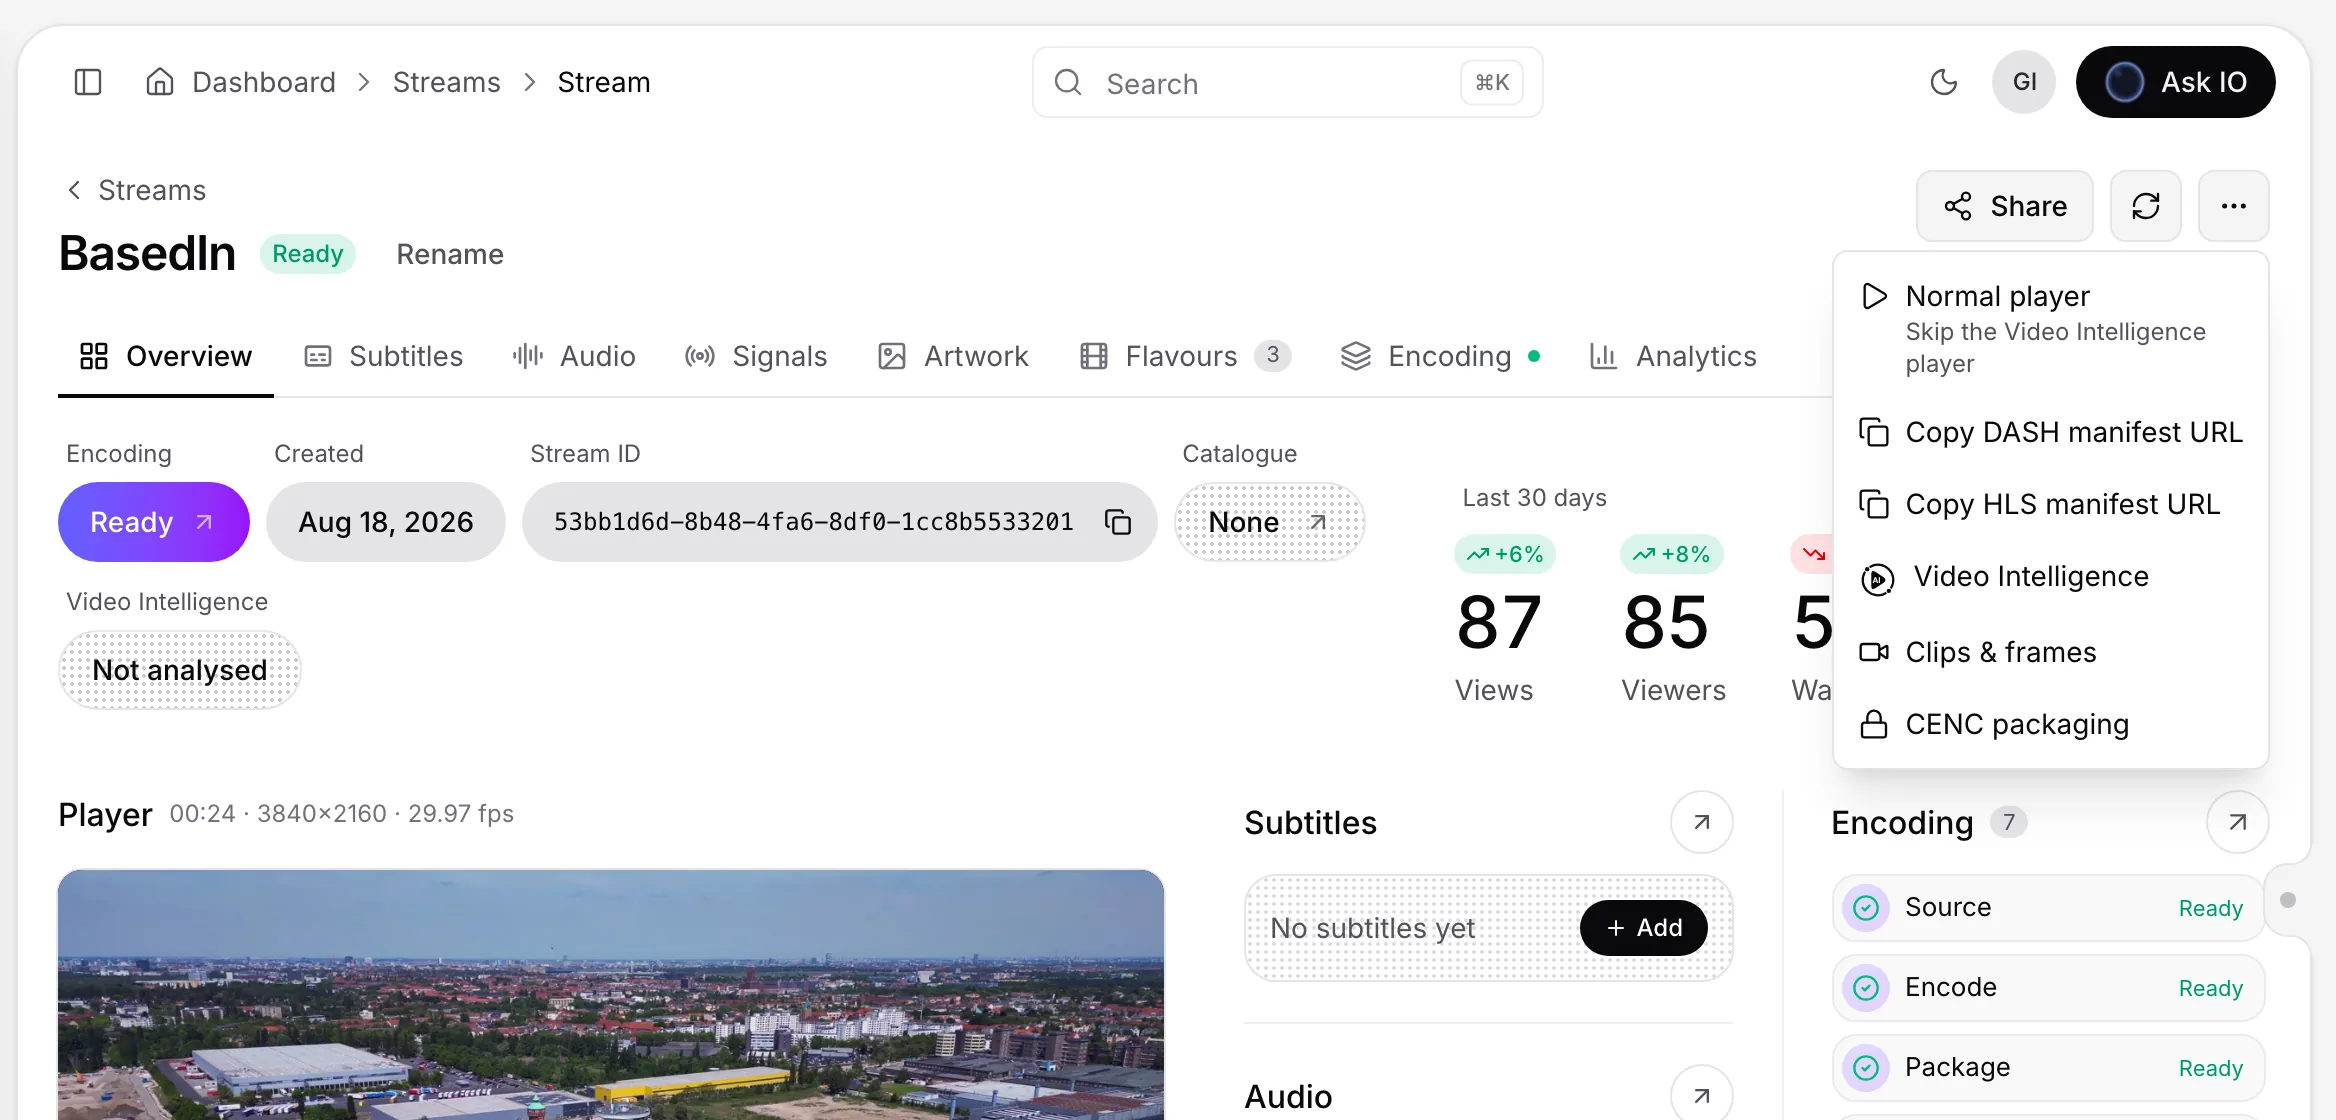
Starting an analysis requires the Create Video Intelligence permission. Viewing Video Intelligence also requires the View Video Intelligence permission and the Video Intelligence plan module. Analysis uses compute credits; if the balance is too low, add credits before starting.
Monitor progress
During analysis, the stream page shows Preparing… and an Analysing status. The Video Intelligence page shows the analysis status, progress percentage, and processing steps. Statuses can include Pending, Analyzing, Enriching, Ready, or Failed. When processing finishes, the stream is marked Analysed and the analysis is Ready.
Retry a failed analysis
From the stream's More actions menu, choose Retry Video Intelligence. You can also use the retry control on a failed analysis in the Video Intelligence list.
- Retry analysis reruns the complete analysis.
- Retry enrichment reruns only the enrichment steps, such as chapters, characters, names, and the profile, without analysing the scenes again.
Retrying requires the Create Video Intelligence permission.
Use a completed analysis
Open the Video Intelligence player from the stream page or from a Ready analysis. It provides chapters, scenes, an interactive timeline, and an Inspector with information about scenes, characters, locations, objects, events, ad breaks, artwork, music, and insights. You can search the video, inspect detected moments, show captions or focus regions, preview a vertical crop, and play specific scenes.
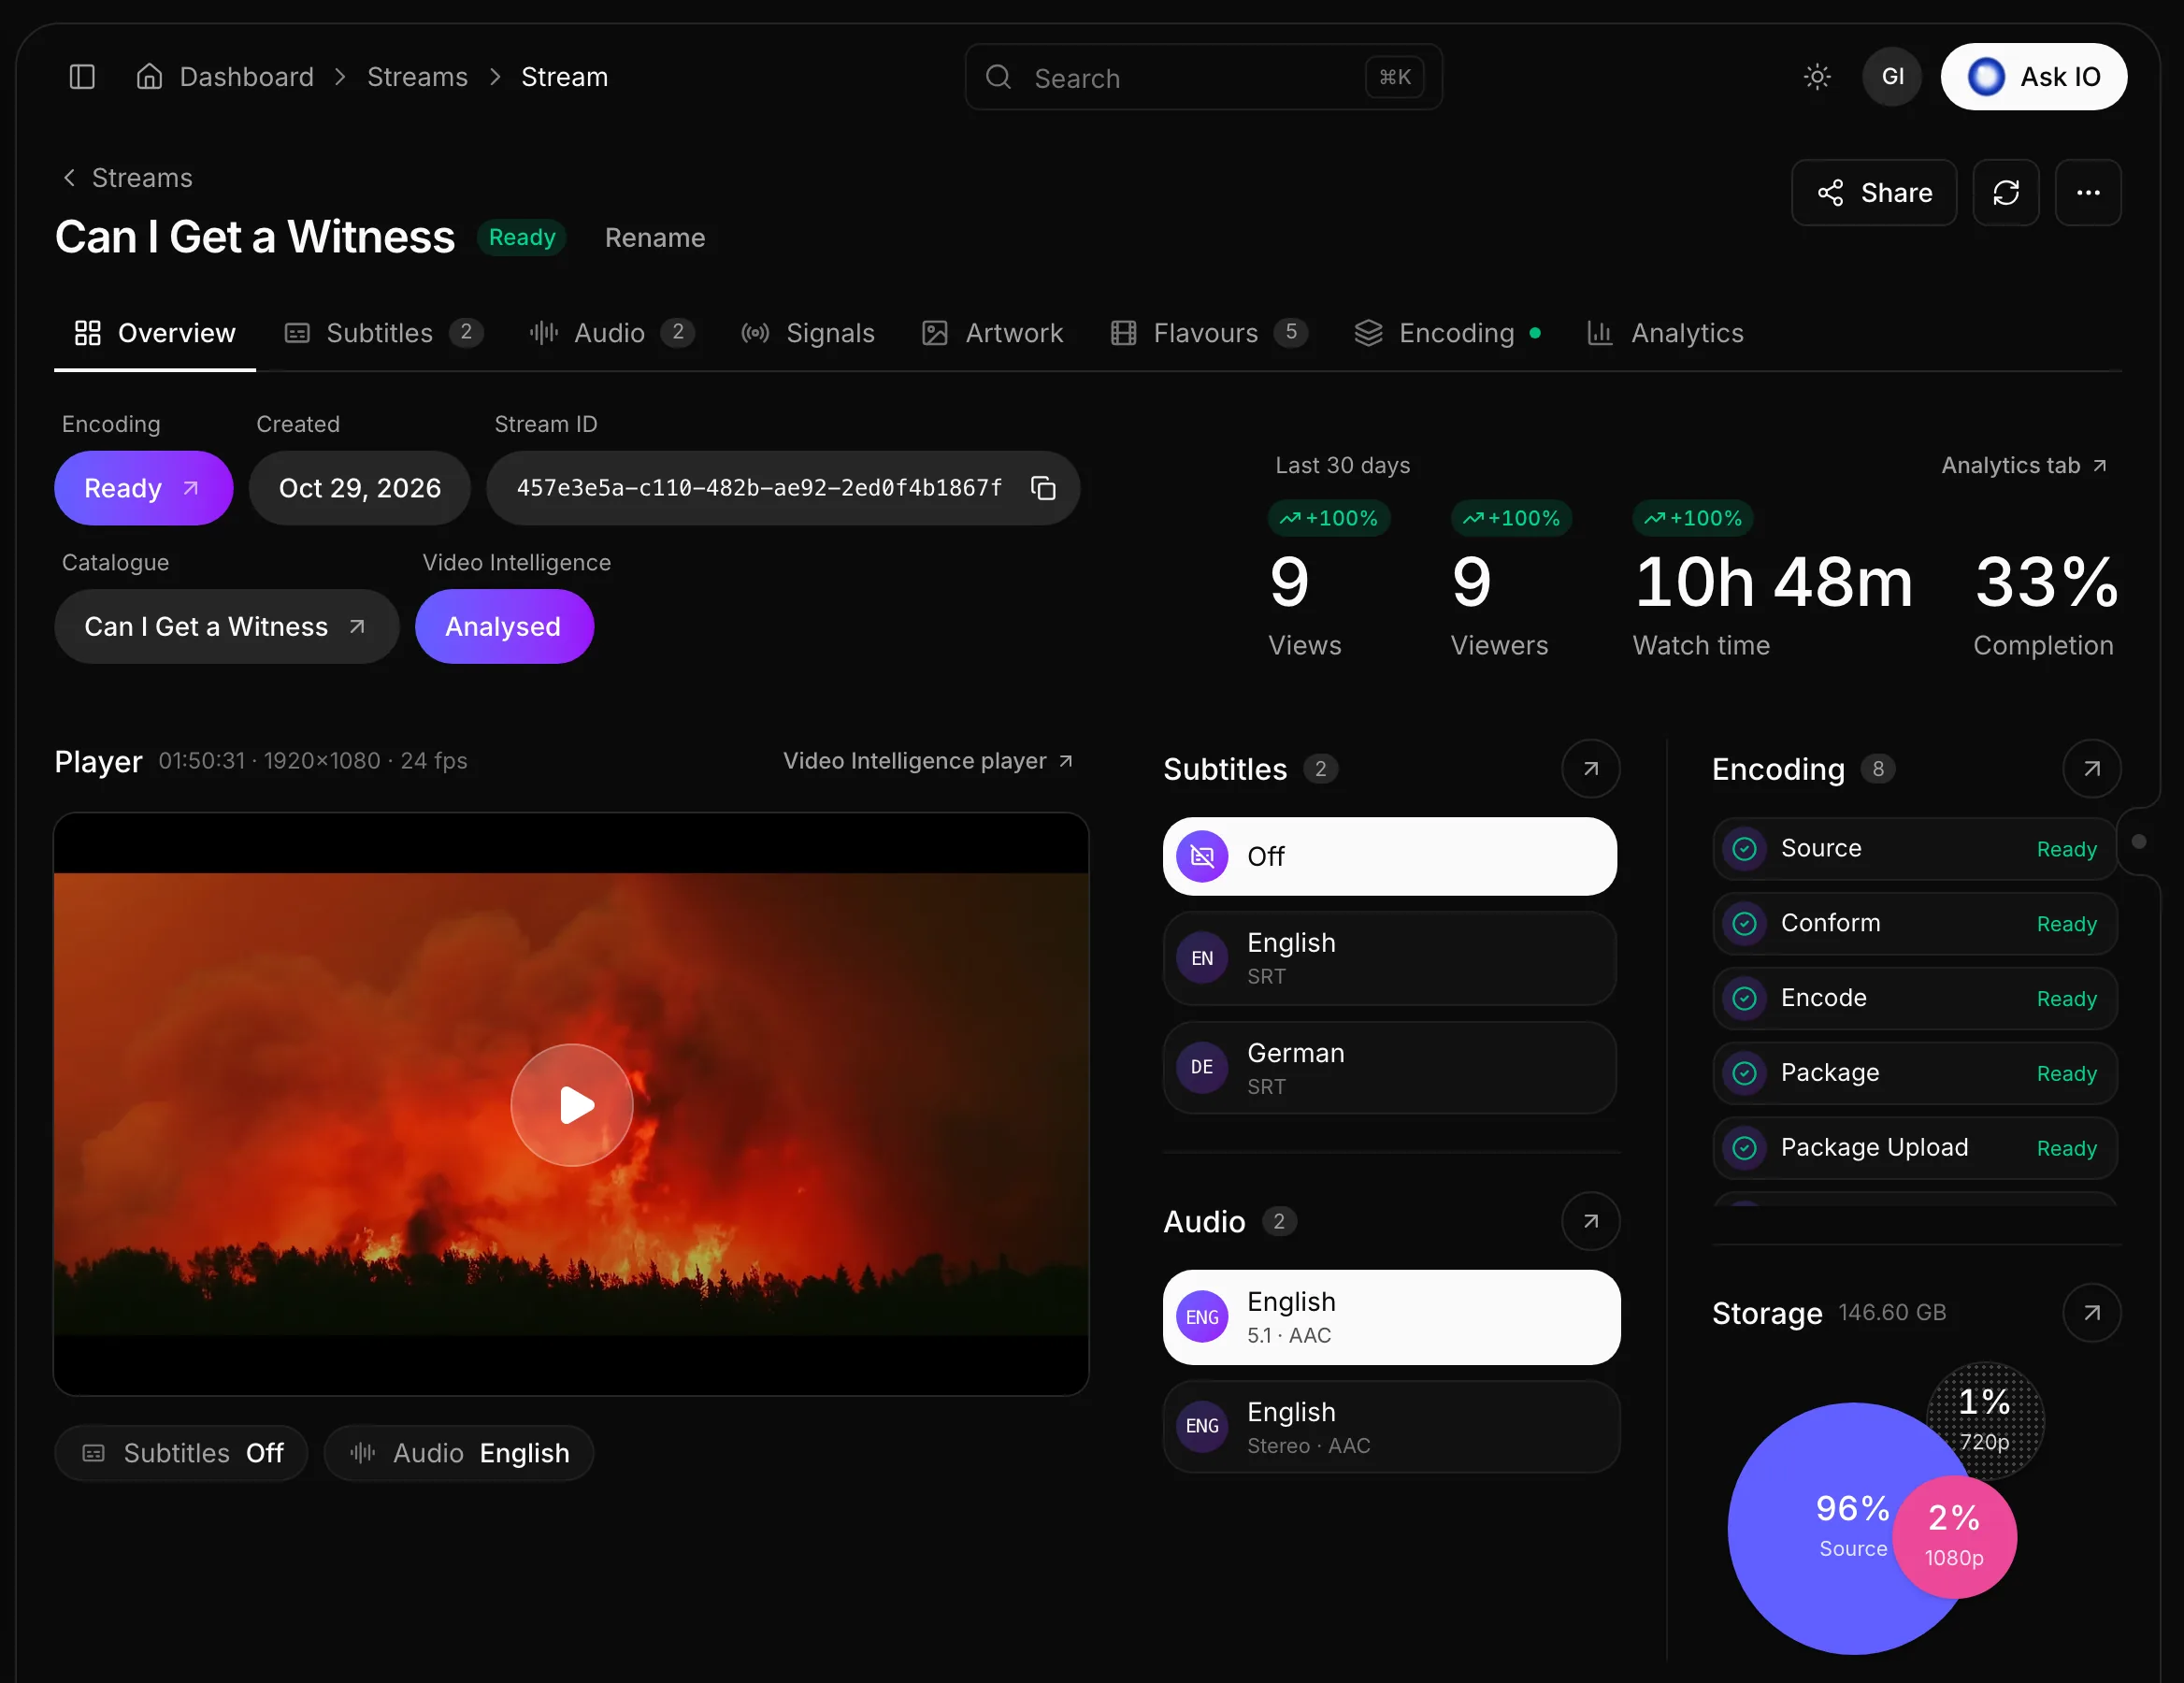
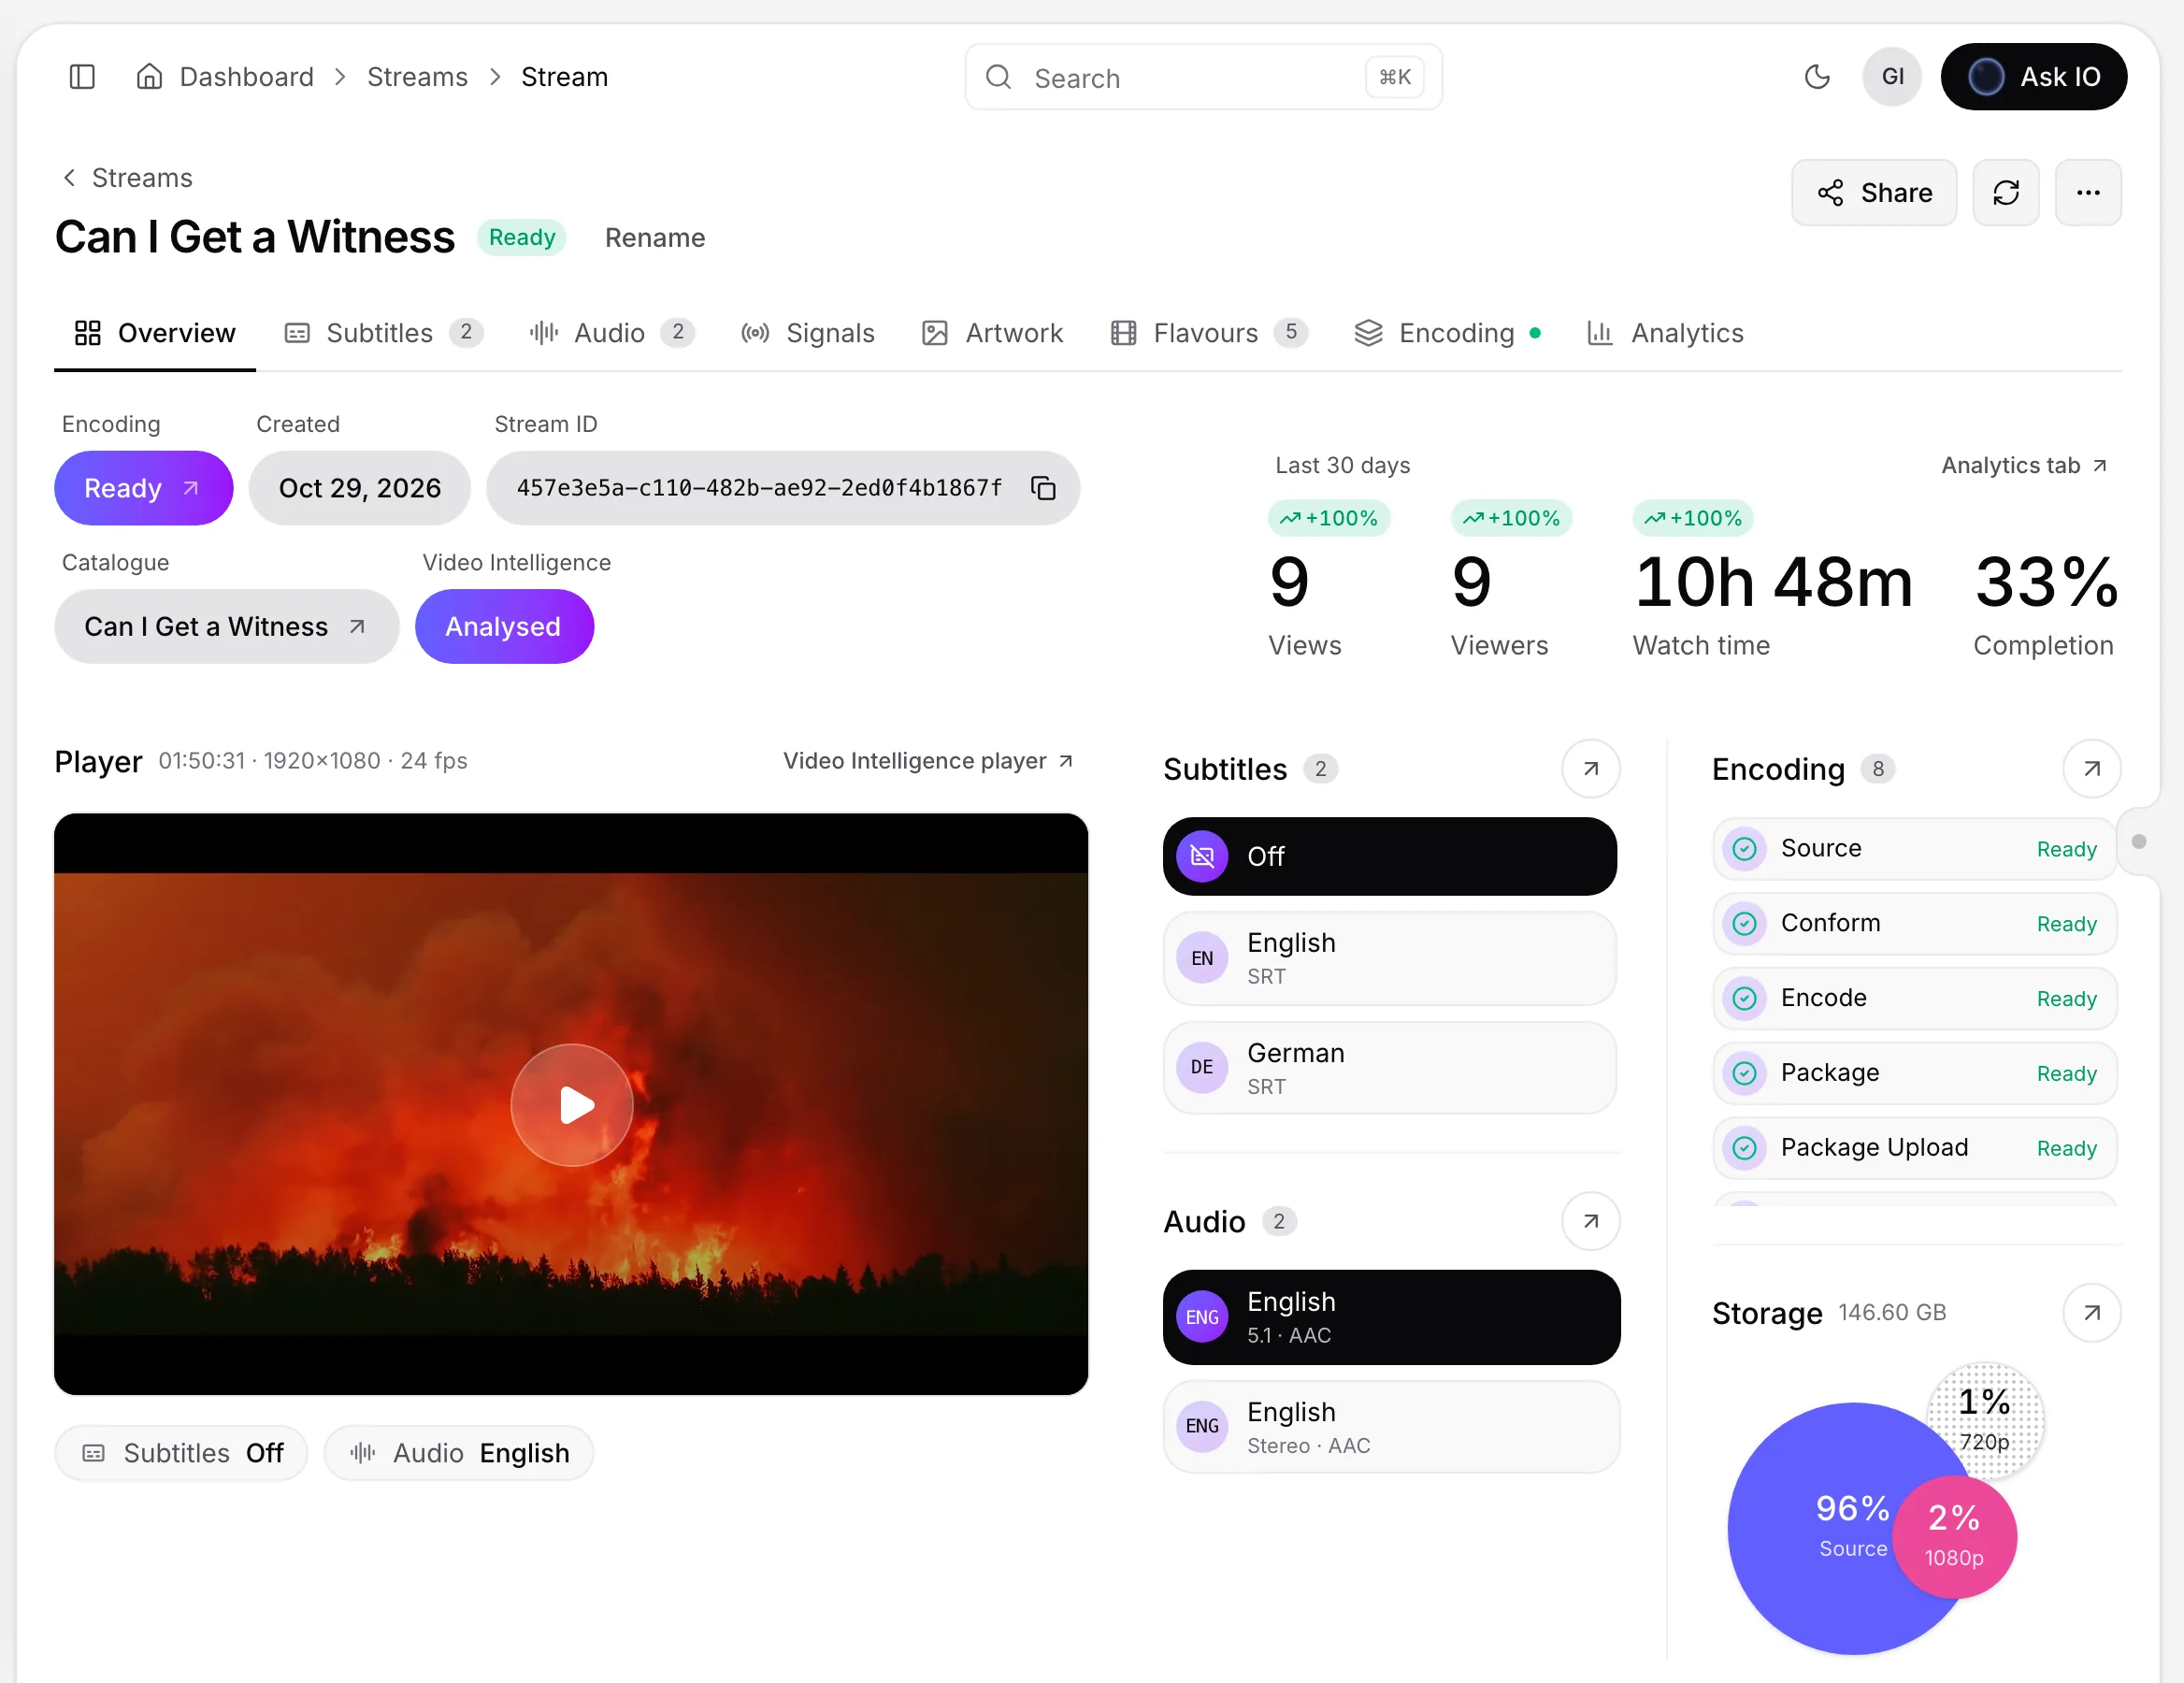
To ask questions about the video, select Ask IO about this video from the stream's More actions menu, or select Ask IO in the player. IO can find and play moments, open relevant player panels, and create a new video from moments in an answer. Asking IO requires the Use the Assistant and Ask Video Intelligence permissions, and the analysis must be ready.
How do I ask IO about a video and manage its video context?
To ask IO about a video, the video must have a finished Video Intelligence analysis.
- Open the stream’s page and choose More actions → Ask IO about this video. You can also open the Video Intelligence player and select Ask IO, or use Ask IO in the video editor.
- Ask your question in the chat. IO can find relevant moments, play them, show scenes, and open the player’s panels.
- To stop asking about the current video, click the × next to In context:.
You can attach a stream or an analysed uploaded video to your next message with Add media. To ask about a different video, remove the current context and attach or select the other video.
Using this feature requires Use the Assistant and Ask Video Intelligence permissions, as well as the Video Intelligence module in your plan. If IO cannot inspect the video, it indicates whether you lack access, the plan does not include Video Intelligence, the video has not been analysed, analysis is still running, or analysis failed.
What can IO do with an analyzed video?
Once Video Intelligence has finished analyzing a video, IO can:
- Answer questions about what is said, shown, and when it appears.
- Find relevant moments and provide playable links to those moments.
- Show scenes, entities, events, ads, artwork, music, and insights in the Video Intelligence player.
- Open the relevant player panels, jump to a time, and control playback, captions, focus regions, and the 9:16 crop preview.
- Create a new video from moments found in an answer. You can then reorder and edit the scenes, adjust framing and timing, add audio, text, images, or subtitles, and export the result as an MP4.
To use this feature, you need permission to use the assistant and ask Video Intelligence questions, and your plan must include Video Intelligence. The video must have a completed analysis; IO cannot inspect videos that are still processing, have failed analysis, or are unavailable to your role.
Why can’t IO answer questions about my video?
IO can look inside a video only when all of the following are true:
- The video has a finished Video Intelligence analysis. If it has not been analysed, is still being analysed, or its analysis failed, IO cannot answer questions about its contents.
- Your plan includes the Video Intelligence module.
- Your role has permission to use the assistant and ask Video Intelligence questions.
- You have access to the video's analysis.
For a stream that has not been analysed, open its stream page, choose More actions → Video Intelligence, review the estimated credit cost and your balance, and start the analysis. The stream must be Ready. If the analysis failed, use More actions → Retry Video Intelligence; you can retry the full analysis or, when only enrichment failed, retry enrichment.
When the analysis is ready, ask IO from Ask IO about this video on the stream page or from Ask IO in the Video Intelligence player. The video remains in context until you remove it with ×.
If you still cannot access the analysis, IO displays the reason, such as missing access, an unavailable plan module, an analysis that is not ready, or a failed analysis.
How do I create, edit, and export a video from moments?
Ask IO about an analysed video, then click Create video under an answer that cites moments. The editor opens with each moment as a scene. Creating and saving changes requires Edit Video Compositions permission.
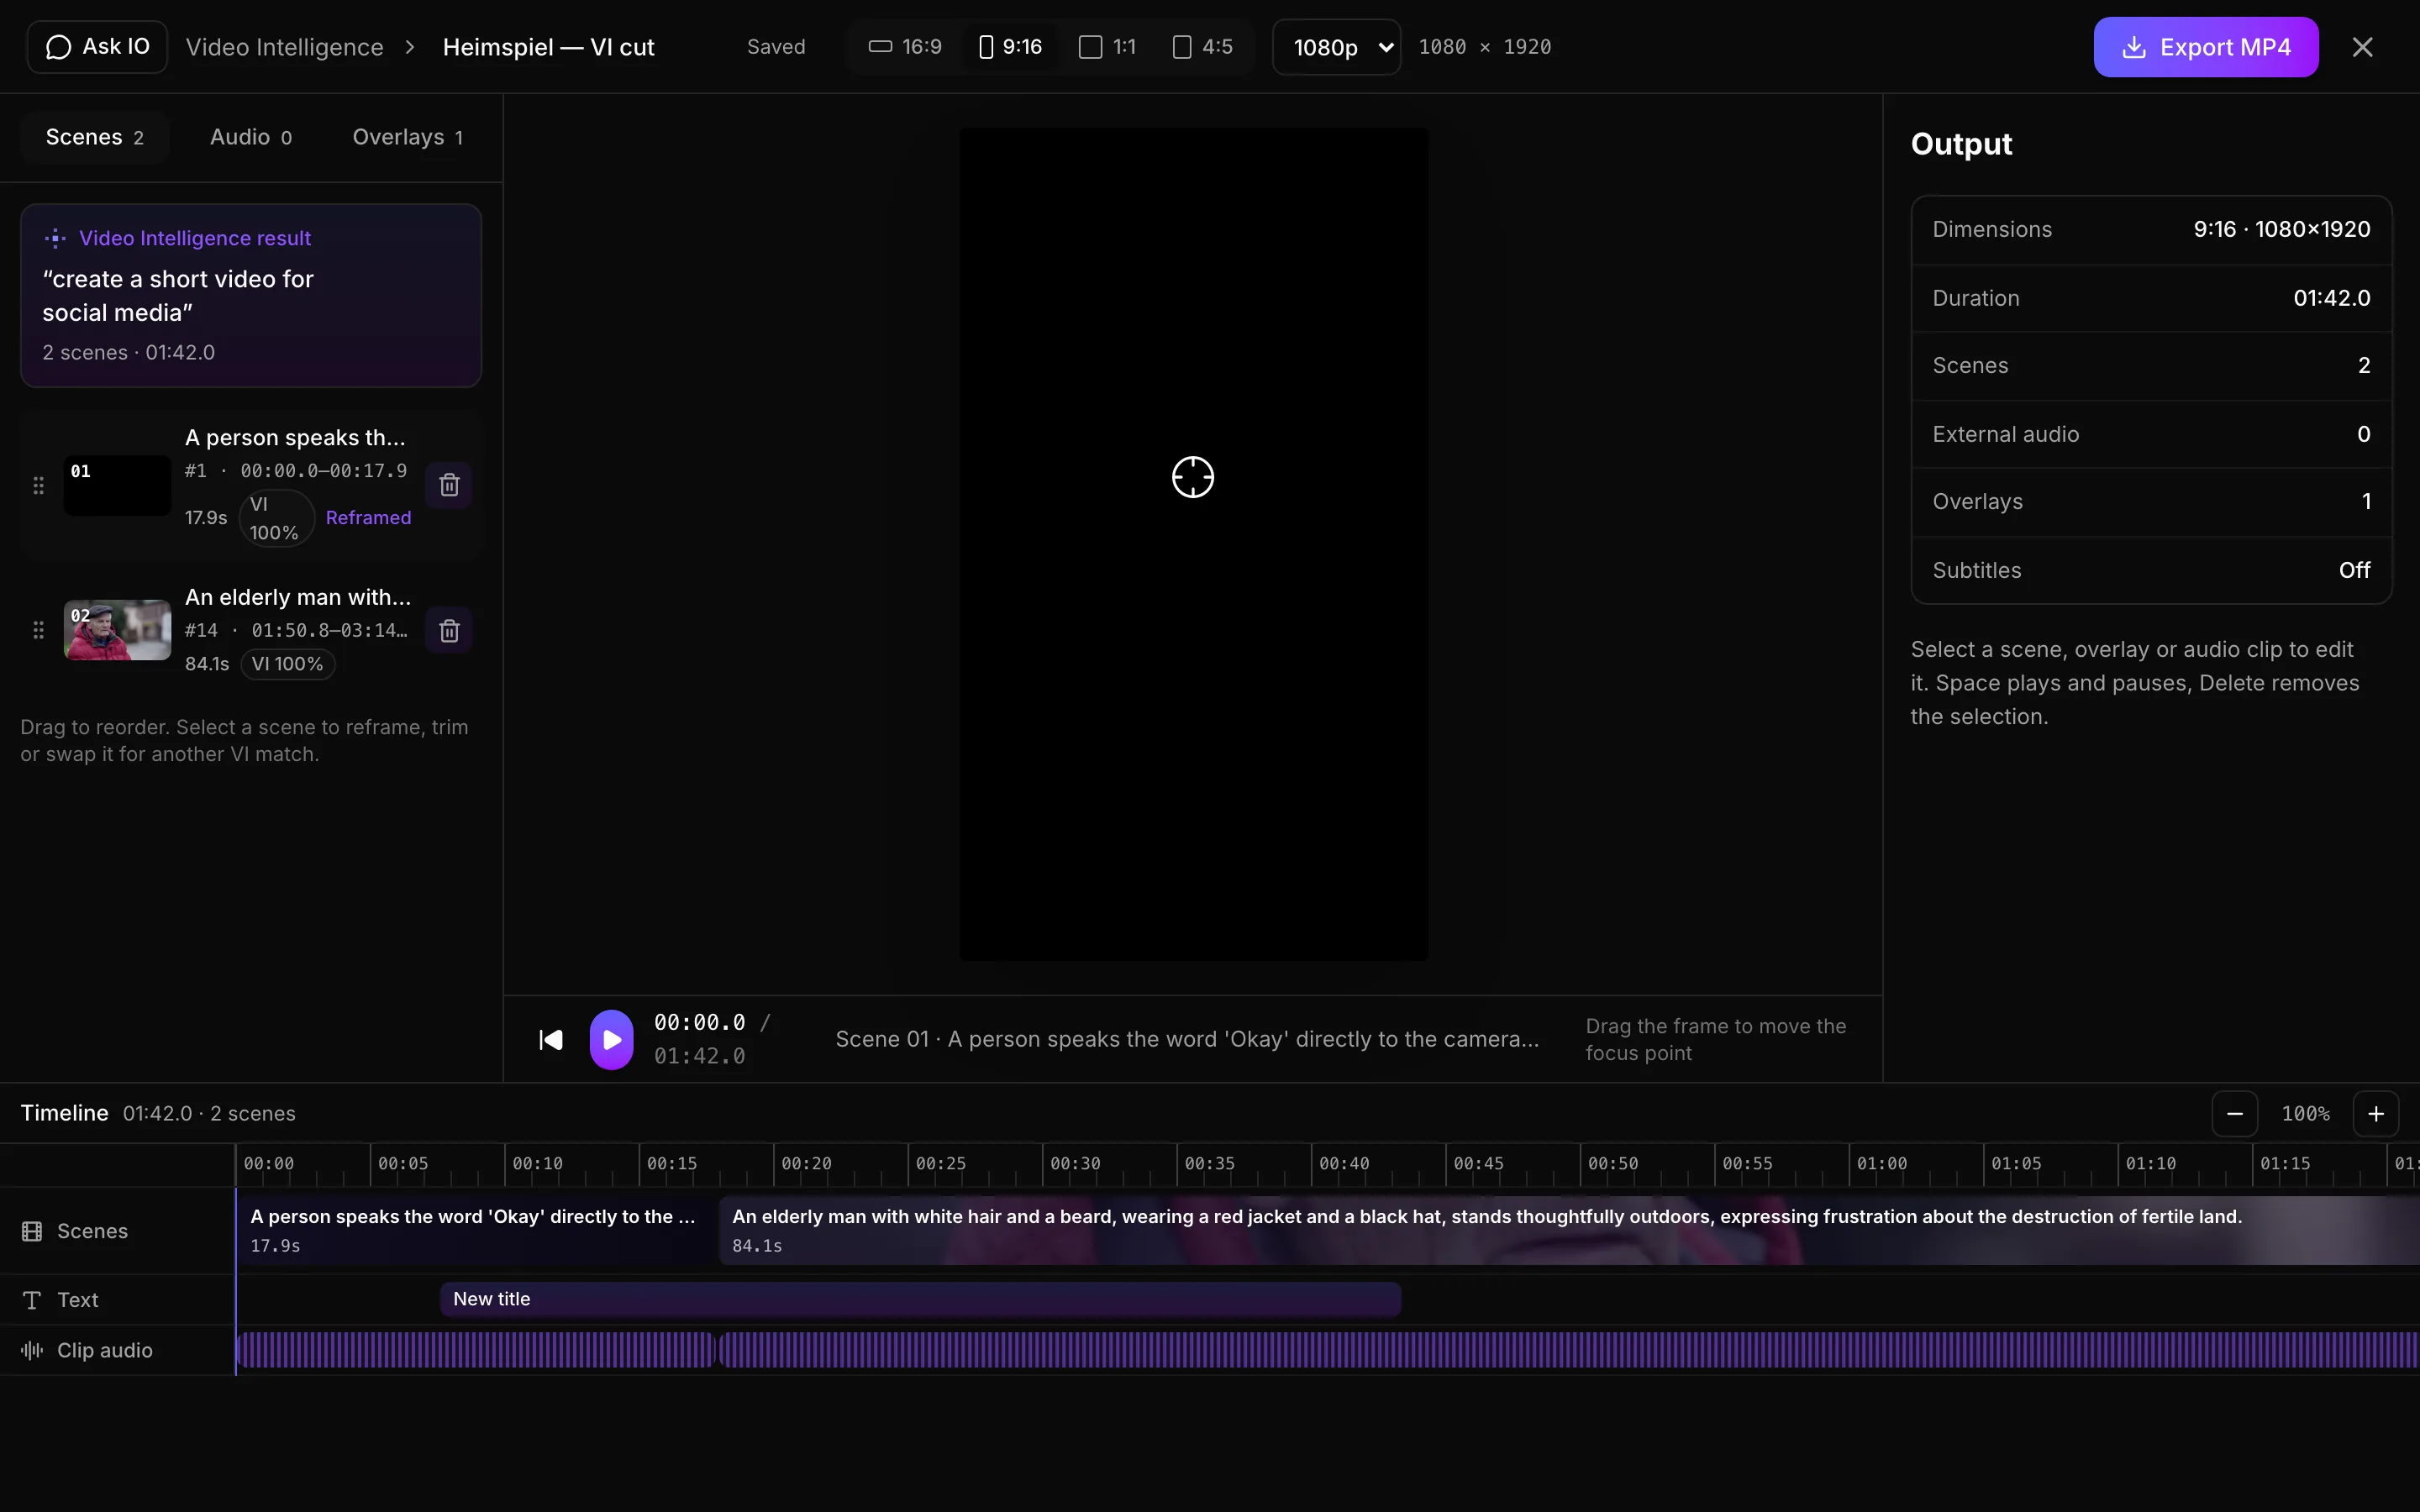
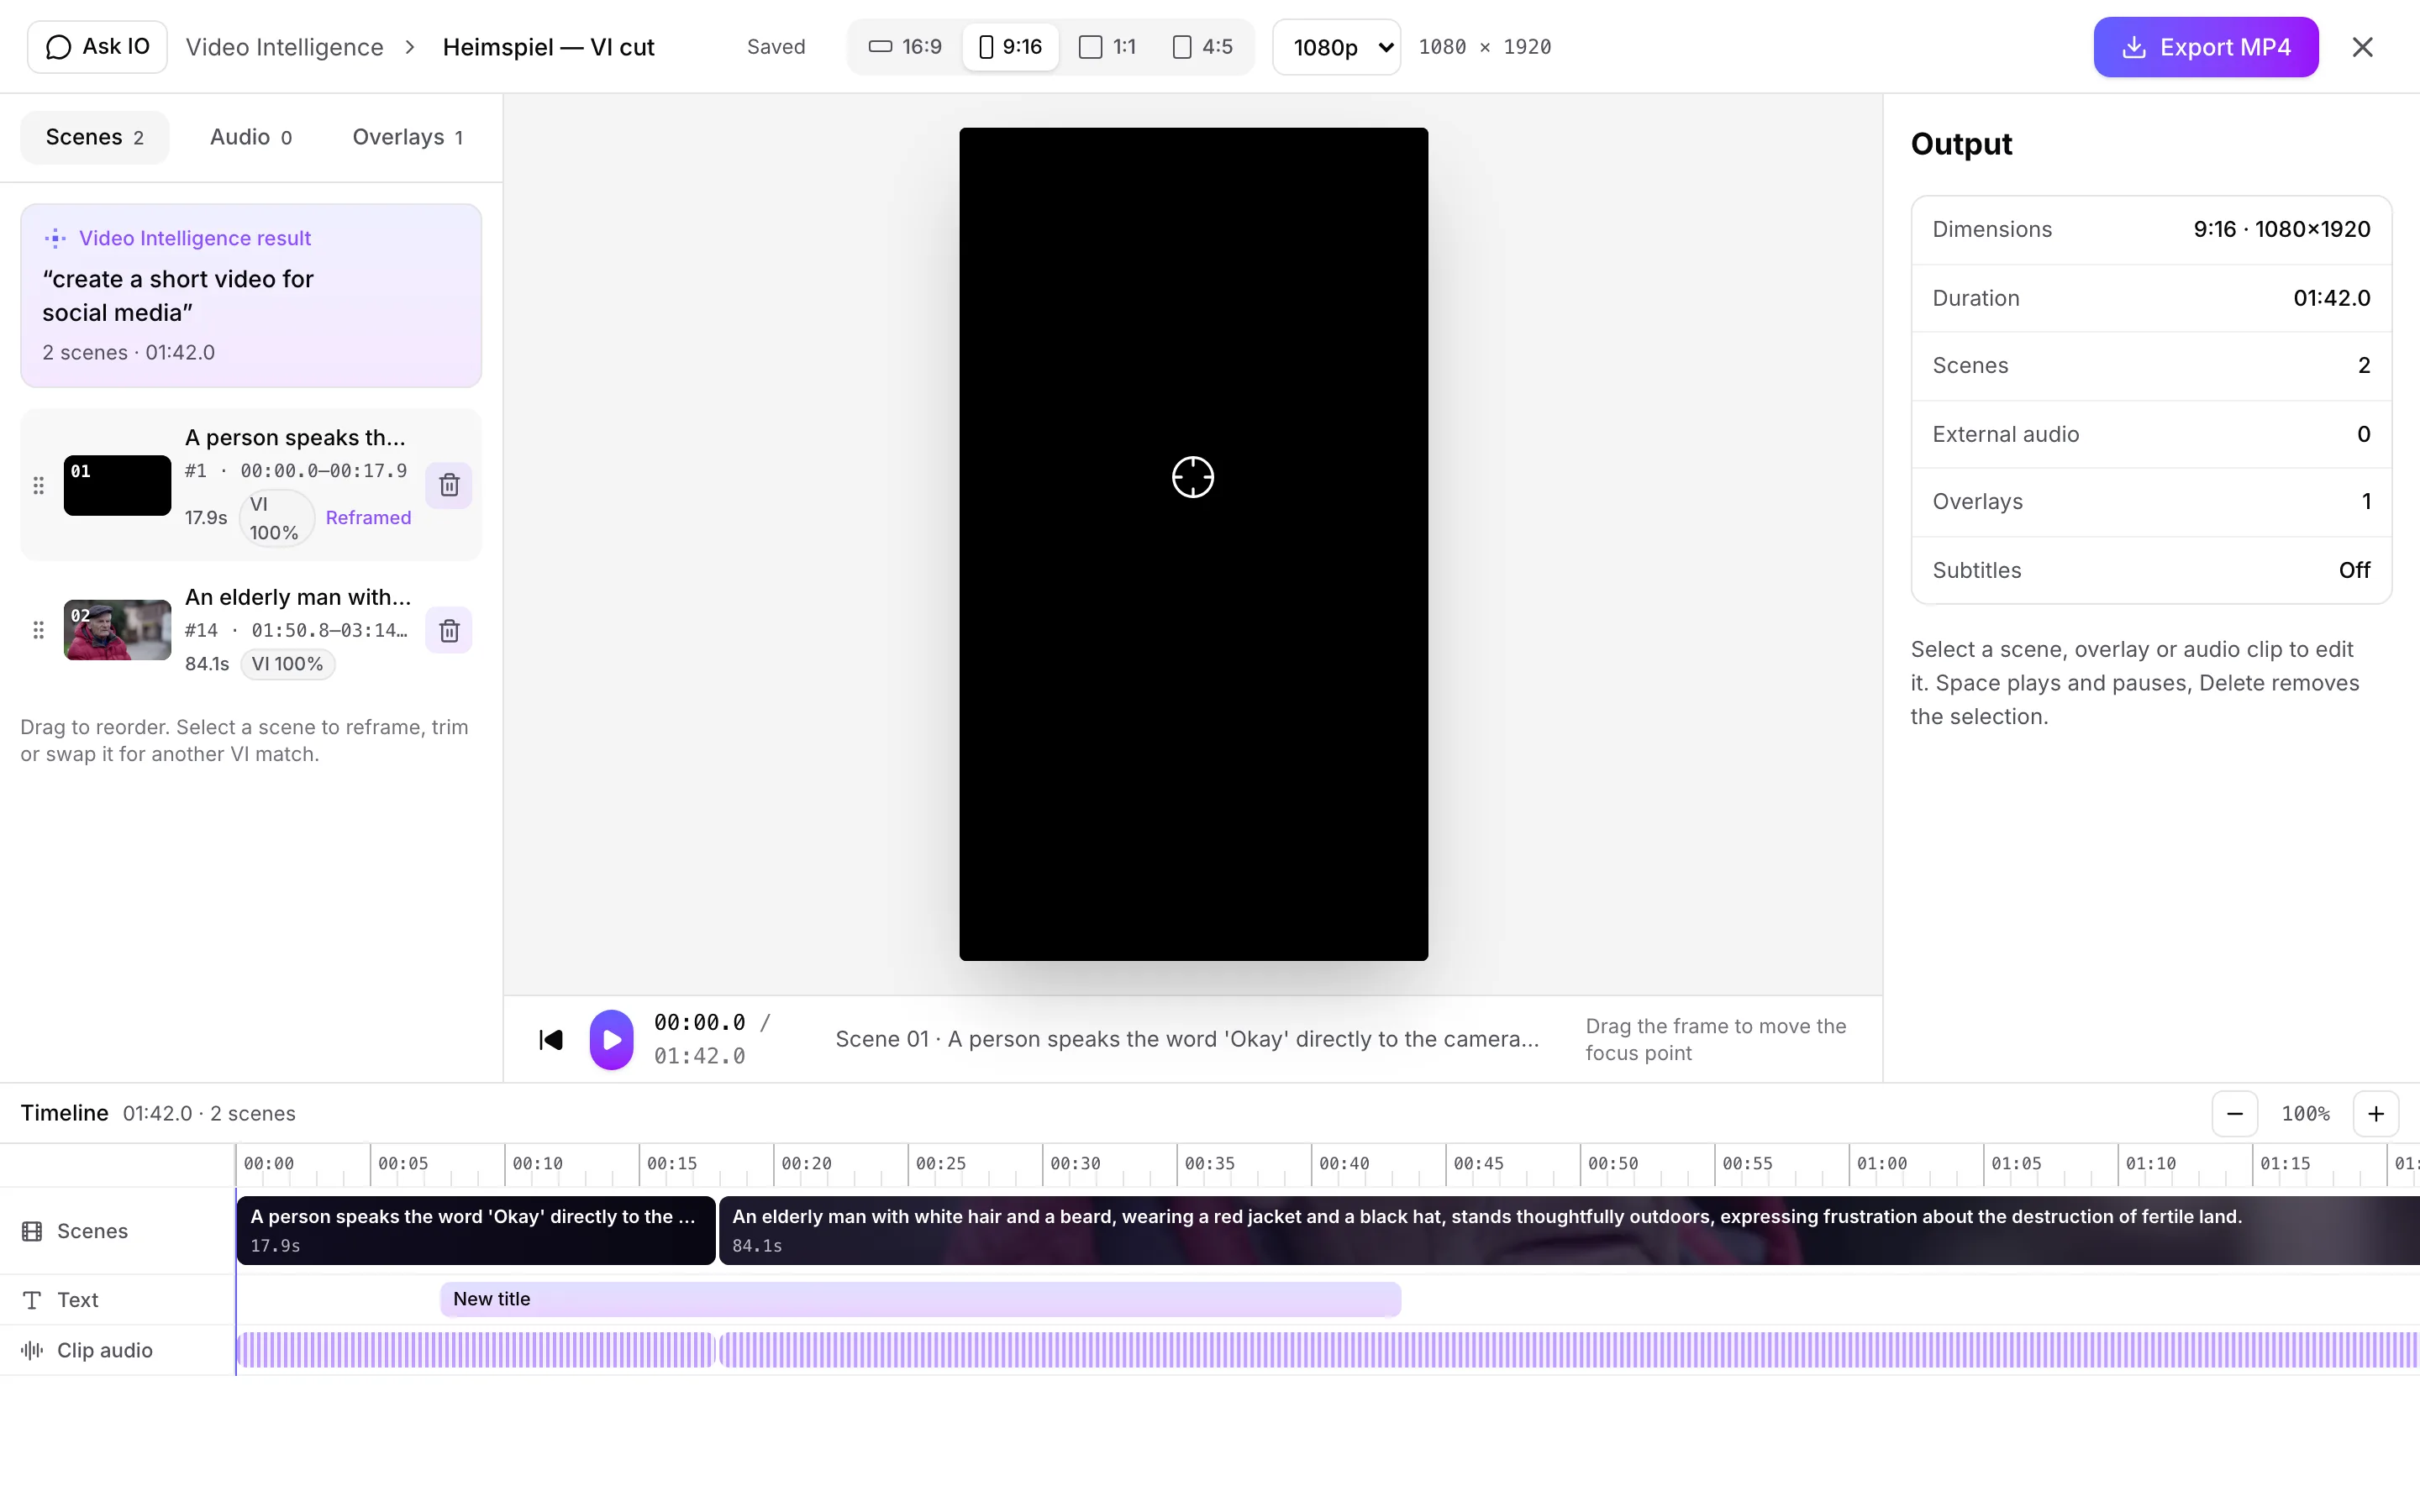
In the editor, you can:
- Rename the video and choose an aspect ratio (16:9, 9:16, 1:1 or 4:5) and resolution (720p, 1080p or 4K).
- Reorder, remove and restore scenes.
- Adjust a scene's focus point, zoom, in and out points, speed, transition, and clip audio, or replace it with an alternate match.
- Add music, a voiceover or other audio, with controls for volume, placement and fades.
- Add titles, lower thirds, captions, brand tags and images, and adjust their style, position, timing and animation.
- Turn on subtitles and choose a subtitle track. Subtitles come from the stream's subtitle tracks; videos made from uploaded files do not have subtitles.
To export, click Export MP4, review the file name, dimensions, resolution, frame rate, quality and subtitle option, then click Render MP4. When rendering finishes, download the MP4 and, if available, its .srt sidecar, or save the video to archives. Exporting requires Render Video Compositions permission. Saving to archives requires the stream to be linked to a catalogue. If rendering fails, click Try again.
Your videos appear under Video Intelligence > Videos, where you can open them in the editor. The list requires View Video Compositions permission; deleting a video requires Edit Video Compositions permission. Deleting removes the video and its exports, but files already saved to archives remain.
Monetization
How do I create and manage licensors, including revenue shares and payment details?
A licensor is a rights holder whose titles you sell, such as a studio, distributor, or producer. Licensors are managed from Monetization > Licensors.
Create a licensor
- Open Licensors and select Create licensor.
- Enter the licensor’s name. This is the only required field.
- Add optional contact, address, business, and status information.
- In Revenue & Payment, enter the revenue share percentage, minimum guarantee, payment currency, payment method, and payment details.
- Under Additional contacts, select Add contact for each additional person.
- Select Create.
The licensors list shows each licensor’s name, email, revenue share, and status, and includes search.
Manage a licensor
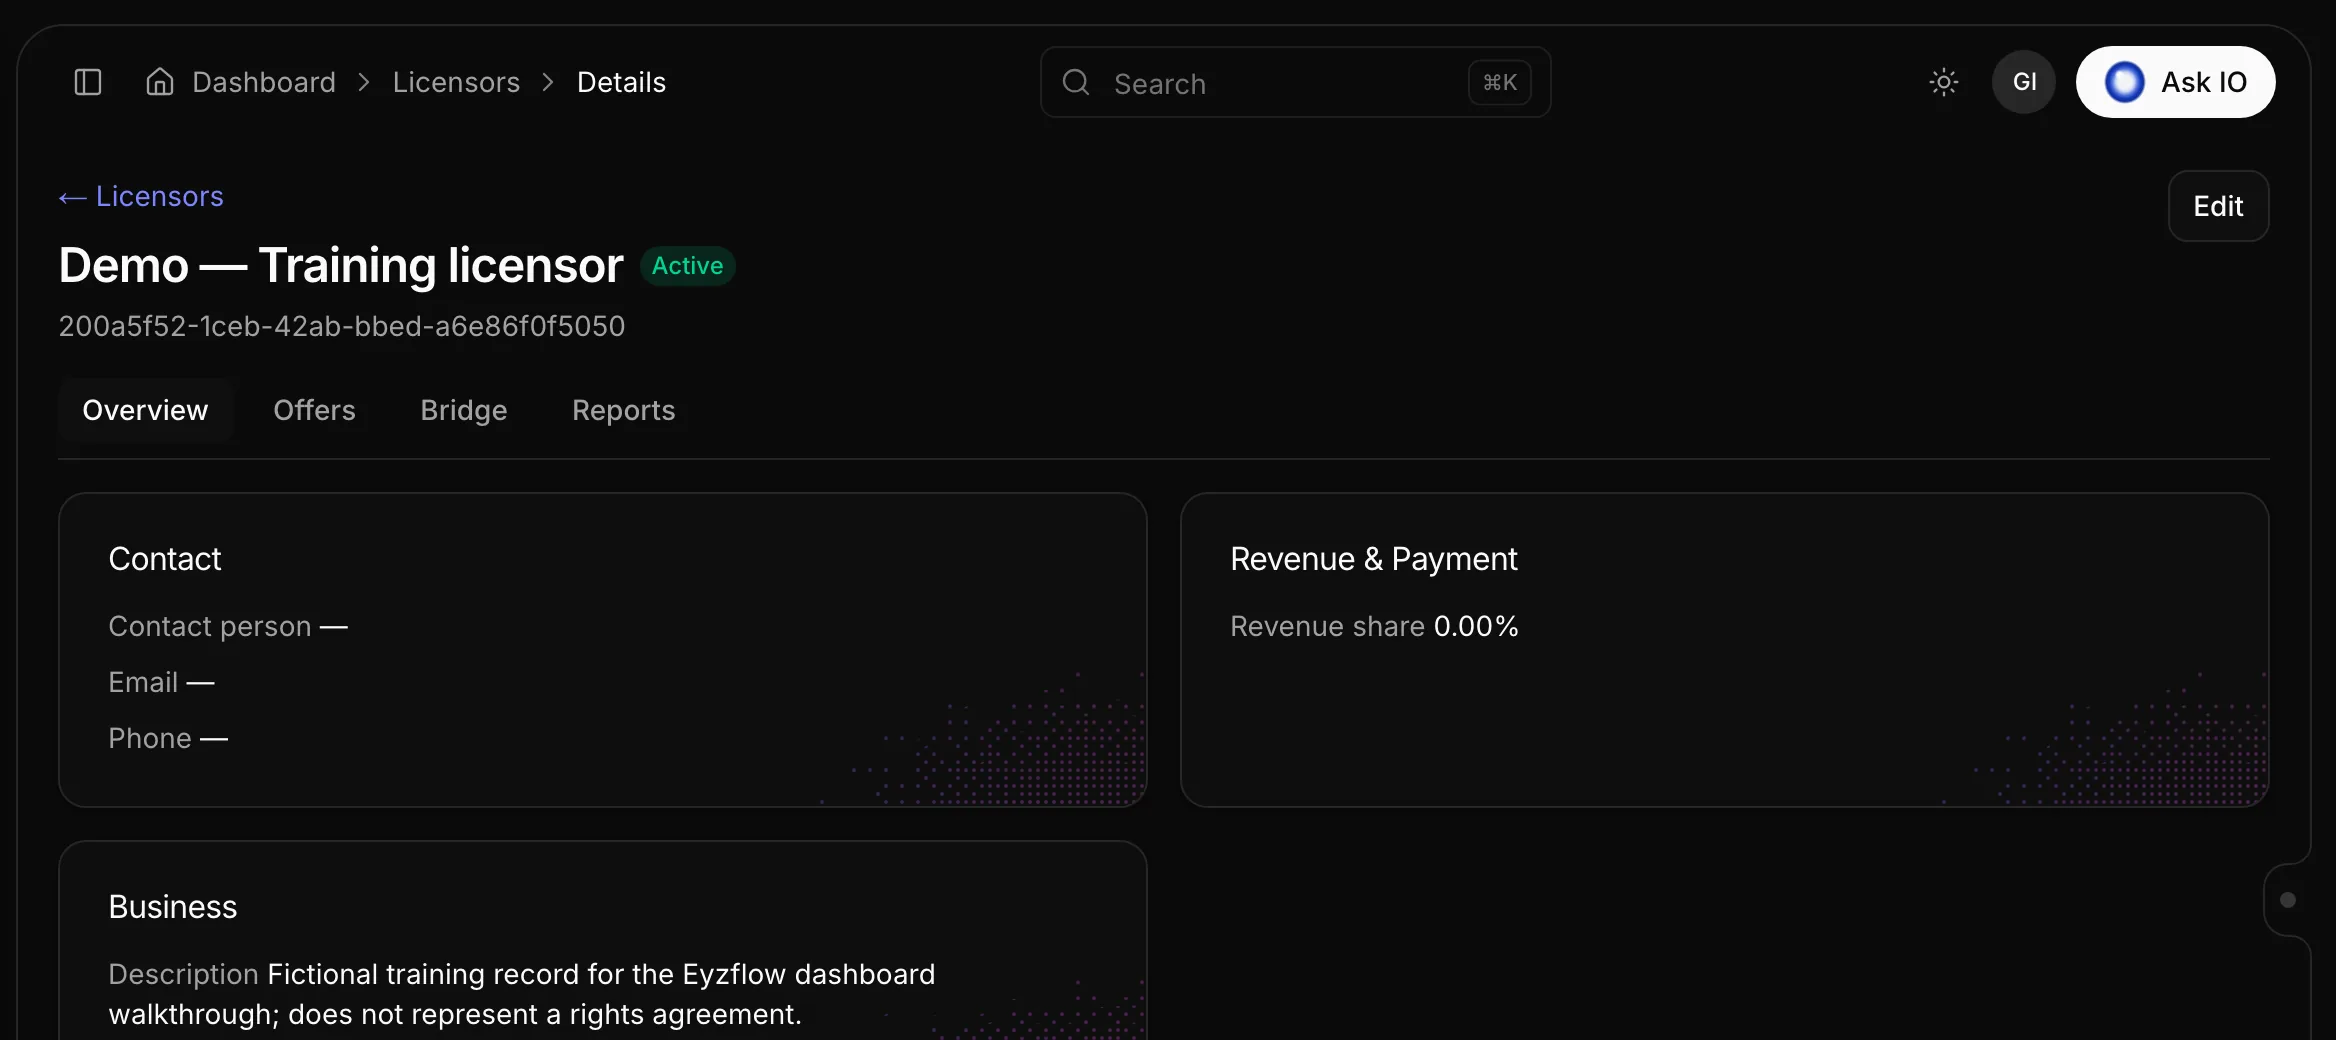
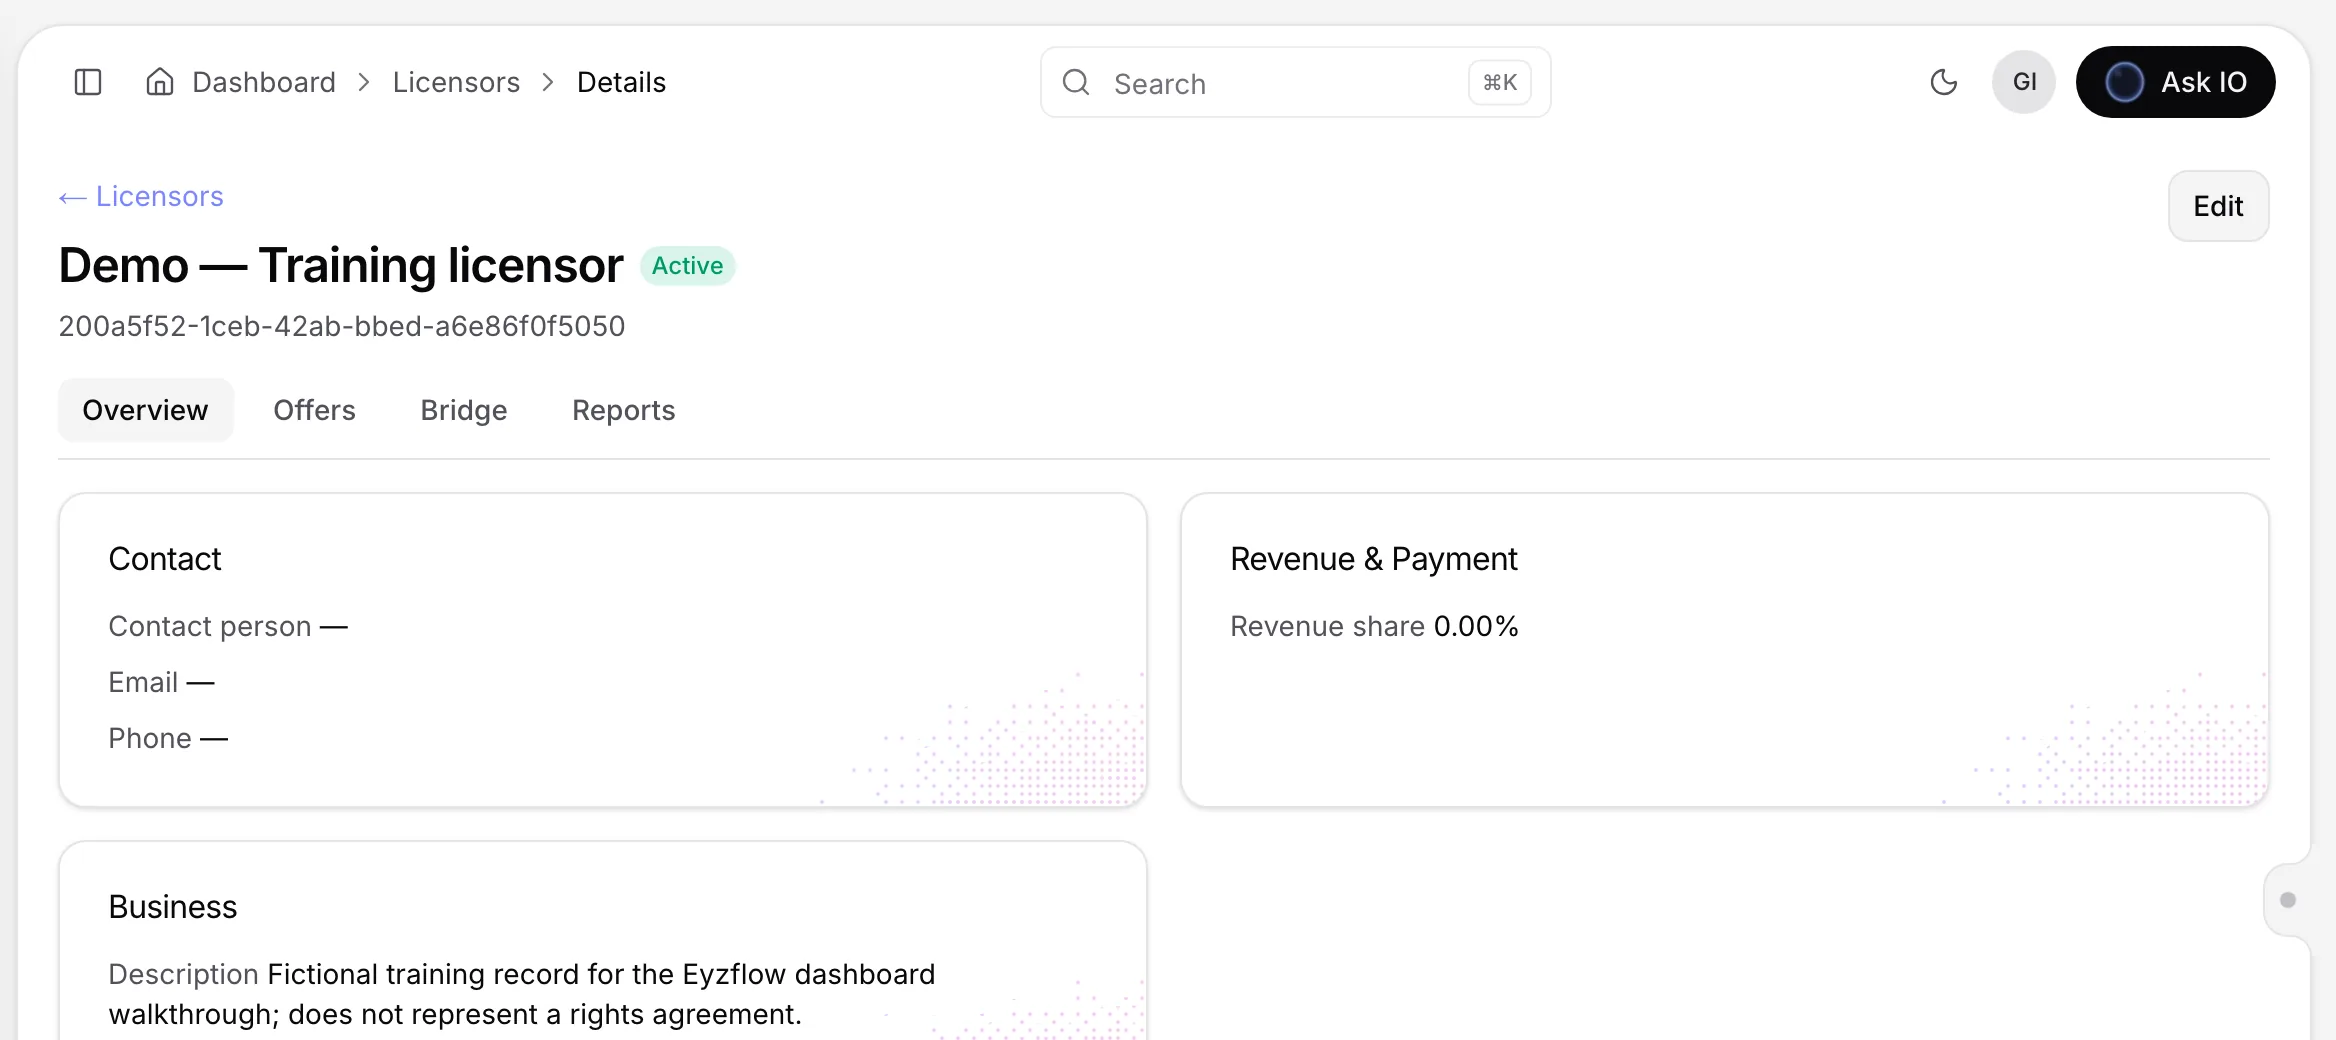
Open a licensor from the list to review:
- Overview — contact details, address, revenue and payment settings, and additional contacts.
- Offers — offers that name the licensor.
- Bridge — the licensor’s workspace for sharing files.
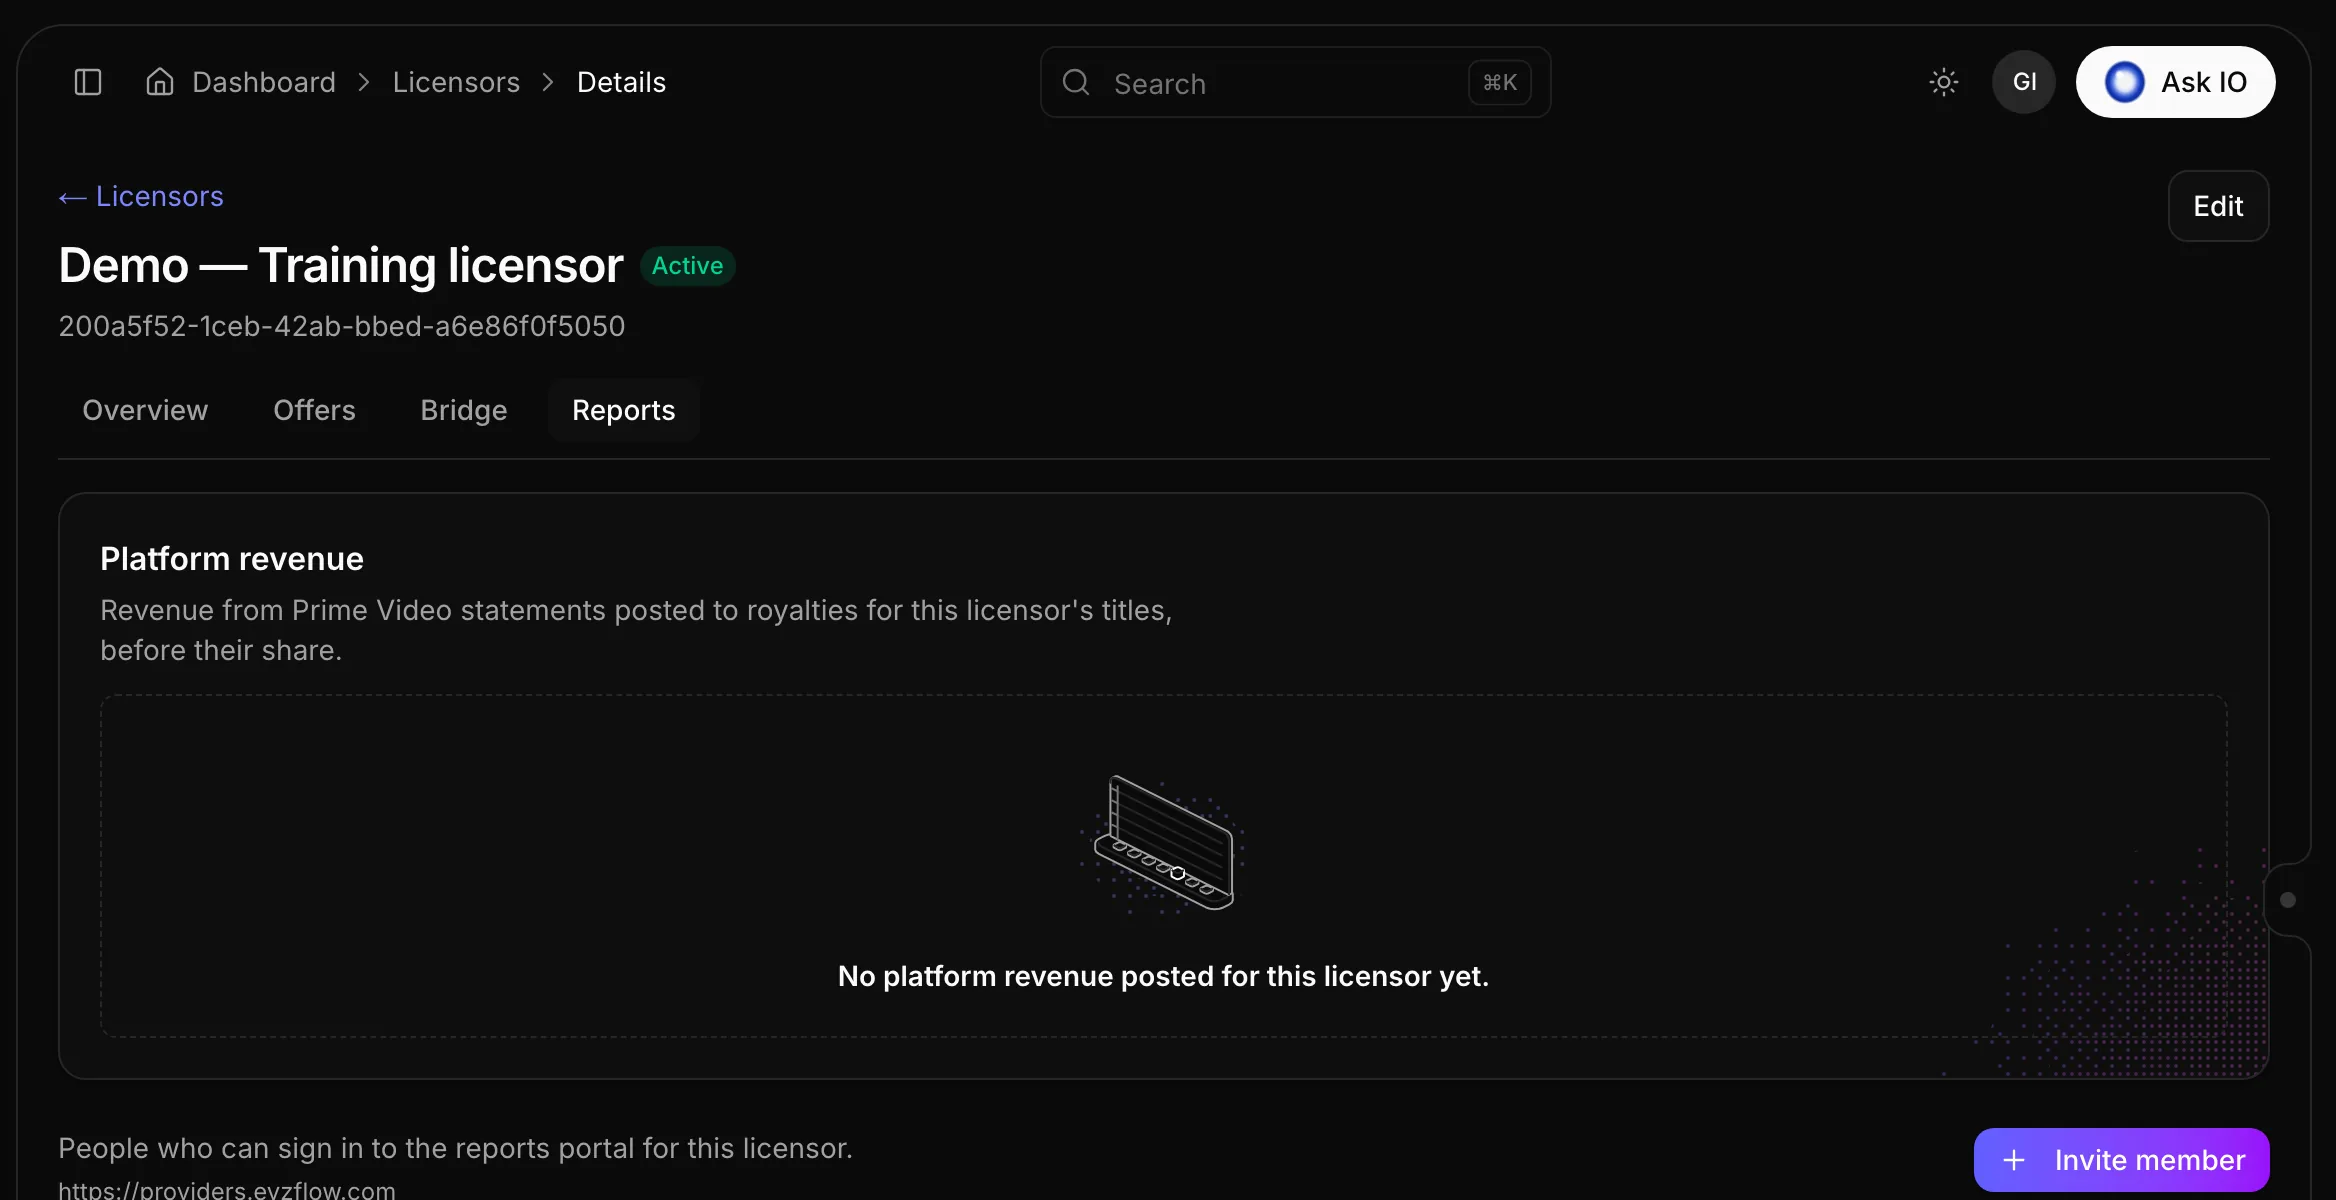
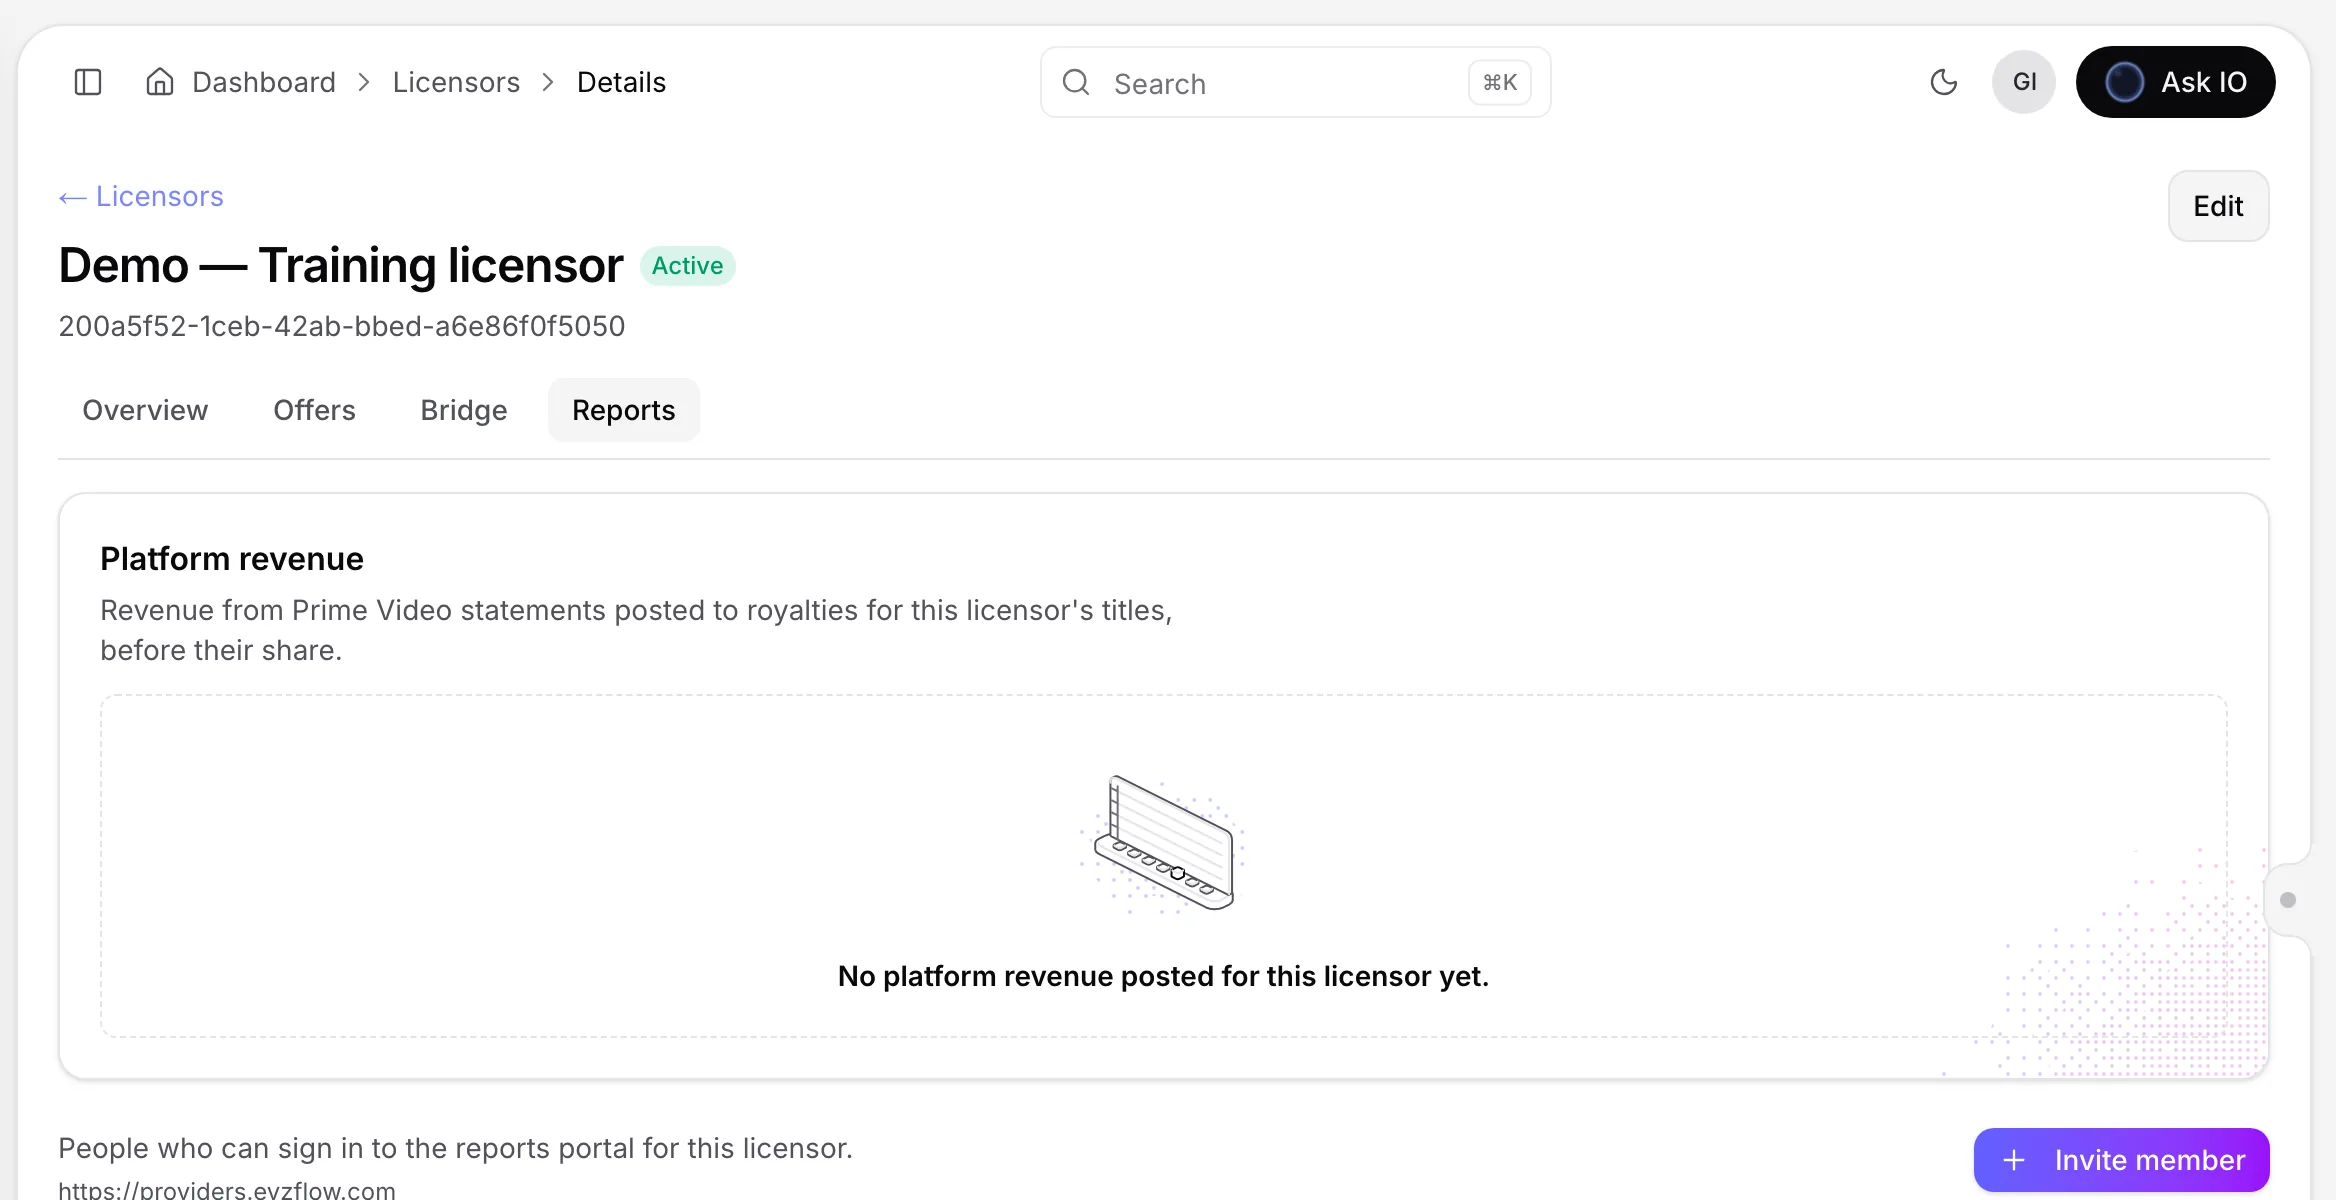
- Reports — platform revenue for the licensor’s titles and people who can access the reports portal.
Select Edit to change the licensor’s details, including revenue share and payment information.
To give a licensor’s people access to reports, open Reports, select Invite member, choose a contact email or enter another email address, and select Send invite. You can resend, disable or enable, and remove access for existing members. If no contact emails are available, add them by editing the licensor first.
You need the Monetization module and permission to view licensors. Creating licensors requires permission to create them, and editing requires permission to edit them.
How can I share files with licensors and give them access to royalty reports?
To share files with a licensor through Bridge and give their team access to royalty reports, complete these steps on the licensor’s page.
Share files through Bridge
- Open the licensor’s Bridge tab.
- Click Enable Bridge to create the licensor’s workspace.
- Click Invite member, choose one of the licensor’s contact email addresses—or enter another email address—and click Send invite.
The Bridge tab then lists the workspace members and files. Members upload files through the Bridge portal. You can browse folders, search within the current folder, sort by name, size or modified date, and download files.
Give access to royalty reports
- Open the licensor’s Reports tab.
- Click Invite member.
- Choose a licensor contact email—or enter another email address—and click Send invite.
The invited person receives access to the reports portal by email. From the member’s row, you can resend the invitation, disable or enable access, or remove the member. If the licensor has no contact emails, add them while editing the licensor first.
Required access
- Viewing the licensor and its Bridge tab requires View Licensors and View Bridge Accounts.
- Enabling Bridge requires Create Bridge Account.
- Inviting, resending invitations, removing members and disabling the workspace require Update Bridge Account.
- Viewing files requires View Bridge Files.
- Managing licensor details, including adding contact emails, requires Edit Licensors.
How can I make a title available for pre-order, and when can viewers start watching it?
To set up a pre-order:
- Open the title’s offer, or create an offer for the title.
- In Availability, set Offer window start to when viewers can begin buying the title.
- Set Pre-order end to when viewers can begin watching, such as the release date.
- Check the status notice under the dates, then create the offer or save the changes.
Viewers can buy the title after the offer window starts, but they cannot watch it until the pre-order end. Playback follows the licence term, and the pre-order end cannot be later than the licence end. The offer start also cannot be later than the licence end.
How do I configure an offer’s licensing, availability, products, storefronts, and streams?
To configure an offer for a catalogue title:
- Open Offers and select Create offer. You can also start from a title’s Offers tab by selecting New offer; the title is then filled in.
- In Title, enter the offer name and choose the catalogue title. For a series, select the season and episode as needed.
- In Licensor, choose the licensor and open Licence terms. Set the licence model, licence types, rights scope, territories, licence term and renewal, exclusivity, and commercial terms such as a flat fee, revenue share, or minimum guarantee. Select Apply when finished.
- In Availability, choose the stage—Draft, Test, or Published—and set the offer window’s start and end dates. You can also set a pre-order end date if viewers should be able to buy before playback begins.
- In Products and storefronts, select the products that sell the title, then choose whether all plans or only selected plans apply. Select the storefronts where the offer should appear.
- In Streams, select the full film, trailer, and any extra videos.
- Select Create offer.
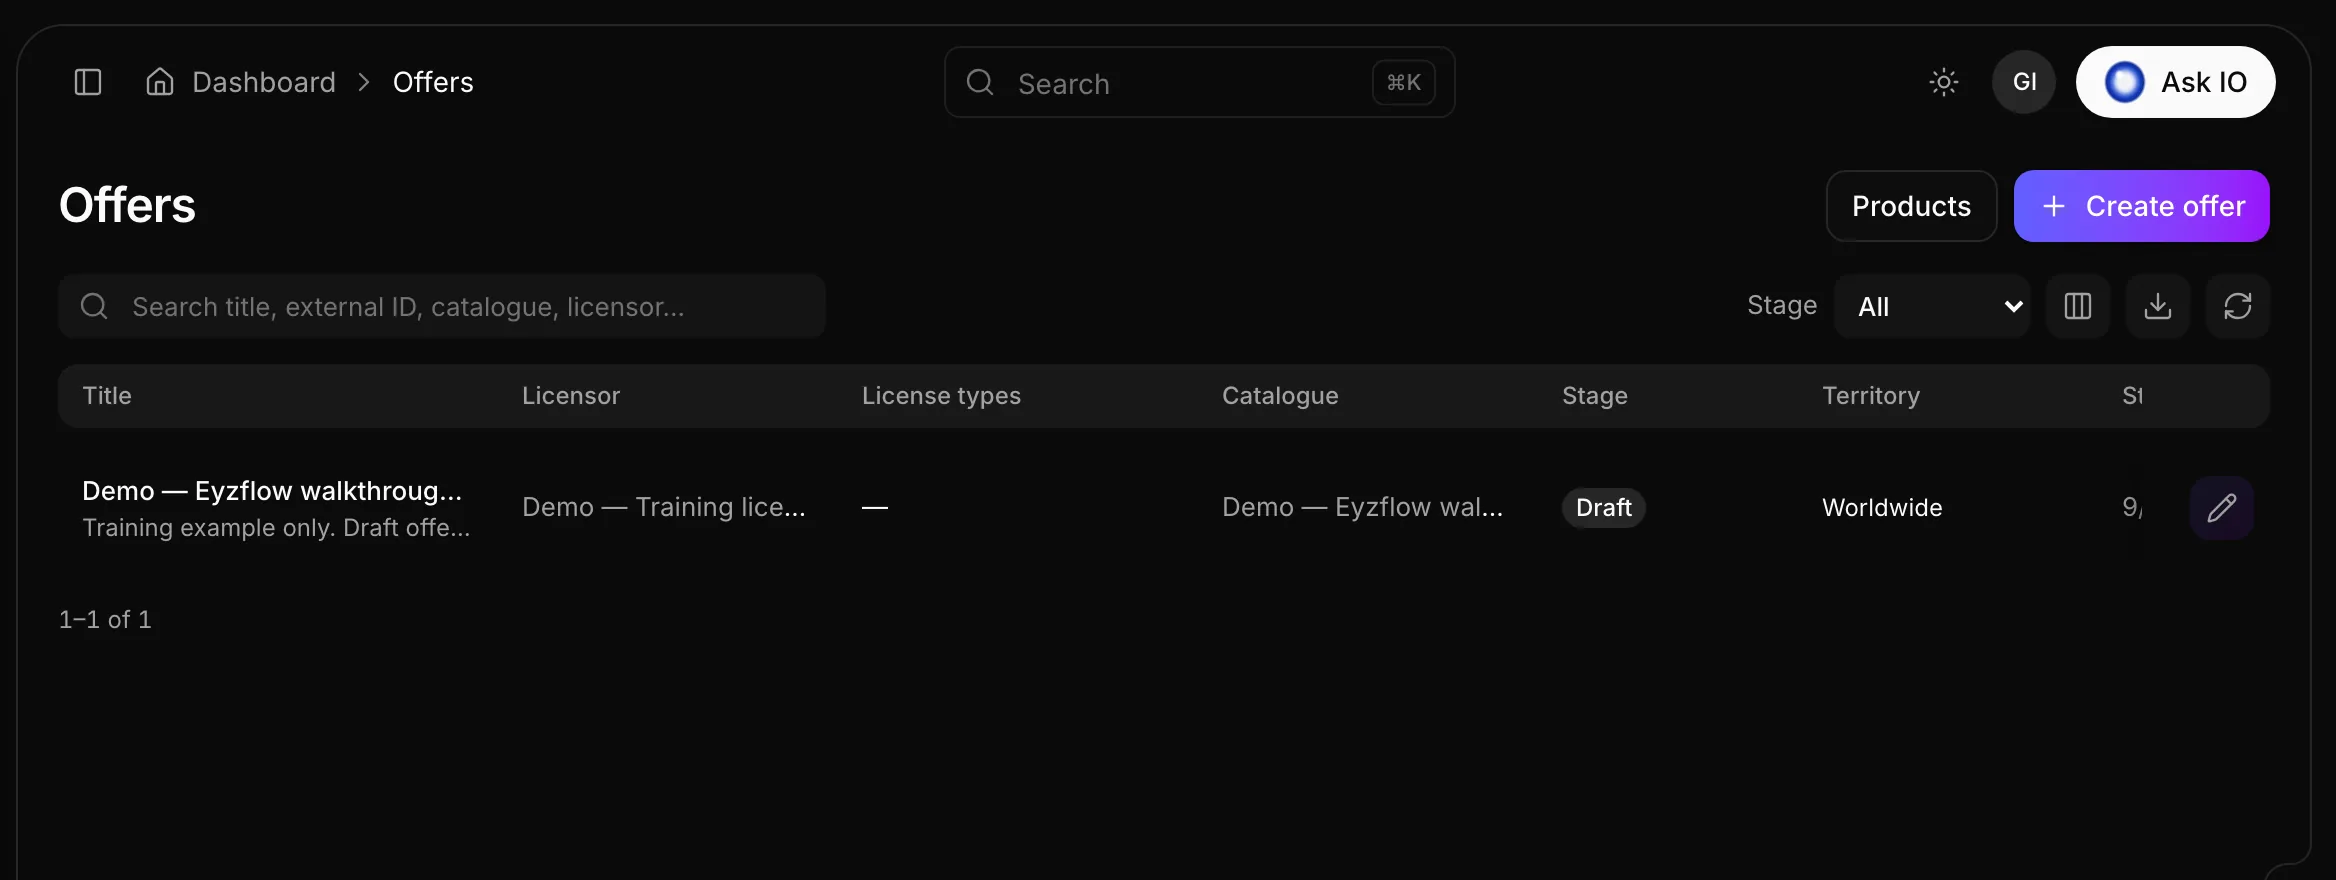
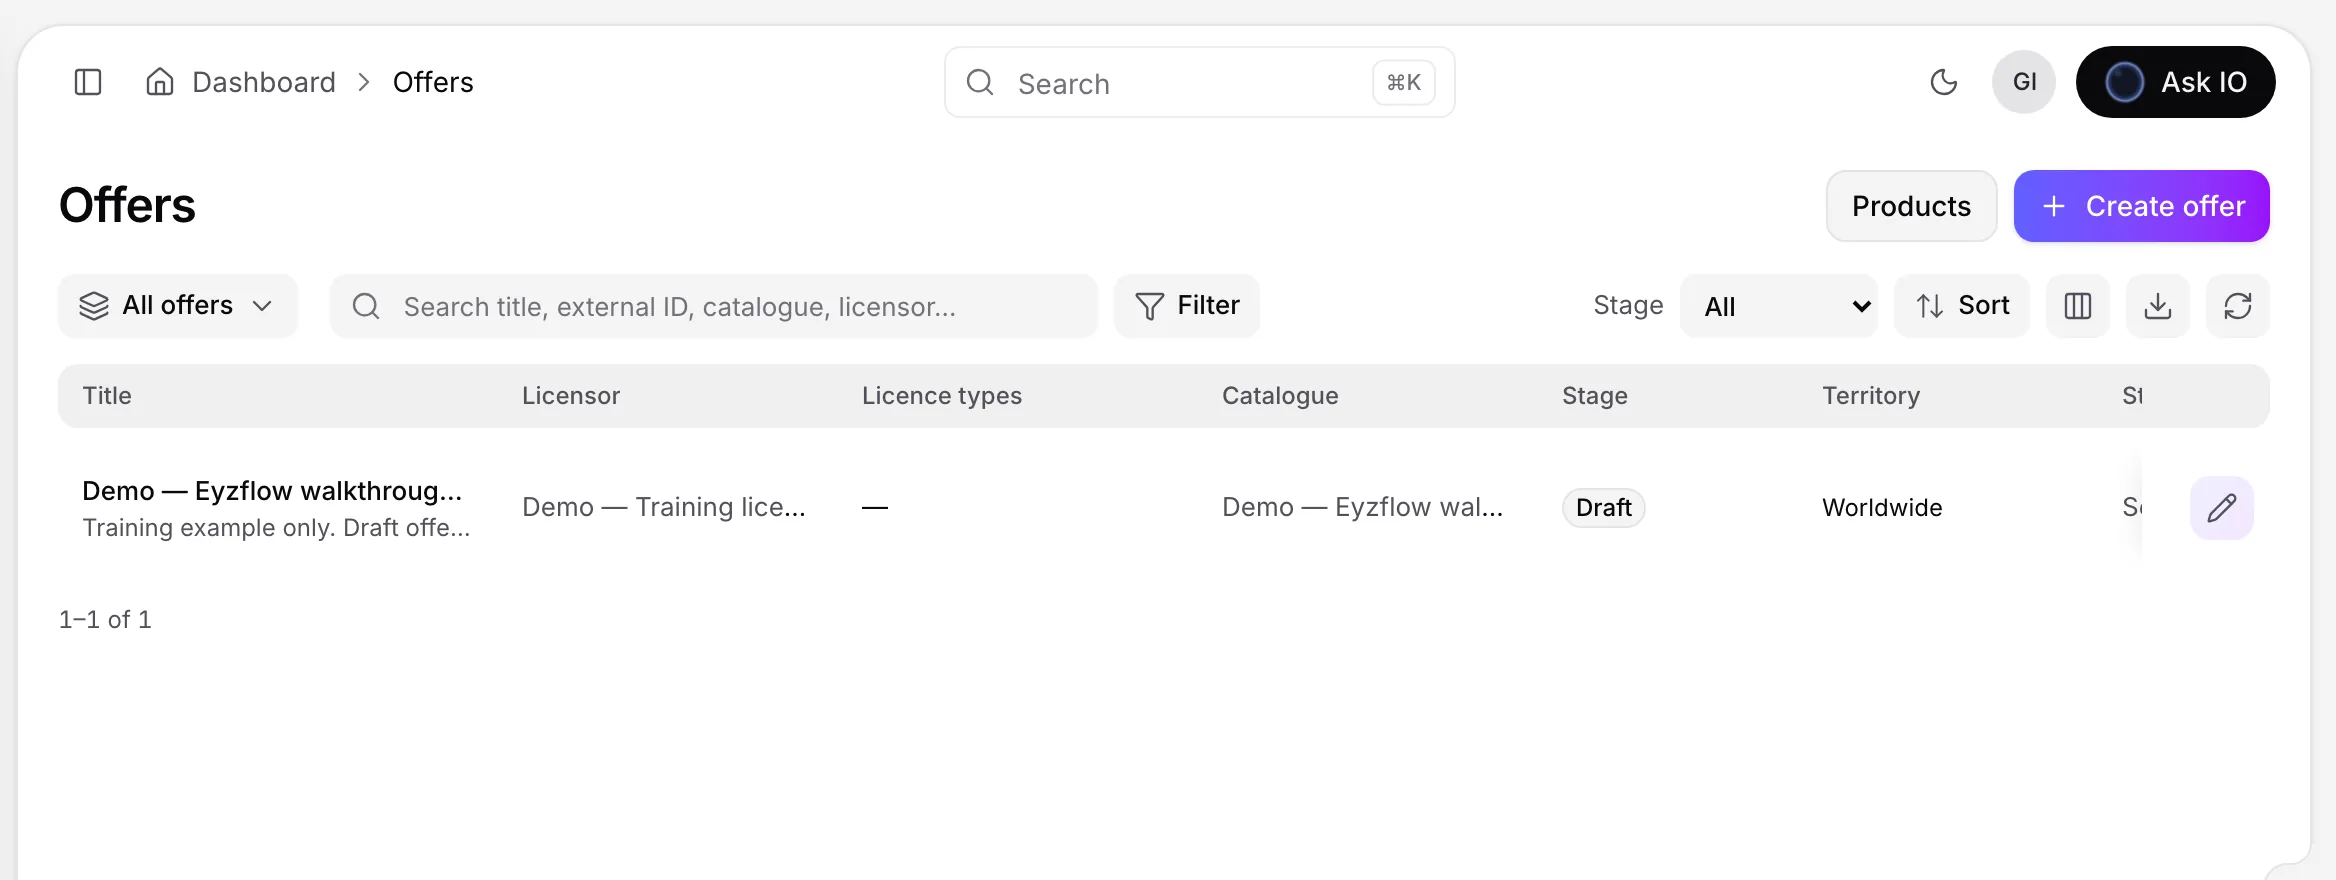
The offer’s availability is controlled by both the offer window and its licence term. For a pre-order, viewers can buy after the offer window starts, but playback begins only after the pre-order end date. The pre-order end date and offer start date cannot be later than the licence end date.
To restrict availability by country, configure Territory under Licence terms. You can allow selected countries or block selected countries instead of using Worldwide. A blocked country takes precedence over an allowed country. Territory restrictions apply to sales and catalogue visibility, while viewers who have already bought the title or watch it through a subscription can continue watching.
You need the appropriate permissions to create or edit offers. Selecting a licensor requires permission to view licensors, and selecting products requires permission to view products.
How do I set up monetization for my storefront?
Set up monetization in this order:
- Create and configure a storefront. A storefront is the viewer-facing website where viewers sign in, pay and watch. Configure its payment methods on the Payments tab. Stripe and PayPal support payments on the storefront; App Store and Google Play support in-app purchases in your own apps.
- Create products and pricing plans. A product is what viewers buy, such as a subscription, rental, purchase or pass. Add plans with their SKU, billing cycle, price, access and playback windows, quality, stream and device limits, trial settings, country availability, platforms and viewer-facing copy.
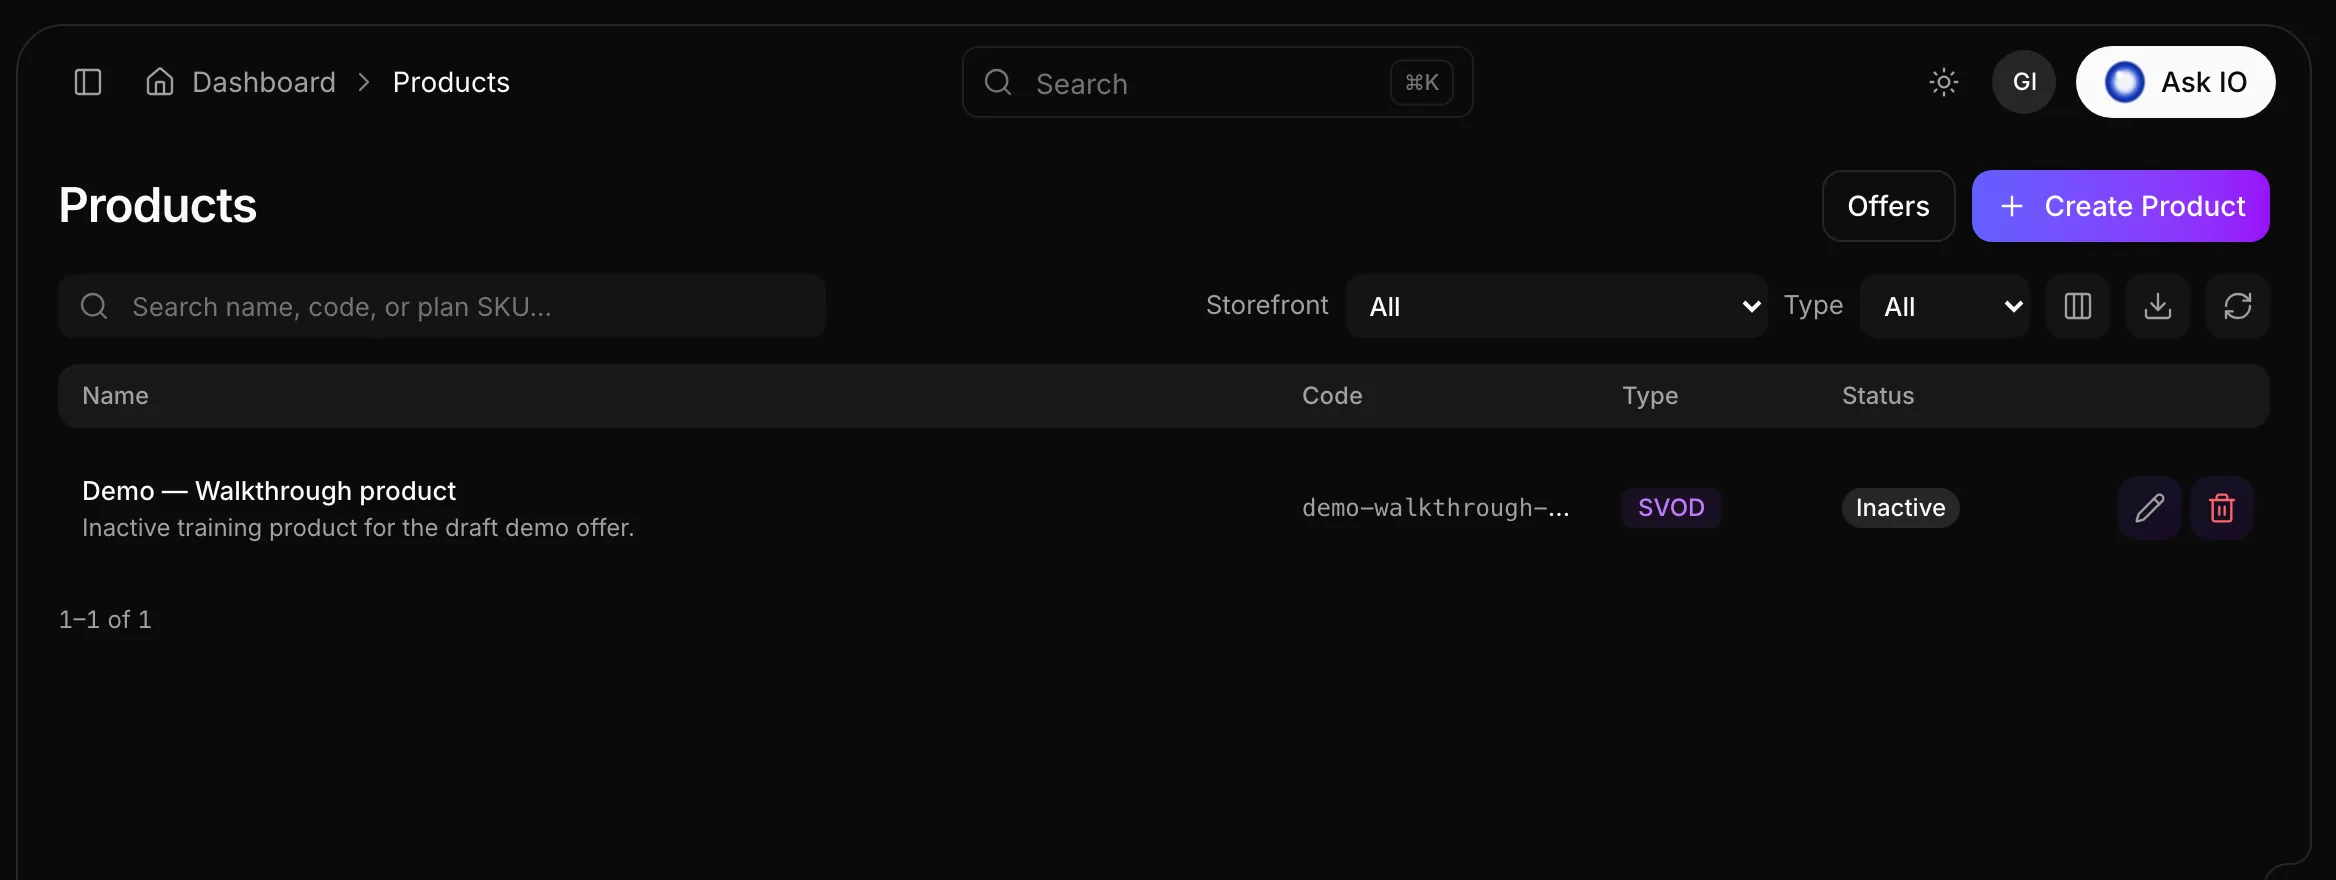
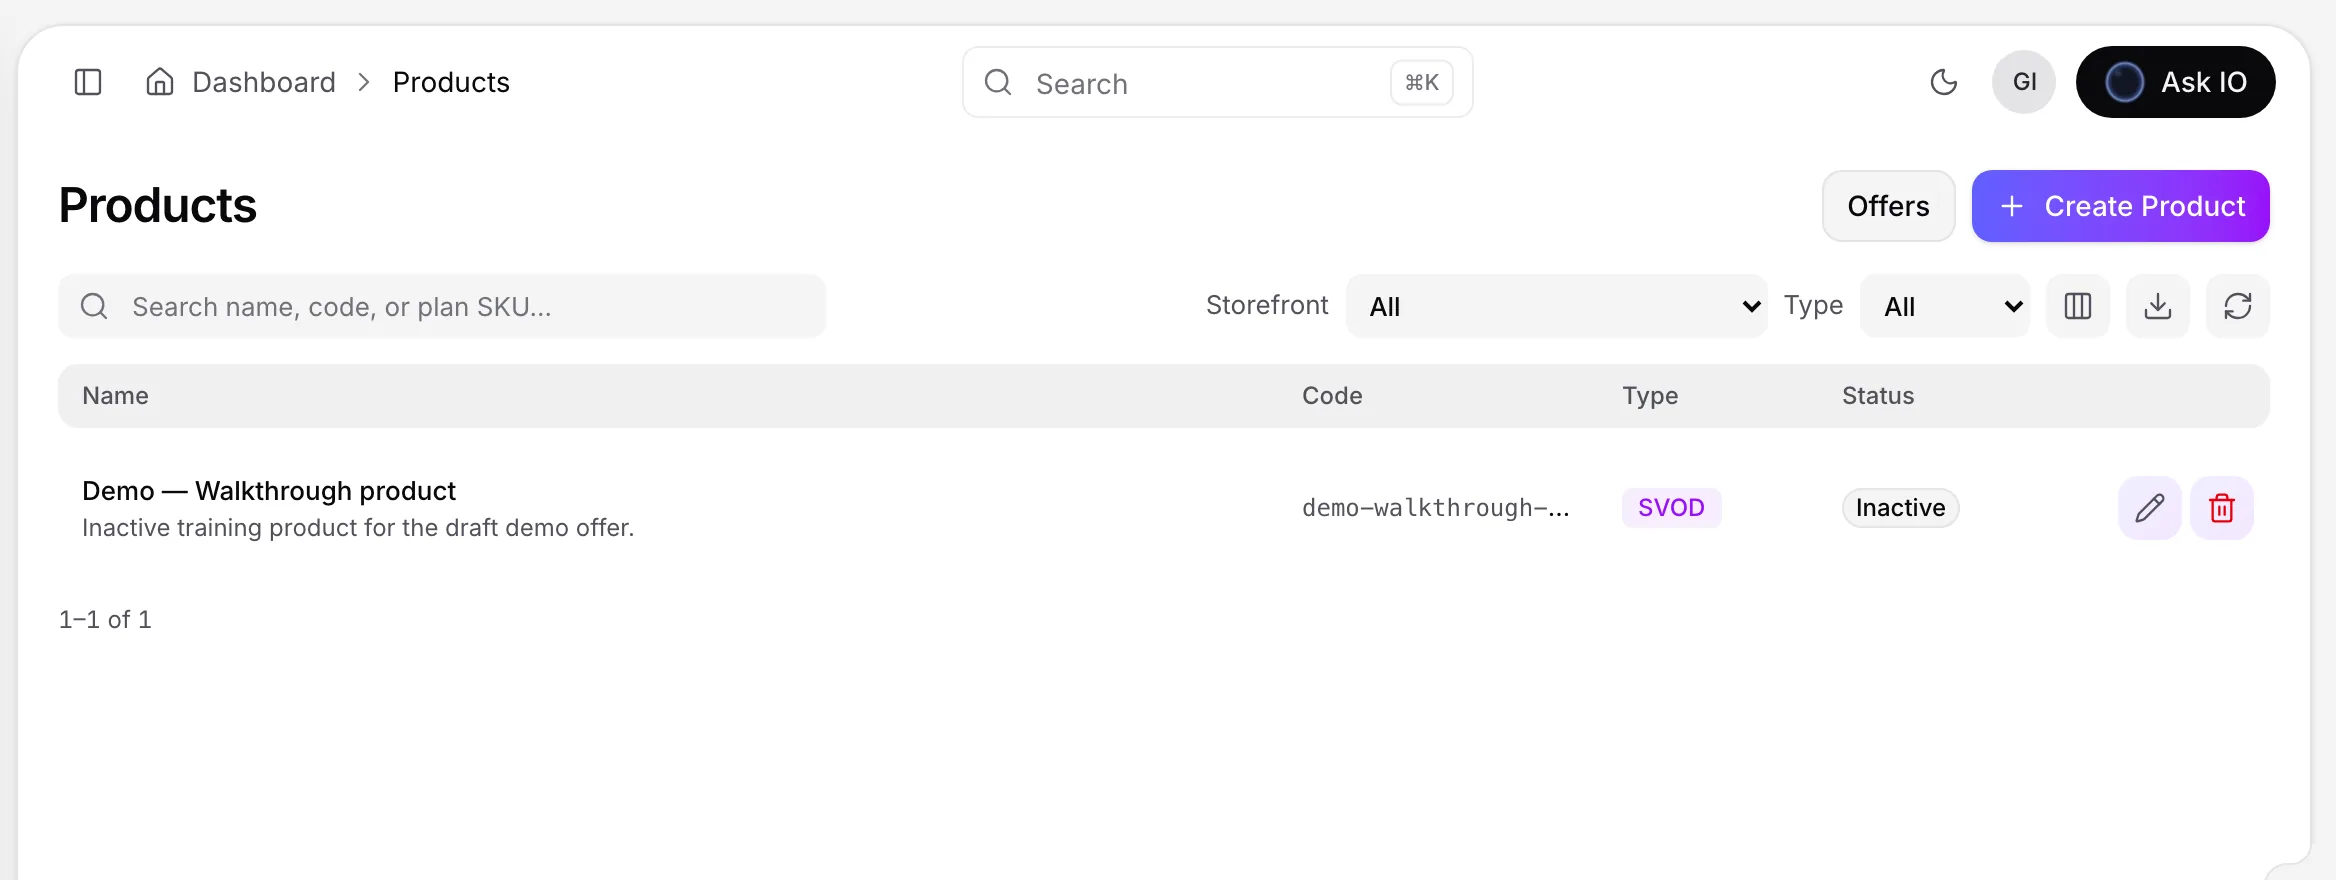
- Create offers for your titles. An offer connects a catalogue title to its licensor, licence terms, availability window, products and storefronts, and the streams that play. Set the offer stage and window, choose the products and plans that can sell it, select the storefronts where it appears, and attach the full film, trailer and any extra videos.
You can then add coupons, review purchases, and use the Financial dashboard to view revenue, purchases, registrations and other financial metrics. Your plan must include the monetization module. Access to individual actions depends on the relevant permissions, such as viewing or creating products and offers.
How can I add a free trailer that viewers can watch without signing in or paying?
Yes. Add the trailer to the offer that contains the full film.
- Open the offer, or create a new offer.
- On the Streams step, under Trailer, choose Choose stream… and select a stream linked to the offer’s catalogue title.
- Save the changes, or create the offer.
For viewers to watch the trailer without signing in or paying:
- Leave Protected (DRM) turned off for the trailer stream. The full film can remain protected.
- Add the trailer to the offer that contains the full film.
- Make sure the offer is displayed on the storefront, is within its offer window and territories, and has Published status. A Test offer is available only with the storefront’s preview key.
On the storefront, the trailer starts muted at the top of the title page. Depending on the theme, viewers can also access it through a Trailer button or a Trailers & More tab.
Editing an offer requires the Update Offers permission.
How can I restrict a title or subscription plan to specific countries?
You can restrict availability at either the offer level or the subscription-plan level.
Restrict a title offer
- Open the title’s offer and choose Edit, or create a new offer.
- On the Licensor step, open Licence terms.
- Under Territory, turn off Worldwide and either:
- select the countries under Allowed, or
- select the countries to exclude under Blocked.
- Apply the licence terms, then save the offer or finish creating it.
Each offer has its own territory settings. A blocked country takes precedence over an allowed country. Outside the permitted territories, signed-in viewers do not see the title in lists or feeds, and a purchase is refused. Viewers who already purchased the title, or who watch it through a subscription, can continue watching.
Restrict a subscription plan
Open the product, edit the plan, set Availability to Only these countries or Blocked in these countries, and then add the relevant countries.
You need permission to update offers to edit an offer, and permission to edit products to change a plan’s availability.
How do I create and manage coupons, including public or user-specific codes and redemption limits?
Coupons let you offer percentage discounts, fixed-amount discounts, fixed prices, or free access, with controls for where and when they apply.
- Open Coupons and select Create coupon.
- Enter the coupon name, internal description, discount type and value, and status.
- Choose the code type:
- Leave Public coupon enabled for shared codes that anyone can enter.
- Disable it to bind each code to a specific storefront user.
- Set the validity dates, maximum total redemptions, and maximum redemptions per user. You can also enter an initial code.
- Under Where it applies, select the storefronts, products and plans. Leave a field empty when you do not want that field to restrict the coupon.
- Select Create Coupon.
After creating the coupon, use Add code to add a code. For a private coupon, associate the code with its storefront user. You can also bulk-generate private codes, creating one code per user ID. Use each code's Revoke or Activate action to control whether it can be used, and open the Redemptions tab to see who used the coupon. Edit changes the coupon.
You need the appropriate offer permissions to manage coupons: View Offers to see them, Create Offers to create them, Update Offers to edit coupons and manage their codes, and Delete Offers to delete them. Restricting a coupon to products also requires View Products.
How can I review purchases, process refunds, and use the financial dashboard?
Review purchases
- Open Purchases under Monetization.
- Search by email, username, or user ID.
- Filter results by storefront, purchase status (completed, pending, failed, refunded, or cancelled), and purchase type (new or renewal).
- Select a user to open their storefront account.
Process a refund
From the user's storefront account, open the Purchases tab and select Refund purchase for the relevant purchase. The refund is made through the payment provider.
Use the financial dashboard
- Open Financial dashboard under Monetization.
- Choose a reporting period: 7 days, 30 days, 90 days, or YTD.
- Select a storefront, or choose all storefronts.
The dashboard shows total revenue, completed purchases, average order value, and new registrations. It also provides daily revenue, top products by revenue, top offers by watchers, purchases by status, payment gateways, new user registrations, engagement, registration-to-purchase rate, and licensing pipeline details such as licence fees, minimum guarantees, and the amount retained after fees. Use View all for the complete top-products or top-offers list for the selected period.
How do I set up Prime Video revenue and analytics in EYZFlow, and what account or plan requirements apply?
To use Prime Video revenue and analytics, your organization needs the Distribution module and a connected Prime Video account under Platforms. The account should have its Content API and Analytics API configured. The Analytics API uses credentials from a Login with Amazon security profile, including the client ID, client secret, Analytics account ID and refresh token.
Once the Analytics API is connected:
- EYZFlow can receive Amazon's monthly financial statements and analytics reports automatically.
- New reports are read within six hours, or you can use Sync now to request an immediate sync.
- Revenue statements appear under Distribution > Revenue. Review and match their lines to titles, then post a statement to include its revenue in licensors' royalty statements.
- Analytics appear under Distribution > Prime Video analytics, where you can review subscribers, viewing, subscription events, top titles, marketplaces and earnings. You can filter the results by account, channel and marketplace.
If the Analytics API is not connected, you can upload revenue statements in CSV, TSV or Excel format and import analytics reports in CSV, XLSX or JSON format. Reimporting an analytics period replaces the existing data for that period.
Access also depends on permissions. Viewing revenue requires View Platform Revenue, importing statements or reports requires Import Platform Revenue, viewing analytics requires View Platform Analytics, and posting revenue to royalty statements requires Manage Royalty Reports.
How do I post Prime Video revenue to royalty statements, and how can I correct or remove a posted statement?
Post a statement
- Open the statement under Distribution > Revenue.
- Resolve everything listed under Before posting by confirming suggested matches, choosing the correct title, or ignoring lines that should not count.
- Select Post to royalties and confirm.
After posting, the statement is marked Posted, the royalty month is recalculated, and the revenue is included in the relevant licensors’ royalty statements. The posted amount appears on the licensor’s Reports tab under Platform revenue, before the licensor’s share.
Posting requires Manage Royalty Reports permission. You also need Import Platform Revenue permission to review and match statement lines.
Correct a posted statement
Posted statement lines cannot be edited directly. Select Take out of royalties and confirm. The royalty month is recalculated without the statement, after which you can edit or rematch its lines and post it again.
A posted statement cannot be deleted until it has been taken out of royalties. Once it is no longer posted, use Delete statement to remove the file and its lines. A finalized royalty month cannot be changed.
How do I fetch or upload a Prime Video financial statement and match its lines before posting?
To bring a Prime Video financial statement into EYZFlow, you need the Distribution module and a Prime Video platform account. To fetch a statement automatically, open Revenue under Distribution, choose Fetch from Amazon, select the account and month, and click Fetch. The account’s Analytics API must be connected.
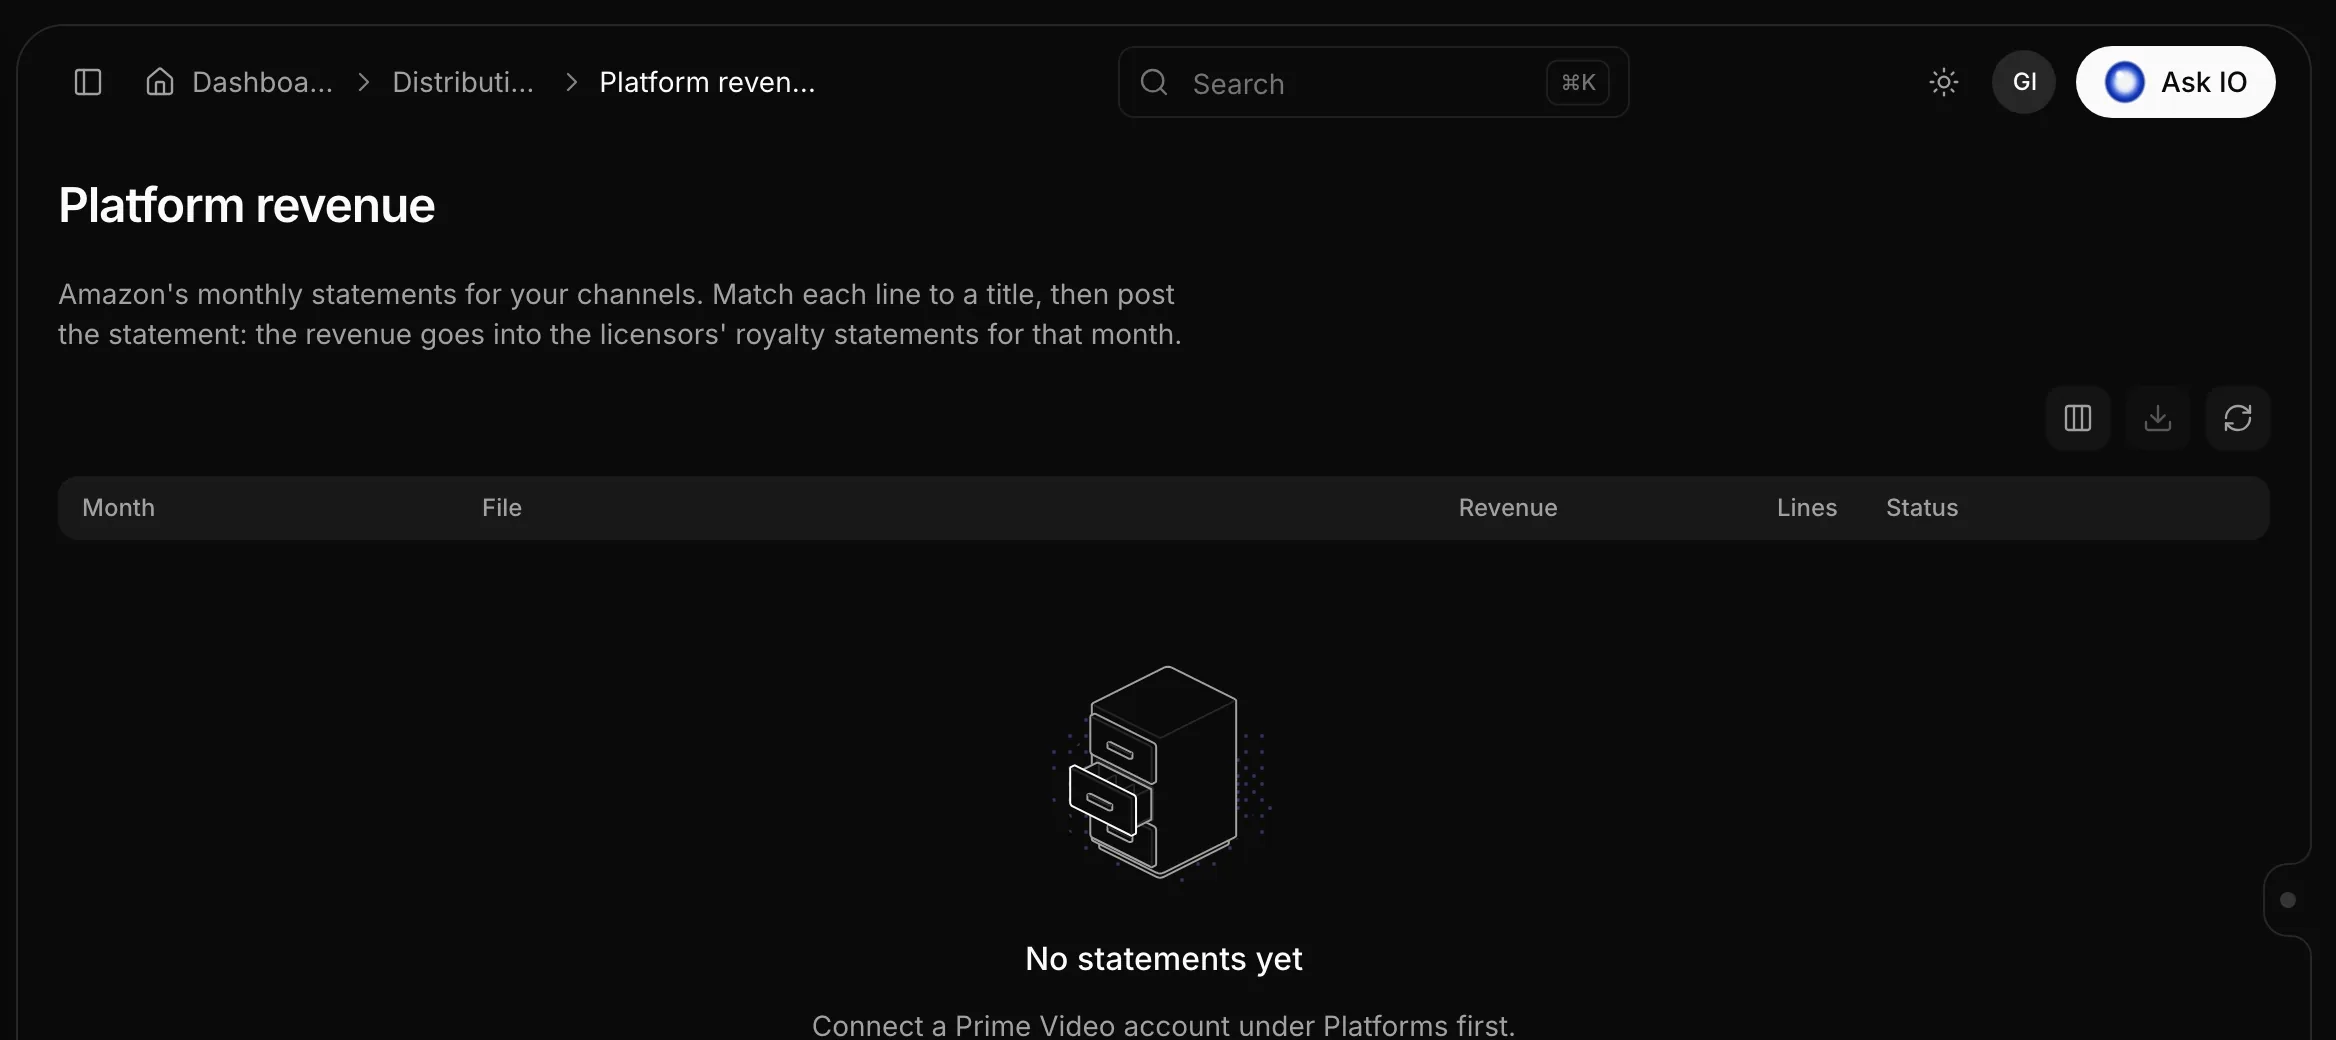
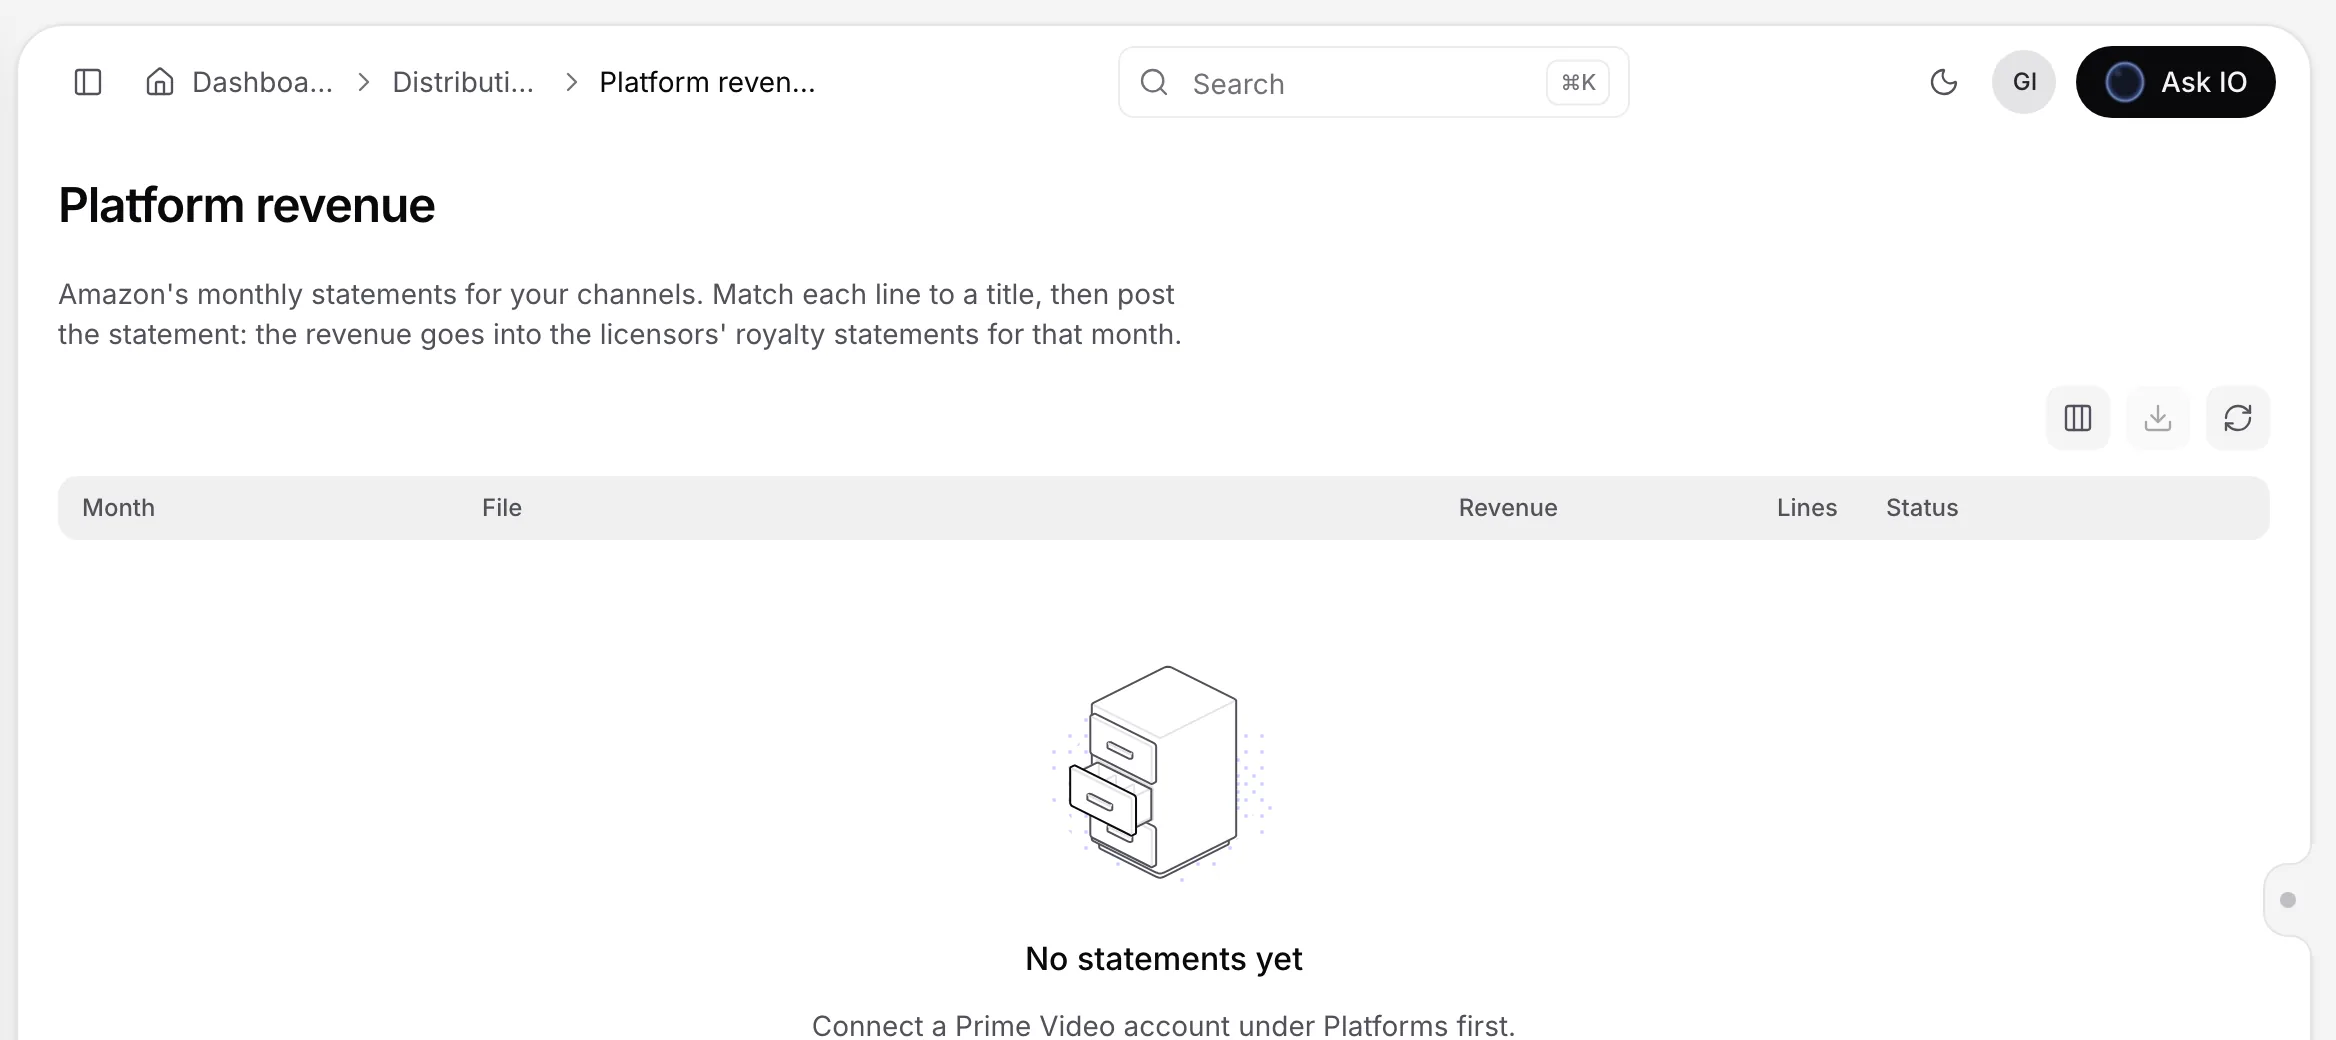
You can also upload a statement manually:
- Open Revenue under Distribution.
- Select Upload statement.
- Choose the platform account and month.
- Select the statement file, or choose a stored file from the Vault or Bridge. Supported file types are CSV, TSV and Excel.
- Click Upload and read.
After the statement is read, open it and review the lines. Use Needs review to filter the lines that require attention, or search by title, ID or licensor. Confirm suggested matches, choose a title for lines with no title or an incorrect match, and ignore lines that should not count. A line still needs review if its match is only suggested, it has revenue but no title, or its title has no licensor offer.
When every issue under Before posting is cleared, click Post to royalties and confirm. The revenue is then included in the licensors’ royalty statements for that month. Statements cannot be edited after posting unless you first take them out of royalties. Importing or uploading requires Import Platform Revenue permission; posting requires Manage Royalty Reports permission.
What Prime Video analytics, earnings, subscriber, and viewing metrics can I view, and how often is data updated?
You can view the following Prime Video data in the analytics area for a selected range: Last 30 days, Last 90 days, Last 6 months, Last 12 months, or Year to date.
- Active subscribers, including paid subscribers and subscribers in a free trial, plus paid subscribers at the end of the latest report period
- Hours viewed, starts, cancellations, net adds, and trial conversion
- Charts for subscribers, hours viewed, subscription events, and active subscribers by channel
- Top titles, their share of hours viewed, and viewing by title
- Marketplaces and earnings by currency from monthly statements, with each earning marked Posted to royalties or Not posted yet
- The reports and datasets read from Amazon
You can filter the data by account, channel, and marketplace when you have multiple options. The page shows how recent the data is. Amazon publishes reports with a delay, and EYZFlow reads new reports every six hours. If an account's Analytics API is connected, you can use Sync now to check for the latest available reports immediately. You can also import a downloaded analytics report when needed.
How can I import or manually sync Prime Video analytics reports?
Open Prime Video analytics under Distribution and choose one of these options:
- Sync automatically or manually: Connect the account’s Analytics API. New reports are read automatically within six hours. To check for new reports immediately, open Prime Video analytics and select Sync now. If more reports are still waiting at Amazon, run the sync again or wait for the next automatic sync. If an Account filter is selected, the sync applies only to that account.
- Import a downloaded report: Select Import report, choose the account and report type—Contractual Subscriptions, Contractual Content Usage, or Subscription Event Log—then select the required period options and upload a CSV, XLSX, or JSON file. You can also choose a stored file from the Vault or Bridge. Importing the same period again replaces the existing period.
If the analytics page is empty, either connect the Analytics API on the platform account or import a report downloaded from Prime Video. Sync now is available only for accounts with a connected Analytics API. You need the Distribution module and the Import Platform Revenue permission to import or sync reports.
How do I connect the Prime Video Analytics API and enable financial and viewing reports?
To connect the Prime Video Analytics API:
- Open the Prime Video account under Platforms.
- Enter the Client ID and Client secret from your Login with Amazon security profile, then click Save changes.
- Click Connect with Amazon (or Connect again if a token is already stored).
- In the Amazon authorization flow, allow the application. If prompted, add the displayed return address to the security profile's allowed return URLs.
- Sign in with Amazon and click Allow to finish the connection.
If Amazon cannot return you to the dashboard, use Paste a code instead, complete authorization, and paste the code or returned address into EYZFlow within a few minutes.
The security profile must have Reporting enabled, and the platform account also needs an Analytics account ID. After the connection is complete, financial statements, viewing reports, and subscription-event reports arrive automatically. New reports are normally read within six hours; use Sync now on the Prime Video analytics page to check for them immediately. The Distribution module and the appropriate platform-account permissions are required.
CMS and catalogues
How do I create, edit, and organize feeds for my storefront, including filling title feeds manually or with rules?
Feeds are curated shelves for storefront apps. To work with them, open Content > Feeds. You need the storefronts module, and editing requires Update Storefronts permission.
Create a feed
- Select New feed.
- In Feed details, enter the feed title, choose the feed type, and add the title and overview for each language.
- Choose what the feed shows: titles, people, genres, feeds, festivals, or awards.
- Set up the source by selecting items yourself or defining rules.
- Under Artwork & create, choose the storefronts that offer the feed, then add a cover and background.
- Select Create feed.
Find and edit a feed
Search for a feed by keyword, or—if Use the Assistant is available—describe what you want to find and let it turn your description into filters. You can also narrow results by storefront or feed type, use advanced filters, and preview the items in a feed.
Open a feed to edit its details, localized content, source, or artwork, then select Save feed. A feed without the required update permission is read-only.
Fill a title feed
For a feed showing titles, you can either choose titles manually or fill it with rules:
- Select Choose catalogues to pick titles yourself.
- To use rules, describe the titles in the sentence box—for example, “newest French comedies since 2018”—and select Fill in rules.
- Review the generated filter and sort cards. Select Edit all rules to adjust every rule and preview the result, then select Apply.
- Save the feed when the preview is correct.
Manually picked titles appear first, followed by titles found by the rules. Clear rules removes the rules. Rules based on a viewer’s watch history can show each signed-in viewer their own titles. The sentence-based assistant requires Use the Assistant, View Catalogues, and Update Storefronts permissions.
Feeds of people, genres, feeds, festivals, or awards use their corresponding Choose and Edit rules controls instead.
Add an individual title
From a catalogue page, select Add to feed, choose a feed, select whether to place the title at the start or end, and save the feed. You can then drag the title to fine-tune its position. This option is available for title-based feeds, not episodes; titles selected this way remain before titles added by rules.
How do I create and publish promos, content blocks, and content pages, and control when they appear on a storefront?
Promos
- Open Promos and select New promo.
- In Details, enter the internal name, group, and rank. Promos in the same group share a slider; lower ranks appear first.
- In Copy, add a language, headline, call to action, and description.
- Under Artwork and link, add an image or stream, the destination URL for the button, and optionally an external ID.
- Under Schedule & rules, set a start and end time, or leave them empty for the promo to show continuously. Add viewer criteria, such as country or subscription, if needed.
- Under Publish, choose Draft, Staging, or Live, select the storefronts, and create the promo.
A promo appears on a storefront only when it is Live. Use Preview to check the slider. To change the order, sort by Rank in ascending order and drag the promos.
Content blocks
- Open Content blocks and select New block.
- Set the title, group, stage, rank, storefront, and optional external ID.
- Add visibility rules if the block should be shown only to certain viewers.
- Choose a layout template and add content for each language.
- Select Create.
Only Live content blocks appear on the public storefront.
Content pages
- Open Content pages, choose a storefront, and select New page.
- Choose the parent page, enter the title and slug, and select Create and open editor.
- In the editor, add a row and place blocks and promos from the Library. You can also create a new block from the library.
- Select Save to keep the working copy.
- Select Publish. If the page contains blocks or promos that are not live, choose Publish page and dependencies to publish them with the page, or Publish page only to leave those items hidden.
Use Unpublish to remove a live page from the storefront. A page can also be shown in the header or footer menu after it is published. The page list indicates whether a page is Live, has Unpublished changes, or is a Draft.
Important
A page can be published while its non-live blocks or promos remain hidden. Publish the dependencies as well when those items should appear with the page.
Creating, editing, and publishing these items depends on your assigned permissions. You need the relevant create or update permissions to see creation and save controls, and the content-page publish permission to publish or unpublish pages.
How do I create and publish a form, configure its fields and security, and view submissions?
Create a form
- Open Forms and select New form.
- In Basics, enter the form name and slug, choose Draft or Published, and select the storefront.
- Under Fields, choose Add field… and select a field type, such as text, email, phone, long text, number, dropdown, radio, checkbox, checkbox group, date, or hidden. Configure each field’s label, placeholder, options, and whether it is required.
- Under Security, choose Cloudflare Turnstile or Google reCAPTCHA v3. Enter the required keys, set per-minute and per-hour limits, and specify which websites may submit the form.
- Select Create.
To make the form available on the storefront, choose the Published stage when creating it. A form in Draft remains unpublished.
View submissions
Open the form and select View submissions, or select the submissions icon in the form list.
You need View Content Forms to view forms and submissions, Create Content Forms to create a form, and Update Content Forms to save changes to an existing form. If you lack the required permission, the relevant page or action may not be available.
What permissions and plan requirements are needed to manage storefront content?
You need the Storefronts module in your organisation’s plan to manage storefront content such as feeds, promotional slides, content blocks, content pages, menus and forms. The storefront itself also requires the Storefronts module and View Storefronts permission to access.
Your role determines which actions are available:
- Feeds: View feeds to find them; Update Storefronts to create or edit them.
- Promos: View Promos to see them, Create Promos to create them and Update Promos to save changes or reorder them.
- Content blocks: View Content Blocks to see them, Create Content Blocks to create them and Update Content Blocks to save changes.
- Content pages: View Content Pages to see and open the editor, Create Content Pages to create pages, Update Content Pages to save or restore revisions, and Publish Content Pages to publish or unpublish them.
- Menus and storefront settings: View Storefronts to open them and Update Storefronts to change them. Adding a content page to a menu also requires View Content Pages.
- Forms: View Content Forms to view forms and submissions, Create Content Forms to create forms and Update Content Forms to save changes.
Some page actions require permissions for related content. For example, the content-page library lists blocks and promos only when you have their corresponding view permission; creating a block from the library requires Create Content Blocks, and editing a placed block requires Update Content Blocks.
If a module is not included in your plan, its area may appear as unavailable. If your role lacks a required permission, the related page or action may be hidden or read-only.
How do artwork languages and catalogue or stream artwork management work?
Artwork language determines where an image is used:
- All languages (default) applies the artwork to every language that does not have its own artwork.
- A specific language makes the artwork localised.
- A title can have one default artwork of each type. If a default already exists, choose a language or replace the existing artwork.
Manage artwork for a catalogue
- Open the catalogue and select its Artworks tab.
- Choose Upload artwork, then select the artwork Type, Language, and an image in JPG, PNG, or WebP format. You can also choose an image from the Vault or Bridge.
- Select Upload.
For an existing catalogue artwork, you can view it, edit its type or language, replace its file, or delete it. Uploading, editing, replacing, and deleting require the corresponding Artworks permissions. Choosing an image from the Vault or Bridge also requires access to that source.
Manage artwork for a stream
- Open the stream's Artwork tab.
- If the stream is linked to a catalogue, select Open catalogue artworks and manage the artwork in the catalogue.
- If it is not linked to a catalogue, select Upload artwork, choose the type, language, and a JPG, PNG, or WebP image, or choose a stored image, then select Upload.
- For an existing stream artwork, you can edit its type and language, replace the file, or share it through Bridge.
Stream artwork actions require the relevant artwork, archive, or Bridge permissions. A stream must be linked to a catalogue before its artwork can be managed through that catalogue.
How do I upload, organize, edit, download, and delete artworks?
You can manage artworks from the Artworks library or from a catalogue’s Artworks tab.
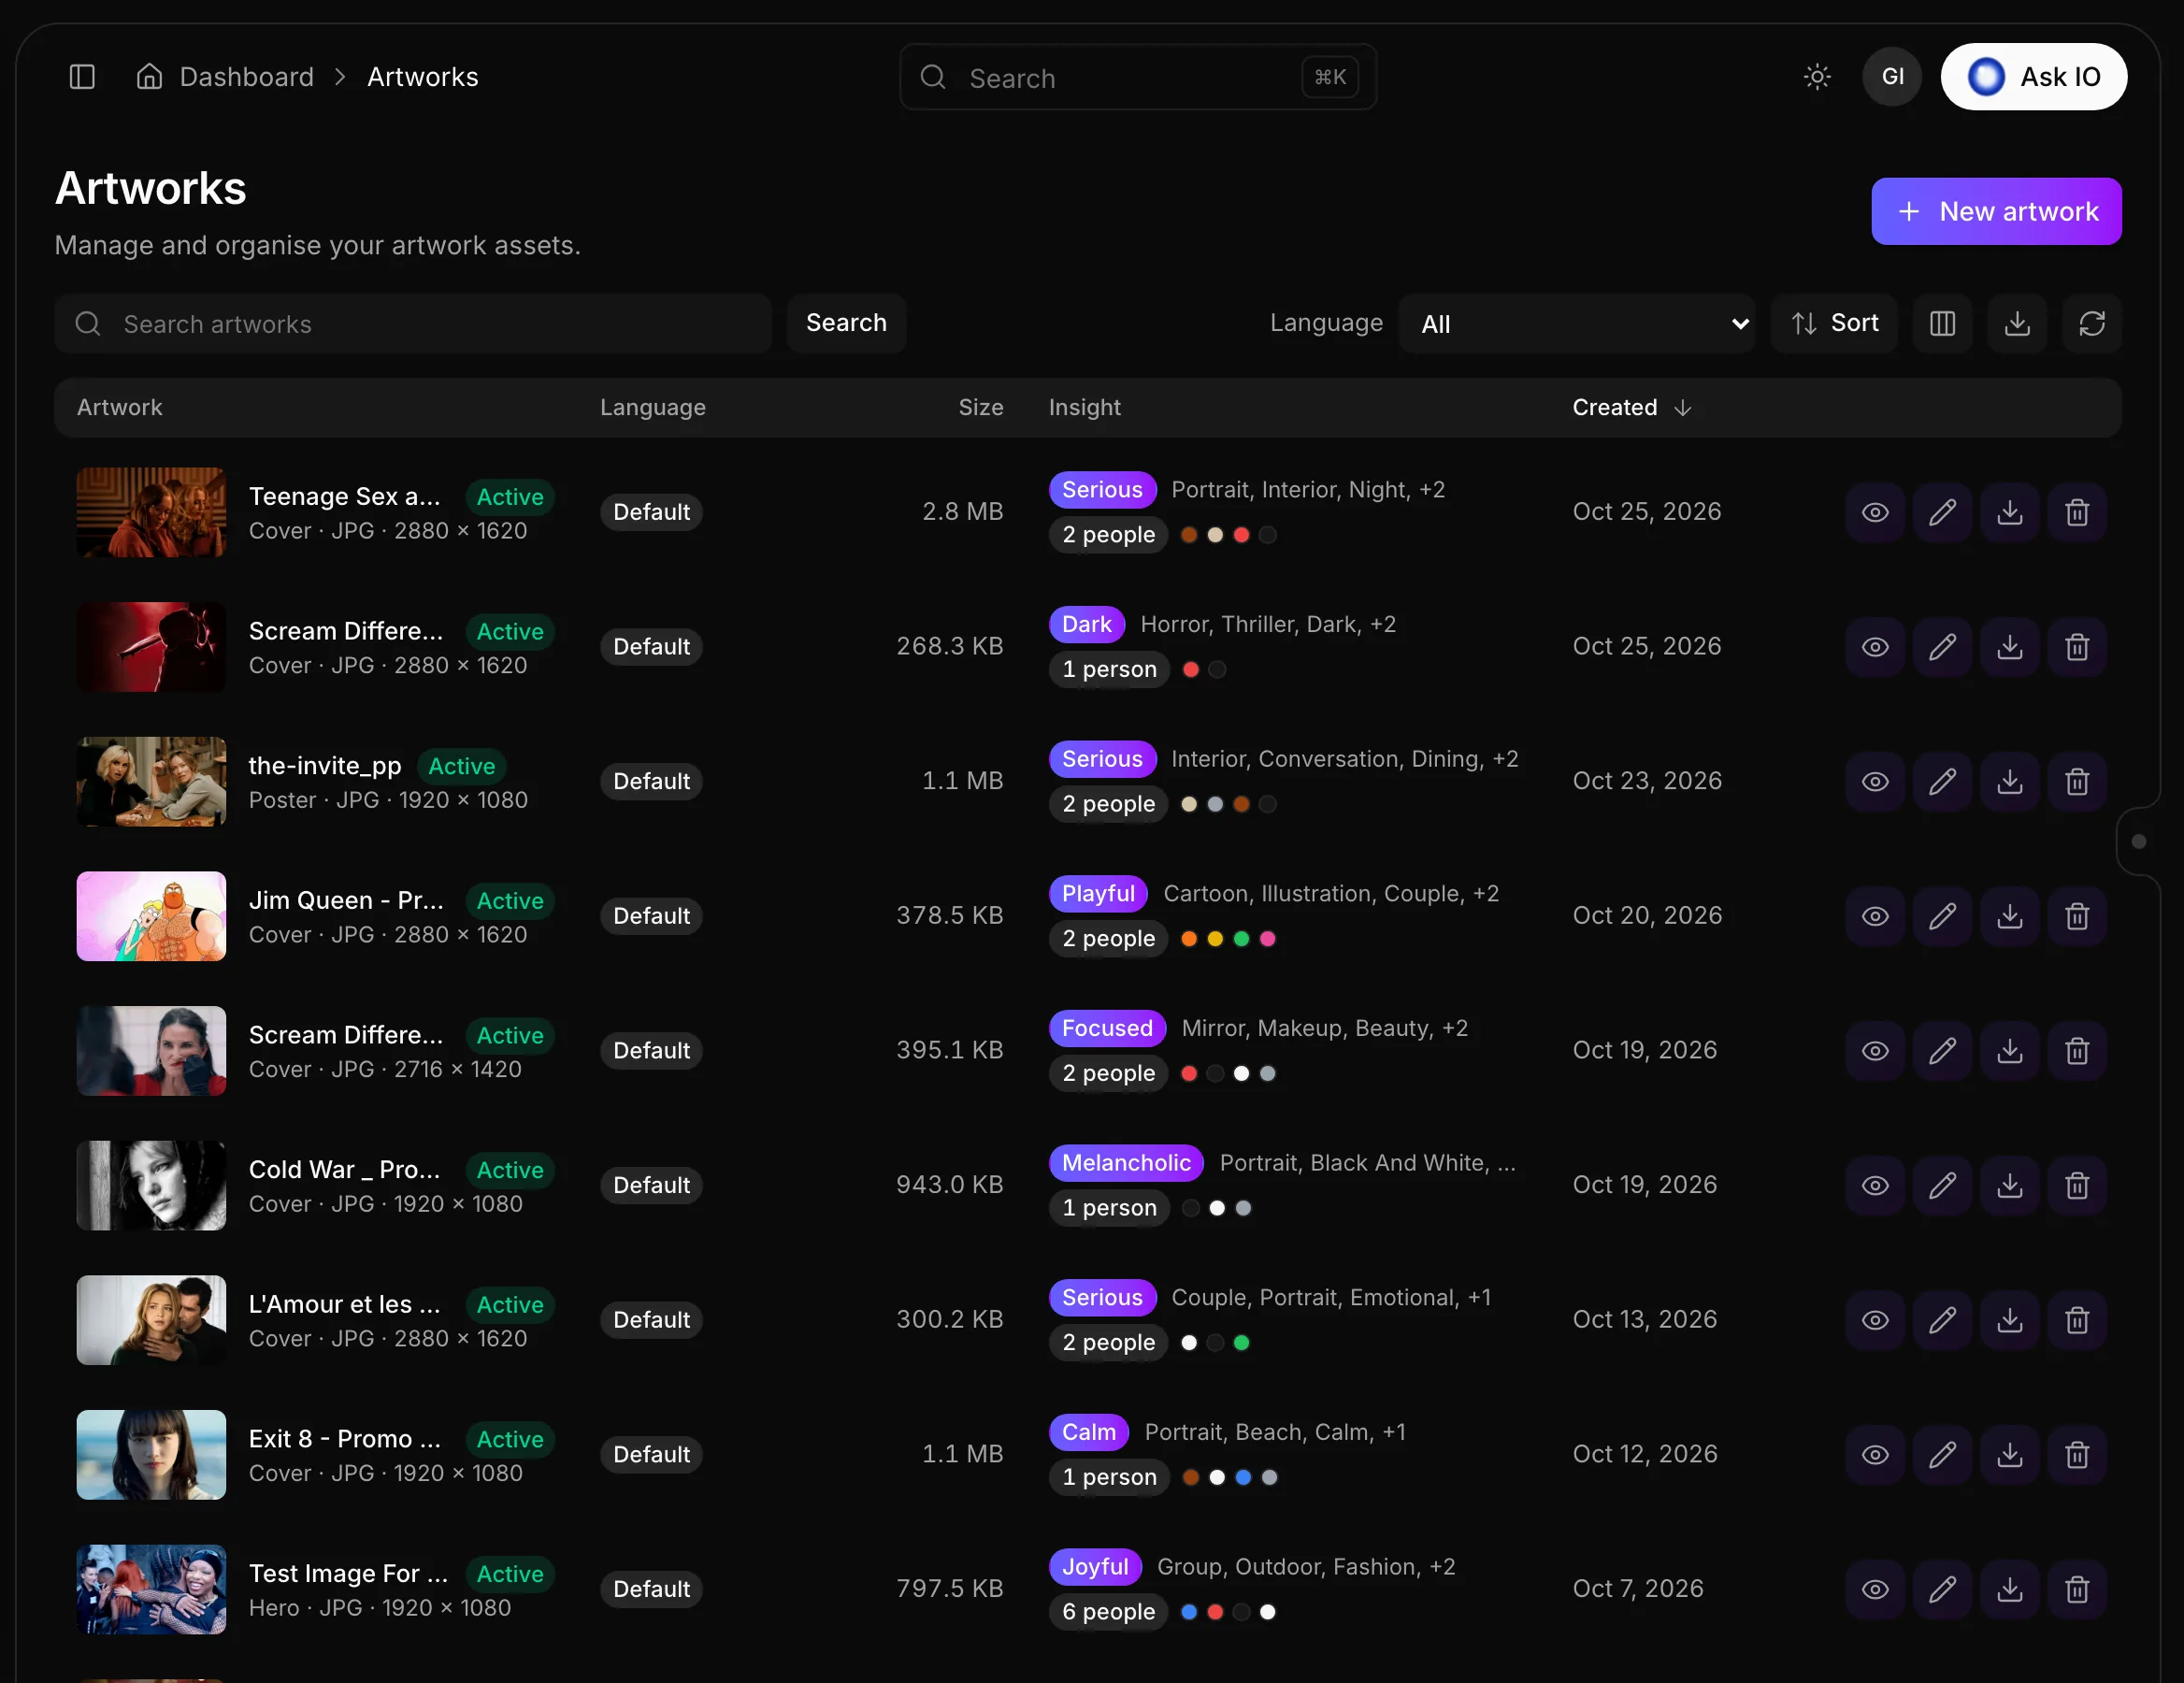
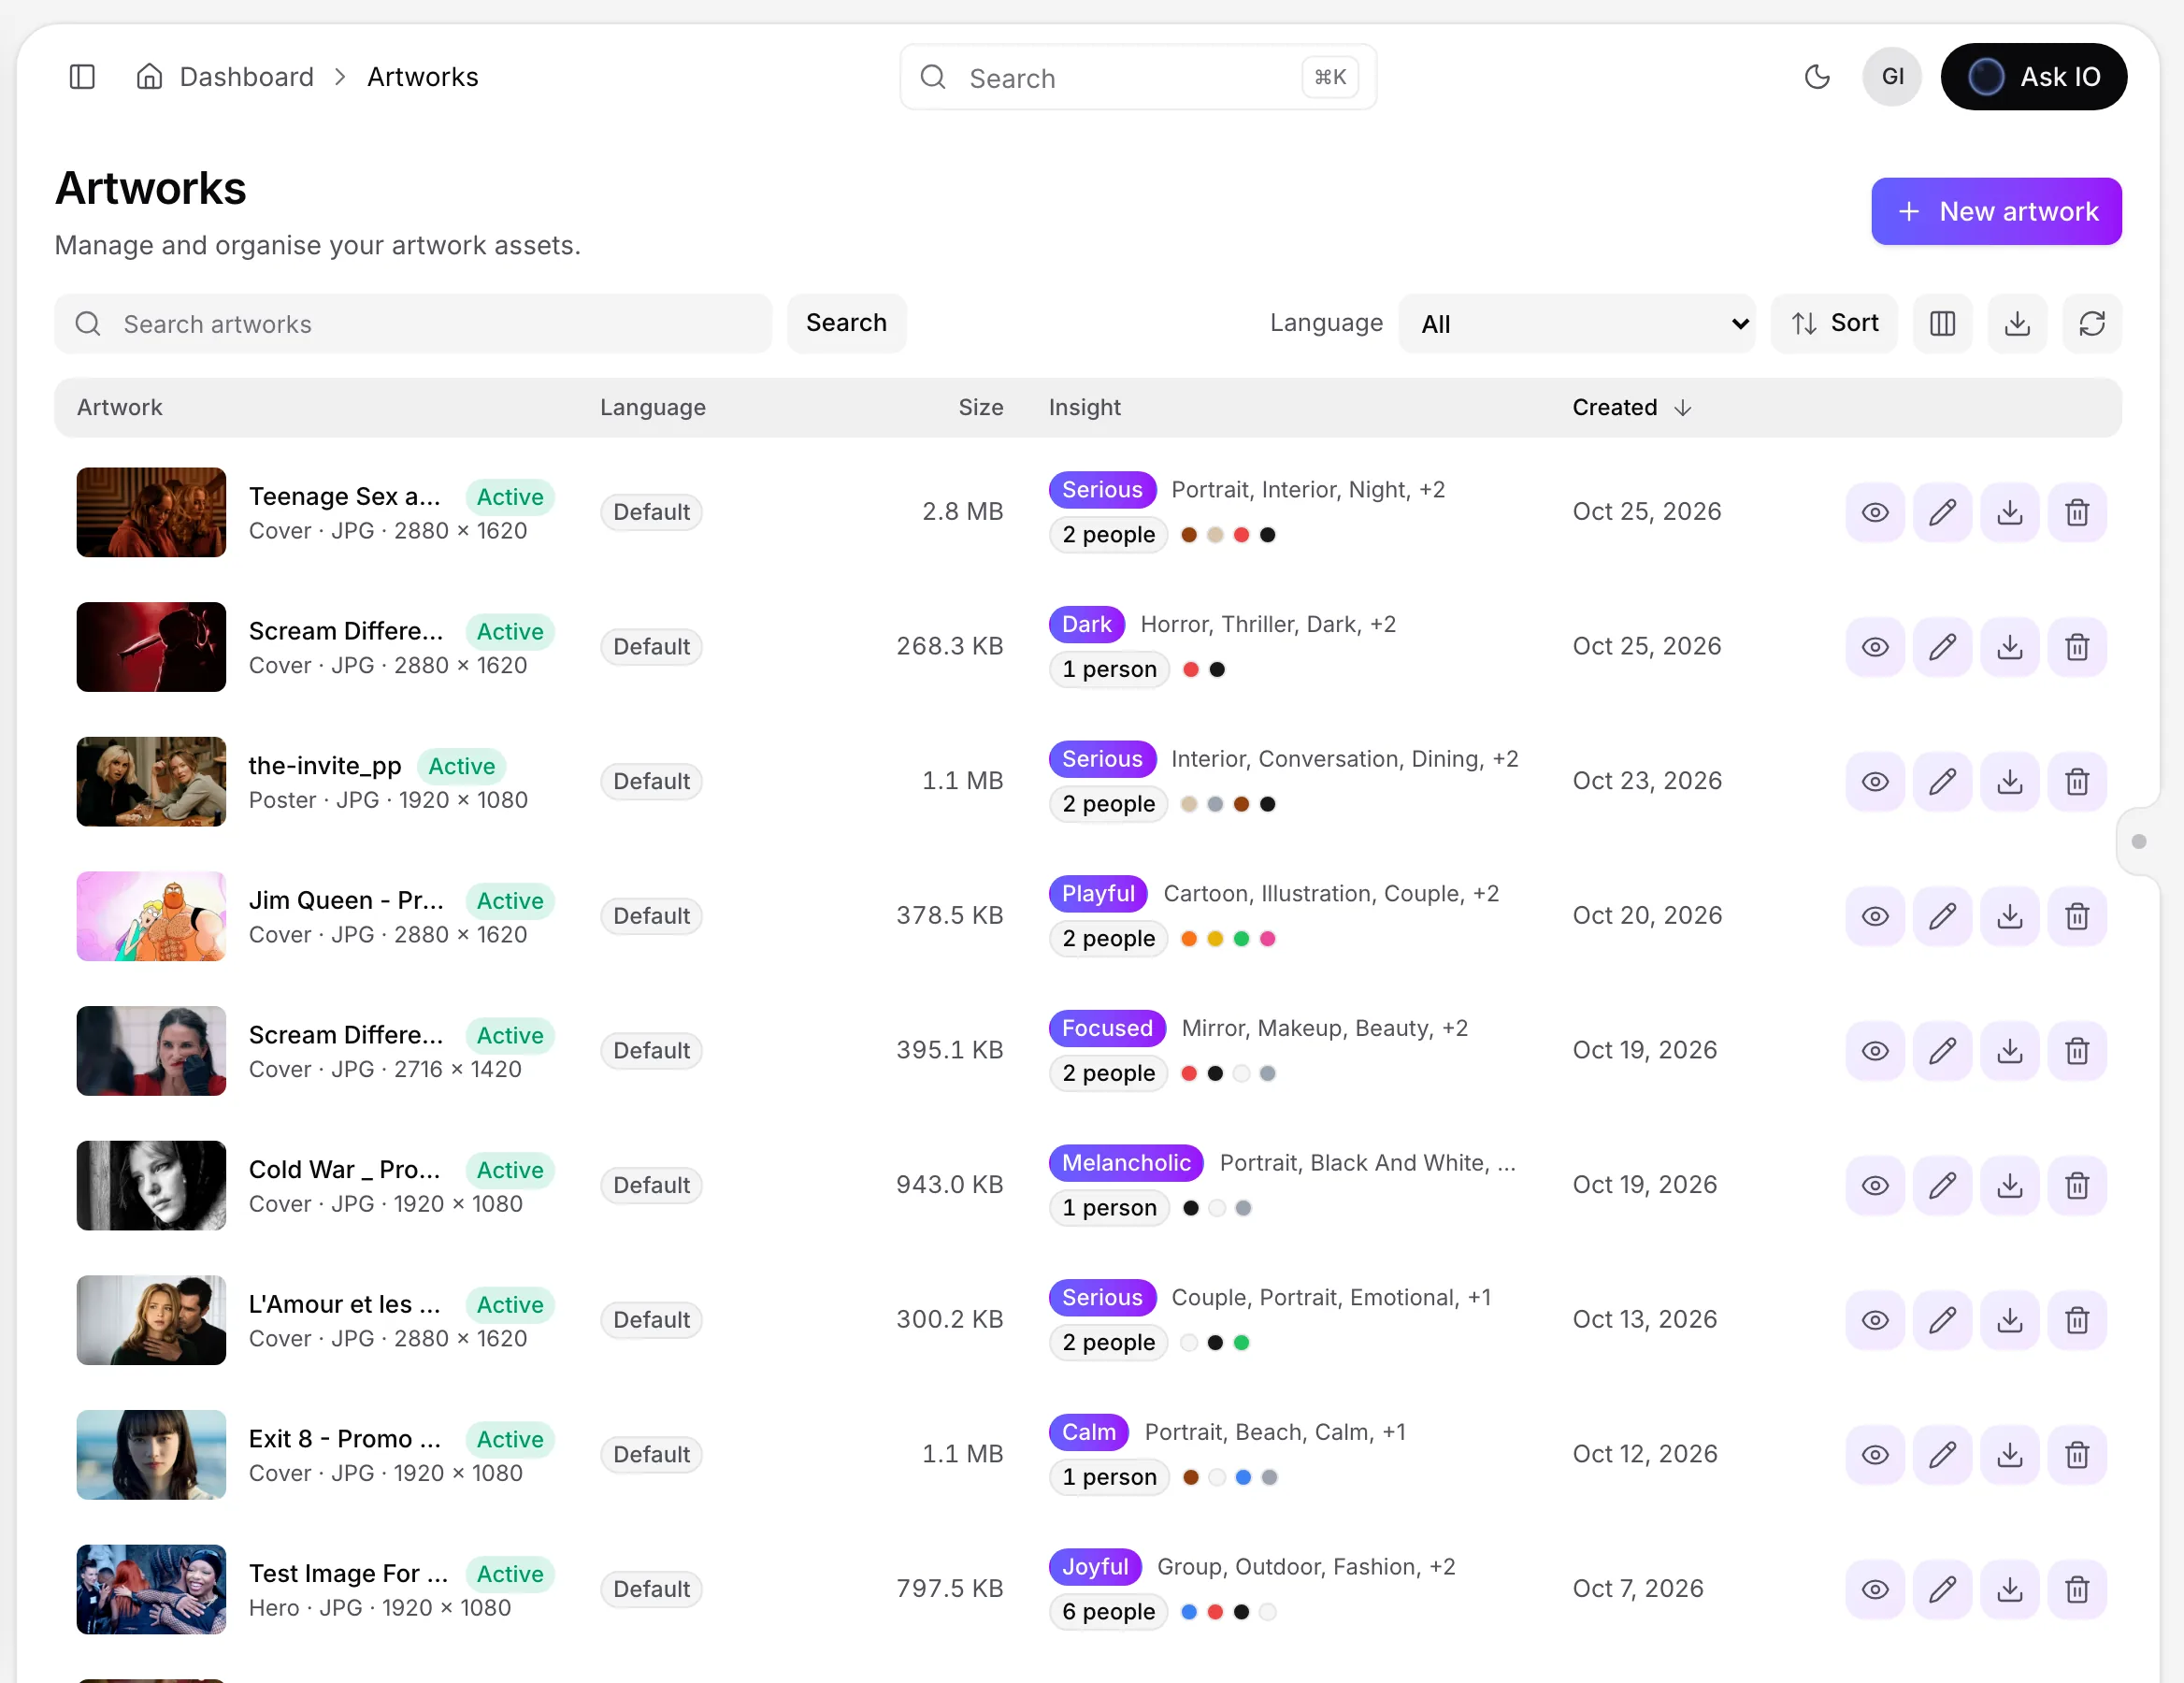
Upload an artwork
- Open Artworks and select New artwork.
- Drag an image into the upload area, browse for a file, or choose a stored image from the Vault or Bridge.
- Check the title, then select the artwork Type and Language.
- Select Upload.
Supported artwork types include Box art, Cover, Hero, Poster, Title, Background, Text, Other and Carousel hero. You can also upload JPG, PNG or WebP images when managing artwork from a catalogue.
New artwork is unavailable if your plan is inactive or the storage limit has been reached. Creating artwork also requires the appropriate artwork-creation access.
Organize artworks by language and type
Choose All languages (default) for artwork that applies to every language, or choose a specific language for localized artwork. The default artwork is used when a language does not have its own artwork. A title can have one default artwork of each type.
In the library, search by title and filter by language using the Language selector. From a catalogue, open the catalogue’s Artworks tab to upload artwork and manage the artwork associated with that title.
View and download an artwork
Select an artwork’s image or view button to open it. The details view shows the image’s format, file size, status, title and language, along with creation and update information. If available, its Insight panel also shows detected colours, text, crop suggestions, people and objects.
To download an artwork, select Download and choose Original, Large WebP, Medium WebP, Small WebP or Thumbnail WebP.
Edit artwork details
Select Edit, change the artwork’s title, type or language, and then select Save. In a catalogue, Edit details changes the type and language. To replace the image itself, use Replace file and upload the new image.
Delete an artwork
Select the artwork’s bin button and confirm the deletion. Delete access is required.
Viewing and downloading require access to the artwork library. Editing, replacing a file and deleting an artwork each require the corresponding artwork-management access.
How do I manage shared library metadata and link it to titles?
The Library keeps shared metadata that can be reused across titles. It includes people, companies, genres, awards, festivals, catalogues and keywords. Each item is stored once and can be linked to multiple titles. Your plan must include the catalogues module.
Add and link shared metadata
- Genres: Open the genres list and choose New genre. Enter a name and slug, optionally add artwork and translations, then save. Link the genre to a title during catalogue creation or later from the title's classification details.
-
Awards and festivals: Open the relevant list, choose New award or New festival, enter a name and slug, optionally choose an image, and save. Link them to a title in the title's classification details.
-
Companies: Create a company with its name, slug and country, optionally adding a logo. To link it to a title, open the title's Companies tab, choose Add, enter or select the company, choose its role and add it.
-
People: People are created when you add them to a title. Open the title's Cast & crew tab, choose Add, enter the person's full name, select a role and add them. Drag entries to set the order shown in storefronts. You can later edit a person's shared profile from the People list, including their name, slug, dates, gender, images, awards and biography by language.
-
Keywords: Add existing keywords, or type a new keyword and press Enter while editing a title. The keyword is created when you save. A title can have up to 50 keywords, which retain the order you set. You can also create, translate, merge and delete keywords from the Keywords list.
Edit title metadata
Open a title from Catalogues and choose Edit to change its basic details, identifiers or classification, including genres, countries, languages, festivals, awards and keywords. Save your changes. Translations, cast and crew, companies, curations and ratings are managed from their respective tabs on the title page.
For a series, add seasons from the Seasons tab. Open a season and add episodes from its Episodes tab.
Search and reuse entries
Each shared list has a search box. Enter a search term and press Enter or choose Search, then select a row to open and edit the entry. Reusing shared entries helps keep metadata consistent across titles.
How do I create and manage catalogue titles, including seasons, metadata, and artwork?
Catalogues organize films, series, seasons, and episodes together with their metadata, people, artwork, translations, and age ratings. They are also the starting point for storefronts, feeds, offers, and deliveries.
Create a title
- Open Catalogues under Library and select New catalogue.
- Complete the five steps:
- Basics: title, type, language, release information, and runtime.
- Classification: genres, production countries, spoken languages, festivals, awards, and keywords.
- Identifiers: TMDB, IMDb, ISAN, and an external ID.
- Localizations: a title, pitch, and overview for each language.
- People and ratings: cast and crew, companies, curations, and age ratings.
- Select Create on the final step. Only the title is required, so you can add the remaining information later.
You need the catalogues module and Create Catalogues permission.
Add seasons and episodes
Open the series and select Seasons, then Add season. Enter the season title and number and create it. Open the season, select Episodes, and choose Add episode to enter the episode title and number.
Edit metadata and related information
From a catalogue page, select Edit to change basic information, identifiers, and classification. Save your changes when finished. Use the dedicated tabs to manage:
- Metadata, including identifiers, spoken languages, and countries
- Localizations for translated titles, pitches, and overviews
- Cast & crew, including display order
- Ratings, either by suggesting ratings from the FSK register and IMDb or by adding them manually
- Companies, curations, and other catalogue details
You can add keywords while creating or editing a title. A title can have up to 50 keywords.
Add artwork
Open the title's Artworks tab and select Upload artwork. Choose the artwork type and language, then upload a JPG, PNG, or WebP file. You can also choose a stored image from the Vault or Bridge. Adding artwork requires Create Artworks permission.
Add supporting media files
Use Media assets on the catalogue page to create folders and add files by uploading them, copying them from the Vault, or importing them from Bridge. Opening media assets requires View Archives; adding them requires Create Archives and the relevant Vault or Bridge permissions.
Use AI-assisted catalogue creation or updates
You can draft a new catalogue with AI by providing context and attaching press kits, synopses, or metadata sheets. Review the generated draft and correct it before creating the catalogue. For an existing title, Draft update with AI proposes changes from selected media assets or ingest-session documents; review and apply only the changes you want. The catalogue is not changed until you apply the update.
How can I find catalogue titles, filter the list, and manage or merge keywords?
Open Catalogues under Library to find titles.
Find and filter titles
- Enter a term in the search box and run the search. If Use the Assistant is available, describe the titles you want in a sentence; it converts the description into filter cards that you can change or remove.
- Use Filter for advanced filters, or use the Type selector to narrow results to movies, series, seasons, episodes or other catalogue entries.
- Open a title by selecting its row. Use Clear filters to remove the applied filters.
The catalogue list includes each title's storefronts, type, year, runtime, language, storage and creation date.
Add keywords to a title
When creating or editing a catalogue, use the Keywords field. Select an existing matching keyword, or type a new name and press Enter to create it when you save. Keywords retain the order you assign and are limited to 50 per title.
Manage or merge keywords
Open Keywords under Library to review keyword names, languages, translations and usage counts. To create a keyword, choose New keyword, enter its name, slug and language, and save it. Open the keyword again to add translations.
To merge duplicates, select two or more keywords, choose Merge, select the keyword to keep, and confirm. The removed keywords' titles and feed rules move to the retained keyword, and their names become translations of it. Deleting a keyword removes it from every title.
Viewing keywords requires catalogue viewing access. Adding, editing, merging and deleting keywords require catalogue editing access.
How can I use AI to draft a catalogue or suggest catalogue updates?
You can use AI either to create a new catalogue or to propose changes to an existing one.
Create a new catalogue with AI
- Open Catalogues and choose Create with AI from the New catalogue menu.
- Provide any available context, such as target languages, an IMDb reference, a reference URL, and notes for the AI.
- Add press kits, synopses, or metadata sheets. You can upload documents or add them from the Vault, Bridge, or catalogue assets. Wait until each document is marked Ready.
- Select Draft with AI.
- Review the generated title, type, year, runtime, languages, and confidence score.
- Choose Review and create, correct the details as needed, and select Create.
You can use Re-run draft to try again. Cancelling discards the draft and its uploaded documents after confirmation. Creating a catalogue with AI requires Create Catalogues permission.
Draft an update to an existing catalogue
- Open the catalogue and select Draft update with AI.
- Choose the documents the AI should use, including media assets and documents from its ingest sessions. You can select up to 20 ingest-session documents.
- Optionally provide target languages, an IMDb reference, a reference URL, and notes describing what should change.
- Select Draft update.
- Review Proposed changes and clear any changes you do not want to keep.
- Select Apply update.
The AI starts with the current catalogue and proposes changes only where the selected sources provide new information. The catalogue is not changed until you apply the selected proposals. Drafting an update requires Edit Catalogues permission and the Catalogues module.
You can also draft a catalogue or catalogue update from an ingest session by adding title documents to the Catalogue card, choosing Draft catalogue or Draft update, reviewing the generated content, and approving or applying the result. Generating requires Update Ingest permission; approving a new catalogue or applying an ingest update requires Publish Ingest permission.
How do I add a catalogue title to a feed, and what limitations apply?
- Open the catalogue title and click Add to feed.
- Select the feed. You can filter the list by storefront when multiple storefronts are available, then click Continue.
- Choose whether to place the title at the Start of feed or End of feed, then click Continue.
- The title is highlighted in the feed. Drag it to adjust its exact position, then click Save feed.
This feature requires Update Storefronts permission and the storefronts module. It is available only for feeds built from titles, and cannot be used for episodes. Titles selected by feed rules appear after titles added manually. Adding a title also requires that you have access to the relevant feed and storefront.
How do I manage a catalogue’s media assets?
Open the catalogue and select Media assets. You can also open the media assets from the media-assets icon on a catalogue in the catalogue list.
From the media-assets page:
- Create or open folders with New folder.
- Add files using Upload, Add from Vault, or Import from Bridge.
- To add a Vault file, select it and add a copy; the original remains in the Vault.
- To import from Bridge, choose the relevant Bridge account and file. The Bridge file remains in place after it is copied to the catalogue.
You can rename or delete files when you have the corresponding archive permissions. Opening assets requires View Archives; adding them requires Create Archives. Vault and Bridge imports also require the relevant access permissions for those services.
How do I prepare a delivery, create an offer, or copy a catalogue to another workspace?
Prepare a delivery
- Open the catalogue title.
- Select Prepare delivery. This opens the title’s delivery page.
- To view all deliveries, open Deliveries.
You need permission to view deliveries.
Create an offer for a title
- Open the catalogue title and select Offers.
- Click New offer. The offer wizard opens with the catalogue title already selected.
- Complete the offer details, including licensing, availability, products and storefronts, and streams.
- Create the offer.
You need permission to create offers and the monetization module.
Copy a catalogue to another workspace
- On the catalogue page, select Export JSON and save the file.
- In the destination workspace, open Catalogues and select Import JSON.
- Choose the exported file.
- Choose how to handle external IDs: leave them empty or keep them with an import suffix.
- Keep the import dialog open until the import finishes.
The catalogue’s genres, keywords, localizations, cast, companies, ratings, awards, festivals, curations and artworks are recreated. Streams are not imported, and the import cannot be undone.
Using IO
How do I open IO, start or continue a chat, choose its display mode, and find earlier chats?
Open IO
You can open IO in several ways:
- On the Dashboard, enter your request in What should IO work on?, then press Enter or select Send to IO.
- On another page, select Ask IO in the header.
- On a wider screen, open the right-edge dock and select Open IO or New chat.
Press Enter to send a message and Shift+Enter to add a new line.
Start or continue a chat
From the Dashboard, use New chat to describe a question, task, or problem. To continue your latest conversation, open Where to send it and select Continue, followed by the chat you want. Select New chat when you want to start a separate conversation.
The Running tab shows work IO is currently doing or tasks waiting for you. You can select an item to open its chat. These items also appear in the Working now widget.
Choose a display mode
IO offers three views:
- Floating—a card beside the right-edge dock; on phones, it fills the screen.
- Sidebar—a column docked on the right while you work on the page.
- Full page—the chat fills the home page and includes options such as Back to the home page, Chats, and New chat.
Choose a view from the icons at the top of the Dashboard chat box or from the icons in an open chat's header. EYZFlow remembers your selection in that browser. When you follow a link from a full-page chat, the page opens with the chat beside it.
Find an earlier chat
- In IO, select Chats. In the floating or sidebar view, this is the search icon; in the full-page view, select Chats at the top.
- Search your chats or switch between Recent and Archived.
- Select a chat to open it. Use its ⋮ menu to rename or archive it. Archived chats can be restored.
- Select New chat, or select the + in the chat header, to start a new conversation.
Your chat list contains your own chats. People with the Administer workflows permission can switch on Everyone's conversations to view chats across the organisation.
Note
Using IO requires the Use the Assistant permission. IO acts with your permissions, so it can only read, change, or start items your role allows.
How can I use IO with media and workflows, and when does it require approval?
You can use IO to work with media, ask questions about analyzed videos, and build or change workflows in your own words.
Use IO with media
In an IO chat, select Add media to attach streams or analyzed video files to your next message. You can attach streams, Bridge video files that have finished inspection, and analyzed Vault videos, subject to your access permissions.
For a more focused conversation, open a stream, the Video Intelligence player, or the video editor after Video Intelligence analysis is ready, then choose Ask IO about this video. IO can answer questions about what is said, what is shown, and where it occurs in the video. This requires access to the relevant analysis and the Video Intelligence capability in your plan. If analysis is unavailable, still running, has failed, or is not included in your plan, IO explains why it cannot inspect the video.
Use IO to build workflows
Describe the automation you want, such as what should happen when a file arrives or on a schedule. IO creates a workflow proposal, may ask clarifying questions, and shows its assumptions and estimated cost. Review the proposal before choosing Put it on the board & save, Accept all, or another acceptance option. Saving a workflow or a change creates a version; it does not start a run.
A workflow can run when an event occurs, on a schedule, or when someone starts it. Its steps may perform actions, ask a person for information, wait, run in parallel, or repeat for items in a list.
When approval is required
IO always asks you to approve these actions:
- Starting Video Intelligence
- Starting a transcription
- Retrying Video Intelligence enrichment
- Generating artwork
The approval card shows the estimated cost and expires after 30 minutes. If you do not have enough credits, IO tells you instead of requesting approval.
Destructive workflow steps and steps that give access outside the product always require approval when they run. Other workflow steps can be configured to run without asking, including paid steps; IO warns in the proposal if a credit-consuming step would run without approval.
Changes to workflows are also proposals that you must accept or discard. You need permission to manage workflows, and adding or changing a step additionally requires permission to use that step. If your role cannot use a proposed step, you cannot accept the change yourself; the proposal remains available for someone with the required role.
IO operates with your permissions. Automatic workflow runs use the permissions of the person who configured the workflow's trigger.
What is the difference between IO-conversation consent and “Talk to a person” support?
IO conversation consent and Talk to a person are separate:
- IO conversation consent controls whether EYZMedia may keep your IO conversations to fix bugs and improve EYZFlow. Both your organisation’s agreement and your own agreement are required. You can change your choice later in Settings. Withdrawing consent deletes what EYZMedia kept under that agreement, but your chat history in EYZFlow remains.
- Talk to a person sends a specific IO conversation to EYZMedia support only when you choose Send to EYZMedia's support. It does not depend on the IO conversation-consent settings. Support replies in the same chat, and you can cancel the request while it is open. Withdrawing IO conversation consent does not delete a support request.
You need the Use the Assistant permission to use IO and request support. Do not include passwords, API keys, PINs, or other secrets in an IO chat or support note.
How do organisation admins and individual users manage consent for keeping IO conversations?
EYZMedia keeps IO conversations to fix bugs and improve EYZFlow only when both levels of consent are in place: the organisation’s consent and the individual user’s consent. This is separate from your EYZFlow chat history, which remains available regardless of these choices.
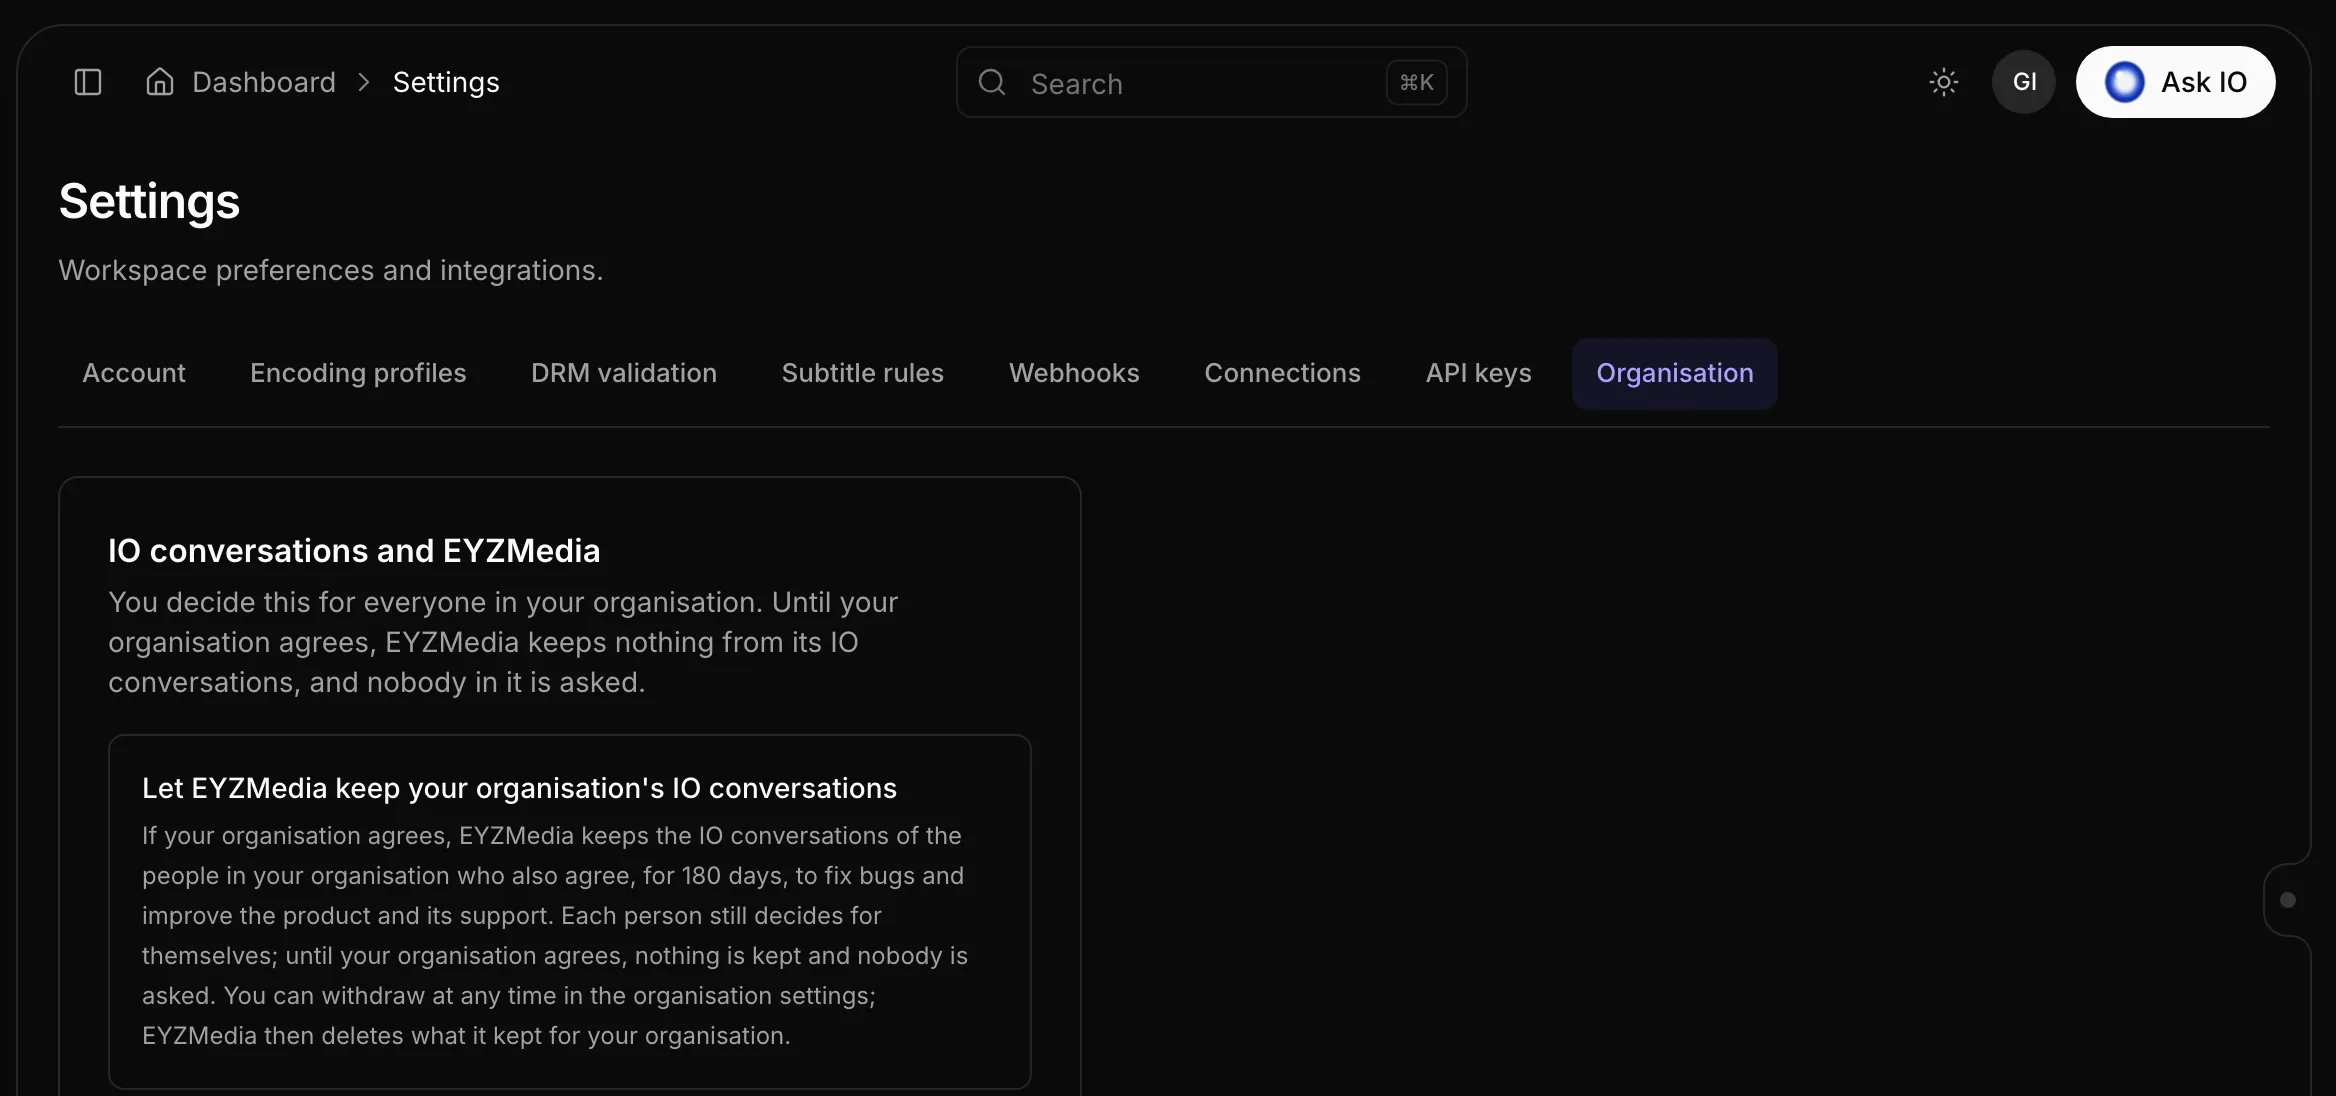
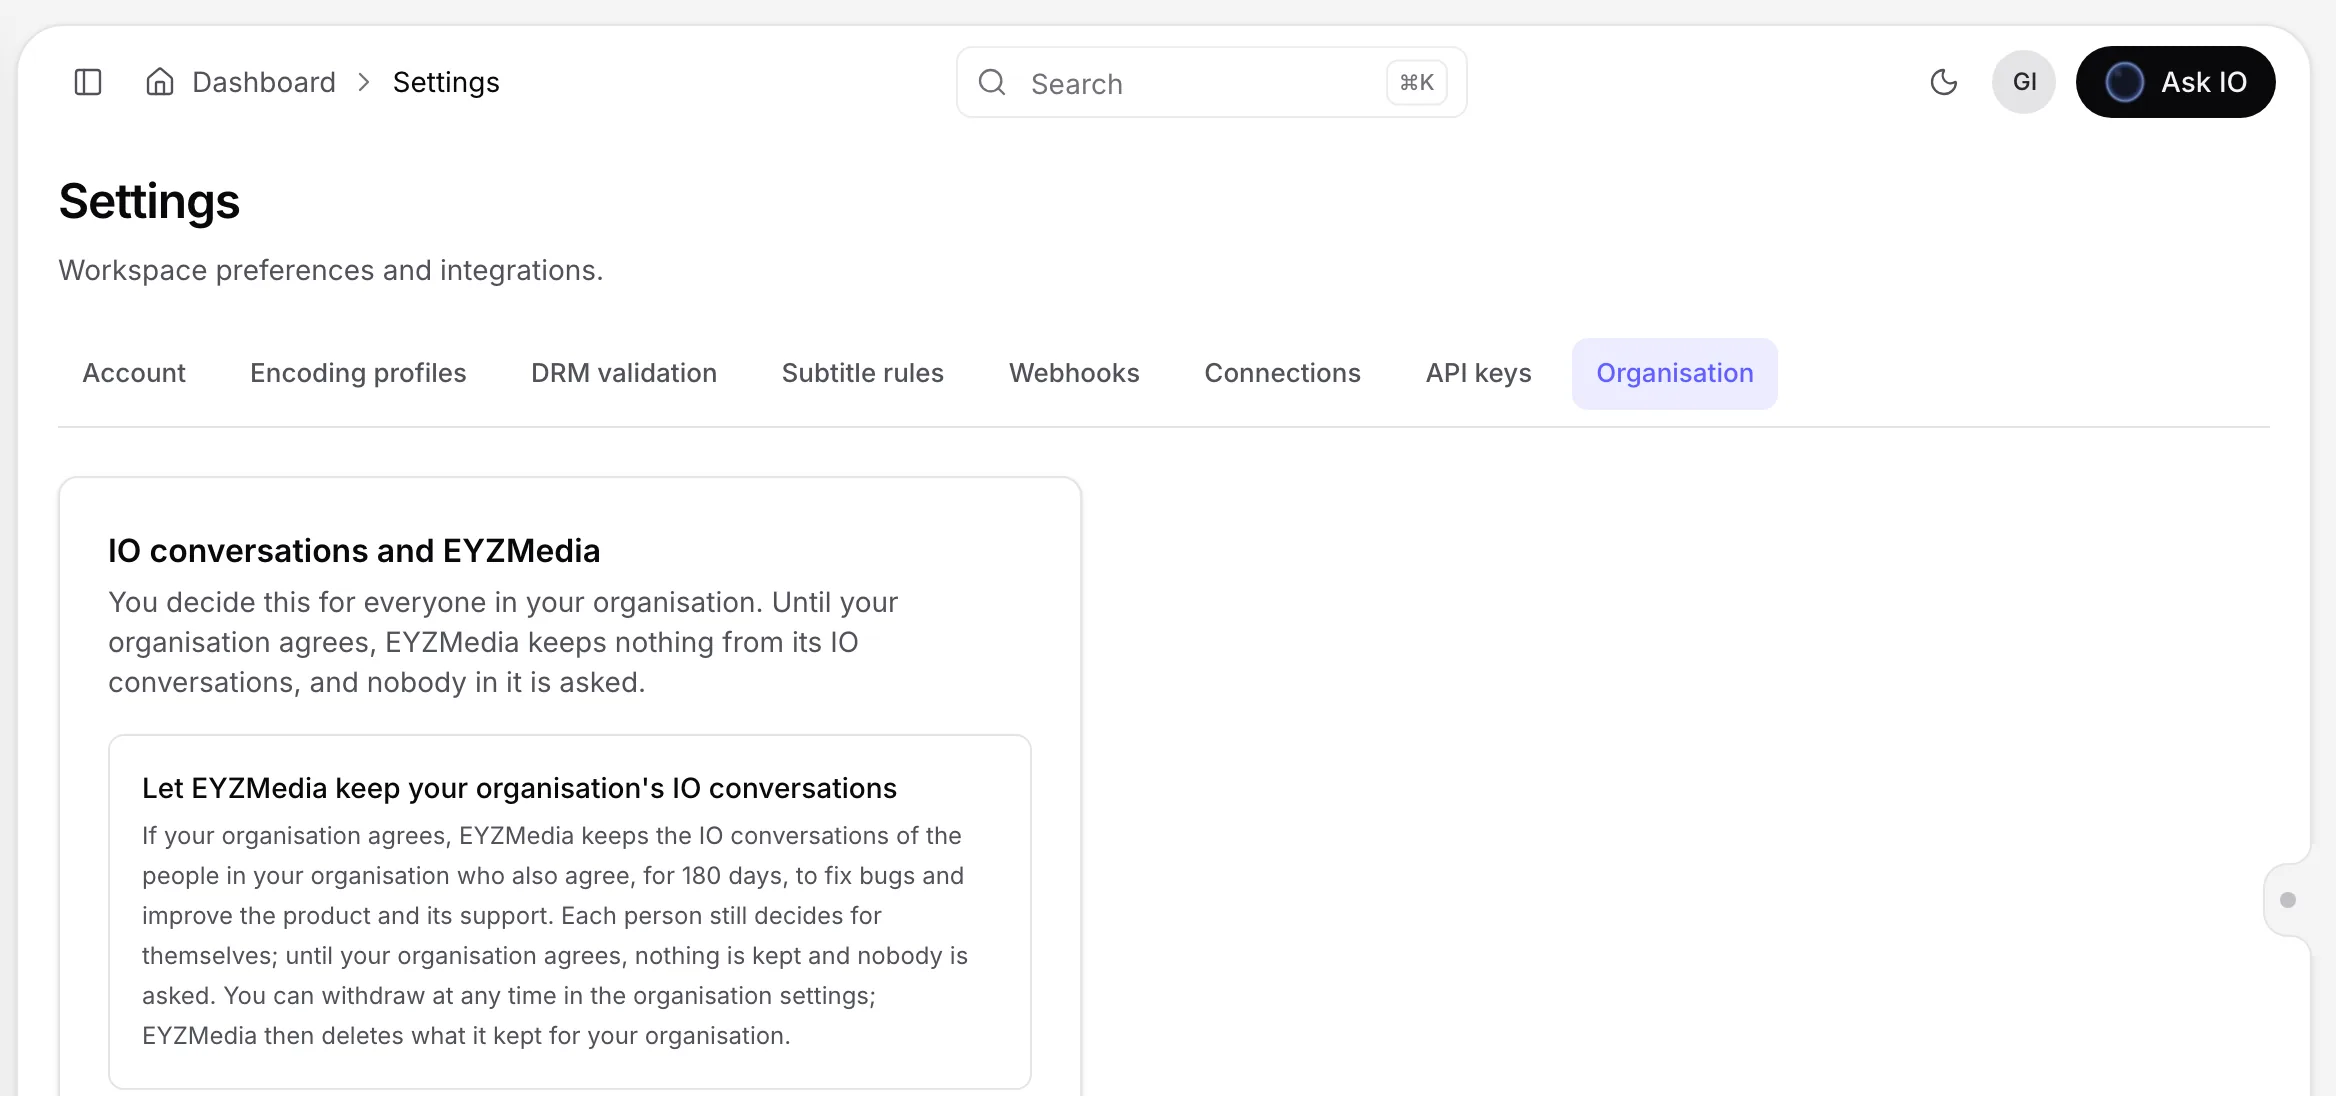
Organisation consent
An organisation admin with permission to decide on keeping IO conversations can:
- Open Settings and go to Organisation.
- Read the wording in the IO conversations and EYZMedia card.
- Choose to agree or decline for the organisation.
Until the organisation agrees, individual users are not asked and EYZMedia keeps nothing for these purposes. If the wording changes, the organisation must review and agree to the updated wording before anything more is kept.
To withdraw organisation consent, open the same card, select Withdraw consent, and confirm with Withdraw. EYZMedia deletes what it kept under that agreement. The organisation’s decision does not remove each user’s own answer; if consent is granted again later, a user’s previous agreement can apply again unless the wording changed in between.
Individual consent
After the organisation agrees, each user can decide in the IO assistant card above the chat message box or in Settings > Account. Users can agree, decline, or change their answer later. A decline is not asked again until the user changes it in Settings.
To withdraw individual consent:
- Open Settings and go to Account.
- In the IO assistant card, switch the option off.
EYZMedia deletes what it kept under that individual agreement. The user’s EYZFlow chat history remains, and only conversations from a later agreement are eligible to be kept. If the wording changes, the user must agree to the new wording before anything more is kept.
Note
Consent for keeping IO conversations is not required to use Talk to a person. That feature sends the conversation to EYZMedia support only when the user explicitly submits it, and it is handled as a separate support request.
How can I contact a support person through IO, and what if support is unavailable?
You can hand an IO conversation to EYZMedia’s support without leaving the chat. You need the Use the Assistant permission.
- Open an IO chat.
- Click the headset icon and choose Talk to a person. IO may also offer this option beneath an answer.
- Review the notice that the conversation will be sent to EYZMedia’s support with your name and email. You can optionally add a description of the problem.
- Click Send to EYZMedia’s support. Choose Not now or × to cancel before sending.
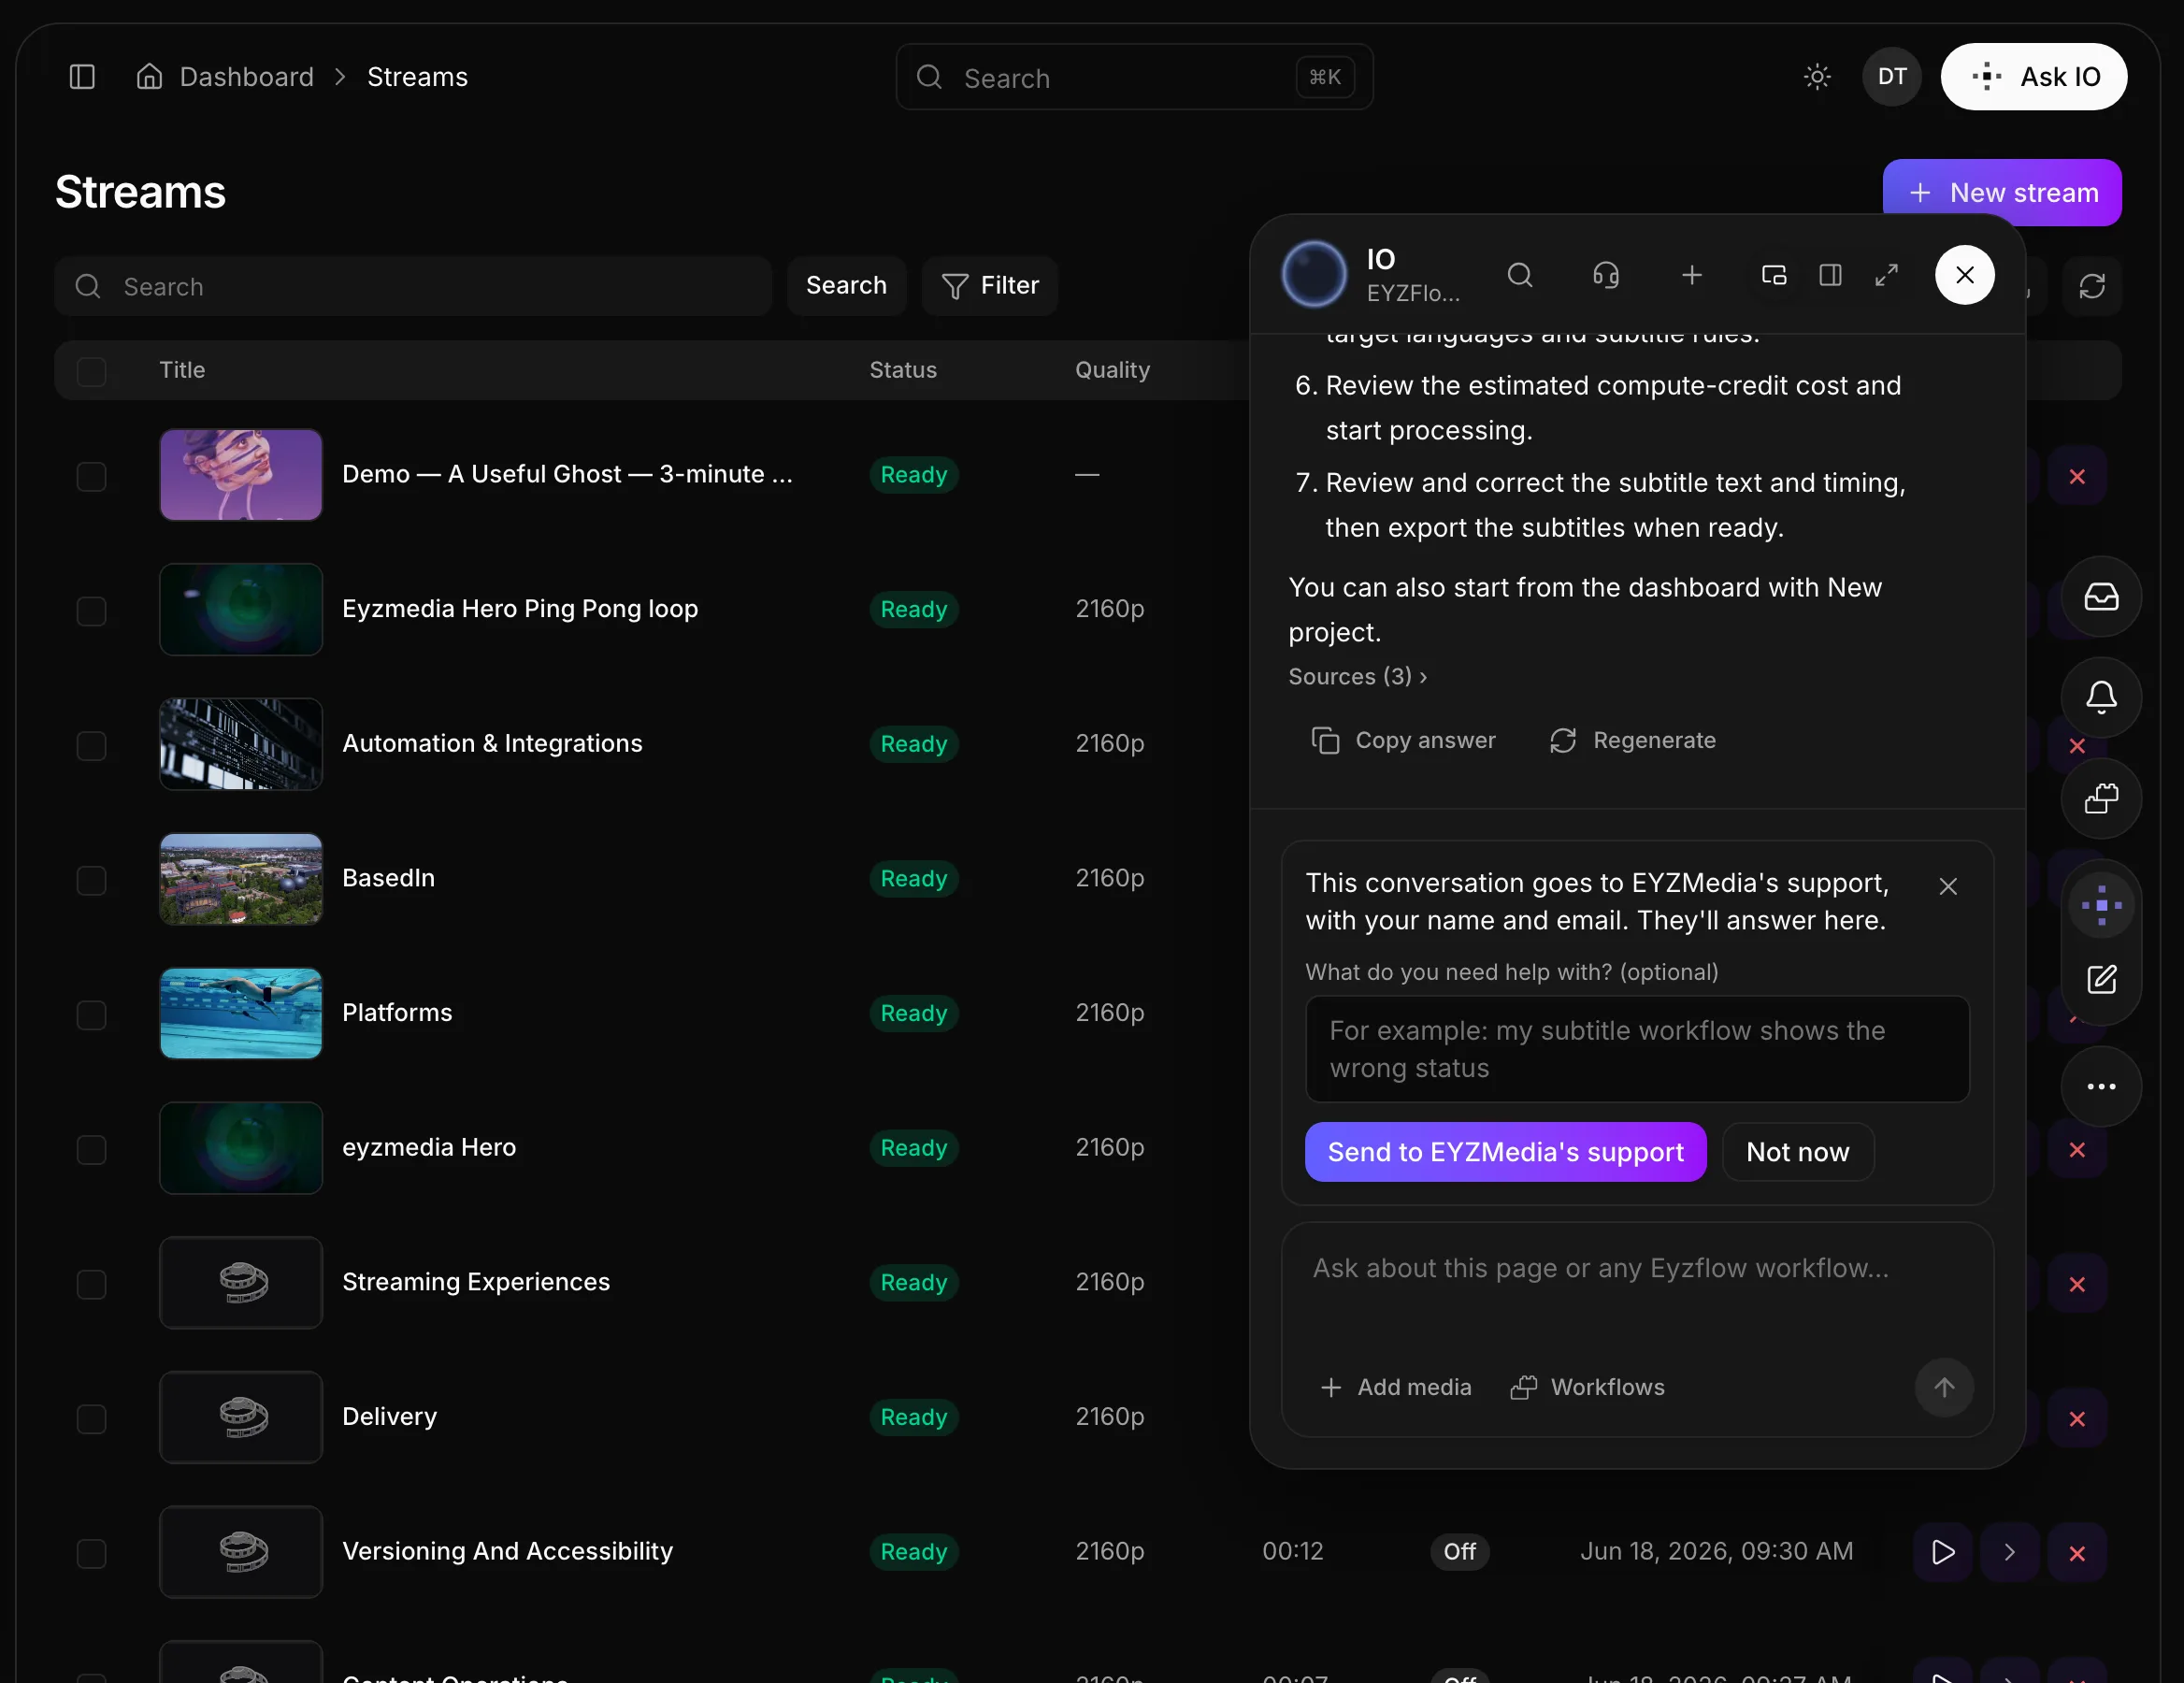
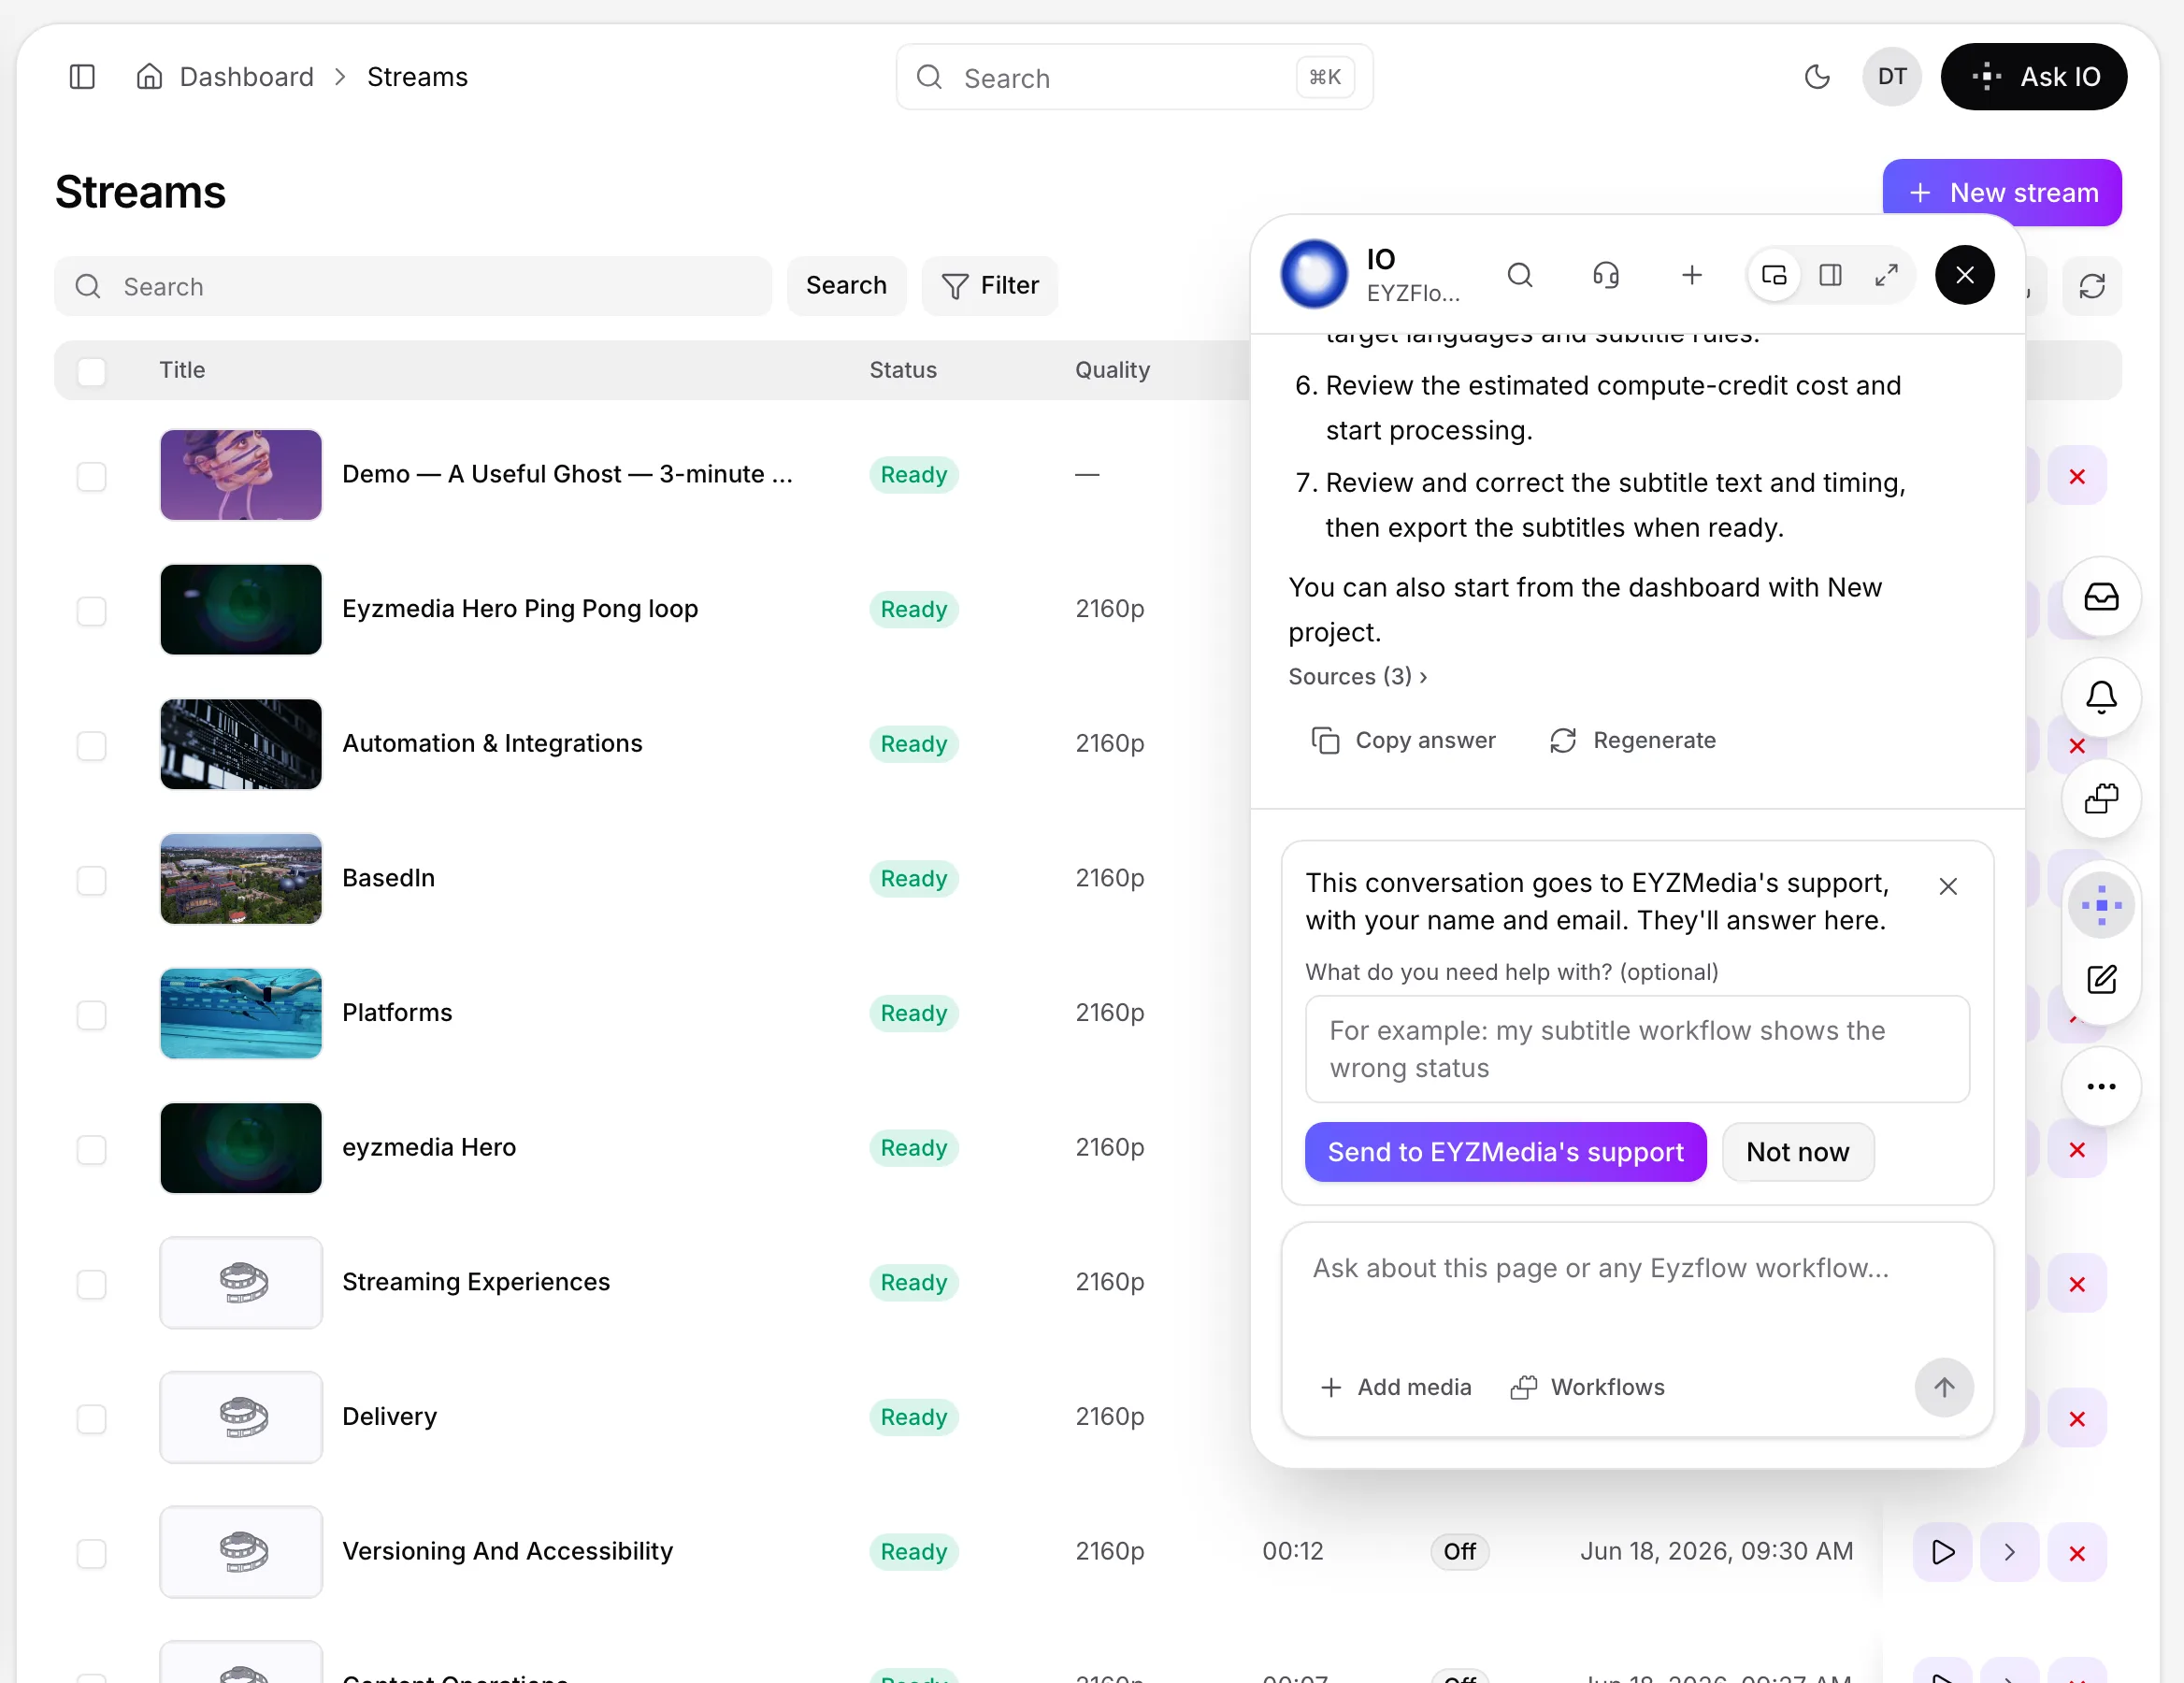
Do not include passwords, API keys, PINs, or other secrets in the chat or your note.
After sending, the request remains in the same conversation. You can click Cancel request while it is open. You’ll receive a notification when support replies. While a support request is open, or while a support person is in the chat, Talk to a person is not offered again.
When a support person joins, write to them in the same message box. IO does not answer while they are in the chat. Select Back to IO to return the conversation to IO.
If support cannot help at that time:
- If no one can join, try again later.
- If support is unavailable, try again later.
- If sending or cancelling fails, try the same action again.
Vault and file storage
Where do files from a Bridge upload link or Vault drop folder appear, and how can I verify delivery?
Files sent through a Bridge upload link appear in the selected Bridge account, under the link’s target folder. Check the account’s Bridge tab or Bridge files. The upload-link list also shows the number of files received, along with the account, target-related rules, expiry and status.
Files sent through the Vault drop folder appear in the Vault as they arrive, in the sender’s own folders. They are marked Drop folder in the Arrived by column. To verify delivery, open Drop folder in the Vault and check Files received, Total size and Last arrival. You can also check the Vault file list for the delivered files.
If files delivered through the drop folder are missing from the Vault, use Rescan in the Drop folder dialog. The rescan reports how many files it checked and how many new files it added. If the rescan stops, run it again to continue where possible.
How can I send a large delivery to the Vault using AWS CLI, rclone, or Cyberduck, and what happens if a transfer is interrupted or a file is sent again?
For large deliveries, use the Vault drop folder with the AWS CLI, rclone, or Cyberduck instead of uploading through the browser.
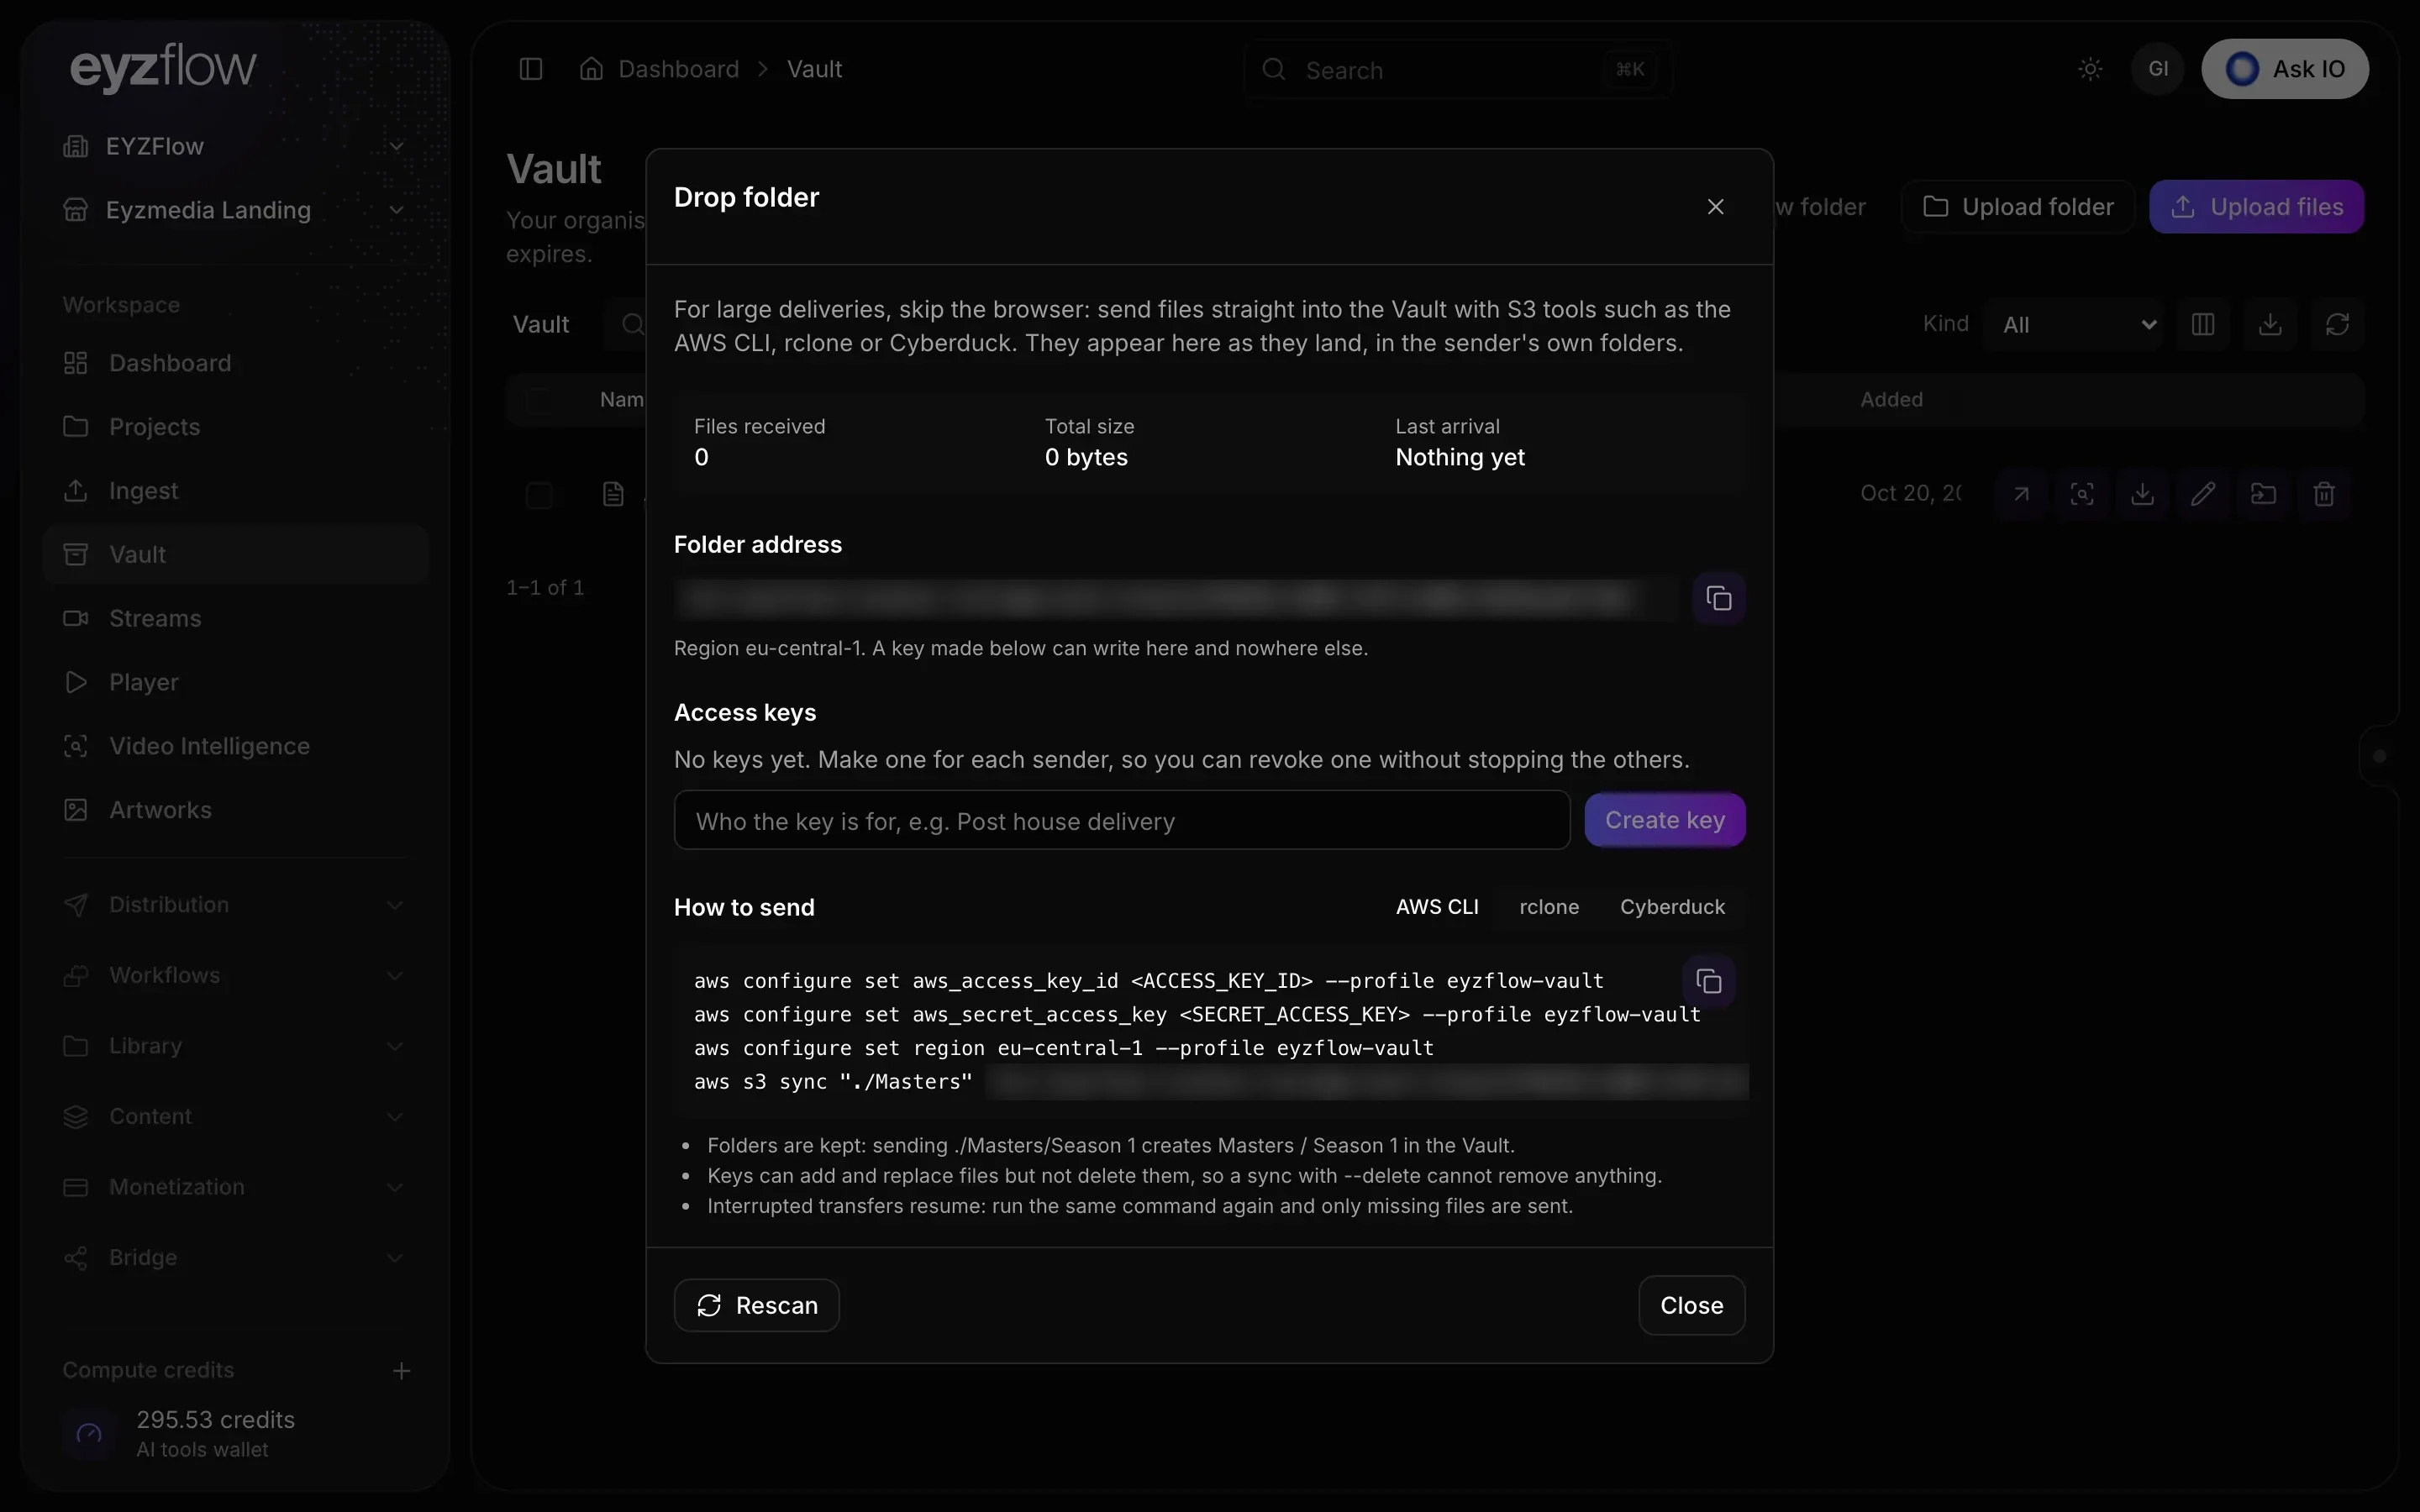
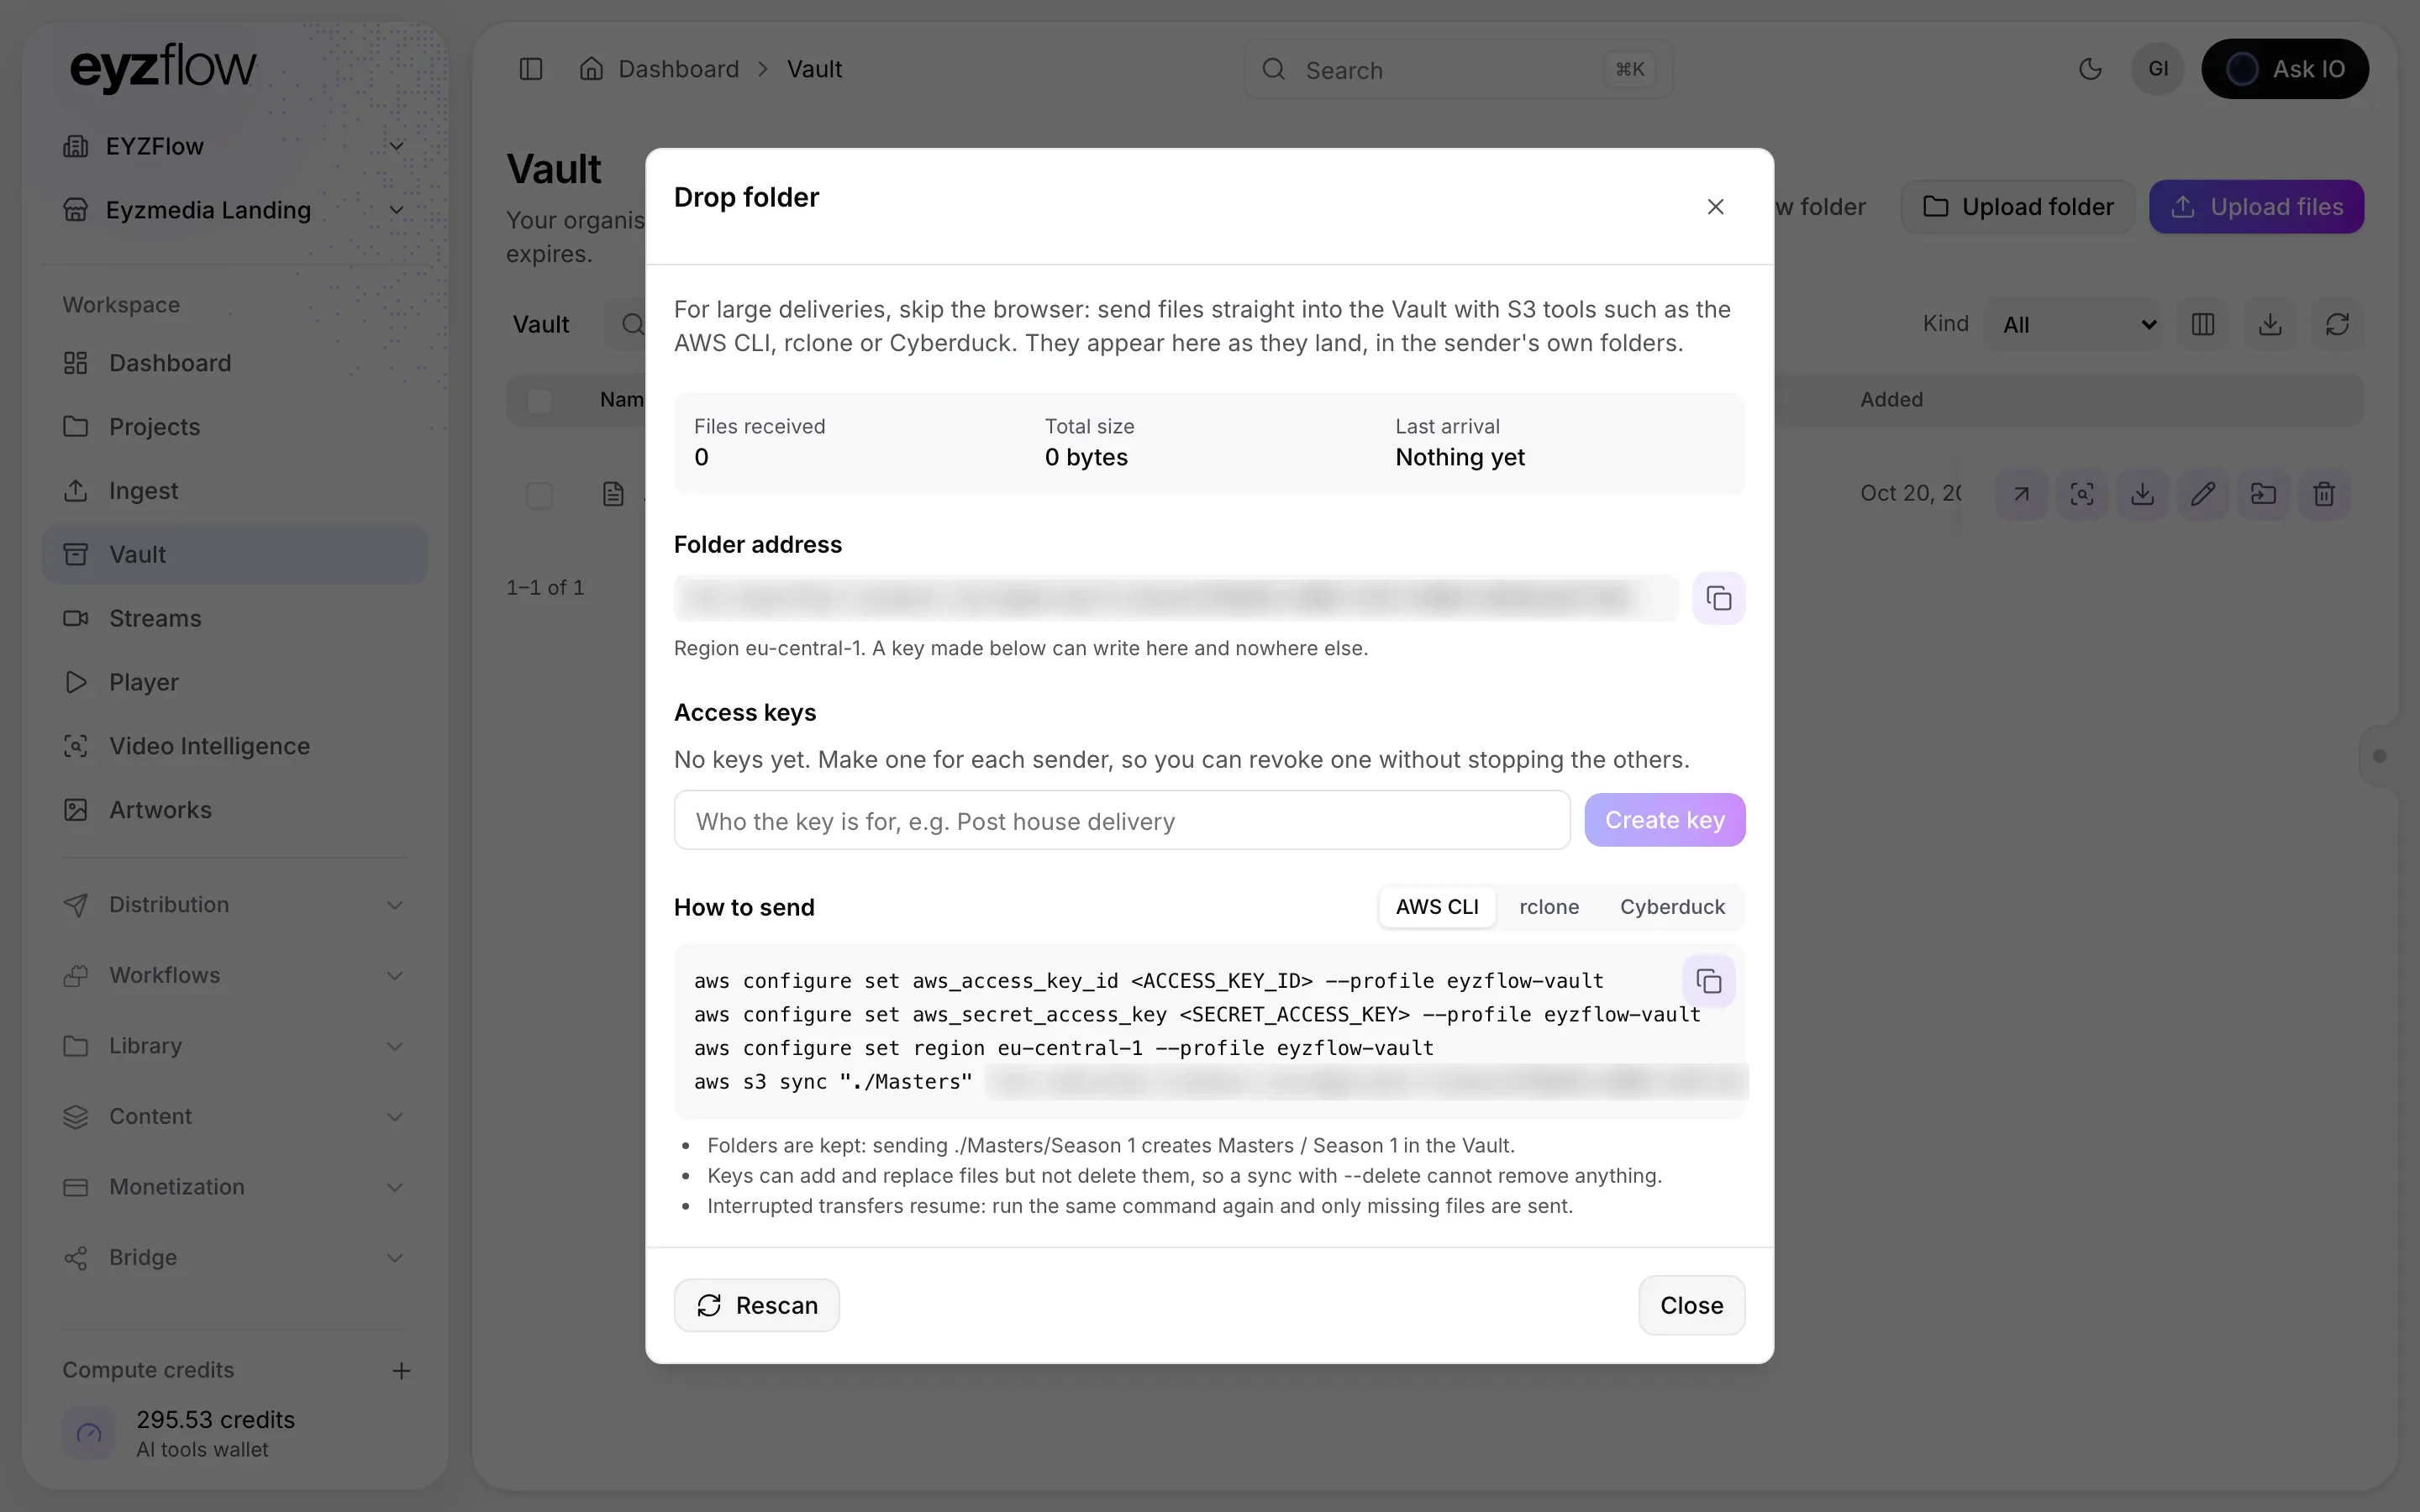
Before you send
- Open the Vault and select Drop folder.
- Ask someone with Manage Vault access to create a drop-folder key for the sender.
- Copy the Access key ID and Secret access key and provide them to the sender securely. The secret is shown only once.
- In How to send, choose AWS CLI, rclone, or Cyberduck:
- For AWS CLI or rclone, copy the displayed commands and change the local
./Mastersfolder to the folder you want to send. - For Cyberduck, create an Amazon S3 connection and enter the displayed server, access key ID, secret access key, and path.
- For AWS CLI or rclone, copy the displayed commands and change the local
What happens during and after transfer?
- Folder structure is preserved. For example, sending
./Masters/Season 1createsMasters / Season 1in the Vault. - You can rerun the same AWS CLI or rclone command after an interruption; only missing files are sent.
- Drop-folder keys cannot delete files, so a sync using
--deletecannot remove files from the Vault. - Sending a file with the same name to the same folder replaces the existing Vault copy. The replacement is analysed again, and the earlier version is not retained.
- Delivered files appear in the sender's folders in the Vault and are marked Drop folder in the Arrived by column.
If delivered files are missing from the Vault, open Drop folder and select Rescan. The rescan checks the whole drop folder and adds files that were missed. If it stops, select Rescan again to continue where possible.
A drop-folder key can write only to the drop folder, and it cannot delete files. Revoke a key from Access keys if necessary; transfers using it stop immediately, while files already delivered remain in the Vault.
How do I manage Vault drop-folder access keys, and what can they do?
You need Manage Vault permission to create, view, and revoke drop-folder access keys. Open the Vault, open Drop folder, enter a description for the sender under Access keys, and select Create key. Copy the Access key ID and Secret access key and share them with the sender securely. The secret is displayed only once; if it is lost, revoke the key and create a replacement. A new key may take up to a minute to start working.
Create one key per sender so you can revoke access independently. The drop folder supports up to two keys at a time. If both slots are in use, revoke an existing key before creating another.
A key can write to the drop folder and nowhere else. It can add files and replace files with the same name in the same folder, but it cannot delete files. Repeating an interrupted transfer sends only missing files when the same transfer command is run again. Replacing a file triggers analysis again, and the earlier version is not retained.
To revoke a key, open Drop folder, select Revoke beside the key, and confirm. Transfers using that key stop immediately, but files already delivered remain in the Vault. Each key shows its last-used time or indicates that it has not been used.
Which permissions and plan or storage requirements control stream creation and other stream actions?
Stream access depends on both your organisation’s plan and your role permissions:
- Streams plan module: The organisation must have the Streams module to use the Streams area. If the organisation has no active plan, or its storage limit has been reached, New stream is unavailable.
- Create a stream: The Create Streams permission (
streams.create) is required. Creating a stream with a local file or direct video URL also requires this permission. - Link a catalogue: Linking or changing a stream’s catalogue requires Edit Streams (
streams.edit). A stream can still be created without a catalogue if you do not have this permission. - Use a stored source: Choosing a file from the Vault or Bridge requires Create Streams and Edit Streams. Viewing the relevant stored files also requires the applicable Vault or Bridge viewing permissions.
- Add a source to a draft: The upload action requires Edit Streams. Adding a local file or URL also requires Create Streams; adding a stored file requires only Edit Streams.
- Edit stream details and processing: Renaming, retrying or stopping encoding, and starting CENC packaging require Edit Streams. CENC packaging also requires the stream to be Ready.
- Delete a stream: The Delete Streams permission (
streams.delete) is required.
When a role lacks a permission, the related button or sidebar item is hidden. When the plan lacks a module, the feature is shown as locked instead and the organisation can review plans or add-ons.
How can I use Vault files in other features without uploading them again?
A Vault file can be used directly in many EYZFlow features. You need View Vault and the permission and plan module for the feature you want to use.
From the Vault:
- Find a file that has finished uploading.
- Select Use….
- Choose an action, such as creating a stream, starting a subtitles or transcription project, adding the file to an ingest, or running an available workflow. The destination page opens with the file already selected.
You can also start in a feature and choose the file from its Vault option—for example, Choose from Vault, From Vault, Choose stored file, or Choose stored image, depending on the feature. In Streams, Projects and Ingest, the file is used where it is rather than uploaded again. In Catalogues, adding a file to a title copies it into the catalogue while keeping the original in the Vault.
For multiple files, select the relevant rows in the Vault and choose Add to ingest or Draft catalogue with AI. You can also ingest an entire Vault folder, including its subfolders; a maximum of 500 files is added at once.
How do I upload, find, manage, analyze, download, and use files in the Vault?
The Vault stores your organisation’s master video, audio, image, subtitle, and document files. Files are not tied to a catalogue title, stream, or partner, and they do not expire.
Upload files
- Open the Vault and open the destination folder.
- Select Upload files, then choose one or more files.
- Monitor progress in the Uploads panel.
You can also drag files onto the Vault page. Uploads continue while you visit other folders or dashboard pages, but closing or reloading the tab stops them after confirmation. For hundreds of titles or very large deliveries, use the drop folder instead.
To upload a folder, select Upload folder or drag a folder onto the page. Its subfolders are preserved. You need Upload to Vault permission.
Find and inspect files
Open a folder to browse it, or search the entire Vault by name. You can filter results by Video, Audio, Images, Subtitles, or Documents, and sort the list by its columns.
The list shows each file’s name, type, size, analysis status, arrival method, and added date. After a file arrives, EYZFlow analyses it. For an analysed file, select its analysis status to open a read-only preview and the available findings. If analysis fails, select Run again; this also requires Upload to Vault permission.
Manage files and folders
Users with Upload to Vault permission can create folders. Users with Manage Vault permission can rename and move files or folders. To move an item, select Move, open the destination folder, and select Move here.
Deleting a file or folder is permanent. Deleting a folder also deletes everything inside it, and the storage is freed. Deletion requires Manage Vault permission.
Download a file
Find the file and select Download. The download option appears after the file has finished uploading and requires View Vault permission.
Use a Vault file elsewhere
You can start from the file’s Use… menu, or choose the Vault when another feature asks for a file. This avoids uploading the file again; the exact options depend on the file type, your permissions, and the enabled feature modules.
Depending on the file and your access, you can use a video to create a stream or accessibility project, use an image as artwork, use a document to draft a catalogue with AI, add any file to an ingest, or start an eligible workflow. The menu appears only for fully uploaded files and actions you are allowed to perform.
To use Vault files in other features, you need View Vault permission as well as the permission and plan module required by that feature.
How can I view storage usage and delete large Vault or Bridge files to free space?
The Storage page shows how much storage your organisation uses, which areas use it, and the largest Vault and Bridge files.
Open Storage
- Open the account menu in the header.
- Select Storage.
You can also open it from the storage meter on the dashboard. You need View Subscription permission to access the page.
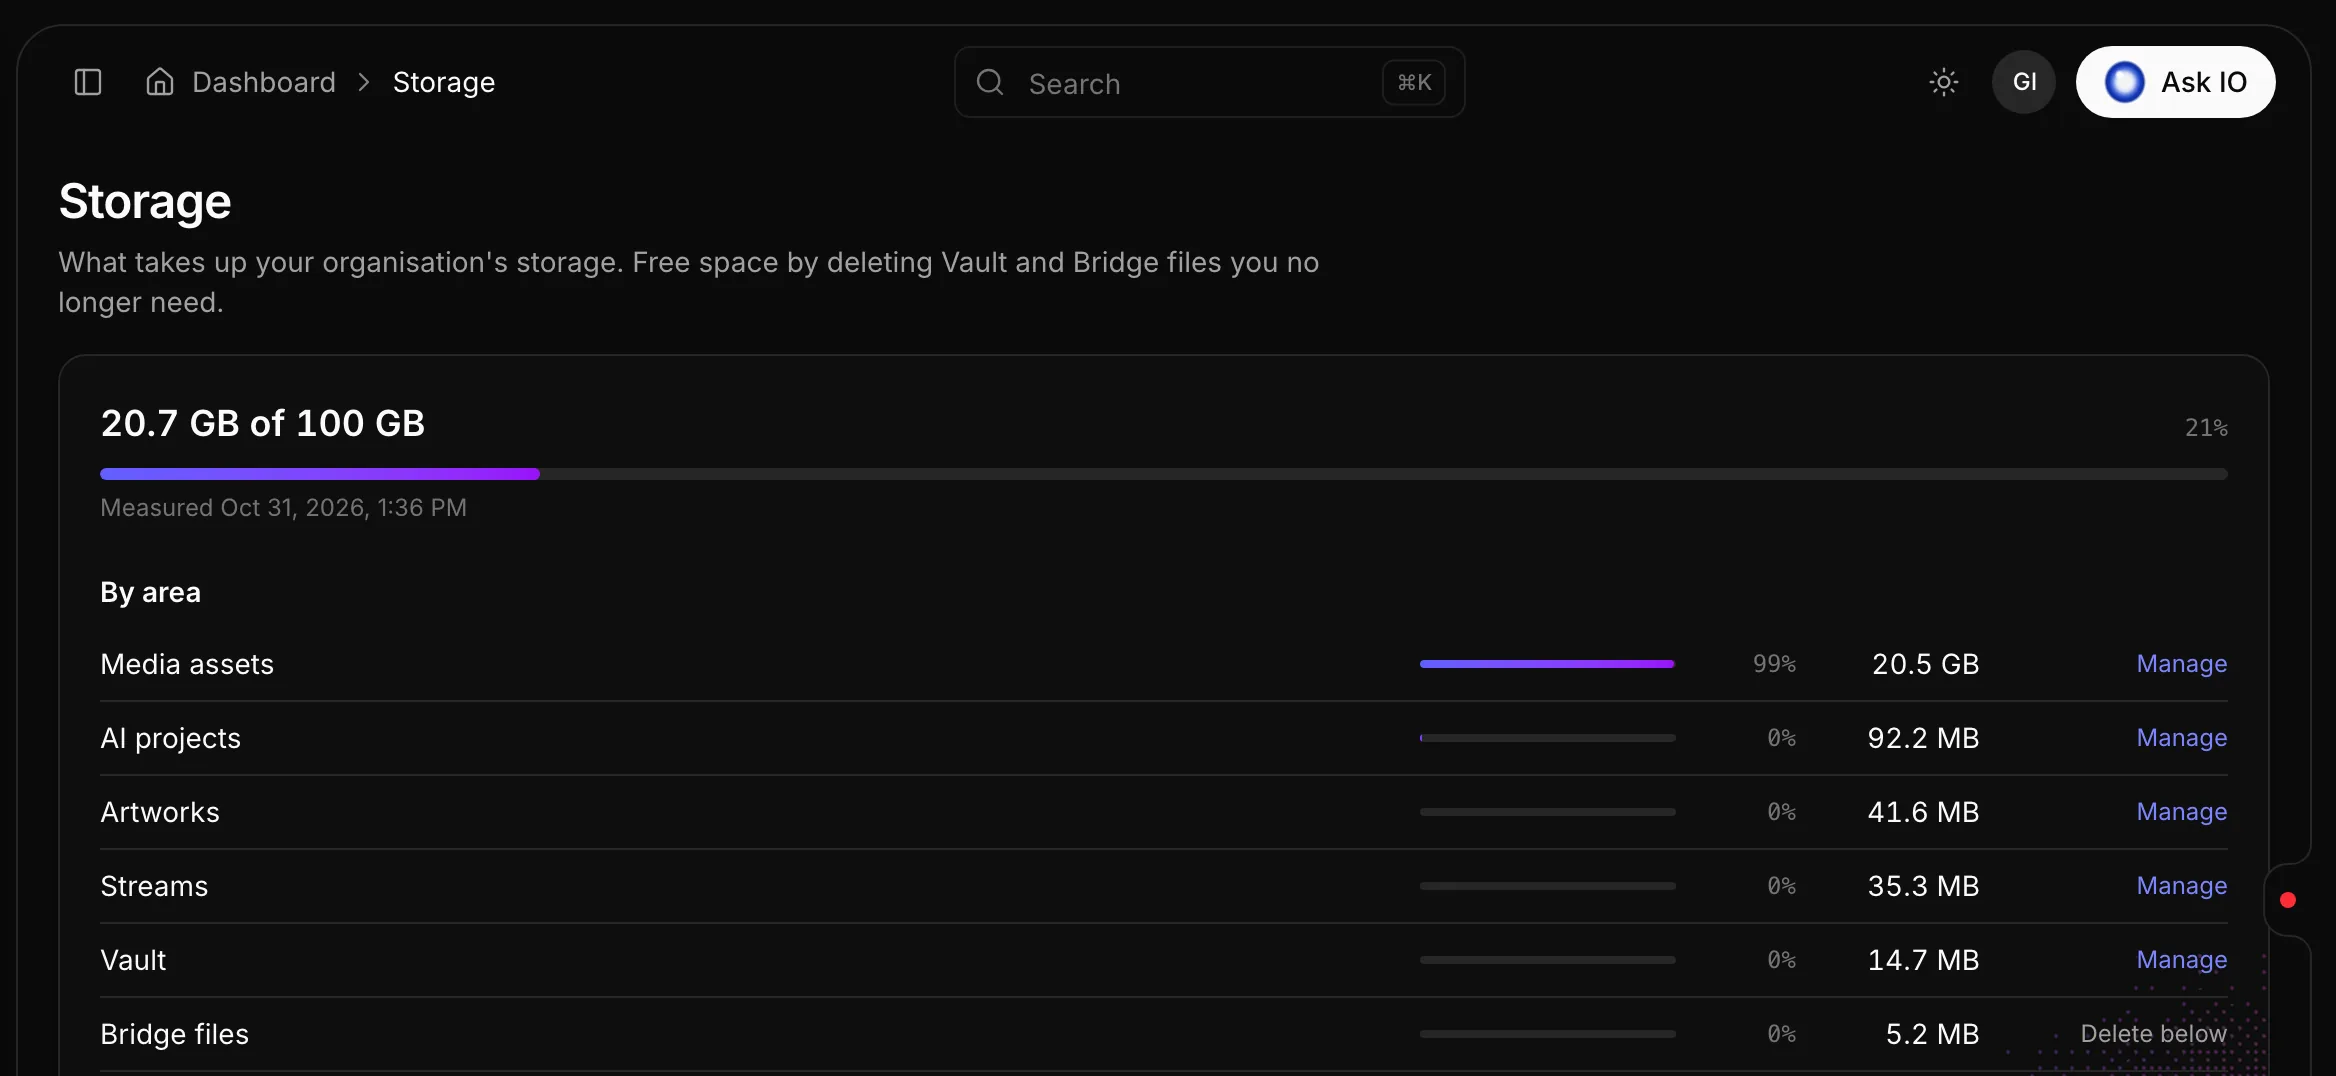
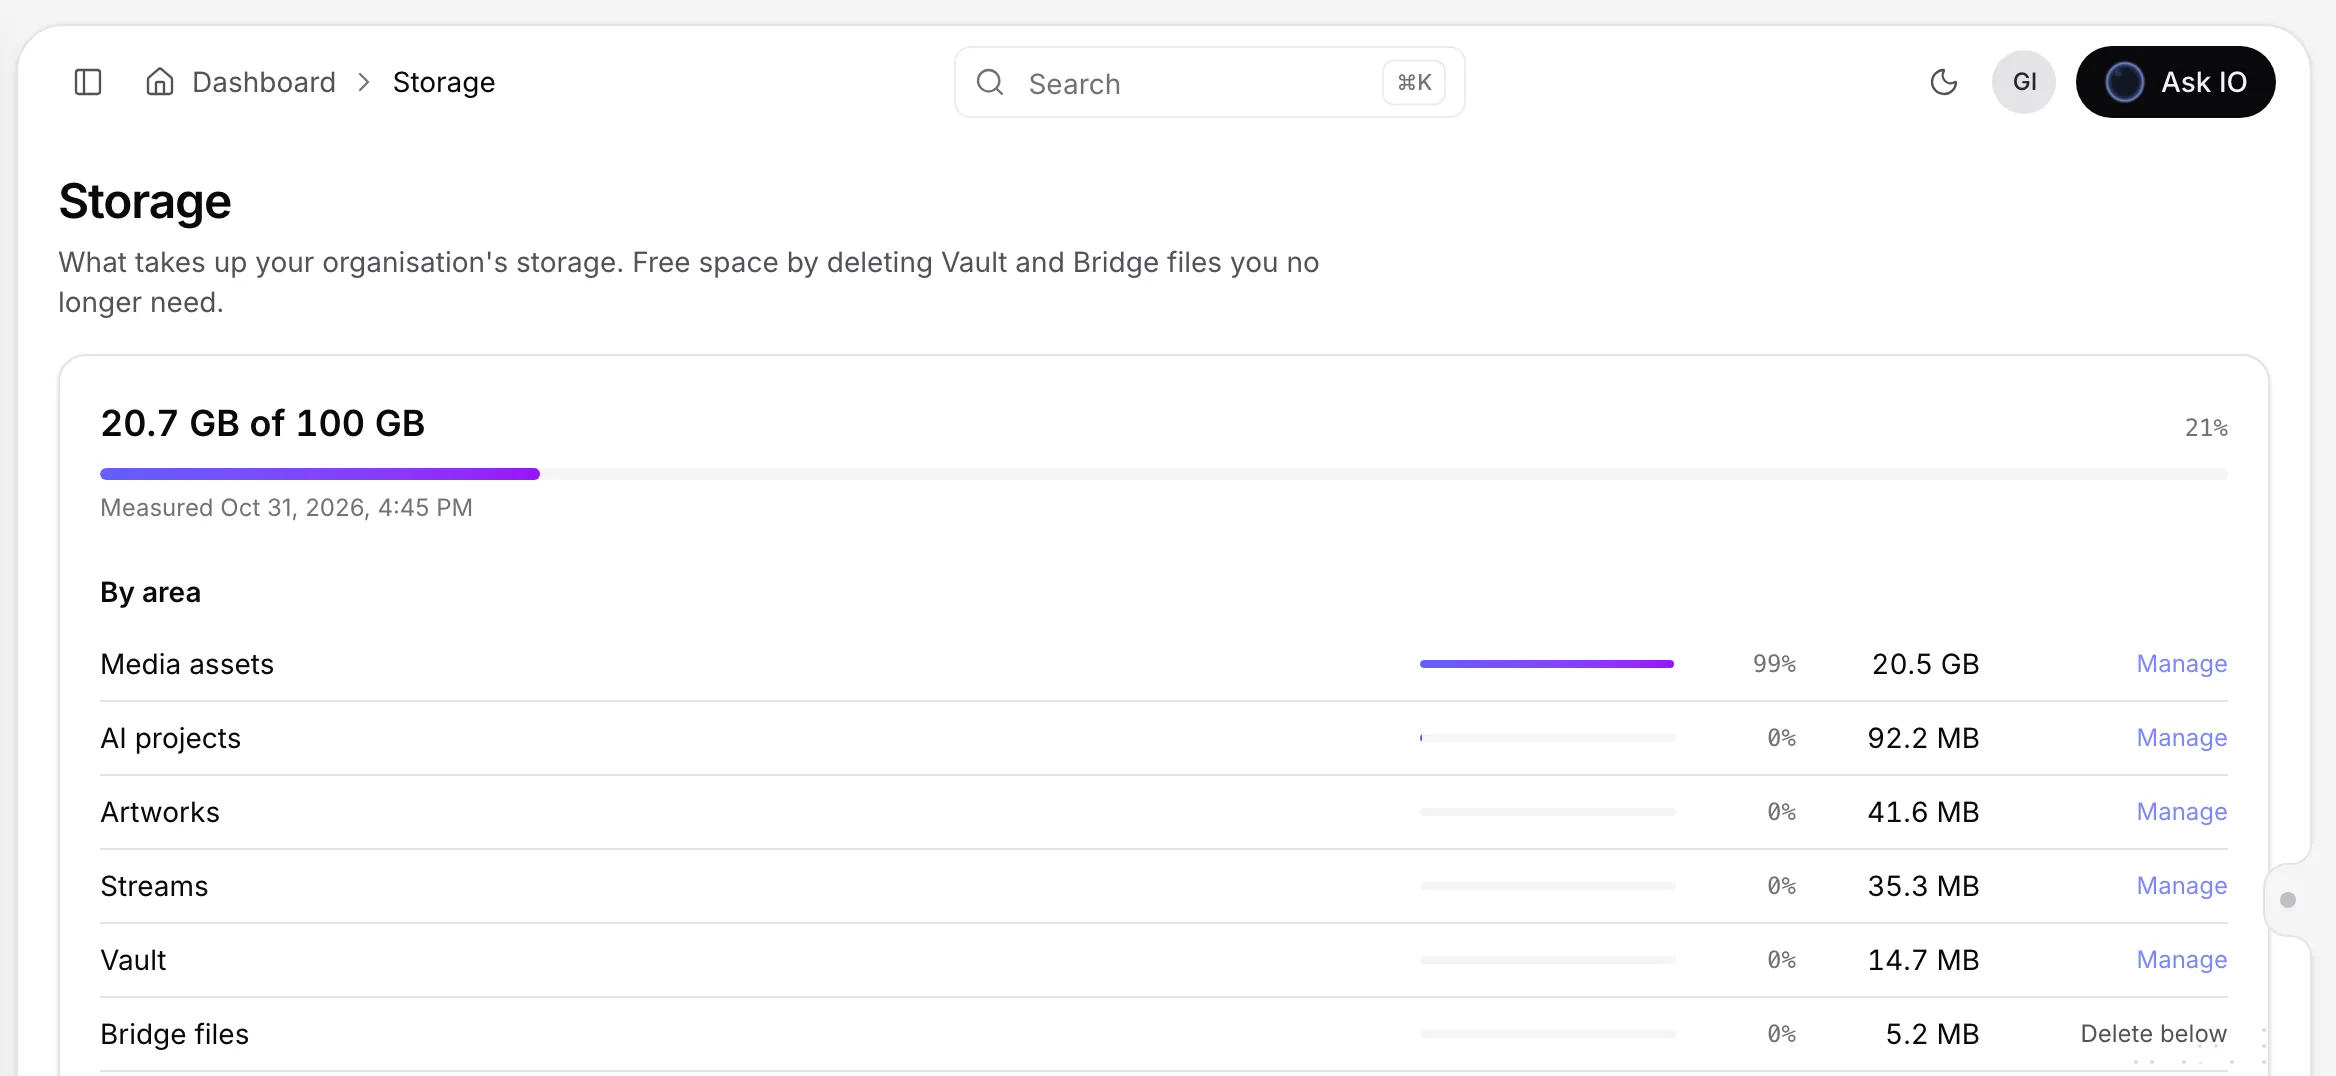
The usage card shows storage used against your plan's limit, when usage was measured, and the size of areas such as Streams, Media assets, Artworks, Bridge files, AI projects and Vault.
Find and delete large files
- In Largest files, choose Vault or Bridge from Source to filter the list.
- Review each file's location, size, usage, and— for Bridge files—expiry information.
- Check Used in before deleting. A file marked Copy kept has a full copy elsewhere.
- Select Delete on the file's row and confirm.
Deletion is permanent and cannot be undone. Deleting a Vault file requires Manage Vault permission. Deleting a Bridge file requires Delete Bridge Files permission; without the required permission, the Delete button is not shown. Deleting a folder removes everything inside it.
If your organisation reaches its storage limit, uploads such as new streams and artworks stop. Free space by deleting files or upgrade the plan.
Bridge file exchange
How do I create and share a Bridge upload link for people without Bridge accounts?
A Bridge upload link is a public upload page. Anyone with the link can use it without having a Bridge account, making it useful for collecting files from external partners.
To create one:
- Open Upload links under Bridge and select New upload link.
- Choose the active Bridge account where the files should be stored, then select the Target folder or the account root.
- Add a title and, optionally, instructions for uploaders, a logo, and an accent colour.
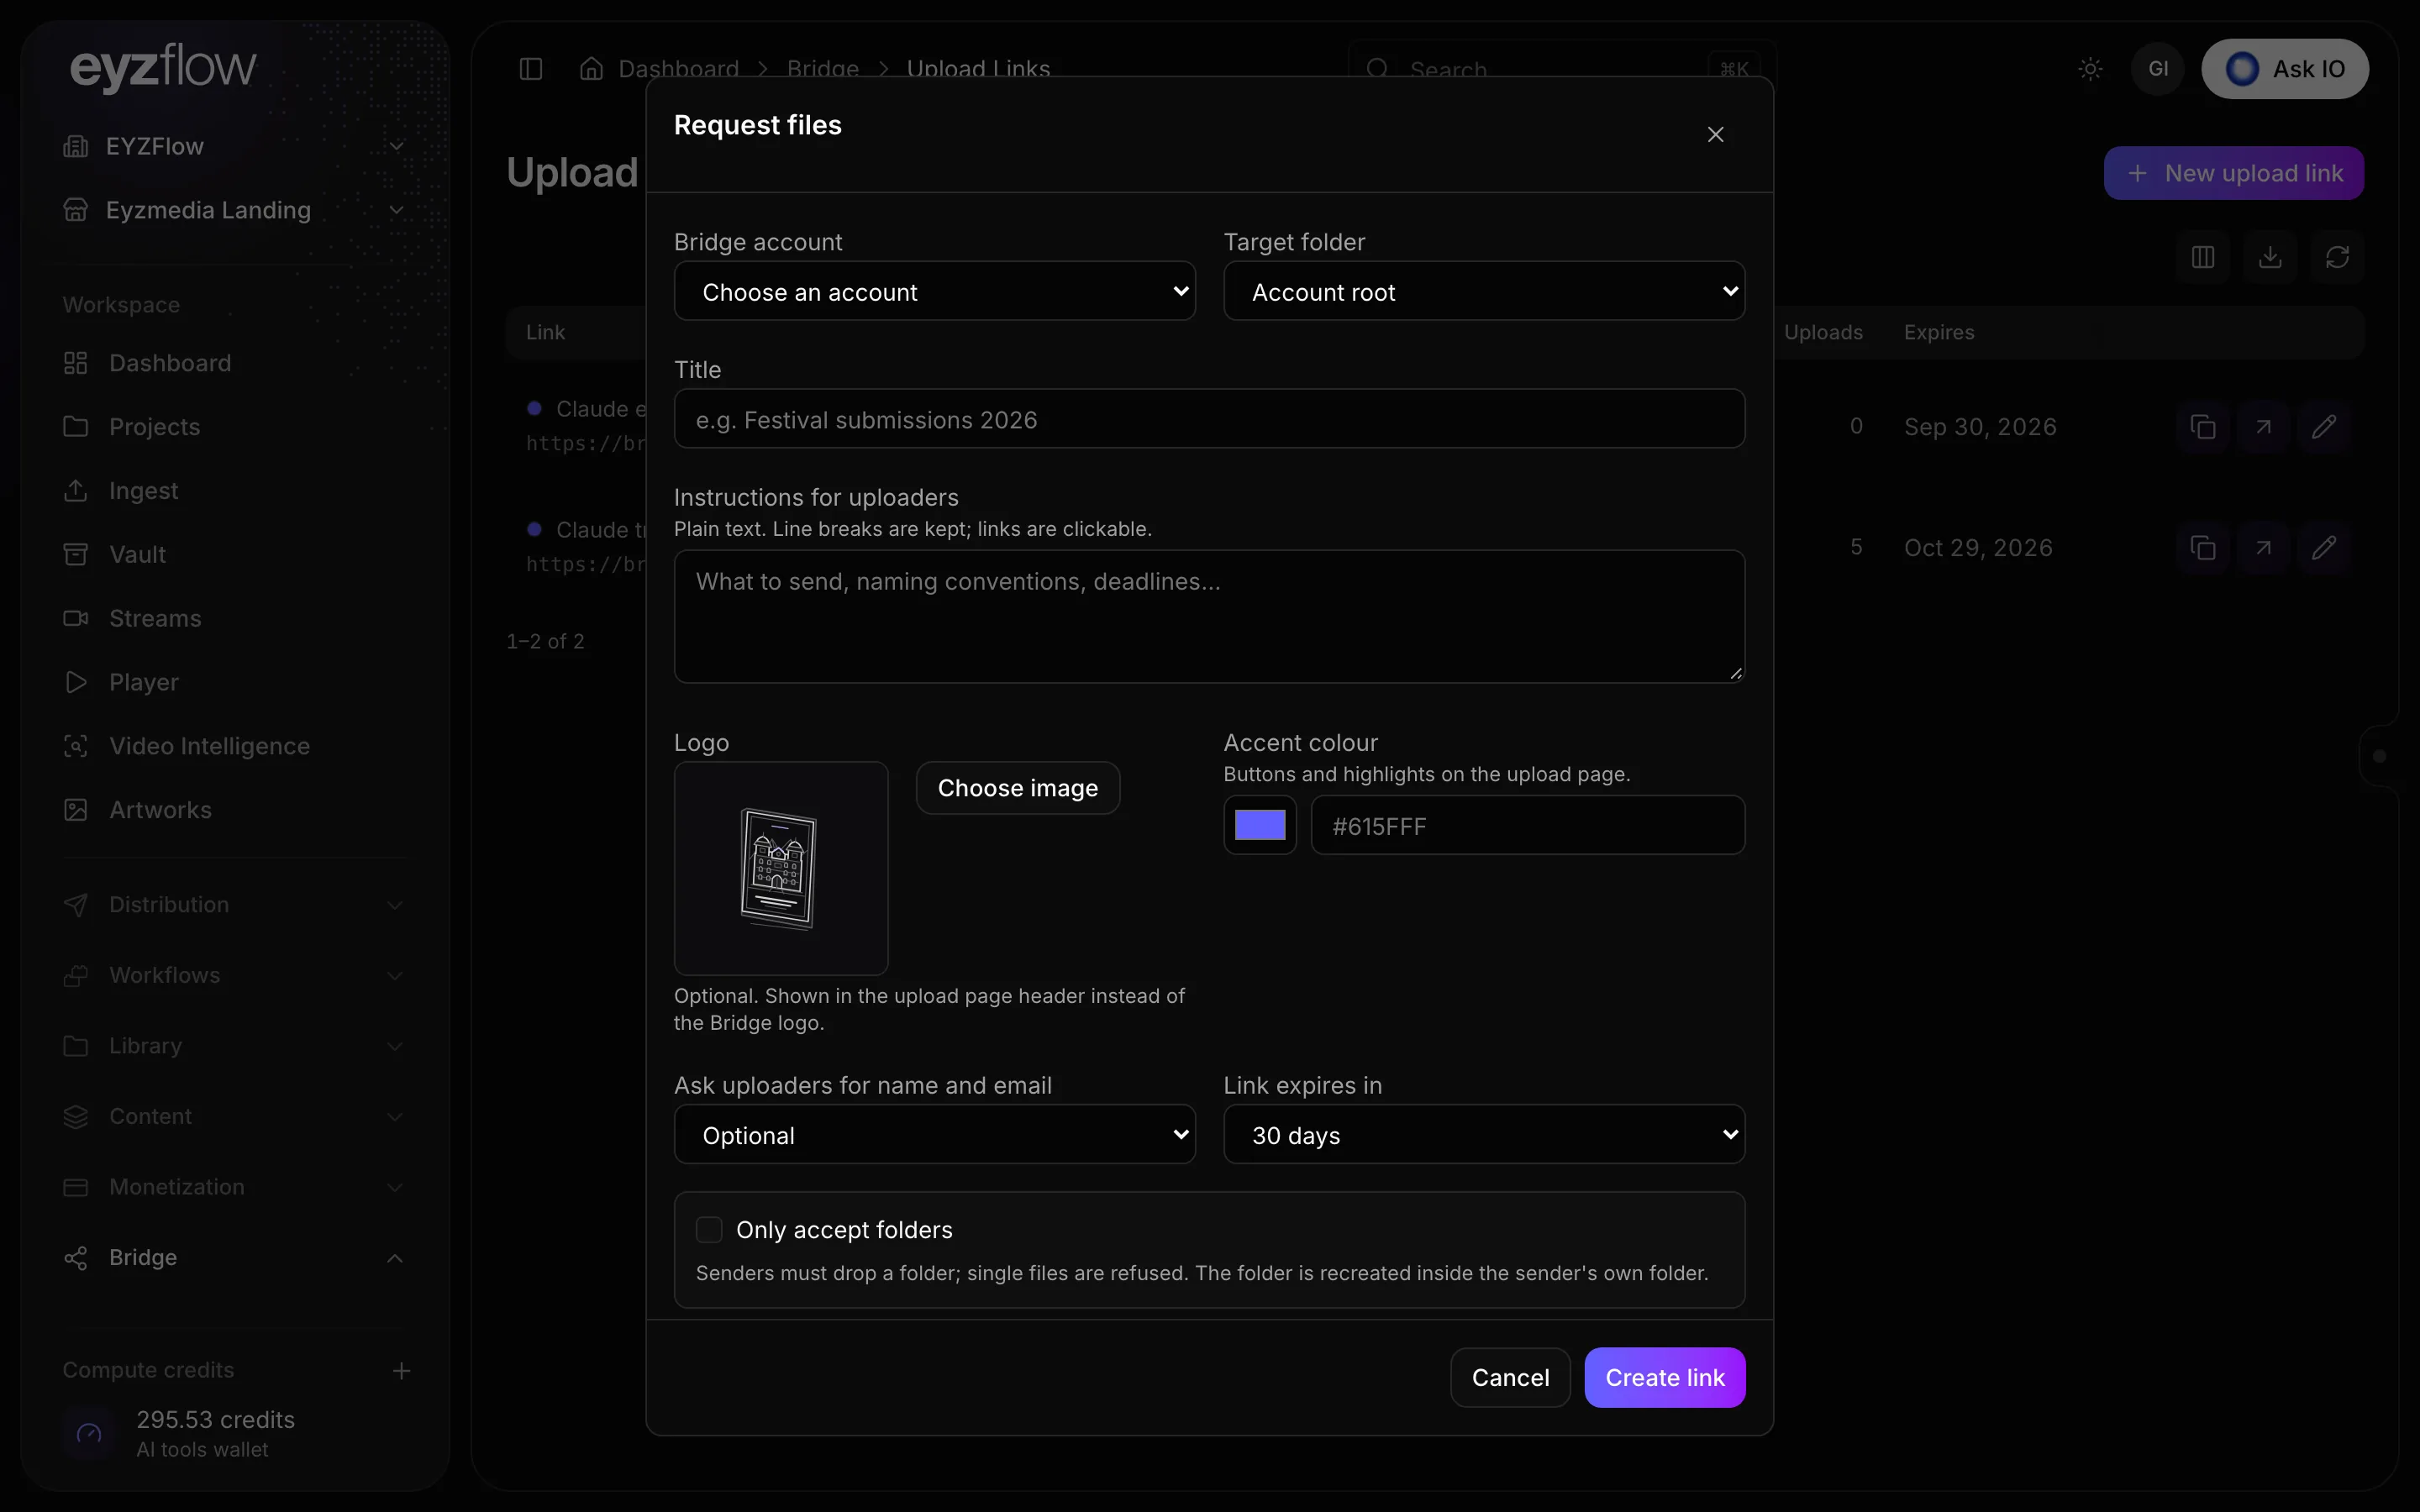
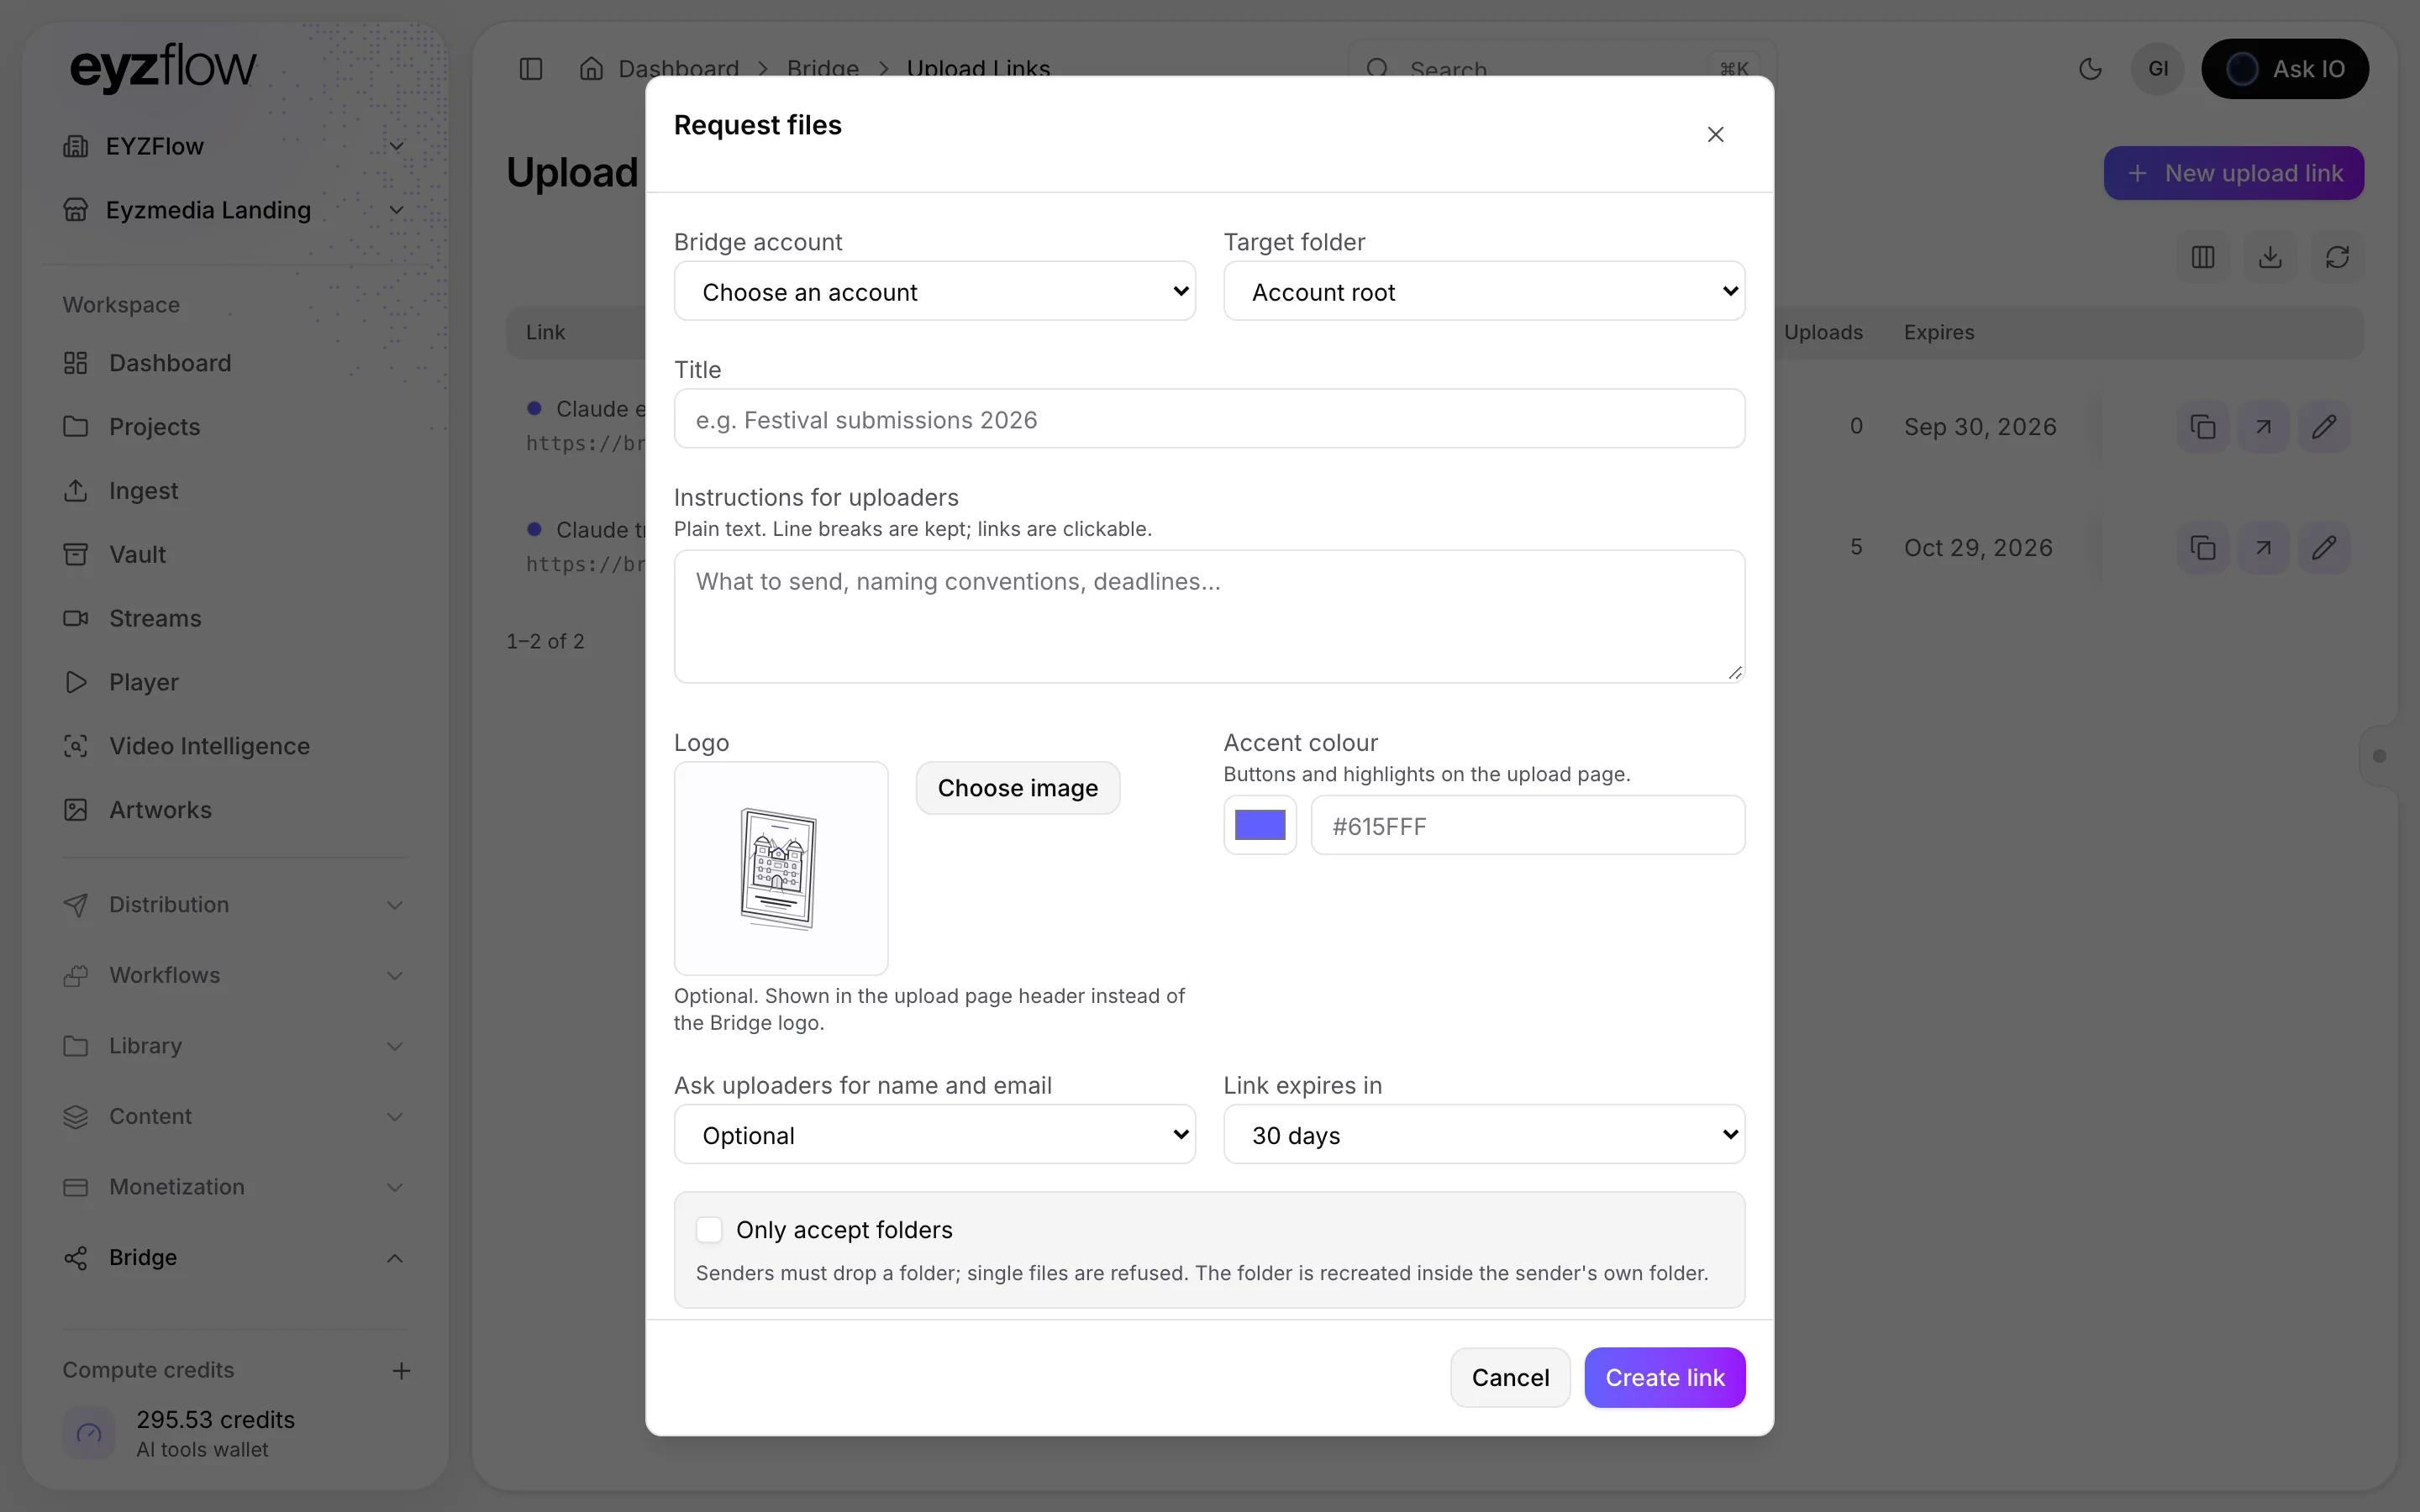
- Choose whether to ask uploaders for their name and email, and set an expiry of 7, 14, 30, 60, or 90 days.
- Optionally limit the number or size of files, accept folders only, or protect the link with a PIN. Leaving a limit empty means there is no limit.
- Select Create link.
- On the confirmation screen, copy the link or use Copy invitation text to copy the title and link together.
If the link is PIN-protected, the invitation text includes the PIN. For better security, copy and share the link separately, then send the PIN through another channel. The PIN is eight digits and is shown only once.
Files uploaded through the link are stored in the selected Bridge account and target folder. You can later copy or open the link, edit its settings, or revoke it from Upload links. Revoking a link prevents further use but does not remove files that were already uploaded.
Creating, editing, and revoking links requires permission to manage Bridge upload links; viewing and copying existing links requires permission to view them.
How can I change, renew, revoke, or regenerate a Bridge upload link, and what happens to files already uploaded?
You can update an active upload link, renew its expiry, regenerate its PIN, or revoke it from Upload links.
Change the link or renew its expiry
- Open Upload links.
- Select Edit link for the link.
- Update the title, instructions, logo, accent colour, uploader information rules, or upload limits. The Bridge account and target folder cannot be changed.
- Under Link expires in, keep Keep current expiry or choose a new duration. A new duration is counted from the day you save the changes.
- Select Save changes.
Regenerate or remove the PIN
When editing the link, select Generate a new PIN to create a replacement PIN. The regenerated PIN is shown once, so store it safely. To remove PIN protection, clear Protect with a PIN and save the changes.
Send a PIN separately from the upload link. The invitation text includes both, so copy only the link if you want to keep them separate.
Revoke the link
- Open Upload links.
- Select Revoke link for an active link.
- Confirm the revocation.
The link's status changes to Revoked, and it can no longer be used. Files that were already uploaded remain in place.
You need Manage Bridge Upload Links to edit, renew, regenerate, remove PIN protection, or revoke a link.
How do I set up and manage a Bridge workspace for a licensor or collaborator?
Bridge provides a workspace where a licensor’s or collaborator’s team can upload and exchange files with your organisation.
Set up a collaborator
If the collaborator does not exist yet:
- Open Collaborators under Bridge.
- Select Create collaborator.
- Choose Company or Individual, then enter the company or person’s name. The name is required; the other profile, contact, address and notes fields are optional.
- Add contact email addresses. These addresses can later be used to invite people to the collaborator’s Bridge workspace.
- Select Create collaborator.
You need permission to create collaborators.
Attach a licensor to a collaborator
Attach a licensor when the collaborator will deliver files for that licensor:
- Open the collaborator’s page and select the Bridge tab.
- Under Licensors, select Attach.
- Search for and select the licensor.
If the licensor does not already have a Bridge workspace, one is created when it is attached. The collaborator’s portal users can then upload files into the attached licensor’s Bridge folder. Removing the attachment stops portal access to that licensor’s folder, but files remain in the licensor’s workspace.
You need permission to update collaborators, view licensors and view Bridge accounts.
Enable a Bridge workspace
- Open the licensor’s or collaborator’s Bridge tab.
- Select Enable Bridge.
When setup is complete, EYZFlow confirms that the Bridge workspace is ready. Enabling a workspace requires permission to create Bridge accounts.
Invite workspace members
- On the workspace’s Bridge tab, select Invite member.
- Choose a contact email saved on the licensor or collaborator.
- Select Send invite.
Only saved contact emails that are not already members are available. If no eligible contact exists, add a contact email to the record first. A person who already has a Bridge login can have the workspace added to that login without changing their password.
You can select Resend for someone who has not accepted an invitation, or use Remove member to remove a member. Inviting, resending and removing members require permission to update Bridge accounts.
Manage the workspace
- To view uploaded files, open the workspace’s Bridge tab and use Uploaded files. You can browse folders, search, sort and download files.
- To inspect files, open a file’s inspection from the Bridge tab or the Bridge files list. Bridge inspects uploaded video, audio, image, subtitle and document files.
- To communicate about a file, open its conversation and send a message. Messaging requires the relevant Bridge message permissions.
- To turn off the workspace, select Disable and confirm. Members then lose access. Disabling requires permission to update Bridge accounts.
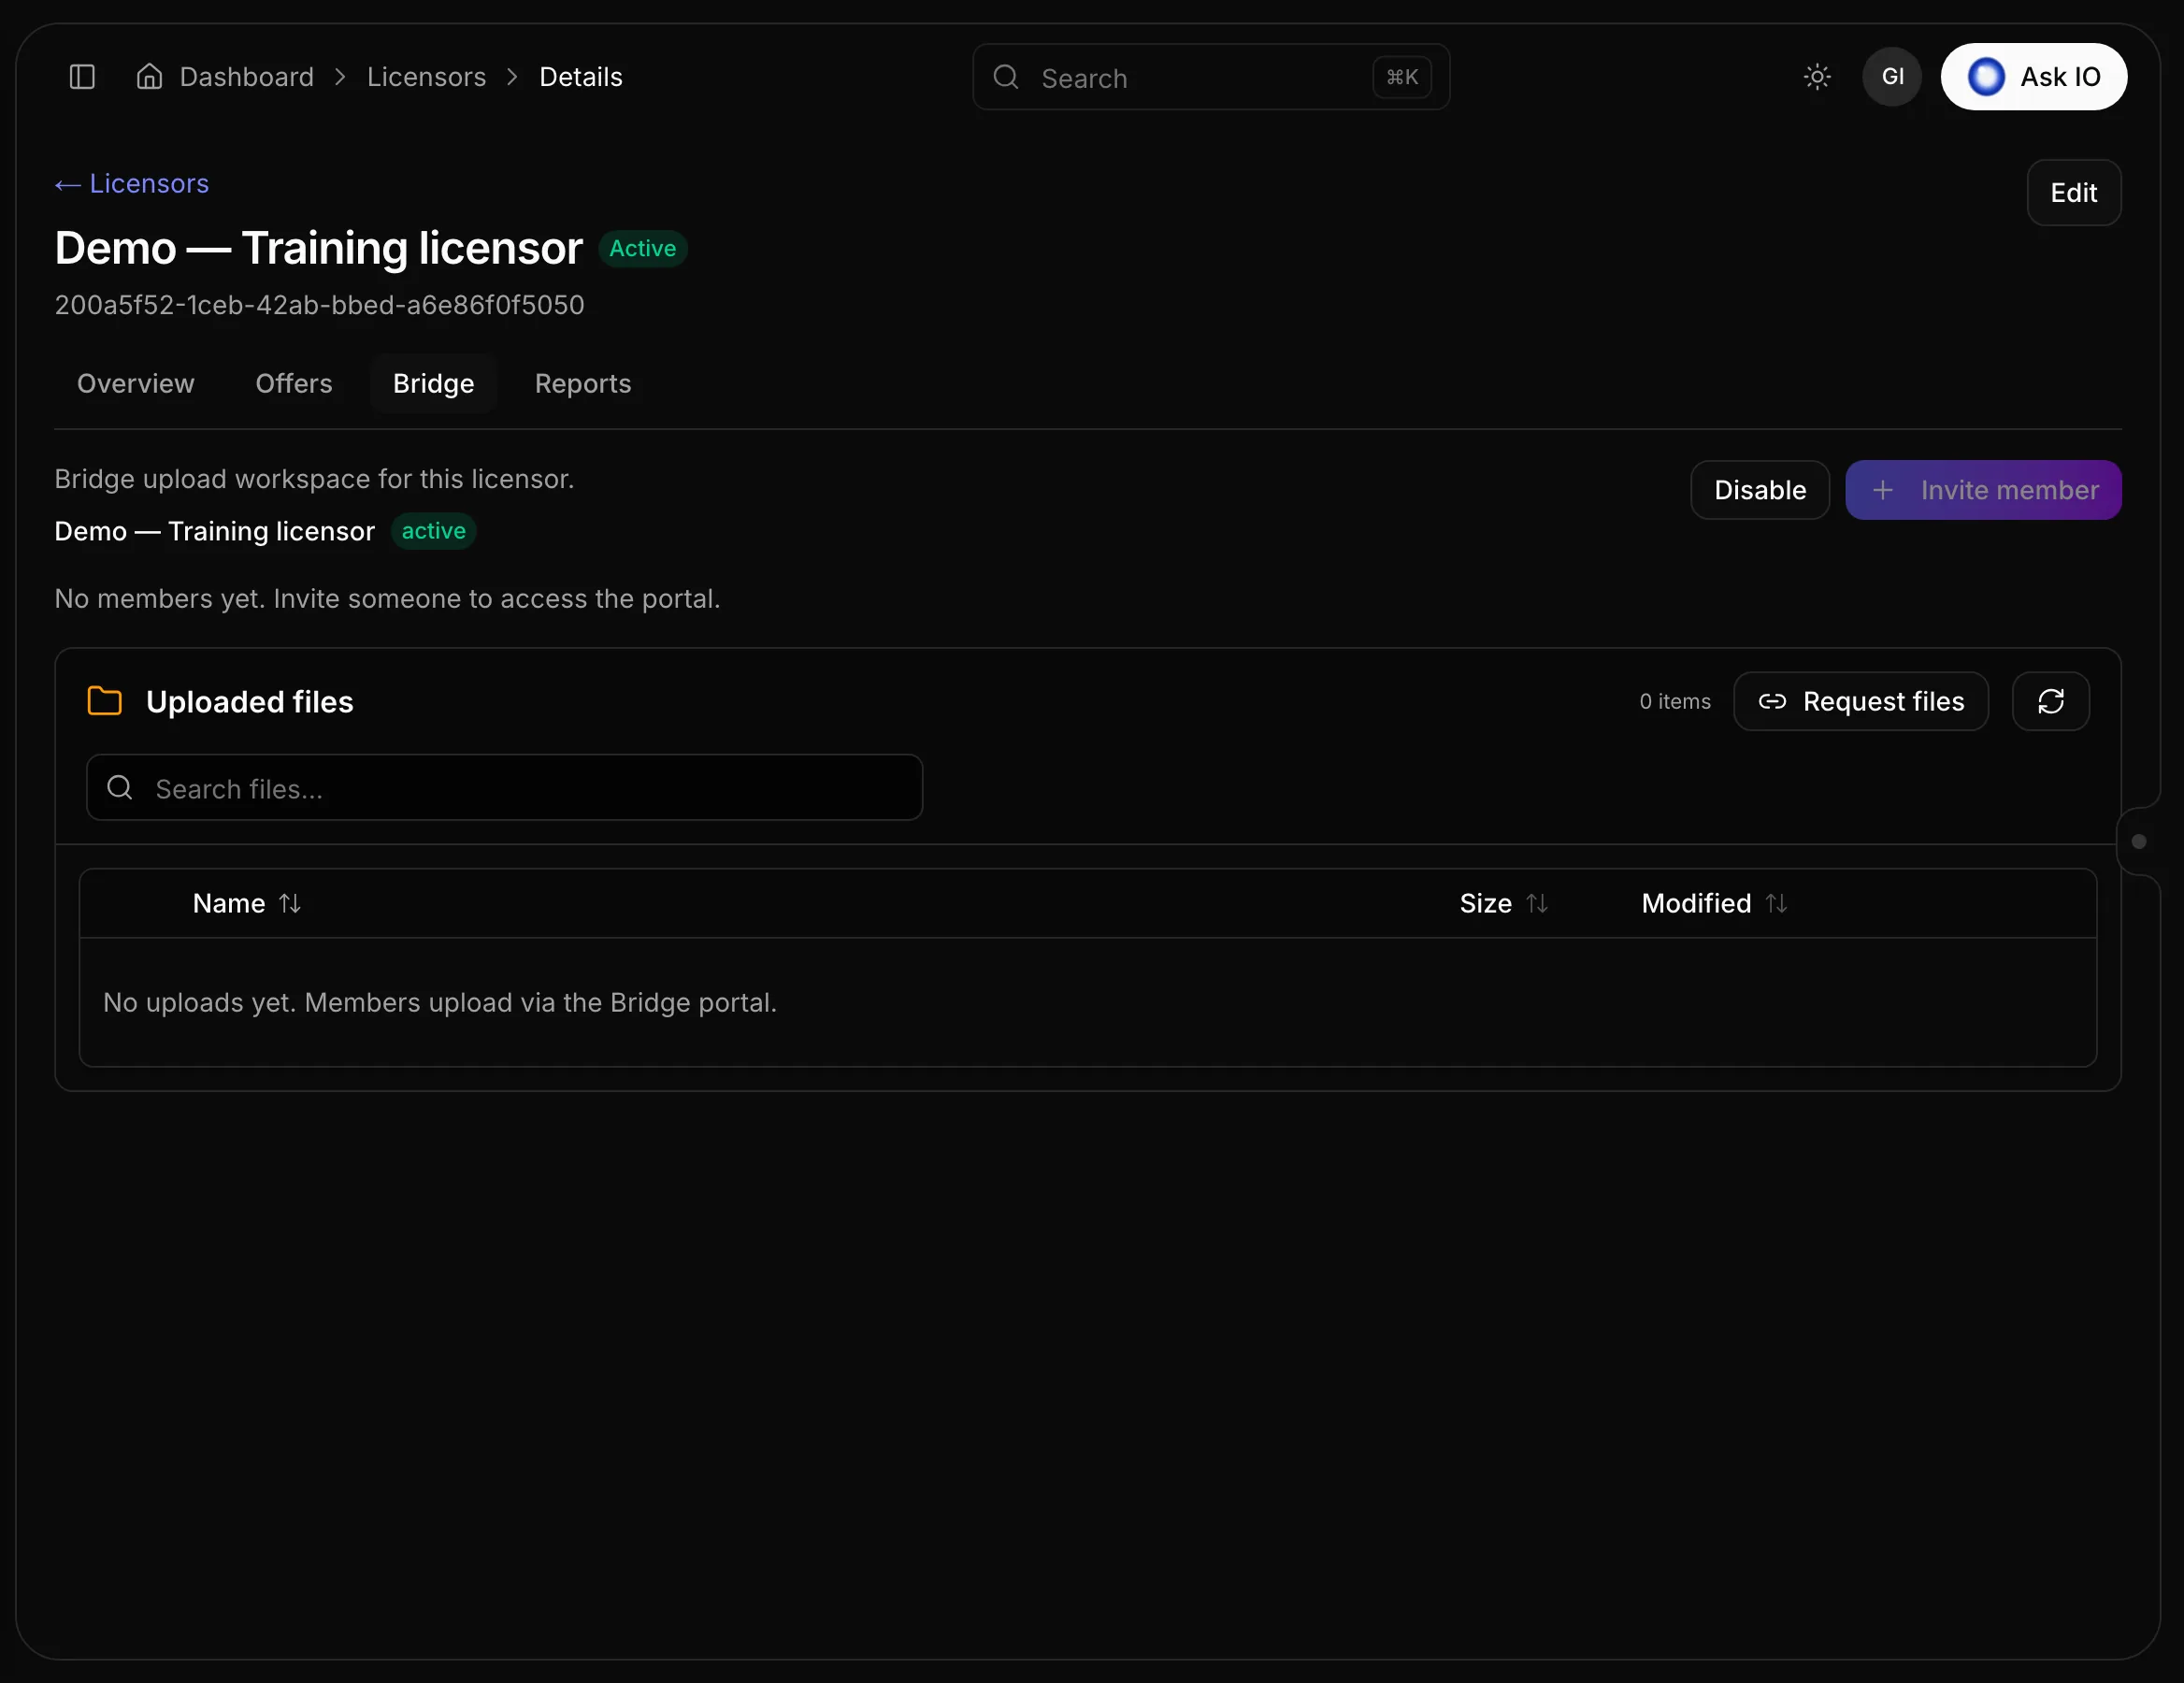
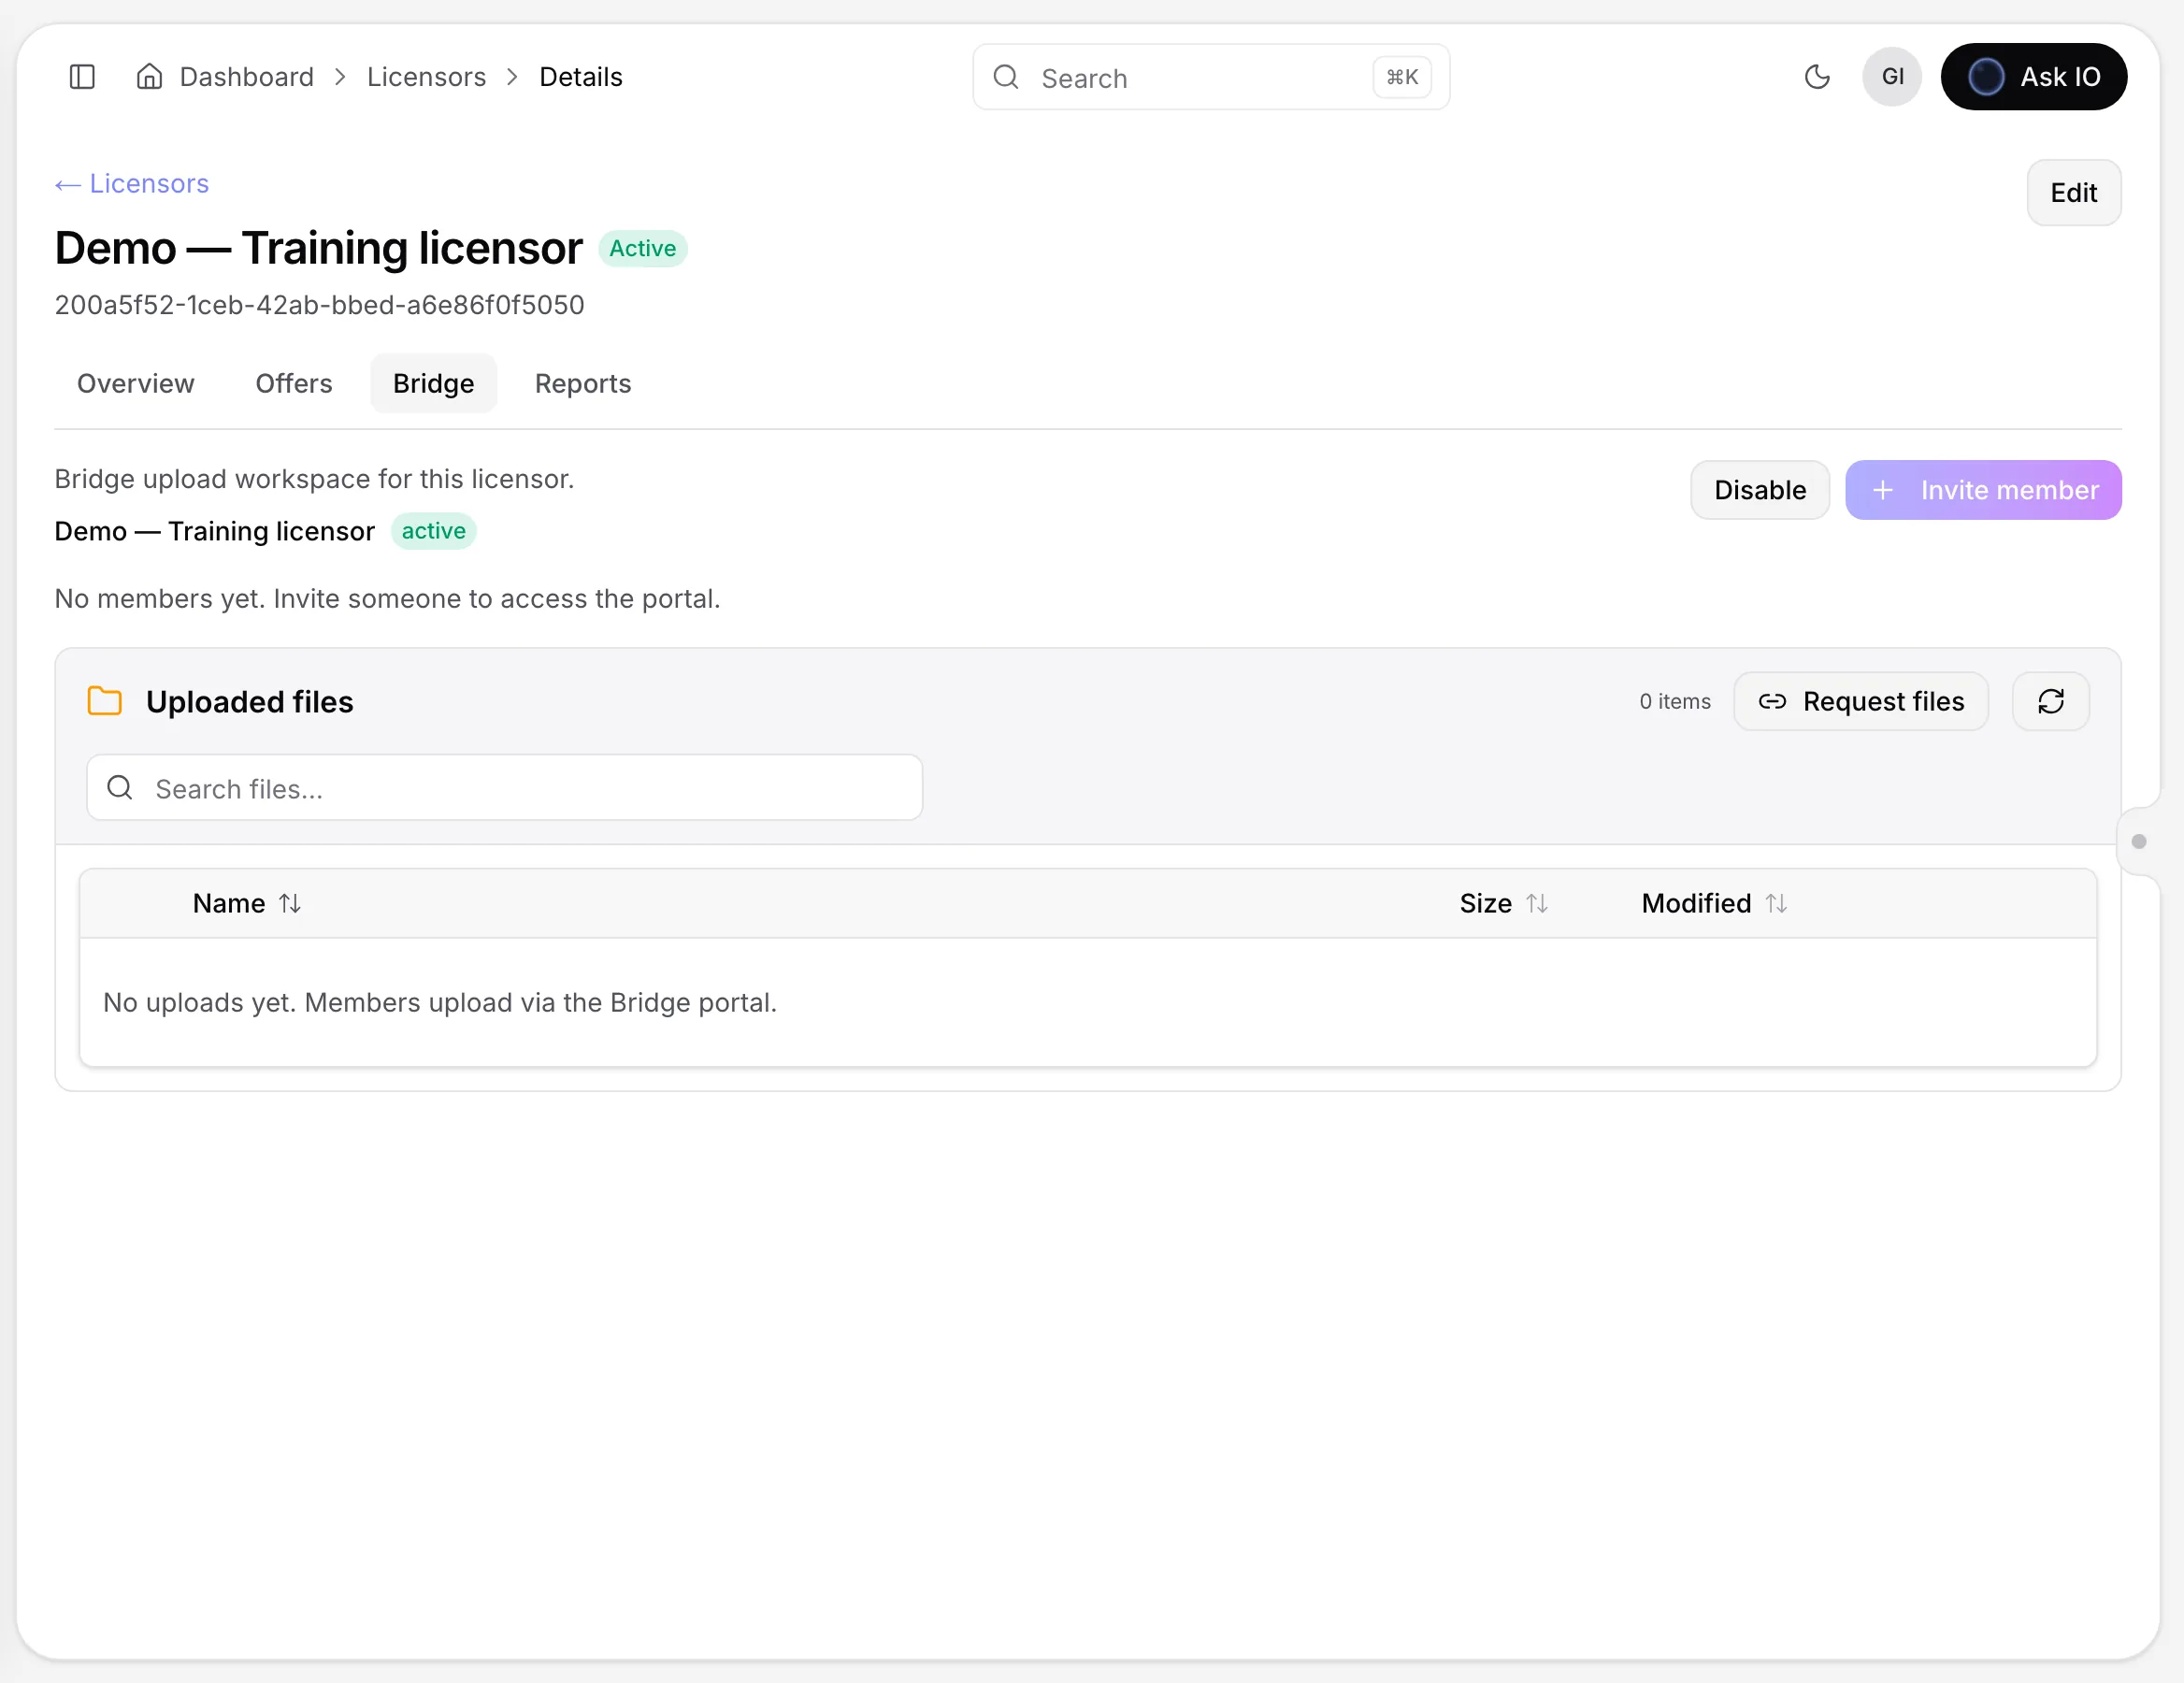
How can I inspect, adjust, message about, download, or copy a partner’s files in Bridge?
Bridge lets you manage files uploaded by licensors or collaborators from their Bridge workspace.
- Find and download a file. Open the partner’s Bridge tab and scroll to Uploaded files. Open folders, search within the current folder, sort by name, size, or modified date, and click the download icon on a file. You can also open Bridge files to see the newest files from every account and select a file for its details.
- Inspect a file. Open the file’s inspection from the file row, or use the scan icon in Bridge files. The inspection can show file-specific information such as video structure and audio channels, image format and colour, subtitle language and quality-control problems, or converted document text.
- Adjust the file. For video and audio, crop the picture, set the In and Out points, and choose the delivered audio tracks. For subtitles, edit cues, shift timing, or find and replace text. Save the adjustments or discard them. Adjustments are stored on the inspection; the original file is not overwritten. Subtitle corrections can be downloaded as SRT or VTT files. Saving is unavailable until any delivered-track issues are fixed.
- Discuss the file. Open its conversation using the speech-bubble icon, enter a message, and select Send. You can edit or delete your team’s messages when you have the corresponding permissions.
- Copy the file into catalogue assets. On the partner’s Bridge tab, use Save … to Catalogue Assets, choose a catalogue and folder, verify the file name, and select Save. The file is copied, while the Bridge file remains in place. You can also start from a catalogue’s media assets with Import from Bridge.
These actions require the relevant Bridge file permissions. Viewing and downloading require View Bridge Files; saving adjustments requires Update Bridge Files; copying a file also requires Create Archives. Viewing conversations requires View Bridge Messages, and sending messages requires Create Bridge Messages.
How do I create and manage collaborator profiles, contacts, and status?
Collaborator profiles keep information about the outside companies or individuals your organisation works with, including contact details, tags, addresses, notes, and activity status.
Create a profile
- Open Collaborators under Bridge in the sidebar.
- Select Create collaborator.
- Choose Company or Individual, then enter the company name or full name. For an individual, you can also add a company.
- Add optional tags and complete the primary contact details, such as contact person, email, phone, and website.
- To add more people, use Add contact under Additional contacts. Additional contacts can include their name, department, email, phone, mobile, fax, and mailing country.
- Add the address and a description in Notes. Keep Active selected if you currently work with the collaborator.
- Select Create collaborator.
The name is the only required field. Email addresses saved for the collaborator can later be used to invite people to the collaborator’s Bridge workspace.
Find and review a profile
Use the Search collaborators… box to filter the list, then select a collaborator’s row to open its page. The list includes the collaborator’s name, kind, email, and status.
The Overview tab shows the primary contact, tags, address, notes, and additional contacts.
Edit a profile or change its status
- Open the collaborator’s page and select Edit.
- Change the profile, contact details, address, or notes.
- Clear Active to mark the collaborator as inactive, or leave it selected for an active collaborator.
- Select Save changes. Select Cancel to leave without saving.
Access requirements
You need the Collaborators plan module and View collaborators permission to open the list and profiles. Create collaborators permission is required to create a profile, and Update collaborators permission is required to edit one.
How do I set up and manage a collaborator’s Bridge workspace and attach licensors?
Set up the collaborator
- Open Collaborators under Bridge and select Create collaborator.
- Choose Company or Individual, then enter the company name or full name. The name is required; other profile, contact, address, and notes fields are optional.
- Add the contact email addresses you will use for Bridge invitations. You can add more contacts later.
- Save the collaborator.
You need access to view and create collaborators. The Collaborators module must also be included in your plan.
Attach a licensor
- Open the collaborator and select the Bridge tab.
- Under Licensors, select Attach.
- Search for and select the licensor.
Attaching a licensor allows the collaborator’s portal users to upload files into that licensor’s Bridge folders. If the licensor does not have a Bridge workspace, one is created when you attach it. Removing the licensor later stops portal access to that licensor’s folder, but files remain in the licensor’s workspace.
You need permission to update collaborators, view licensors, and view Bridge accounts.
Enable the collaborator’s Bridge workspace
- On the collaborator’s Bridge tab, select Enable Bridge.
- Select Invite member, choose one of the collaborator’s saved contact email addresses, and select Send invite.
- If an invitation has not been accepted, select Resend. To remove a member, select the trash icon.
Only email addresses saved on the collaborator are available for invitations. If no eligible addresses are saved, add contact details on the collaborator’s edit form first. Enabling a workspace requires permission to create Bridge accounts; inviting, resending, and removing members require permission to update Bridge accounts.
Manage or disable the workspace
The collaborator’s Bridge tab shows its attached licensors, Bridge status, members, and workspace files. Select Disable to turn off the workspace; its members then lose access. Disabling requires permission to update Bridge accounts.
To work with uploaded files after setup, use the Bridge workspace to browse, inspect, download, message about, adjust, or copy files into catalogue media assets, subject to the permissions assigned to you.
Storefronts and viewer support
What should I know when moving a Vimeo On Demand catalogue to EYZFlow?
Vimeo On Demand stopped accepting new purchases and subscriptions on 21 September 2026 and is scheduled to shut down completely on 20 November 2026, including existing VOD storefronts.
EYZFlow can help you create a new branded storefront for your catalogue:
- Review your catalogue. Assess your films, metadata, video masters, artwork, subtitles, trailers and other available assets to determine the migration requirements.
- Set up your storefront. Prepare the content, configure the branded store, and establish rental and payment settings.
- Launch and manage. Review the storefront, checkout and playback experience before launch, then manage your catalogue, customers and sales from one platform.
Your existing Vimeo On Demand purchases, viewing histories and customer entitlements cannot be transferred automatically. You can plan a relaunch and communicate with or reconnect your audience where you have the appropriate permissions.
The standard TVOD Storefront package focuses on individual film rentals through a branded web storefront. It includes catalogue management, supported payment integration, standard video processing, hosting within agreed allowances, DRM-protected playback, customer accounts and essential operational tools. Pricing is based on the number of active films; payment-provider transaction fees and additional usage charges apply separately. Subscriptions, digital purchases, and dedicated mobile or connected-TV apps require a broader solution.
No specialist video-engineering knowledge is required: EYZFlow handles video ingest, encoding, hosting and secure playback, while you provide the film materials and configure the commercial information. Optional AI capabilities, such as promotional content generation, artwork and clips, are available separately through AI Credits.
As the storefront operator and seller of record, you remain responsible for film rights, taxes, customer-facing legal terms, privacy policies and relevant licensing or collecting-society obligations. Obtain legal advice where necessary.
How do I create and configure a storefront?
A storefront is the viewer-facing brand and website where viewers sign in, pay, and watch. To create one:
- Open Content → Storefronts and select New storefront.
- Enter the storefront name, review or change the automatically filled slug, and optionally add its public website.
- Add a language and provide the viewer-facing name and copy for that language. If you do not add a language, viewers see the storefront name.
- Choose a logo, review the details, and select Create storefront.
After creation, configure the storefront from its settings page:
- Sign-in: add a supported sign-in provider.
- Payments: add payment methods and, if needed, a gift-card provider.
- Theme: choose and customize the site's appearance.
- Hosting: set availability, add and verify custom domains, and configure the email sender.
- Playback limits: choose whether to count or enforce concurrent stream and device limits.
- Support: configure viewer chat, if available.
You can also use the Live/Sandbox switch to test checkout with test credentials before going live, and manage storefront users from Users.
You need the storefronts module and View Storefronts permission to open the storefront list. Creating a storefront requires Create Storefronts; changing its settings requires Update Storefronts.
How do I add and verify a custom domain and configure a sending domain for viewer emails?
Add and verify a custom domain
- Open the storefront’s Hosting tab.
- Under Availability, choose Public if the storefront should be open on its hosting address and verified domains, then save.
- Under Custom domains, select Add domain, enter your hostname, and add it.
- At your DNS provider, add the TXT record shown for the domain.
- Return to the storefront and select Verify domain on the domain’s row.
After verification, you can set the domain as primary, disable it, or remove it from the domain’s row. To use a preview instead, choose Preview and generate or enter an access key of at least eight characters. Copy a generated key before saving because it cannot be viewed again.
Configure a sending domain
Viewer emails use the platform sender until you configure your own sending domain.
- In the Email sender section of the storefront’s Hosting tab, select Add domain under Sending domains.
- Enter a domain your organisation controls and add it.
- At your DNS provider, add the three CNAME records and one TXT record shown in the setup. The CNAME records enable email signing, and the TXT record verifies domain ownership.
- Select Done, then select Check now on the domain’s row after the DNS records are in place.
- Wait for the status to become Verified. DNS changes can take from a few minutes up to 72 hours.
- Set the sender name, the address before the
@, and the sending domain, then save. Viewers will see shows the resulting sender.
You can select Use the platform sender to switch back. Sending domains are shared across your organisation’s storefronts, and a domain cannot be removed while a storefront uses it.
Important
Changes to hosting and email-sender settings require permission to update storefronts. Viewing the email-sender section requires permission to view storefronts.
How do I set up and test payments in a sandbox without affecting the live storefront?
A sandbox is a linked storefront for testing real checkout flows with test credentials. It uses the live storefront’s offers, feeds, plans, and pages, while keeping its own users, purchases, entitlements, and payment credentials separate.
- Open the storefront’s settings and switch to Sandbox.
- Select Create sandbox.
- In the sandbox’s Payments tab, add test credentials. Stripe keys must begin with
sk_test_orpk_test_. - Sync the plans.
- Register your payment providers’ webhooks for the sandbox.
- Switch back to Live when you are finished testing.
Creating a sandbox requires the Create Storefronts permission. Payment providers are configured on the storefront’s Payments tab. Stripe and PayPal handle storefront payments, while App Store and Google Play support in-app purchases in your own apps.
How do I configure playback limits for viewers?
- Open the storefront’s settings and select Playback limits.
- Choose a mode:
- Off: Streams and devices are not counted.
- Log only: Streams and devices are counted, and activity that would exceed a limit is recorded, but viewers are not blocked.
- Enforce: A stream or device that exceeds the applicable plan limit is refused. You must confirm before enabling this mode.
- Select Save.
The limits come from each plan’s Max concurrent streams and Max devices settings. The page also shows recent usage, including Streams now, Over the stream limit, and Over the device limit.
Viewers can see and remove their devices, or sign out everywhere, in your apps. Configuring playback limits requires the Update Storefronts permission.
How do I manage a storefront viewer’s access, purchases, devices, watch list, and watch history?
Open the viewer from the storefront’s Users list. You can search by email or username, and Group by email groups accounts that share an email.
On the viewer’s page:
- Entitlements: Review what the viewer can watch. Select Add entitlement to grant access to a product and plan, with an optional expiry date. Selecting the product requires View Products; changes require Update Storefronts.
- Purchases: Review the viewer’s purchases. Select Refund purchase to refund a purchase through the payment provider. You can also revoke the entitlement linked to that purchase.
- Watch List: Review the viewer’s saved titles.
- Watch History: Review the viewer’s viewing history.
- Devices: Review the viewer’s devices and currently open streams. Select Remove device to stop that device’s streams, or Sign out everywhere to stop all streams and remove every device.
Devices appear after a viewer plays something while playback limits are enabled. Managing viewer records and making changes requires Update Storefronts.
How do I enable and configure viewer chat for a storefront?
To enable viewer chat, you need Update Storefronts permission.
- Open the storefront's settings and select Support.
- Select Turn on.
- Configure where the chat can open, including the allowed websites and, if needed, specific pages with Lock to pages.
- Choose what the assistant can use, such as published knowledge-base pages, available organisation knowledge bases, and price calculators.
- Optionally configure visitor topic buttons and viewer requests.
- Set the chat window's appearance, opening hours, and assistant behaviour, including whether it can involve a person or leave questions for your team.
- Use the provided installation code to add the chat to your website. If signed-in viewers require a secret, copy it when it is shown because it is displayed only once.
- Select Save changes.
The Preview option beside the setup steps shows the chat as visitors will see it. Your team answers chats in Support. Turning chat off requires confirmation, and existing cases remain available.
How do I set up viewer support chat on a storefront or website?
To set up viewer support chat:
- Open the storefront’s settings and select Support.
- Turn on the chat.
- Choose the websites where the chat can open. You can also lock it to specific pages.
- Select what the assistant can use for answers, including published knowledge-base pages, your organisation’s EYZMedia knowledge base when available, and price calculators.
- Optionally configure visitor topic buttons and viewer request forms.
- Configure the chat’s appearance, opening hours, and assistant behaviour, including whether it can involve a person or leave questions for your team.
- Use the provided installation code to add the chat to another website. If signed-in viewers need access, use the secret shown during setup; it is shown only once.
- Click Save changes. Use Preview in the Support tab to see the chat as visitors will see it.
Setting up or changing the chat requires Update Storefronts permission. Your team can answer viewer chats in Support. Turning the chat off requires confirmation, and existing cases remain available.
How do I find, filter, assign, and manage viewer support cases?
Open Support and choose Inbox to view viewer cases. The list groups cases by what they need next, including waiting for a person, waiting for your reply, in progress, waiting on the viewer, on hold or snoozed, and solved or closed.
To find a case quickly:
- Use the views for Waiting for a person, Unassigned, or My cases.
- Open the view menu for options such as All active, Waiting for a reply, Waiting on viewer, On hold, Snoozed, Solved (7 days), and Everything.
- Search cases or change the order. The default order puts the most urgent cases first.
- Use filters for Type, Severity, Site, Source, and Topic.
To manage one or more cases, assign a case to yourself or a colleague, set its status, change its priority or tags, or snooze it for a later time. You can also add an internal note that only your team can see. Available case statuses include Open, Waiting on viewer, On hold, Solved, and Closed.
To manage several cases at once, select the cases from the list, then choose Assign to me or select a status from Set status…. Open a case to reply to the viewer, join or take over a live chat, or choose what happens after sending a reply.
How do I join a live chat, reply after a viewer leaves, or leave a case with the right status?
Join a live chat
- Open the case from the Inbox.
- Select Join the chat. If a colleague is already handling it, choose Take over.
- Write your message in the Reply box and select Send reply. In a live chat, pressing Enter also sends the reply.
- When you finish, select Leave the chat… and choose one of these options:
- Leave, waiting on the viewer
- Leave, solved
- Leave, keep it open
Reply after the viewer has left
- Open the case and write your message in the Reply box.
- In Then set, choose the status the case should have after sending, such as Waiting on viewer or Solved.
- Select Send reply, or press ⌘ + Enter on macOS or Ctrl + Enter on Windows.
If the viewer provided an email address, they receive the reply by email after leaving. Otherwise, they can see it only in the chat on the website.
You can also update a case's status from the case header. Available statuses include Open, Waiting on viewer, On hold, Solved, and Closed.
How can I use saved replies, help pages, and IO to respond to viewers?
Use the response tools together, then review the result before sending it:
- Insert a saved reply. In the reply box, open Saved replies, search for a reply, and select it. The saved text is inserted with supported placeholders—such as the viewer’s name, case number, your name, and site name—filled in. A saved reply can also set the case’s status, priority, and tags.
- Add relevant help content. Open the Help tab beside the conversation and choose a matching published help page. Insert into reply adds the relevant passage and its link to your draft.
- Draft with IO when useful. Select Draft with IO to generate a proposed response from the conversation and published help pages, in the viewer’s language. You can provide additional direction and choose Draft again. IO shows which sources it used and what it read.
- Review and send it yourself. Use Use it or Add to reply to place the draft in the reply box, check the wording, and send the reply. IO does not send messages to viewers.
If IO cannot find reliable information, it says so rather than guessing; write the response yourself or provide clearer direction. IO drafting is available for storefront cases, while on websites the assistant answers without opening cases. The organisation can create about 30 drafts per minute.
How do I pass a viewer support case to EYZMedia or erase the viewer’s data?
Pass a case to EYZMedia
- Open the case and select Case.
- Click Pass to EYZMedia.
- Add a note explaining what EYZMedia should review, then click Pass on.
EYZMedia receives the case, its chat, and your note. Their team replies to your team in the case; they do not contact the viewer. You can continue the conversation with EYZMedia from the To EYZMedia tab. Cases answered by EYZMedia appear in the Answered by EYZMedia view.
Erase a viewer’s data
- Open one of the viewer’s cases and select Viewer.
- Click Erase this viewer’s data.
- Review the items that will be deleted, then click Erase for good.
This permanently deletes everything about the viewer in your support system and at EYZMedia, including conversations, cases and their history, team notifications, and EYZMedia copies of cases passed on. This action cannot be undone.
How do I create and publish knowledge-base pages that teach the chat how to answer?
- Open Knowledge base and select New page.
- Enter a title and the page text. Use headings, bold text, lists, links, and tables as needed. Phrase each topic's heading the way visitors are likely to ask it.
- Choose the page's language—English, German, or French—and select whether it applies to All sites or specific sites.
- Choose who can read it:
- Visitors and the chat publishes it as a help page on the storefront and makes it available to the chat.
- Only the chat makes it available for chat answers without displaying it as a help page. You can optionally provide a visitor link for the chat's source link.
- Click Save, then Publish. A published page becomes available to the chat immediately and is also shown to viewers when configured as a visitor help page.
After saving, use Sections to see how the chat reads the page. The chat uses up to 1,200 characters from the best-matching section and may also use a second section when it is nearly as relevant. Use Ask the chat to test a visitor-style question and review the answer, pages used, and sections read.
You can review saves, publications, and restores in History. To remove a page from the chat, use Unpublish; deleting it removes the page.
Streams and media delivery
How do I create a stream, choose its source video, and start encoding?
- Open Streams and select New stream.
- Enter a required Title, choose an Encoding profile, and optionally enable Protected (DRM). DRM encrypts the stream so it plays only with a licence.
- Optionally link the stream to a catalogue.
- Add exactly one source video. You can:
- Upload an MP4, MOV, AVI or MPG file.
- Add a direct video URL.
- Choose a stored video from the Vault or Bridge. Stored videos are encoded where they are stored, so nothing is uploaded.
- Click Create stream. Uploaded files must finish uploading before the stream page opens; encoding then starts automatically.
You can also add a source to a draft stream from its upload icon. Choose a file or URL and click Start encoding, or choose a stored file to start encoding without an upload.
To create streams, your organisation needs an active Streams plan and available storage, and you need the Create Streams permission. Choosing a stored file or linking a catalogue also requires Edit Streams. Access to Vault and Bridge sources requires the relevant viewing permissions.
What file types and source options can I use when creating a stream?
When you create a stream, you can provide exactly one source video using any of these options:
- Upload a file: MP4, MOV, AVI or MPG.
- Add a URL: paste a direct link to the video.
- Choose a stored file: select a video from the Vault or Bridge. The video is encoded where it is stored, so nothing is uploaded from your browser.
To create a stream from a local file or URL, you need Create Streams permission. Choosing a stored file also requires Edit Streams permission, plus the relevant permissions to view Vault or Bridge files.
How can I find, filter, watch, and manage my streams?
Open Streams from the sidebar to view your streams. The list shows each stream’s title, status, quality, duration, DRM state, and creation date. Streams that are encoding display a progress bar.
To find a stream, search by title or use the Status selector and Filter options. Filters can include quality, duration, DRM, catalogue, and the language of a subtitle or audio track.
To watch a stream, click its picture or the play button in the row. You can also open the stream’s page by clicking its title. Playback requires the stream to be Ready. On the stream page, the Overview player lets you choose available subtitle and audio tracks. The play options also include the normal player and options to copy DASH or HLS manifest URLs.
From a stream’s page, you can:
- Review status, playback, assets, encoding, storage, and recent audience metrics on Overview.
- Inspect subtitles, audio, artwork, encoded flavours, encoding jobs, and analytics in their respective tabs.
- Rename the stream or link, change, or remove its catalogue.
- Retry or stop encoding, then restart it when needed.
- Review analytics by date range and export viewing sessions as a CSV file.
- Delete a stream from the Streams list after confirming the deletion.
Some actions require the appropriate permissions. The Streams page also requires the Streams plan module, and creating streams requires an active plan and available storage.
How do I add a source video to a draft stream?
A draft stream without a source shows an upload icon in the Streams list.
- Open Streams and click the upload icon on the draft's row. The stream opens on its Encoding tab.
- In the Source video card, either drop a video onto the upload area or browse for a file. You can also click Add URL and paste a link.
- Click Start encoding.
To use a stored video instead, click Choose stored file, select a video from the Vault or Bridge tab, and click Start encoding. Encoding starts without uploading the file.
You need Edit Streams permission to add a source to a draft. Uploading a file or adding a URL also requires Create Streams permission; using a stored file requires only Edit Streams.
How do I use a video from the Vault or Bridge as a stream source?
You can select an analysed video from the Vault or Bridge during stream creation instead of uploading it from your computer.
- Open Streams, click New stream, and complete the title and encoding profile steps.
- In the Source video step, click Choose stored file.
- In Choose the source video, open the Vault or Bridge tab, select a video, and confirm.
- Confirm that the file is shown as Encoded where it is stored; nothing is uploaded, then click Create stream.
Encoding starts using the stored file, so there is no browser upload. You can also start from the Vault: open a video's Create stream shortcut to open the wizard with that file selected and its name used as the stream title.
You need Create Streams and Edit Streams permissions. To use the Vault tab, you also need View Vault. To use the Bridge tab, you need View Bridge Accounts and View Bridge Files permissions.
How do I fix issues found in a delivery check report?
Open the issue in the delivery check report and use its fix button when available:
- Encoding, audio, or subtitle issues: open the stream’s corresponding Encoding, Audios, or Subtitles tab and make the correction.
- Artwork issues: open the title’s Artworks tab for the specified type and language. If artwork is missing, use Upload … artwork.
- Metadata issues: open the title’s edit form at the relevant field.
- Uninspected video files: choose Run media inspection. If inspection cannot start, retry it. After inspection finishes, run the delivery checks again.
You need the relevant permission to make each correction. After changing the package or its source content, run the checks again to refresh the report.
How do I prepare and validate a delivery package for Amazon Prime Video or Apple TV?
A delivery contains one catalogue title’s package for one platform. EYZFlow checks the package’s streams, artwork, and metadata against the platform specification.
Prepare the package
- Open the title from Catalogues and select Prepare delivery.
- Choose the Amazon Prime Video or Apple TV tab.
- On a platform without an existing delivery, select Prepare delivery.
- Confirm the platform and the specification version shown, then select Create package.
The initial package includes the title’s main video as the feature, along with its trailers and bonus extras. A title can have at most one delivery per platform.
Review the package
Open Package and review each stream:
- Include or remove streams.
- Assign each included stream the role Feature, Trailer, or Bonus.
- Select a type for every trailer or bonus, such as Trailer, Teaser, TV spot, Clip, Featurette, or Interview.
- Optionally add title and synopsis overrides for trailers and bonuses.
- Add another title stream when needed.
- Select Save package when finished.
The package must contain exactly one feature, and every included trailer or bonus must have a type. If you change the package after checking it, run the checks again to refresh the report.
Choose the video file used for checking
Each stream uses Auto — best available by default. In the Video file selector, you can instead choose a stream flavour or a media asset, such as a ProRes master. A file selected from the Vault is copied into the title’s media assets and used for that stream.
Run validation checks
Select Run checks (or Run checks again) and review the totals for:
- Blocking issues
- Warnings
- Manual QC
- Passed checks
The report is organized into Videos, Audios, Subtitles, Metadata, and Artworks. By default, it shows blocking issues; select All checks to also view warnings and notes. The report also identifies checks that must be confirmed manually.
Use each issue’s fix link to open the relevant stream, artwork, or metadata area. If a video file has not been inspected, start media inspection and run the checks again after inspection finishes.
A delivery is ready to send to Prime Video only after the checks pass and blocking issues are fixed. EYZFlow prepares and checks Apple TV packages, but the Apple TV Deliver button remains disabled because the package is not sent to Apple from EYZFlow.
How do I send a Prime Video delivery, track its status, and resend files?
Before you send
- Open the title's delivery page and select the Amazon Prime Video tab.
- Run the checks and fix all blocking issues until the delivery is Ready.
- Click Deliver to Prime Video.
- If you have more than one Prime Video account, choose the account and click Send to Amazon.
Sending requires the Deliver Titles permission, the Distribution module, a connected Prime Video account with Aspera configured, and the title's avails pushed to Amazon. The delivery button remains disabled while checks are failing, the delivery is being uploaded, or Amazon is processing it.
EYZFlow uploads the feature, trailers, audio, subtitles, artwork, and metadata to Amazon. Large files can take hours to finish processing.
Track the delivery
After sending, the delivery page shows the latest attempt and its current state, such as:
- Uploading, including file progress
- Amazon processing the files
- Amazon accepted the delivery
- Amazon needs changes
- The upload failed
- No verdict within 48 hours
The file table shows each file's upload state, Amazon's verdict, and any errors. It also identifies files Amazon expects that were not included in the delivery. Earlier attempts are available in a collapsed section.
You can also review the delivery from the title's Deliveries tab under Prime Video.
Resend files
After the upload has finished, use one of these options on the delivery page:
- Click Resend rejected files or Resend failed files.
- Select specific files and click Resend selected files.
Every resend includes the title metadata and asset manifest. After a delivery has been sent, accepted, rejected, or has failed, the action changes to Deliver again.
Note
EYZFlow sends files to Prime Video from a delivery. Availability windows (avails) are managed separately and must be pushed to Amazon for the title.
What permissions, plan modules, and account setup are required for deliveries and Vault-based workflows?
For deliveries, you need the Deliveries plan module and View Deliveries permission to access the delivery list. Preparing a package additionally requires Create Deliveries, while changing its contents, selecting a video file, running checks, or deleting it requires Update Deliveries. Sending a Prime Video delivery requires Deliver Titles, the Distribution plan module, a connected Prime Video account with Aspera configured, and the title’s availability information pushed to Amazon. Apple TV packages can be prepared and checked in EYZFlow, but they cannot be sent from EYZFlow.
For Vault-based workflows, you need View Vault and the permissions and plan module required by the workflow’s feature. To start a workflow from a Vault file, the workflow must be enabled, not archived, and configured with a Vault file input. Only workflows meeting those conditions appear in the Vault’s Use… menu.
What permissions and Live add-on requirements are needed to use Live channels?
Live channels require the Live add-on. Without it, you can view the add-on information, but you cannot use Live channels until the add-on is purchased and active.
You also need the appropriate organisation permission for each task:
- View Live Channels: open Live channels and view channel details, outputs, usage, and analytics.
- Create Live Channels: create a channel.
- Edit Live Channels: edit schedules, channel settings, SRT outputs, and live inputs.
- Operate Live Channels: put a channel on air, take it off air, or switch to a live input.
- Delete Live Channels: delete a channel.
- Trigger Live Ad Breaks: insert an ad break manually.
- Manage Addons: buy the Live add-on, add channels, or update add-on billing and payment details.
The Live add-on also determines how many channels and SRT outputs are available. Each channel includes a shared delivery allowance for the organisation's channels. If the add-on payment fails or ends, channels may eventually go off air, although schedules and settings are kept.
How do I connect an encoder or SRT server and use the feed for live broadcasting?
Create and connect a live input
- Open Live channels, then open Live inputs and select New input.
- Enter a name and choose how the feed arrives:
- Your encoder connects to EYZFlow: configure OBS, vMix, or a hardware encoder to send SRT or RTMP using the provided connection details.
- EYZFlow connects to an SRT server: enter the server address and port. Add a stream ID if the server requires one, a passphrase if the server uses encryption, and a latency in milliseconds. Leave latency empty to use 120 ms. You can also choose to connect only while a channel needs the input.
- Create the input.
- For an encoder input, copy the SRT connection URL with its stream ID, or the RTMP server and stream key, into your encoder. The stream key is shown only once, so copy it when it is displayed.
Send H.264 video with AAC audio and use keyframes every 2 seconds. The input shows Receiving when a feed is arriving.
Use the input on a channel
- Open the channel's Overview tab and find the Live input card.
- Select the input. Inputs that are currently sending are marked (receiving).
- Select Go live now and confirm. The channel switches to the live feed within a few seconds. If the encoder has not connected yet, the channel shows its slate until the feed arrives.
- When the live segment is over, select Return to schedule and confirm. The schedule continues from its current position.
Creating or managing inputs requires the Edit Live Channels permission. Switching a channel to an input and returning to its schedule requires the Operate Live Channels permission.
How do I create, schedule, operate, and take a live channel on or off air?
Live channels require the Live add-on. To open them, you need the View Live Channels permission. If your organisation does not have the add-on, a user with Manage Addons permission can purchase it.
Create a channel
- Open Live channels and select New channel.
- Enter a name.
- Keep 24/7 scheduled selected. Other channel types are marked Coming soon.
- Choose either Full HD or HD qualities.
- Optionally edit the slate text shown during gaps, hold breaks, or playback failures.
- Select Create channel.
Creating a channel requires Create Live Channels permission.
Build the schedule
- Open the channel and select Schedule.
- Choose a day.
- Add programs from your streams, 15-minute slates, or one-hour live-input slots.
- Drag entries to move them or resize them. You can also edit their start time and slot length in the details panel.
- For programs, configure the stream range, ad-break behaviour, and ads for that airing.
- Select Save schedule.
The channel applies saved changes within seconds. Overlaps and other schedule problems must be fixed before saving. Entries that are currently on air or start within two minutes cannot be edited. Schedule times use your time zone. Editing the schedule requires Edit Live Channels permission.
Put the channel on air
- Open the channel.
- Select Go on air and confirm.
The channel begins playing its schedule within a few seconds. To stop it, select Take off air and confirm. Taking a channel off air removes the signal for viewers and partner platforms. These actions require Operate Live Channels permission.
Temporarily use a live input
On the channel’s Overview tab, select a receiving input in the Live input card, then choose Go live now. When finished, select Return to schedule. If the input is not sending yet, the channel shows its slate until the encoder connects. Using a live input requires Operate Live Channels permission.
Important
If the Live add-on has ended, the channel cannot go on air.
How do I configure a live channel’s outputs, quality, rewind, slate, and server-side ads?
Open the live channel and select Settings.
- Under General, edit the channel Name or Slate text. The slate appears during hold breaks, schedule gaps, or when a program cannot play.
- Under Output, choose the available Qualities: Full HD (1080p, 720p, 480p) or HD (720p, 480p). Viewers’ players can switch between these qualities to match their connection.
- Set the Segment length to 2, 4, or 6 seconds. Shorter segments reduce delay; longer segments cost less.
- Set the Rewind window from 1 to 120 minutes.
- Set the Default ad break length, which is used when a stream’s ad-break marker does not specify a length.
- To configure server-side ad insertion, enable Insert ads server-side under Ad insertion (SSAI) and enter your ad server’s VAST tag address. The listed macros can be filled in for each viewer and ad break.
Save the settings when finished. Changes other than the name and ad insertion restart the channel; if it is on air, you are asked to confirm and viewers see a few seconds of slate. Enabling or changing ad insertion does not restart the channel.
The ad-supported HLS playlist uses the ad server’s ads. The channel’s regular playlist and SRT outputs retain the original ad breaks. Editing channel settings requires the Edit Live Channels permission.
How can I monitor Live channel usage and analytics, and what happens if usage or payment becomes an issue?
Monitor usage
Open Live channels to see Fair use this period, including:
- Delivery from HLS and SRT compared with your allowance
- Time on air and the HLS/SRT breakdown
- SRT viewer time
- Ad impressions
- The channels using the most delivery
Each channel’s allowance is shared across your channels. Channels continue airing when usage exceeds the allowance, and warnings appear at 80% and 100%.
For channel-level information, open a channel’s Overview tab. Usage this period shows delivery, the channel’s share of the allowance, time on air, and delivery per day for the last 31 days.
View analytics
Open a channel’s Analytics tab and choose Last 24 hours, Last 7 days, Last 30 days, or Last 90 days. You can review viewer hours, average audience, peak viewers, unique viewers per day, average viewing session, audience over time, ad-insertion results, program performance, countries, devices, flavours, and currently connected SRT callers. You can also export audience-over-time data as a CSV file.
HLS viewing data is based on CDN logs and generally arrives about an hour after viewing occurs. SRT callers appear as soon as they connect.
If payment fails
The Live add-on may take a few seconds to activate after payment. If a payment fails, channels continue airing while the payment is retried.
If the add-on remains unpaid, channels continue airing until the date shown in the warning. They then show a channel unavailable slate and go off air later. Paying restores the channels, and their schedules are kept.
If the add-on has ended, channels cannot go on air, but schedules and settings are retained. Buy the Live add-on again to restore service. To change the payment method, select Update payment to open the billing portal.
Viewing Live channel usage and analytics requires View Live Channels permission. Updating payment details requires Manage Addons permission.
How can I schedule, cue, and manually insert ad breaks on a live channel?
You can manage ad breaks in two ways: configure them for scheduled programs or insert them while a channel is on air.
Configure breaks in a scheduled program
- Open the channel and select Schedule.
- Select a program entry.
- Under During ad breaks, choose one of the following:
- Pause the program, show the slate. The program pauses during the break.
- Keep playing, only cue the break. The break is cued for partner platforms and ad insertion to fill.
- Set Ads in this airing if needed, then save the schedule.
Program ad breaks come from the stream’s ad-break markers. To change those breaks for every airing, edit the markers on the stream. Schedule entries that are on air or start within two minutes cannot be edited.
Insert a break manually
- Open a channel that is currently on air and go to Overview.
- In the Ad break card, choose a duration: 30, 60, 90, or 120 seconds, or enter a custom duration from 5 to 600 seconds.
- Choose whether to Keep the program playing or Pause the program.
- If you pause the program, choose whether to Push it back (later entries start later) or Keep the times (the current program loses spare time and then its end).
- Confirm the break. It starts four seconds later.
You can pause a program only while a program is airing and no live input is on air. Recent breaks show a status such as Queued, Sent, On air, or Refused.
Editing a schedule requires the Edit Live Channels permission. Manually triggering an ad break requires the Trigger Live Ad Breaks permission.
How do I create, customize, preview, and assign a player configuration to a stream share link?
A player configuration controls the player’s appearance and behavior, including colours, controls, playback features, casting, and ads. The Player page requires the Player plan module.
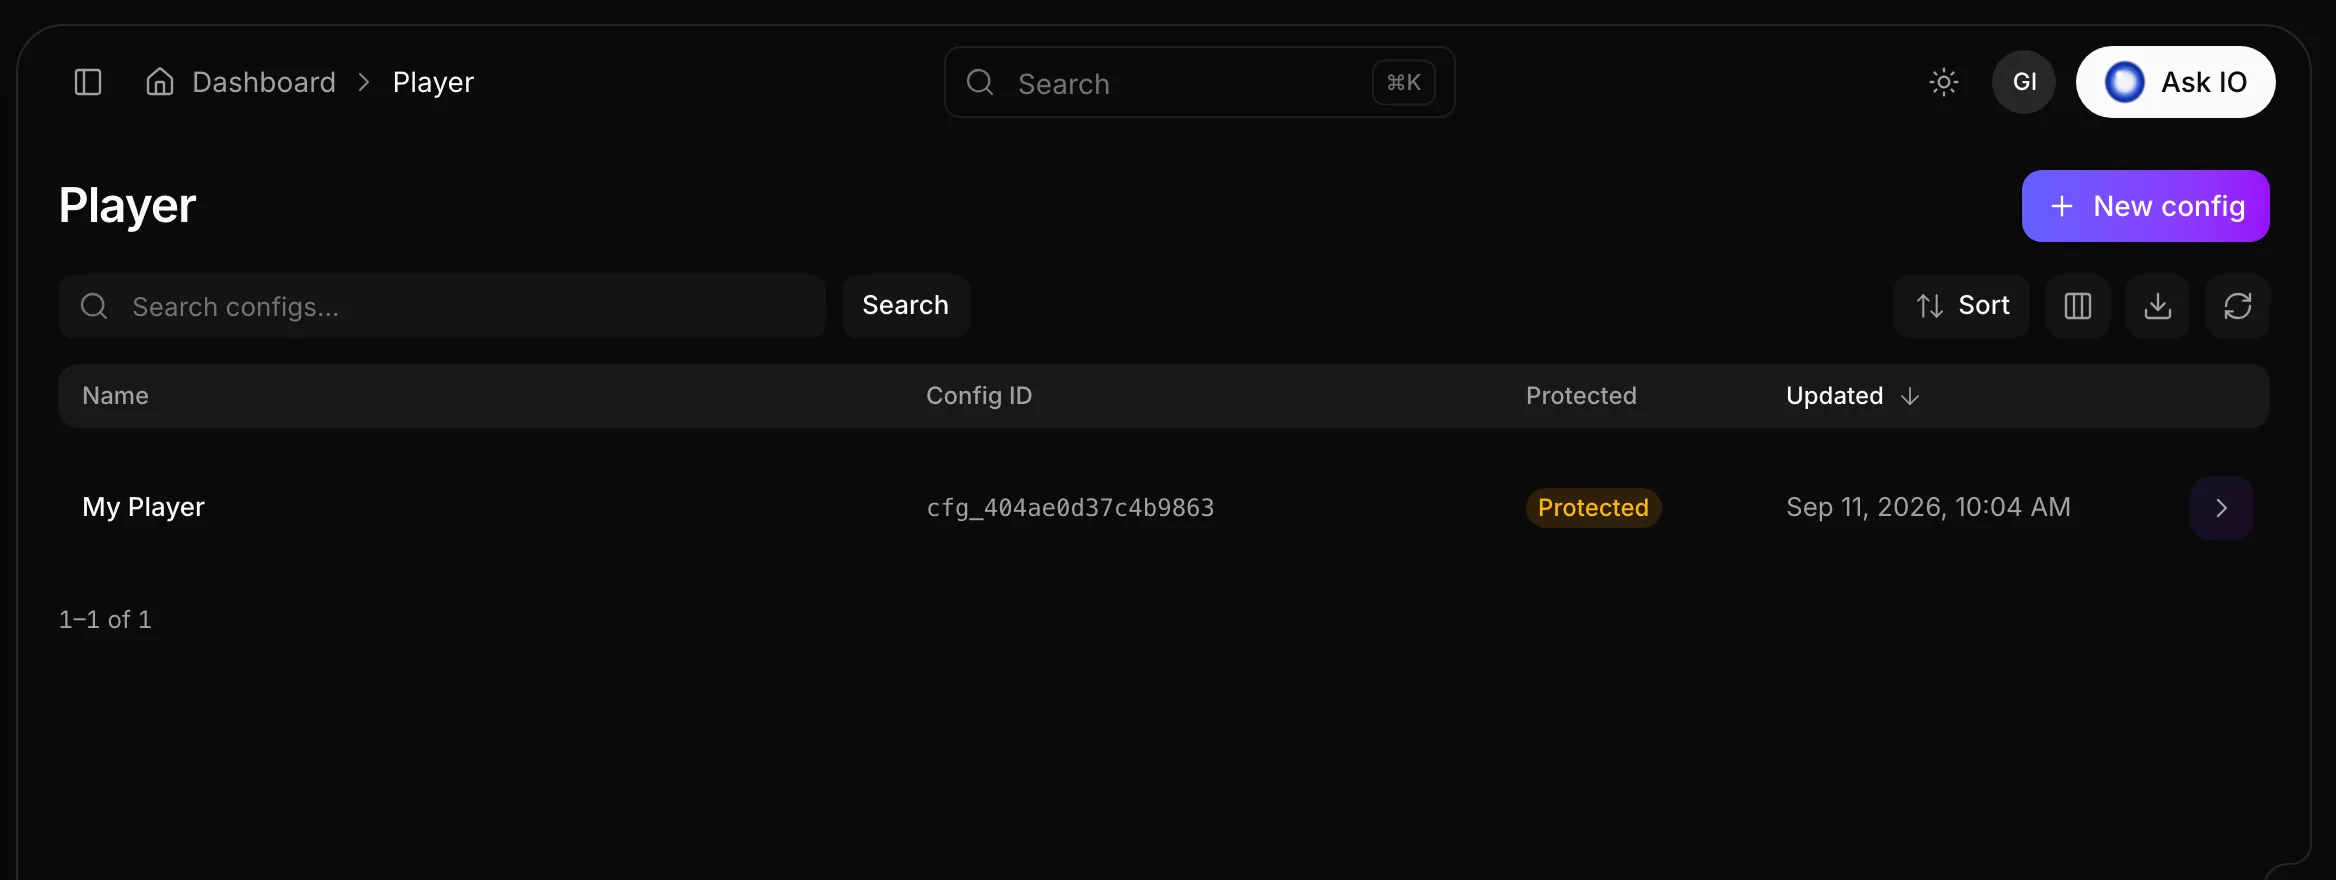
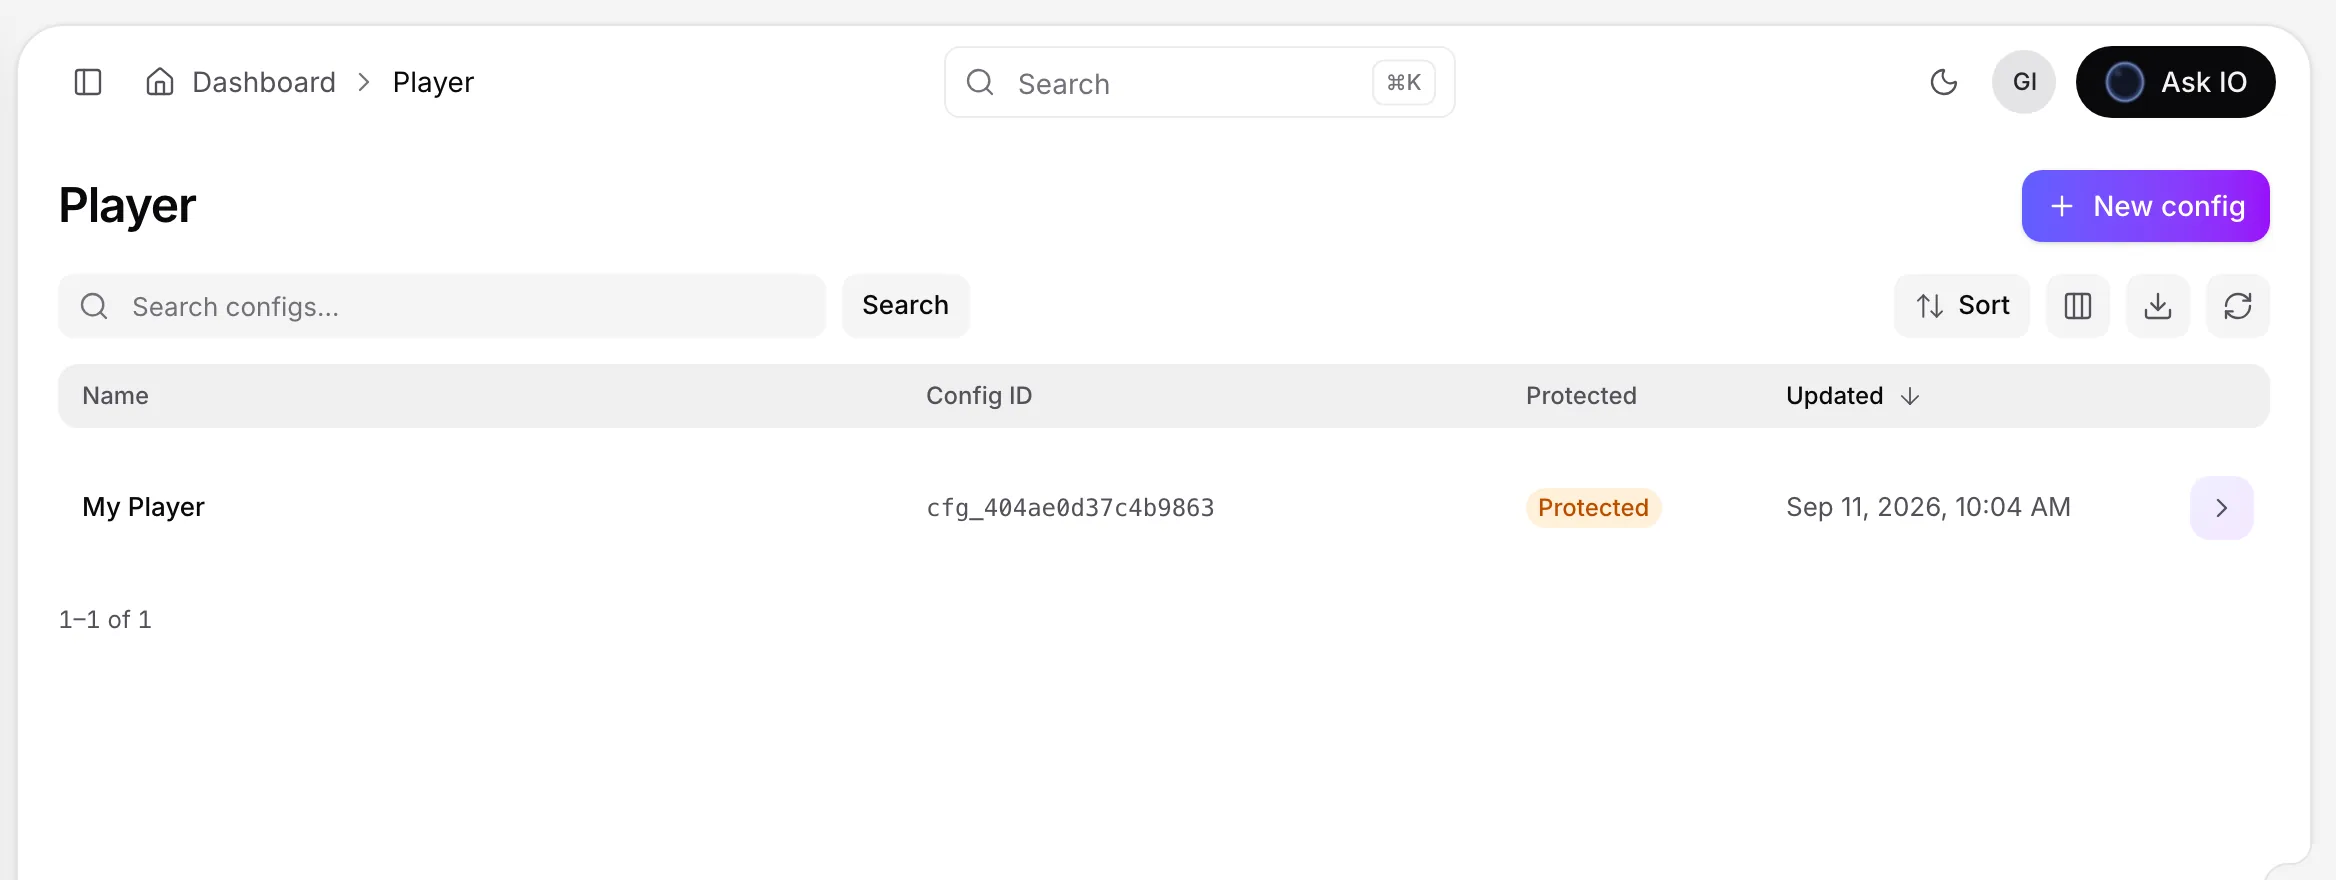
- Open Player and select New config.
- Under General, enter a name. You can optionally provide a Config ID beginning with
cfg_and followed by letters, numbers,_, or-; otherwise, one is generated automatically. Select Protected (DRM) if the configuration will play DRM-protected streams. - Under Theme, set the accent, background, controls-bar, and text colours, along with the border radius.
- Under Features, choose the options to offer, such as controls, autoplay, muted playback, looping, Chromecast, AirPlay, quality selection, captions, picture-in-picture, ads, and auto-hiding controls.
- Under Cast, enter the receiver app ID, optionally enable Android receiver compatibility, and choose an auto-join policy. Under Ads, enter the ad tag URL when needed.
- Select Create. The configuration’s edit page opens.
To preview it, use Pick stream in Live preview on the configuration page and choose a stream. The preview uses the current configuration before you save it; Change stream lets you select another stream.
To assign the configuration to a stream, open the stream’s page, select Share, choose the configuration under Player config instead of Default, and save the share link.
To update or remove a configuration, open it from Player, make changes, and select Save. Select Delete and confirm to remove it; deletion cannot be undone.
How do I connect and configure a Prime Video Channels account in EYZFlow?
To connect a Prime Video Channels account:
- Open Platforms under Distribution.
- Select Connect Prime Video.
- Enter the account settings, including a name, licensor code, default video quality, payout currency, and marketplaces.
- Provide the connection details for the Content API, Aspera delivery, and, if needed, the Analytics API. These can also be added later.
- Select Connect account.
After connecting, the account page lets you review connection status, notifications, and channels. Stored sensitive values are encrypted and are not displayed again after saving. You can replace or remove them from the account settings.
The account setup can include:
- Content API for availability windows, offer status, and asset status.
- Aspera delivery for sending video, audio, subtitle, and artwork files.
- Analytics API for financial statements, viewing reports, and subscription events.
To verify the setup, open the account, save any changes, and use Test connection. EYZFlow reports whether the Content API and Analytics API are working and shows Amazon's response.
You need the Distribution module and the Manage Platform Accounts permission to connect and manage accounts. Sending files also requires a configured Aspera connection and the permissions and delivery setup described for Prime Video deliveries.
What credentials and permissions are required to connect and manage a Prime Video account?
To connect a Prime Video account, your plan must include the Distribution module, and you need the Manage Platform Accounts permission. Without this permission, the platform and account pages are read-only.
Enter the account details and credentials provided by Amazon:
- Account: A name, licensor code, default video quality (SD, HD, or UHD), payout currency, and marketplaces.
- Content API: API certificate, private key, API key, and Content API URL. Leave the URL empty for production; use Amazon's sandbox URL when testing avails.
- Aspera delivery: Host, port, user, target folder, and password, or an SSH private key when Amazon uses key authentication. Enter both the host and user, or neither.
- Analytics API: Client ID, Analytics account ID, client secret, and refresh token from a Login with Amazon security profile.
You can save the account before adding all credentials and provide them later. The Content API is used for avails and asset or offer status, Aspera is used to upload media and artwork, and the Analytics API is used for financial statements, viewing reports, and subscription events.
To manage titles and availability windows, you also need Manage Avails. To view Prime Video title status and avails, you need View Avails. To view platform revenue statements, you need View Platform Revenue.
Credentials are encrypted and are not shown again after saving. Stored secrets can be replaced or removed from the account settings.
How do I test my Prime Video connection and troubleshoot missing or invalid credentials?
To test the connection:
- Open the Prime Video account from Distribution > Platforms.
- Save any credential changes first. The test uses the values currently stored for the account.
- Under Connection, optionally enter a Title ALID that Amazon already knows. The check will then also read that title’s offer status.
- Select Test connection.
The result shows whether the Content API and Analytics API are working, along with Amazon’s message and the time of the check.
If credentials are missing or invalid, open the account form and review the relevant integration:
- Content API: API certificate, private key, API key, and, when testing avails, the sandbox Content API URL supplied by Amazon. Leave the URL empty for production.
- Analytics API: Client ID, Analytics account ID, client secret, and refresh token from a Login with Amazon security profile.
- Aspera delivery: host, port, user, and either a password or SSH private key, as applicable. Enter both the host and user, or neither.
Each secret is marked Stored or Not set. Use Replace to enter a new value, Remove to delete a value when saving, or Keep stored value to retain it. Save the changes, then run the connection test again.
You need Manage Platform Accounts permission to edit the account and test the connection.
How do I add or import Prime Video Channels and set their territories?
To add a Prime Video Channel manually:
- Open the connected Prime Video account under Distribution > Platforms.
- In Channels, select Add channel.
- Enter the channel’s Name and ChannelIdentity—the identifier Amazon provides for the channel.
- Enter the default Territories as two-letter country codes separated by commas.
- Select Save channel.
The territories you enter become the defaults for new availability windows (avails). Avails, status, and revenue are tracked separately for each channel.
If the Analytics API is connected, you can import channels from Amazon instead:
- Open the account’s Channels section.
- Select Import from Amazon.
- Review the channels and their ChannelIdentity and territories retrieved from Amazon.
- Select the channels you want, then import them.
You can edit an imported or manually added channel with the pencil action. To remove a channel, use the bin action; any avails that use the channel must be withdrawn on Amazon first.
You need the Manage Platform Accounts permission to add, import, edit, or remove channels.
How do I add or import titles already on Prime Video and track their status?
Add a catalogue title
- Open Prime Video under Distribution. If you have not connected an account, open Platforms and connect one first.
- Select Add title.
- Choose the platform account, then select the catalogue title. Adding a series or season adds its episodes.
- Enter an Existing ALID only when a single movie or episode already has a different identifier on Amazon. Otherwise, EYZFlow uses its own identifier.
- Select Add.
You need Manage Avails permission to add titles.
Import titles that are already live
- On Prime Video, select Import live titles.
- Choose an account if you have more than one.
- Select Check with Amazon. EYZFlow checks ALIDs from your offers, catalogues and Amazon usage reports, then lists the titles Amazon has, including their channels and availability windows.
- Select the titles to track and choose Import.
Importing does not deliver files or change anything on Amazon. Imported titles remain tracked under their existing ALIDs. Series and season offers cannot be imported as a group; import their episodes using their individual ALIDs.
Track title status
The Prime Video list shows each tracked title's asset state, offers by channel, availability window, territories and last check time. Search by title or ALID, or filter by account, channel, assets, offer or territory. You can also use Needs action and Ending in 30 days filters. Titles requiring attention are marked and shown first.
Select the refresh control on a title to read its current status from Amazon, or open the title for more detail. The title page includes tabs for:
- Assets — files Amazon expects, their statuses and any errors.
- Avails — your availability windows for each channel.
- On Amazon — offers reported by Amazon, including dates, territories and licence information.
- Deliveries — submissions for the title and Amazon's verdict.
You need View Avails permission to view and refresh status. Manage Avails permission is required to add or import titles.
How do I create, check, push, edit, withdraw, or delete a Prime Video avail?
An avail defines when a title is available on one Prime Video Channel. It must stay within the selected licensor offer’s licence window and territories.
Create and push an avail
- Open the title in Distribution → Prime Video and select the Avails tab.
- Click New avail.
- Choose the Channel, Quality, and Licensor offer. Enter the territories and availability dates, or select No end date. You can also add notes.
- Click Save avail. The avail is saved as a draft.
- Optionally click Check with Amazon to validate it before sending.
- Click Push to Amazon. The page shows when the avail was pushed or explains why Amazon refused it.
Fix any problems listed on the avail before pushing. A channel must already exist on the account, and the title must have a licensor offer. If it does not, create an offer for the title or its series first.
Edit, delete, or withdraw an avail
- Edit: Click the pencil for a draft, sent, or live avail, make your changes, and push it again. An edited avail is marked Changed since push.
- Delete: Click the bin to delete a draft that has never been pushed.
- Withdraw: For a pushed avail, click Withdraw and confirm. The title will no longer be offered on that channel in those territories.
Avail statuses include Draft, Sent, Live, Ended, and Withdrawn. Enable Show ended and withdrawn to view past avails. Managing avails requires the Manage Avails permission.
What can I do in EYZFlow without changing anything on Amazon, and what limitations apply?
You can perform several read-only or preparation tasks in EYZFlow without changing Amazon:
- Import live titles to track titles that are already on Amazon. EYZFlow checks Amazon and imports the selected titles; it does not deliver anything or change Amazon.
- Link avails from Amazon to turn Amazon-reported availability windows into EYZFlow avails. This does not send anything to Amazon. Windows that cannot be linked are reported with a reason so you can fix them and run the process again.
- Refresh a title's status or test the connection to read information from Amazon.
- Create or edit draft avails in EYZFlow. A new avail remains a draft until you push it to Amazon.
- Stop tracking a title in EYZFlow. This removes the title from EYZFlow only; it does not change the title on Amazon.
- Disconnect a Prime Video account from EYZFlow. Its channels are removed from EYZFlow, but titles already on Amazon remain there.
To change availability on Amazon, you must explicitly push an avail or withdraw a pushed avail. Importing a series or season offer is not supported; import its episodes using their individual ALIDs instead. Linking may also fail when no matching offer exists, multiple offers match, or the channel is not configured on the account.
How can I inspect, play, manage, encode, package, and analyze a stream?
You can manage streams from Streams in the sidebar.
Find and inspect streams
The Streams list shows each stream’s title, status, quality, duration, DRM state, and creation date. Encoding streams show a progress bar. Search by title, or filter by status, quality, duration, DRM, catalogue, or the language of an audio or subtitle track. Select a stream’s title to open its page, or use its picture or play button to watch it.
Create and source a stream
- Select New stream.
- Enter a title and choose an encoding profile.
- Optionally enable DRM protection and link a catalogue.
- Add a source video by uploading an MP4, MOV, AVI, or MPG file, using a direct video link, or selecting a file from the Vault or Bridge.
- Select Create stream and keep the page open while the file uploads. Encoding starts automatically afterward.
You can also add a source to a draft stream from its upload action, then select Start encoding. A stored Vault or Bridge file is encoded where it is stored, so it does not need to be uploaded.
Important
A stream must be Ready before you can start Video Intelligence analysis.
Process streams through ingest
For a larger delivery workflow, create an ingest session and add masters, trailers, audio, subtitles, artwork, or documents. Assign files to the appropriate stream, catalogue, artwork, or asset cards. You can inspect supported files, preview them, and adjust inspected video, audio, or subtitle files before processing.
To create a playable stream from an ingest session, place a video on a stream card such as Full Film, Trailer, or an extra, then select Start processing. The resulting stream moves through queued or encoding status and can be opened or played when ready. Add audio or subtitle files to a ready stream as tracks. You can rerun processing fully or rerun only audio or subtitles; a full rerun makes the stream unavailable to viewers until it finishes.
Analyze a ready stream
- Open the ready stream and select More actions.
- Select Video Intelligence.
- Review the runtime, estimated compute-credit cost, and available balance.
- Select Start.
Track progress from the stream page or the Video Intelligence page. Analyses can be pending, analyzing, enriching, ready, or failed. When ready, the Video Intelligence player provides scenes, characters, events, ad breaks, artwork, and music. You can also ask IO about the video. Failed analyses can be retried in full, or enrichment can be retried separately when only enrichment failed.
Note
Creating Video Intelligence analysis requires sufficient compute credits. If the balance is too low, add credits before starting.
Permissions and plan requirements
The Streams plan module is required to use Streams. Creating, editing, deleting, and using stored sources require the corresponding stream permissions. Ingest requires the Ingest plan module and relevant Ingest permissions. Video Intelligence requires its plan module to view analyses, plus permission to create them. The Vault and Bridge source options are shown only when you have the relevant viewing permissions.
What are the requirements and limitations for adding created clips or frames to media assets?
To add a created clip or frame to media assets:
- Create the clip or frame in Clips & frames.
- Make sure the stream is linked to a catalogue.
- Under Created files, click Add to media assets.
You need permission to view the video editor to use Clips & frames. The created-files list lasts only for the current visit to the page, so download or add anything you want to keep before leaving. A file cannot be added after its temporary link has expired. You can also download the file, remove individual files from the list, or clear the list.
How do I create and save clips or still frames from a stream?
Open the stream, choose More actions > Clips & frames, and select the flavour you want to edit. The stream must be Ready to preview, and you need permission to view the video editor.
Save a still frame
- Play the video and pause at the moment you want.
- Click Save frame. The frame appears under Created files.
Create a clip
- Play to the start of the section and click Mark in, then play to the end and click Mark out. You can also drag the range below the player.
- Use Preview range to check the selection, or Full length to reset it.
- Click Create clip. The clip appears under Created files.
A clip must be at least 0.04 seconds long.
Download or store the result
Under Created files, click Download to save a clip or frame, or click Add to media assets to store it in the stream catalogue. The stream must be linked to a catalogue to use Add to media assets. You can use Remove for an individual file or Clear list to empty the list.
Created files remain available only during the current page visit, so download or add anything you want to keep before leaving. A file cannot be added after its temporary link expires.
How can I view a stream’s video flavours, and does playback adjust quality automatically?
Open the stream from Streams, then open its Flavours tab. Each row shows a flavour’s quality, format, bitrate and size; the source video is marked Source. Flavours appear as encoding completes, and the Overview’s Storage panel shows how much space each one uses.
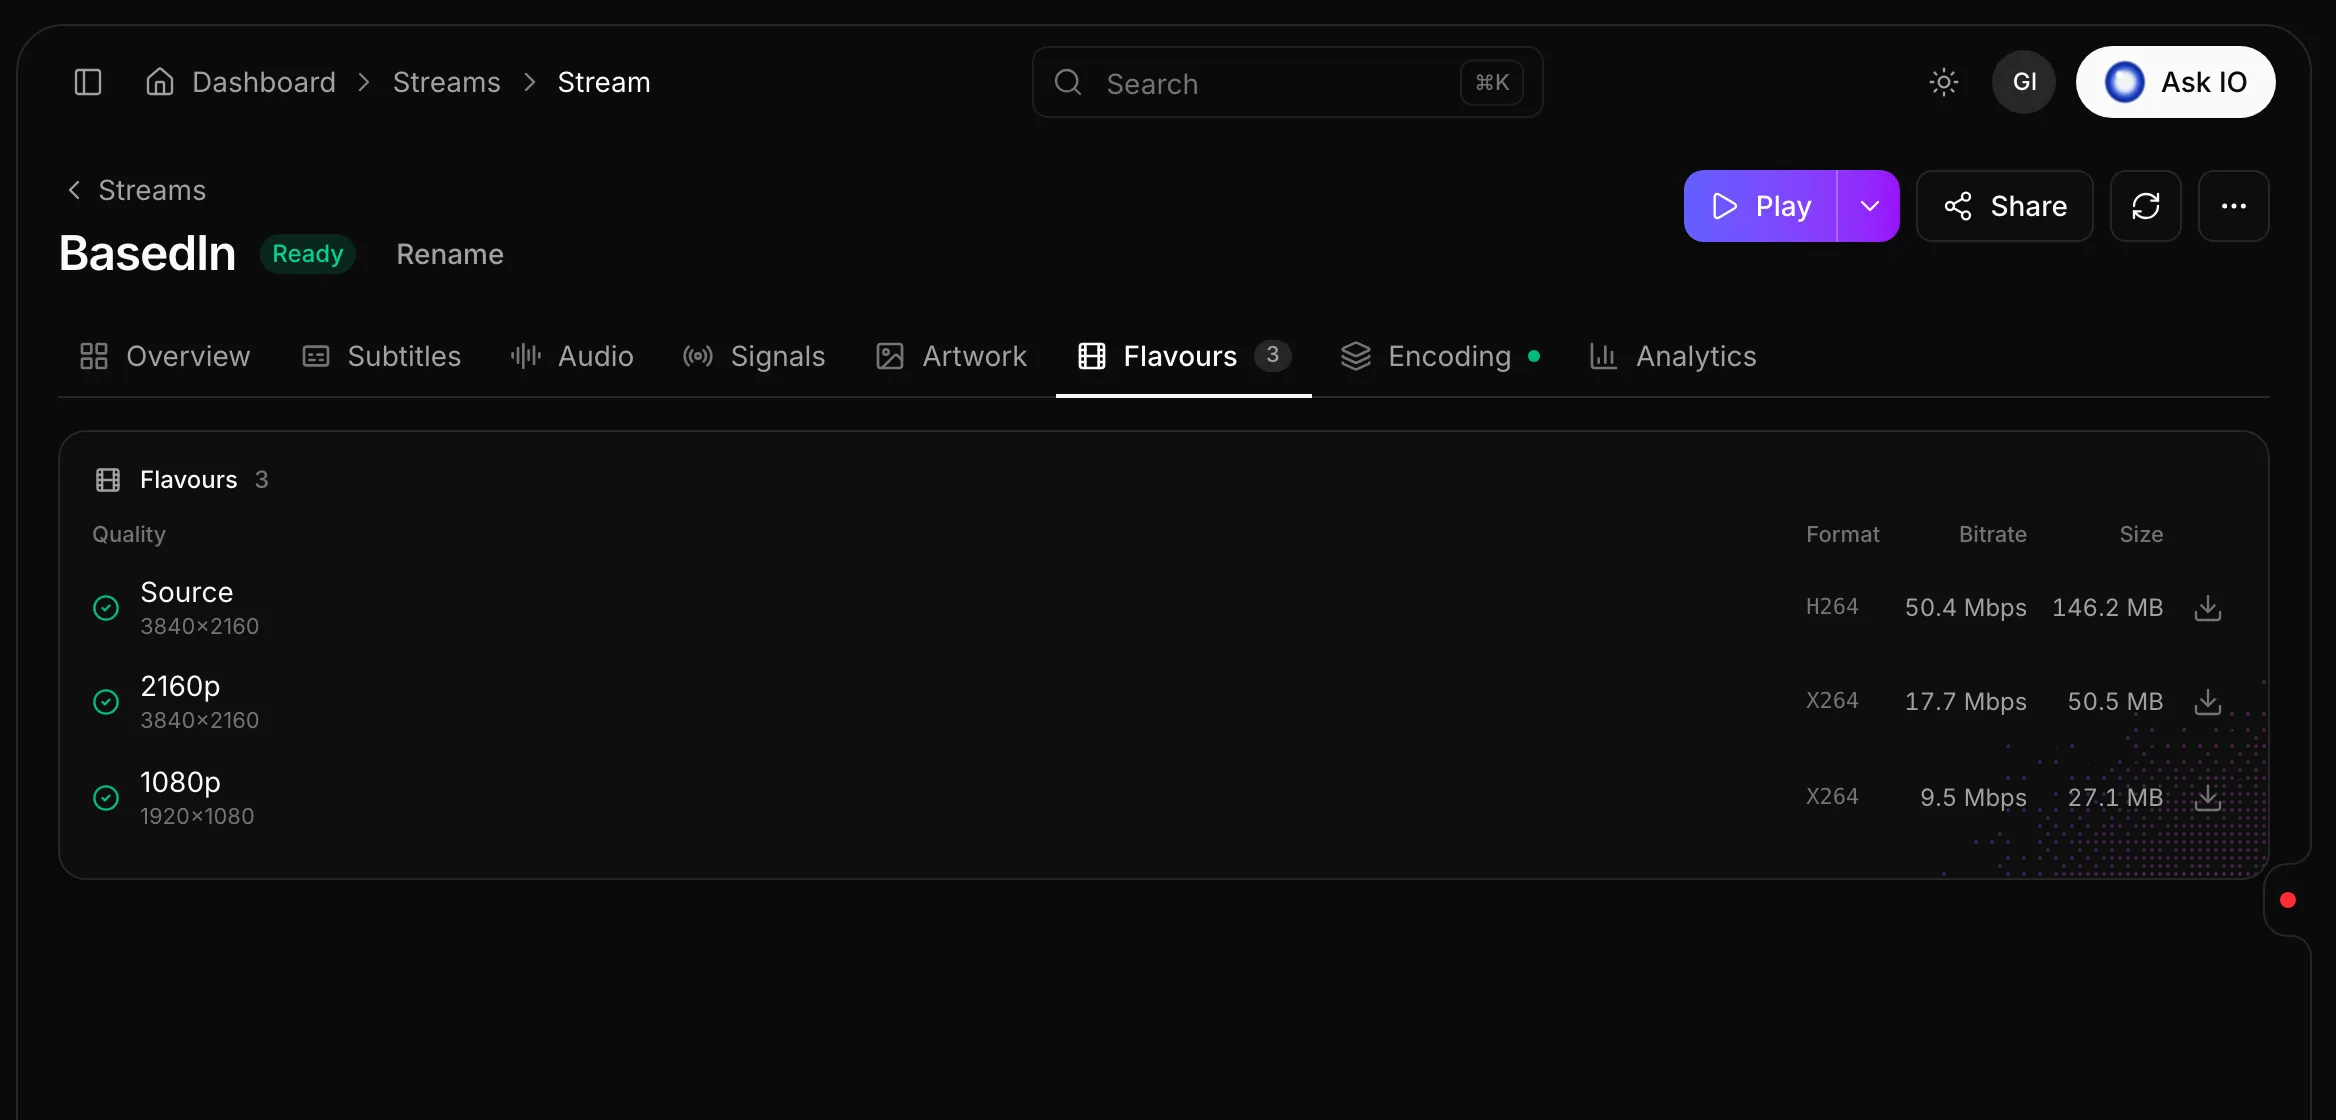
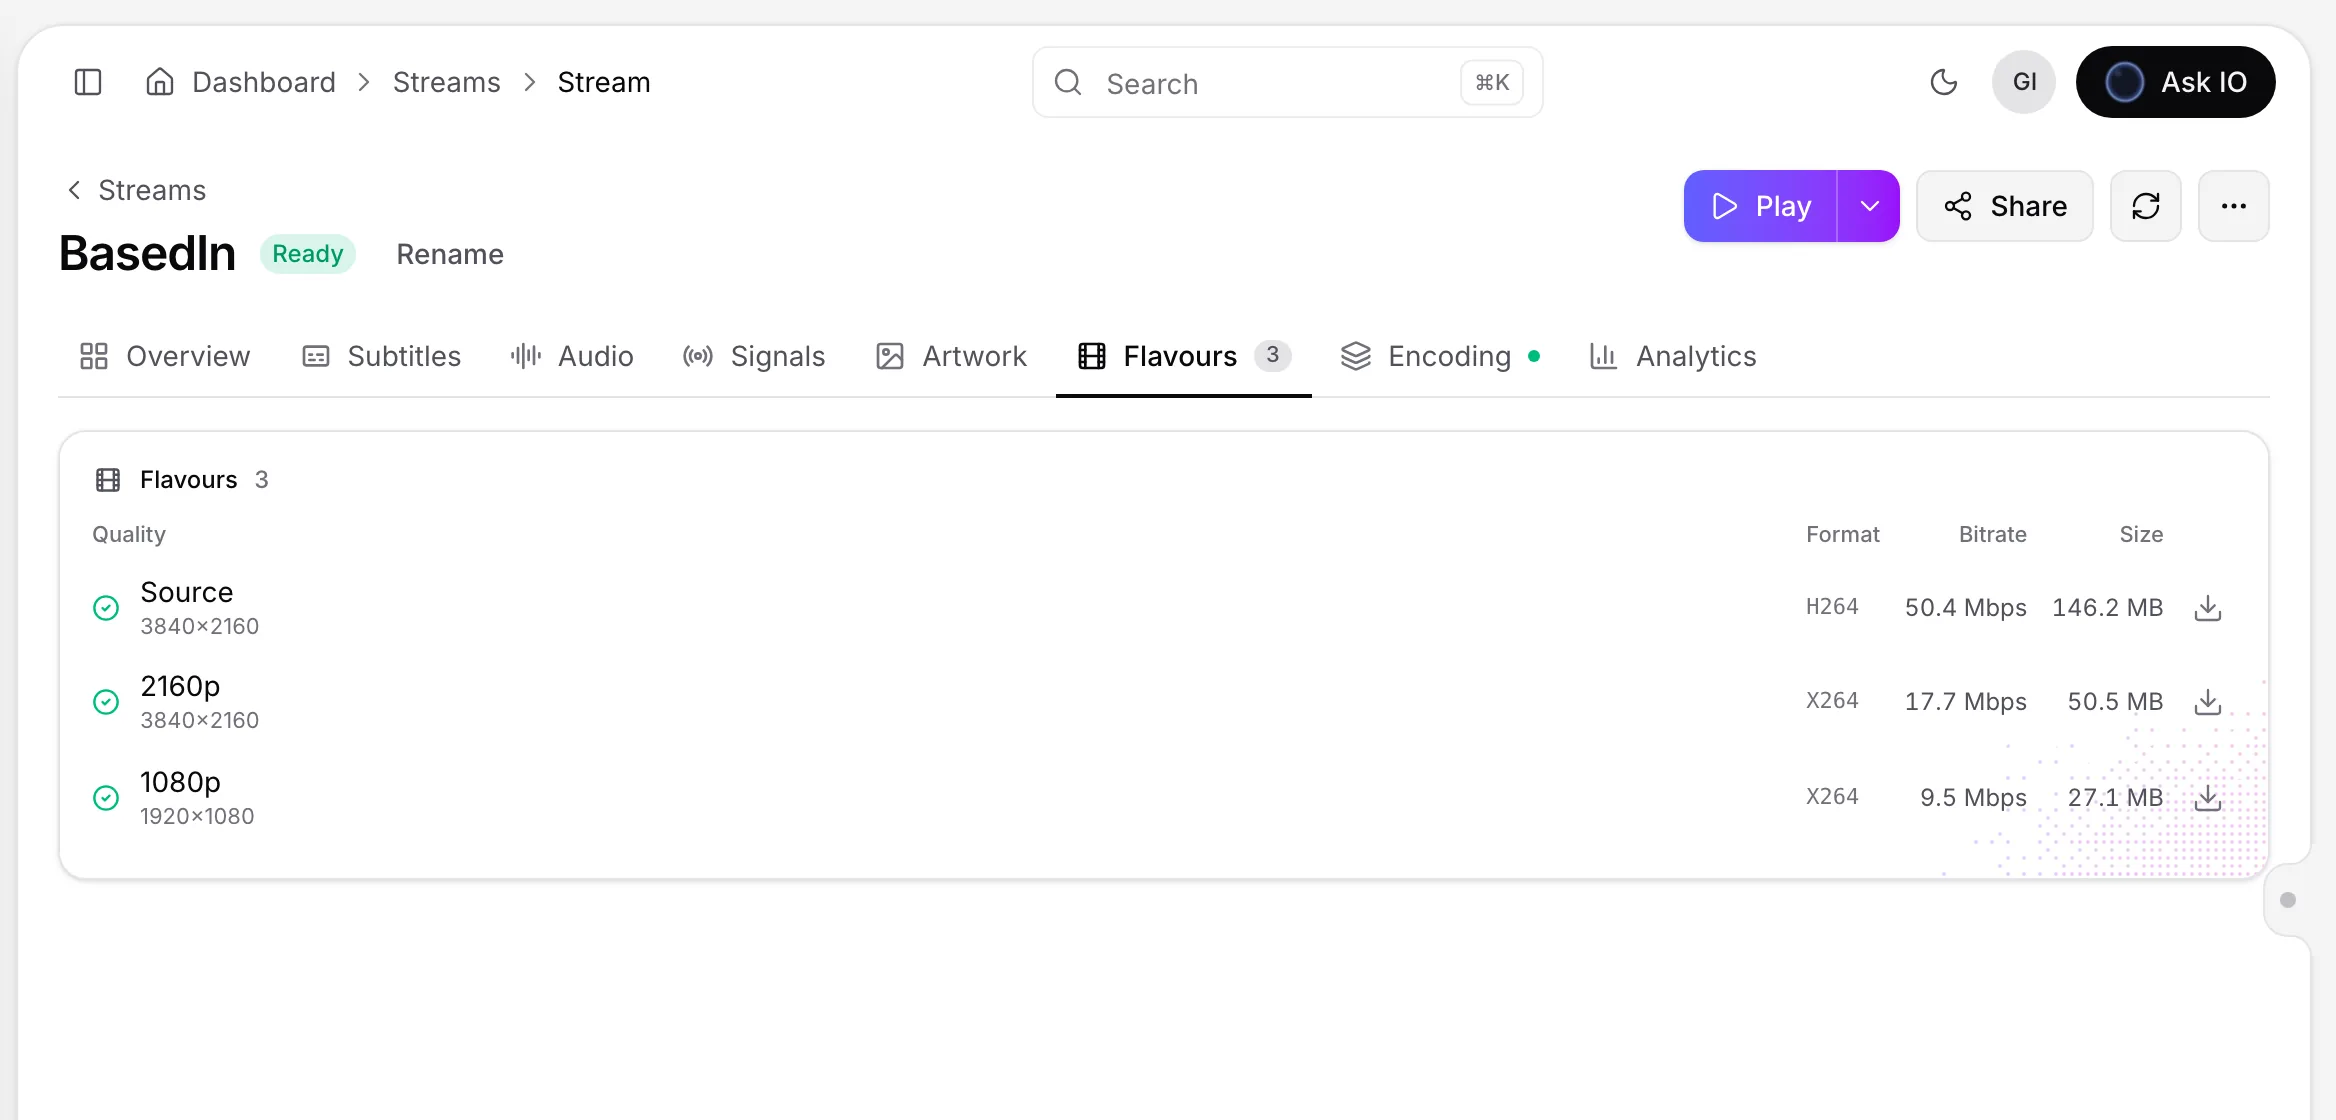
Yes. The player automatically switches between available flavours as the viewer’s connection changes, using a lower quality when necessary to help prevent playback from stopping. By default, available qualities can include 4K (2160p), Full HD (1080p), HD (720p), SD (480p) and 360p, but they never exceed the video’s own resolution. Your plan’s maximum quality may also exclude the highest qualities.
The player’s Quality menu shows the flavour currently playing and the other available choices. The Quality selector setting in a player configuration controls whether that menu is shown. Encoding profiles in Settings show the available flavours and their bitrates.
How do I upload or add audio tracks, subtitles, or captions to a stream?
Open the stream’s page and use the Audio or Subtitles tab.
Add an audio track
To upload an audio file:
- Open Audio and select Upload audio track.
- Choose the track’s Language and Type: Main, Alternate, Supplementary, Commentary, Dub, Emergency, Audio description, or Hard of hearing.
- Select a file in M4A, AAC, MP3, WAV, FLAC, OPUS, MP4, or MOV format.
- Click Upload.
The uploaded track is named after its language. You cannot add another track with the same name, language, and type because duplicate tracks can break HLS and DASH packaging.
You can also choose Add from assets to add audio from:
- Catalogue media assets
- Your organisation’s Vault
- Bridge accounts, where available
- An external direct HTTP(S) link that the encoder can access without signing in
Choose the file and track type, then select Add track. Catalogue media assets and Bridge require the stream to be linked to a catalogue. The encoder fetches files added this way rather than your browser. Audio tracks added from files are named and tagged using the file’s audio analysis.
Upload subtitles or captions
- Open Subtitles and select Upload subtitle.
- Enter a Title, then choose the Language and Type: Subtitle, Caption, or Forced subtitle.
- Choose a subtitle file, or select a stored file from the Vault or Bridge.
- Click Upload.
You can import SRT, WebVTT, TTML, iTT, and DFXP files. The title defaults to the file name. A stream cannot contain another subtitle track with the same title, language, and type because duplicate tracks can break HLS and DASH packaging.
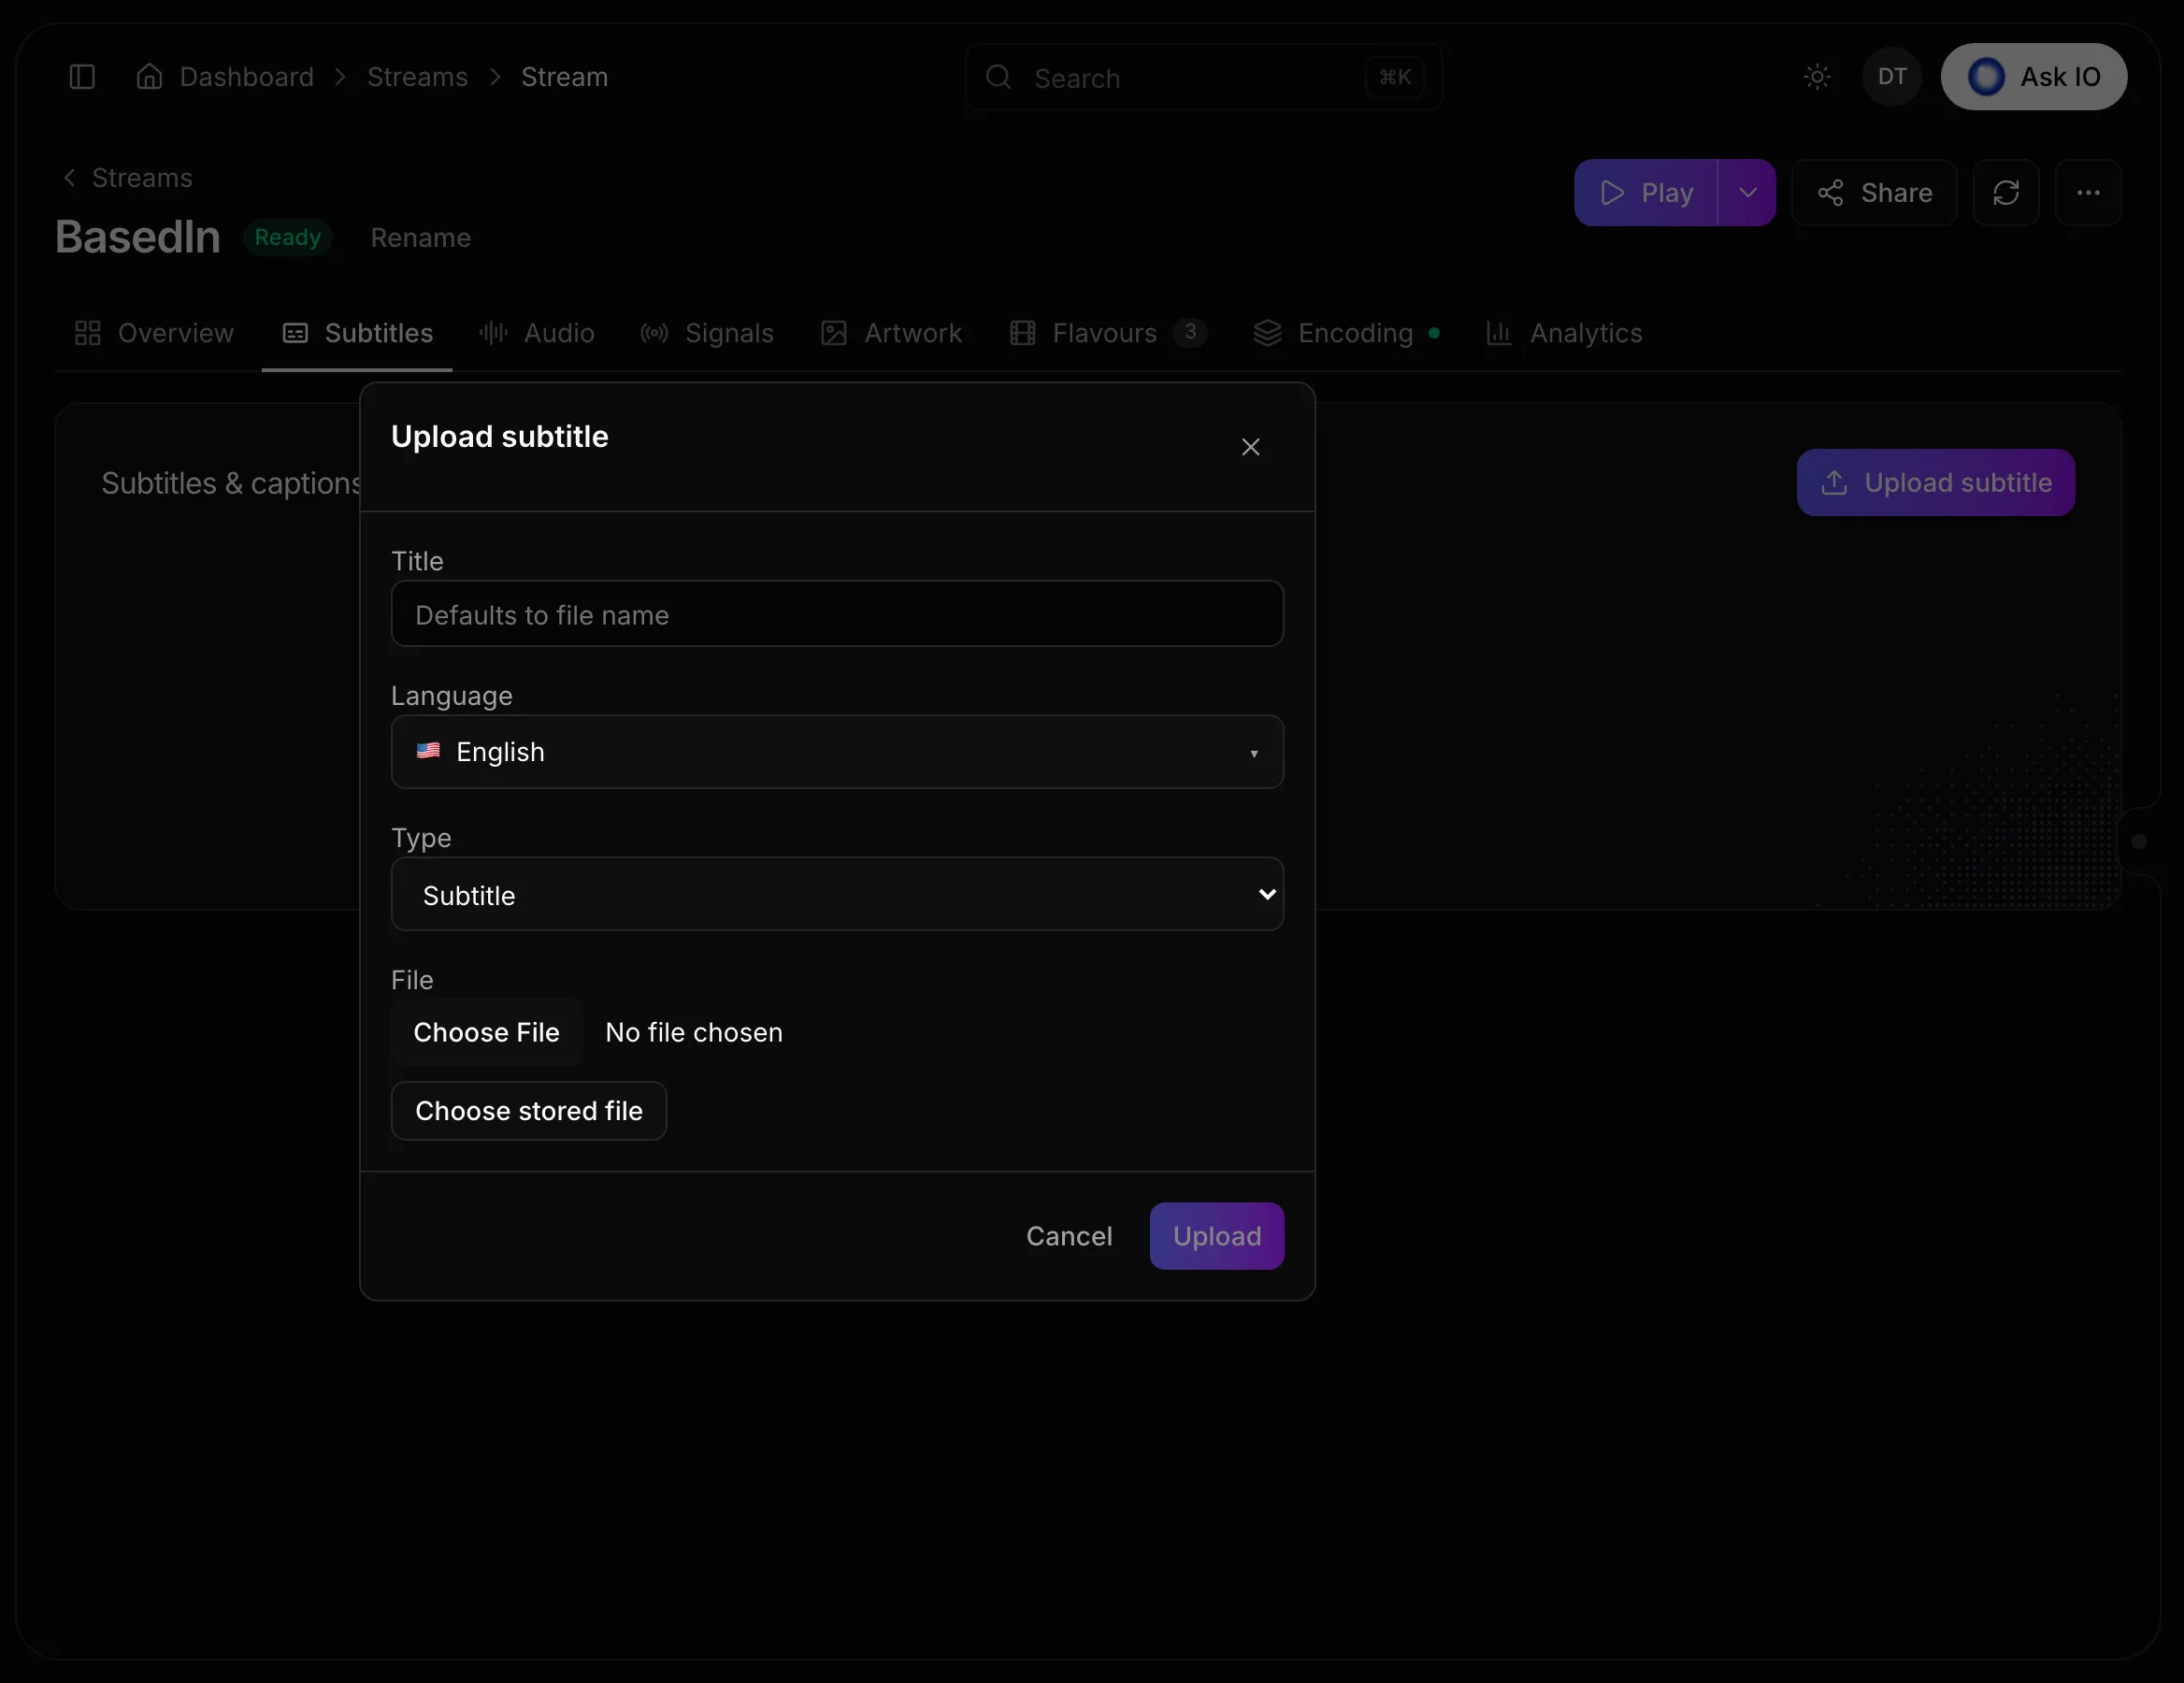
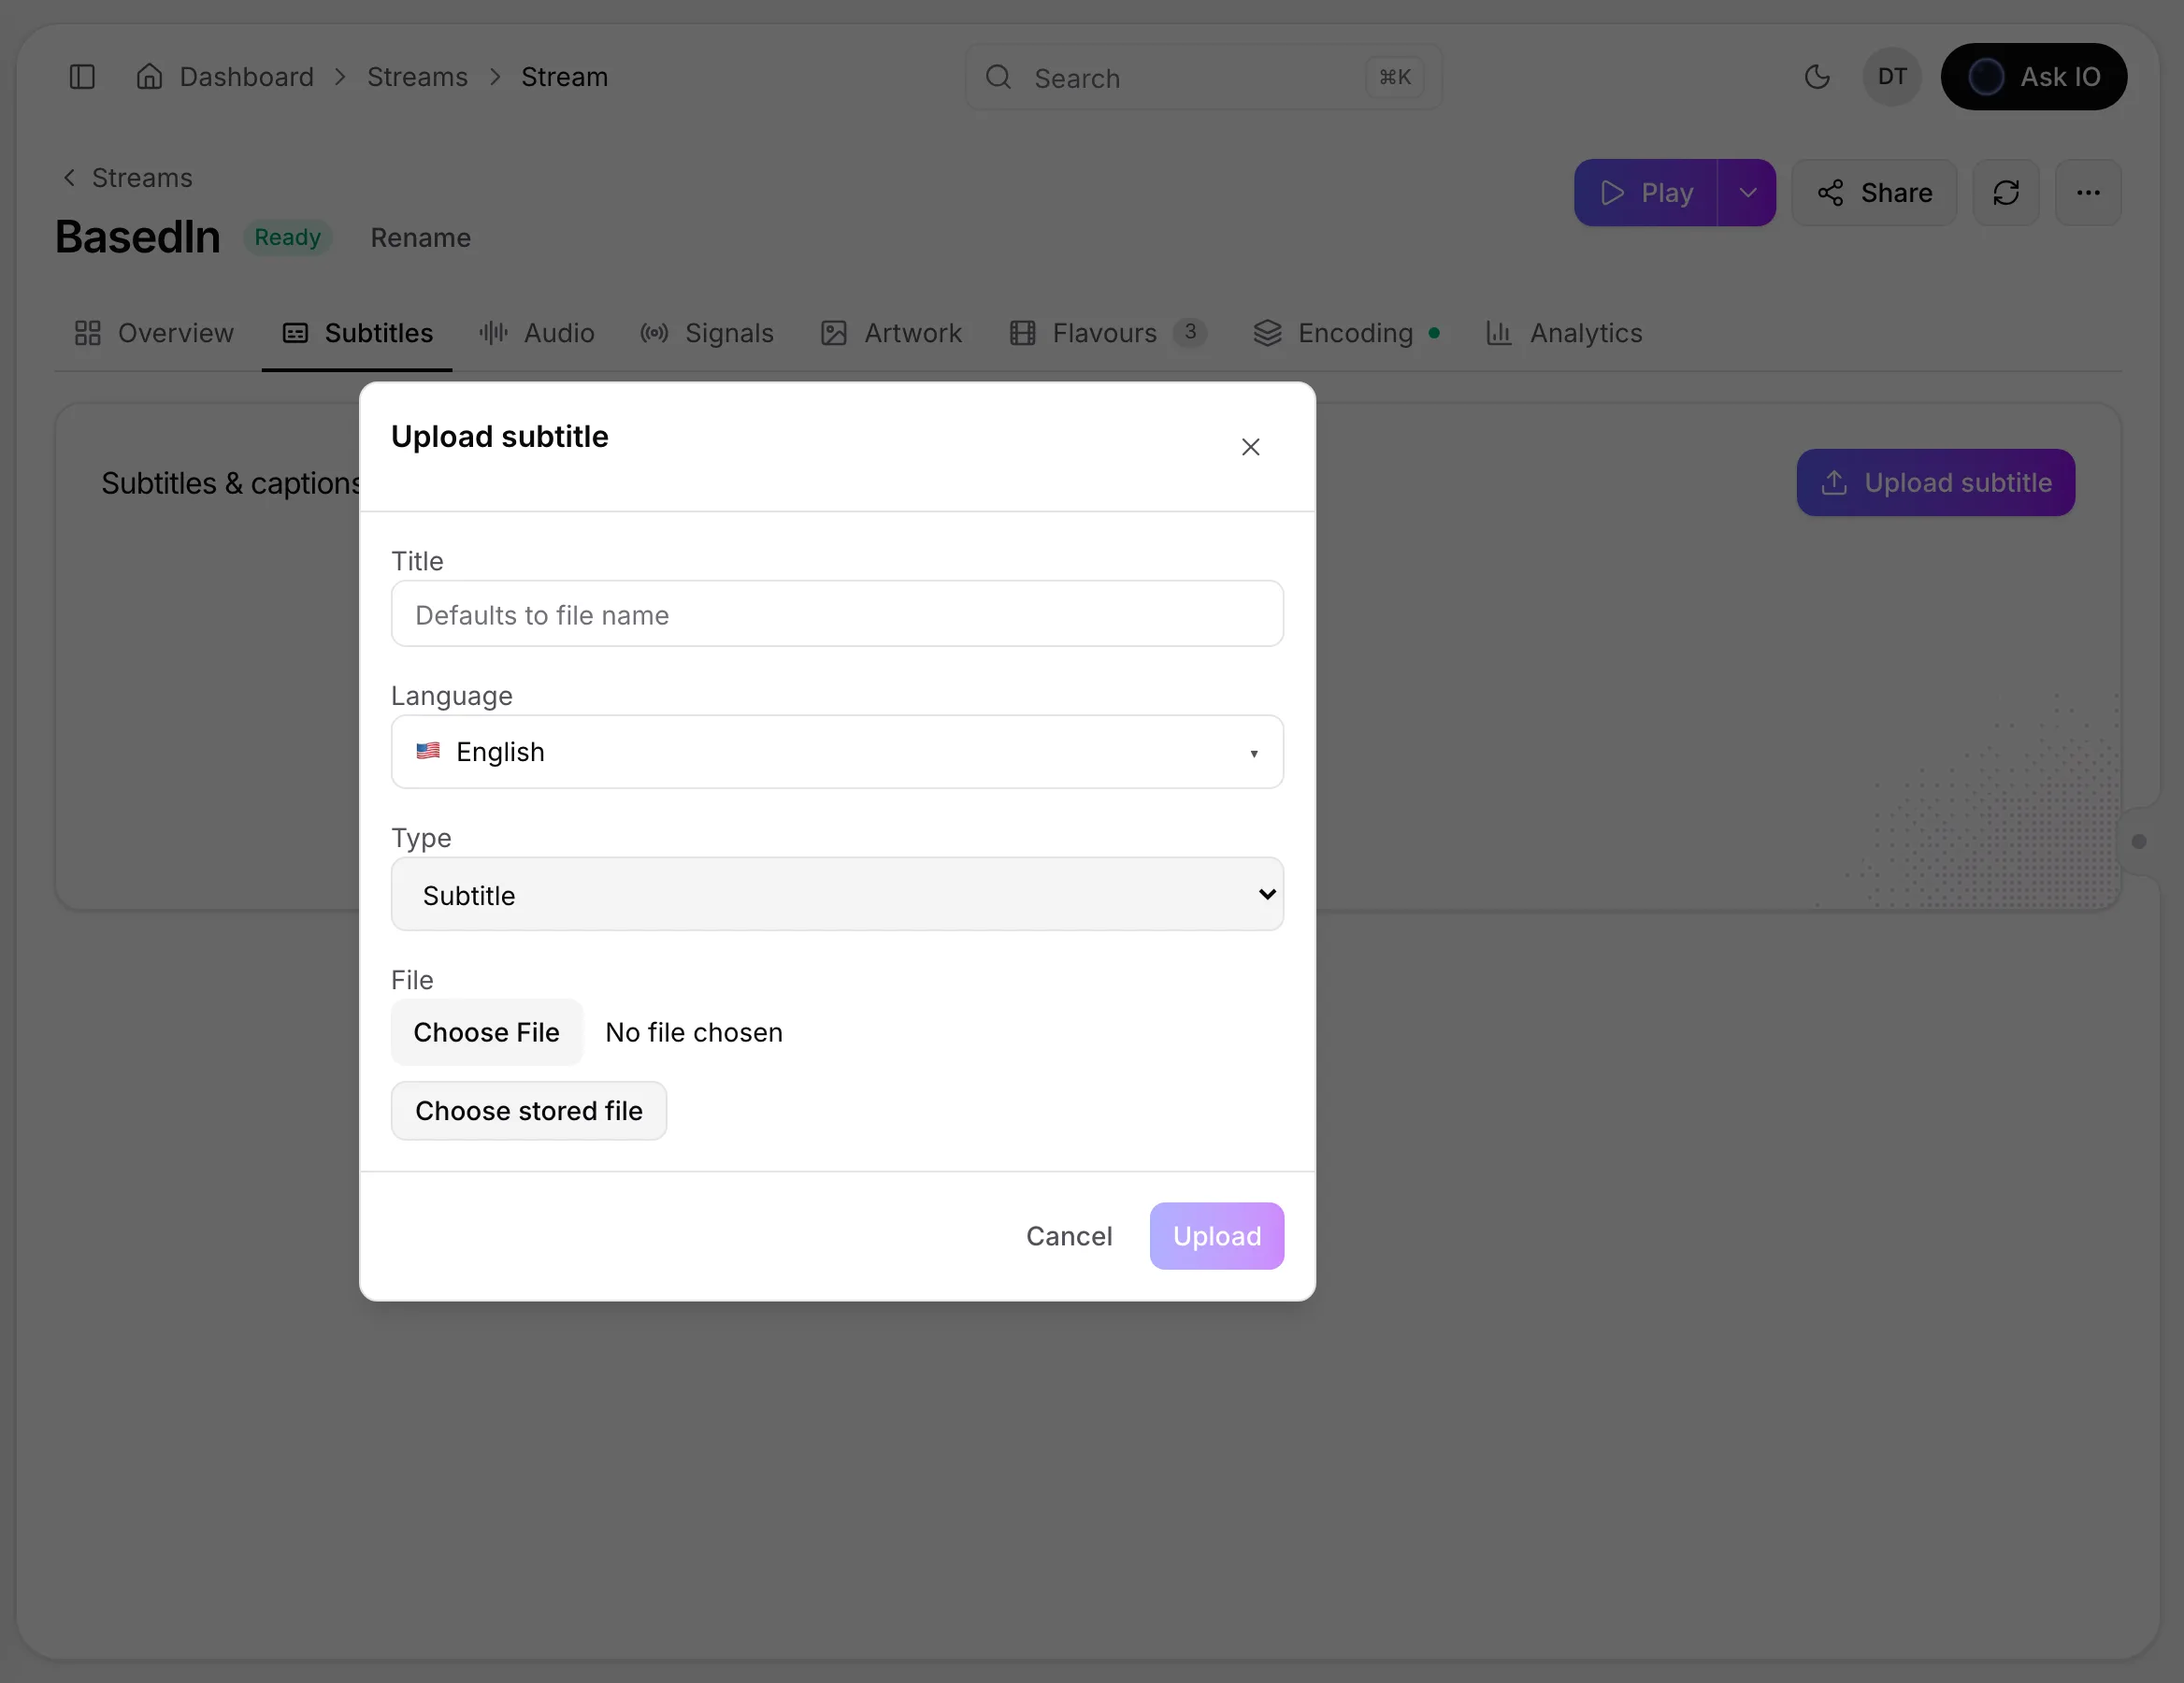
Permissions
Uploading or adding tracks requires Edit Streams. Selecting files from the Vault requires View Vault. Selecting files from Bridge requires View Bridge Accounts and View Bridge Files.
After adding a subtitle or caption track, you can turn it on or off, edit its title, language, type, or active state, download it as VTT or SRT, share it through Bridge, or delete it. Turning tracks on or off, editing, and deleting also require Edit Streams.
How do I add and manage stream signals?
Signals mark a stream’s intro, recap, opening and closing credits, or ad breaks. Players can use them to offer features such as “Skip intro” and to place ads.
Add signals manually
- Open the stream and select Signals.
- Select Add signal, then choose Intro, Recap, Opening credits, Closing credits, or Ad break.
- For span signals, enter Start and End times. You can type times such as
1:05.500or1:02:05, or use the preview and set a time to the playhead. For an ad break, enter its time and optionally its length in seconds. - Optionally add a label, then select Save signals.
You can also select Import from Video Intelligence to propose credits and ad breaks. Review the proposals, remove any you do not want, select Add, check the times, and then save. Nothing is saved until you select Save signals.
After saving, changes to the stream’s HLS and DASH manifests appear in players within a few minutes. A stream that is not packaged yet keeps its existing manifests. Select Discard changes to return to the saved signals.
Signal requirements and permissions
- You need View Stream Signals to see the Signals tab and Edit Stream Signals to add or change signals.
- Imported signals additionally require View Video Intelligence and a finished Video Intelligence analysis.
- A stream can have no more than one signal of each span type.
- Two ad breaks cannot use the same time.
- A span’s end must be after its start, and every signal must be within the stream.
- The preview is available after encoding is finished, but times can be entered beforehand.
- Leaving with unsaved changes prompts you to confirm.
Ingest
How do I start an ingest, add source files, and assign their roles?
To start an ingest:
- Open Ingest and select New ingest.
- Enter an Ingest title.
- Under Title to ingest, either link an existing offer or catalogue, create a new catalogue, or decide later. For a new catalogue, provide its title, content type, and optional reference information and localization languages.
- Select Continue. You can then add files by uploading them, selecting them from the Vault, or selecting uploaded files from Bridge.
- Select Create ingest to open the session.
You can also add files later from the session's Files card. Files from the Vault are used in place rather than copied. For Bridge files, choose a licensor and add only files that have finished uploading. You can also add files from supported external FTP, SFTP, or Aspera storage by downloading them to the external-storage area first, then dragging them to Files or Catalogue assets.
To assign roles, drag files from Files to the appropriate card:
- Videos to Full Film, Trailer, or an extra stream.
- Press kits, synopses, and metadata sheets to Catalogue.
- Images to an artwork card.
- Other files to Catalogue assets, choosing whether to copy or move them.
If a file has an issue, open Assets from the Files card and use its Role selector. You can also use Confirm all roles to accept the suggested roles. To remove a role, drag the file back to Files. A second video added to a stream can be used as an audio track or played before or after the main video.
Creating an ingest requires the Create Ingest permission. Viewing and adding files from the Vault or Bridge requires the corresponding access permissions.
How do I use Ingest to draft or update a catalogue, process videos into streams, and add artwork and offers?
Ingest guides a title delivery from source files to catalogue, streams, artwork, and offers. You need the Ingest module in your plan and View Ingest permission to open it.
1. Create or open an ingest session
Open Ingest and select New ingest. Give the session a title, then either link an existing offer or catalogue, create a new catalogue, or decide later. Add files by uploading them, selecting them from Vault or Bridge, or downloading them from configured external storage and adding them to the session.
You can find existing sessions by title, stream, catalogue, or offer ID, and filter them by attention status, unread notes, or workflow status.
2. Assign files to their roles
On the session page, place each file on the appropriate card:
- Videos go to Full Film, Trailer, or an extra stream.
- Press kits, synopses, and metadata sheets go to Catalogue.
- Images go to Artworks.
- Other files can go to Catalogue assets.
You can also confirm suggested roles from the file details. Inspect videos, audio, and subtitle files before processing, and save any adjustments you want the processing step to use.
3. Draft or update the catalogue
To create a catalogue, add the title documents to the Catalogue card and choose Draft catalogue. Select the localization languages and, if needed, provide an IMDb reference, reference URL, or extra context. Generate the draft, review the catalogue and localizations, then approve it to create the catalogue in the library.
For an existing catalogue, choose Draft update, review the proposed changes, select the changes to keep, and apply the update. The catalogue is not changed until you apply the selected changes.
Generating a draft requires Update Ingest permission. Approving a catalogue or applying an update requires Publish Ingest permission.
4. Process videos into streams
Place a video on a stream card and select Start processing. Review the source, packaging, and saved adjustments, then confirm. The stream moves through Queued or Encoding before it becomes available to open and play.
After a stream is ready, drop audio or subtitle files onto it to add tracks. To process it again after changing adjustments, choose a full, audio-only, or subtitles-only re-run. A full re-run takes as long as the original encode, and the stream is unavailable to viewers while it finishes.
Starting or re-running processing requires Publish Ingest permission.
5. Add artwork and an offer
For artwork, select Add in the Artworks group, choose the language and artwork type, and select the image. You can also upload, replace, or select artwork from Vault or Bridge. Adding artwork requires Create Artworks; replacing artwork also requires Edit Artworks.
For an offer, select Add in the Offers group and either create an offer or choose an existing one. Then attach a processed stream by dragging it onto the relevant offer. Creating an offer requires Create Offers; choosing one requires View Offers.
How do I ingest an entire Vault folder or use multiple Vault files at once?
You can add Vault files to an ingest either from the Vault or from the ingest wizard.
Ingest an entire folder
- Open the Vault and find the folder.
- Select Use…, then choose Ingest this folder.
- A new ingest opens with the folder's files and subfolders added.
A maximum of 500 files is added from a folder. If the folder contains more, add the remaining files from the ingest's From Vault tab.
Add several files
- In the Vault, select the files you want. Do not select folders for this option.
- Choose Add to ingest from the action bar.
- A single ingest is created with the selected files.
You can also open a new ingest and choose From Vault to add files individually. Vault files are used where they are; they are not copied. You need View Vault and the Ingest module with Create Ingest permission.
Workflows and automation
How can I test a workflow, review its versions, and know which runs use changes?
Test a workflow
On the saved workflow’s board, save your changes first, then select Try it. This starts a real run of the saved version; if the workflow is event-based, it uses the newest matching event, otherwise it asks for the required inputs. The run page opens after you start it, and steps that ask for approval wait for you as usual.
You can also use the automatic check on a saved workflow. It checks the workflow against the newest real event without running the steps and without spending credits. If you need to execute every step for real, select Run a real test; this spends credits. Try it is unavailable when there are unsaved changes or when a step is not included in your plan.
Review and restore versions
Open Versions on the workflow board to see saved versions. To work from an earlier version, select Restore this version. The version loads as a draft, so nothing changes until you save it. Saving the restored version requires permission for every step it changes.
Know which version a run uses
When you save a change to a workflow that is switched on, the change applies from the next run. Runs that are already in progress finish using the version they started with. Accepting an IO-generated draft or change saves a version but does not start a run.
How do I create, configure, save, and turn on a workflow, including building it with IO or from a template?
You can create a workflow from scratch, describe it to IO, choose a starting event, or customize a template.
Before you start
You need View workflows to see workflows and Manage workflows to create, edit, save, test, switch on or off, and archive them. Adding or changing a step also requires permission to use that step. If workflows are unavailable, your access or your organisation’s workflow settings may need to be checked.
Create a workflow
- Open My workflows under Workflows.
- Choose one of these options:
- Describe it to have IO create a draft from a description.
- From a template to customize a ready-made workflow.
- Pick what starts it to choose an event or schedule first.
- Empty board to build from the beginning.
You can also ask IO from the home page.
Build or configure it
On the workflow board:
- Choose or edit the trigger—the event, schedule, or manual start that begins the workflow.
- Add steps from the suggestions, Add a step, the + between cards, or by describing the next action to IO.
- Select each card to configure it in the right-hand panel. Steps that use credits show an approximate cost.
- Open Workflow settings to set the workflow’s name and description, error handling, approvers for steps that ask for confirmation, per-run and daily budgets, manual-start questions, and labels.
- Save the workflow. For an existing workflow, choose Save version.
A board warning shows how many problems must be fixed before saving. Unsaved changes are also flagged when you leave the board.
Use IO
- Choose Describe it for a new workflow, or Ask IO on an existing workflow board.
- Explain what should happen in your own words. IO may ask a clarifying question.
- Review the proposed board, assumptions, and estimated cost.
- Change an assumption and choose Update draft if needed.
- Accept the proposal, put it on the board and save it, or discard it.
Accepting a draft or change saves a workflow version; it does not start a run. If a proposed step requires a permission you do not have, someone with the required permission must accept or save the change.
Start from a template
- Open Templates, or choose From a template from My workflows.
- Review what the template starts from, the apps it needs, its credit-consuming steps, and any information it asks for when started manually.
- Open the template, adjust it on the board, and save it.
Saving creates your own workflow with its own name and versions. Because every template step is new in your copy, you need permission for each step.
If the workflow uses another app, connect that app first in Settings → Connections. Connections can use sign-in, an API key, a username and password, or headers, depending on the app. Adding or changing connections requires Manage workflow connections.
Turn it on and test it
After saving, use the On/Off switch on the workflow board. An off workflow does not start automatically.
To test it, save your changes first and choose Try it. This starts a real run of the saved version, may ask for inputs, and uses credits where applicable. A workflow started by an event uses the newest matching event; otherwise, it asks for the required inputs. Steps that require approval pause until someone responds.
EYZFlow also checks a saved workflow against the newest real event without running the workflow or spending credits. If you need to verify the complete behavior, Run a real test executes the steps for real and spends credits.
When you change an on workflow, the change applies from its next run. Runs already in progress finish using the version they started with.
What permissions are needed to view, manage, run, and approve workflow steps?
View workflows (workflow.view) lets you see workflows, activity, run pages, and workflow questions. Manage workflows (workflow.manage) is needed to build, change, save, switch workflows on or off, try them, archive them, stop runs, and retry runs.
Adding or changing a workflow step also requires the permission used by that step. This applies when saving a workflow, accepting an IO change, saving a restored version, or saving a template copy. Existing steps that are unchanged are not checked again. If you lack a required step permission, saving is refused and someone whose role has that permission must save the workflow.
To decide reviews for everyone’s workflows, you also need Decide any workflow review (workflow.review.any). Without that permission, Questions for me can be switched from for me to everyone’s only when permitted; your answer continues the run.
The supplied information does not identify a separate permission required to answer reviews assigned specifically to you.
How do I answer workflow questions and approvals, including reviewing requests in bulk?
Open Questions for me to see workflow questions and approvals waiting for you. Each card shows the workflow, whether it is a question or approval, when it was requested, and when it is due.
To respond, choose an option, Yes or No, or Approve or Reject. Select Send answer when it appears. Decline rejects the step. If the step uses credits, the card shows an estimate of the cost.
To review multiple requests together, select their cards and choose Approve all, Decline all, or the relevant option for all selected requests. You can filter the list by open, answered, declined, or ran out of time. If you have permission to decide any workflow review, you can switch between requests for me and everyone's.
Your answer allows the workflow to continue. Viewing workflow questions requires View workflows permission.
How do I monitor workflow runs and retry or stop them?
Open Activity under Workflows to see what your workflows are doing. The summary tiles show running workflows, workflows waiting for a person, jobs in progress, runs finished today, runs needing attention, and today’s credit usage. Select a tile to filter the run list, or clear the filter to show everything. Activity follows updates live by default.
To find a particular run:
- Open All runs in Activity.
- Filter by workflow, how the run started, and a date range.
- Select the run to open its details and view each step and its current state.
On the run page, you can:
- Select Stop while the run is still active.
- Select Try again after a failed run.
- Retry from a failed or finished step with Try again from here. You can also retry from that step using the workflow’s latest version.
- Use Run again to start a new run after the current one has ended.
You can select multiple runs in All runs and retry or stop them together. The Needs attention section also lists failed runs, overdue runs, waiting questions, and schedules that did not run. Failed runs may offer Try again, retrying from a specific step, Reassign, or Stop.
Viewing workflow activity and run details requires View workflows. Stopping and retrying runs requires Manage workflows.
How do I create a workflow from a template or choose what starts it?
You can create a workflow either from a ready-made template or by choosing its trigger first.
Start from a template
- Open Templates under Workflows, or choose From a template on My workflows.
- Search for a template. Its card shows what can start it, the apps it needs, any credit costs, and what it asks for when started manually.
- Open the template. It appears on the workflow board as a template copy.
- Adjust the steps and settings, then select Save. Your copy appears in My workflows with its own name and versions.
Saving a template copy requires Manage workflows and permission to use every step in the template. The apps listed as needed must also be connected before you can use steps that depend on them.
Choose what starts the workflow
- On My workflows, select Pick what starts it.
- Search under Find a moment…. Triggers can include events such as a file arriving or a schedule.
- Select the trigger. A new board opens with it already added.
- Add and configure the steps that should follow, then save the workflow.
You can also start with Describe it, an empty board, or by describing the workflow to IO in your own words. Saving and managing workflows requires Manage workflows access.
How do I connect, test, renew, rotate, or revoke an app connection for workflows?
To manage an app connection:
- Open Settings and go to Connections.
- Under Other apps, select the app.
- Choose a connection method, when available: sign in, API key, username & password, or headers.
- For sign-in connections, select Continue to <app>, sign in, and allow access. For other methods, name the connection, enter the required details, and select Connect.
A confirmation that the connection is connected means it is ready to use in workflows. Connections are available across the organisation. In the workflow builder, the Other apps section shows whether an app is connected or needs to be connected first.
On the Connections page, you can:
- Select Test to check a connection immediately.
- Select Sign in again to renew a sign-in connection.
- For an API-key connection, select Rotate keys, enter the new keys, and select Save new keys.
- Select the connection name to rename it.
- Select Revoke, then Yes, revoke, to remove it. Workflows that use the revoked connection stop at the step that needs it.
Viewing connections requires View workflows. Adding, changing, testing, renewing, rotating, renaming, or revoking them requires Manage workflow connections. If you do not have that permission, you can view connections but cannot add or change them.
Billing and subscriptions
How do I choose a plan, estimate VOD or Sign usage, buy add-ons or credits, and manage billing?
Open Subscription from the account menu. The page contains Plans, VOD, and Sign tabs.
Choose or change a plan
- On the Plans tab, compare the available plans, including price, trial offer, storage, encoding, catalogues, and quality.
- Select a plan and optionally apply a promo code.
- Continue to checkout and complete payment through Stripe.
Your current plan shows its status and next billing date. Monthly and yearly views are available. The VOD plan is selected separately on the VOD tab.
Estimate and choose a VOD plan
On the VOD tab, enter the number of films in your catalogue using the slider or number field, or choose a preset catalogue size. The calculator shows the estimated monthly price and the streaming, storage, and encoding included under fair use. Select the VOD plan and continue to checkout; checkout commits you to that number of films.
If you already use the VOD plan, you can change the committed number of films. Increasing the commitment is charged immediately for the remainder of the month, while a lower commitment starts at the next renewal.
Estimate Sign work
On the Sign tab, enter the films per month, minutes per film, and languages, then select one or more services:
- Subtitles
- Captions with subtitles
- Clearer dialogue (HoH audio)
- Audio description
The calculator displays the credits required per month and identifies credit packs that cover the estimate. Sign credits are based on minutes of video, with each film counted in whole minutes and at least one minute. The exact rates depend on your organisation’s pricing.
Buy add-ons
Open Premium Addons, choose an add-on, and continue to checkout through Stripe. For unit-based add-ons such as Live channels, set the number of extra units before checkout. Existing add-ons show as active and cannot be purchased again. You can update the quantity of a Live add-on; Stripe prorates the change on the next invoice.
Buy or redeem compute credits
Compute credits are shared across your organisation and can be used by subtitle, transcription, HoH Audio, audio description, and Video Intelligence work.
To buy credits, open Add compute credits, select a package, optionally apply a promo code, and choose Buy Now. Your balance updates after payment. You can also redeem a free-credits code in the same dialog, or pay only for the credits missing from a single project when the project estimate exceeds your balance.
Project creation and Video Intelligence show the estimated cost and your current balance before you start. If you do not have enough credits, you must buy credits or pay for the individual job before starting.
Manage billing
Open Billing to see your current plan, status, renewal or end date, price, storage and encoding usage, and billing history. Use the billing portal to update your payment method, download invoices, and manage renewal. Subscription and add-on payments are handled through Stripe.
Need the full steps? Browse the guides