
DOCSSTREAMS AND MEDIA DELIVERY
Manage a stream’s video, audio and subtitle tracks
Updated 31 October 2026
A stream’s media is organised into three tabs:
- Flavours: the source video and encoded video versions.
- Audio: audio tracks such as main, commentary, dubbing and audio description.
- Subtitles: subtitle, caption and forced-subtitle tracks.
Open a stream from Streams, then choose the relevant tab.
Manage video flavours
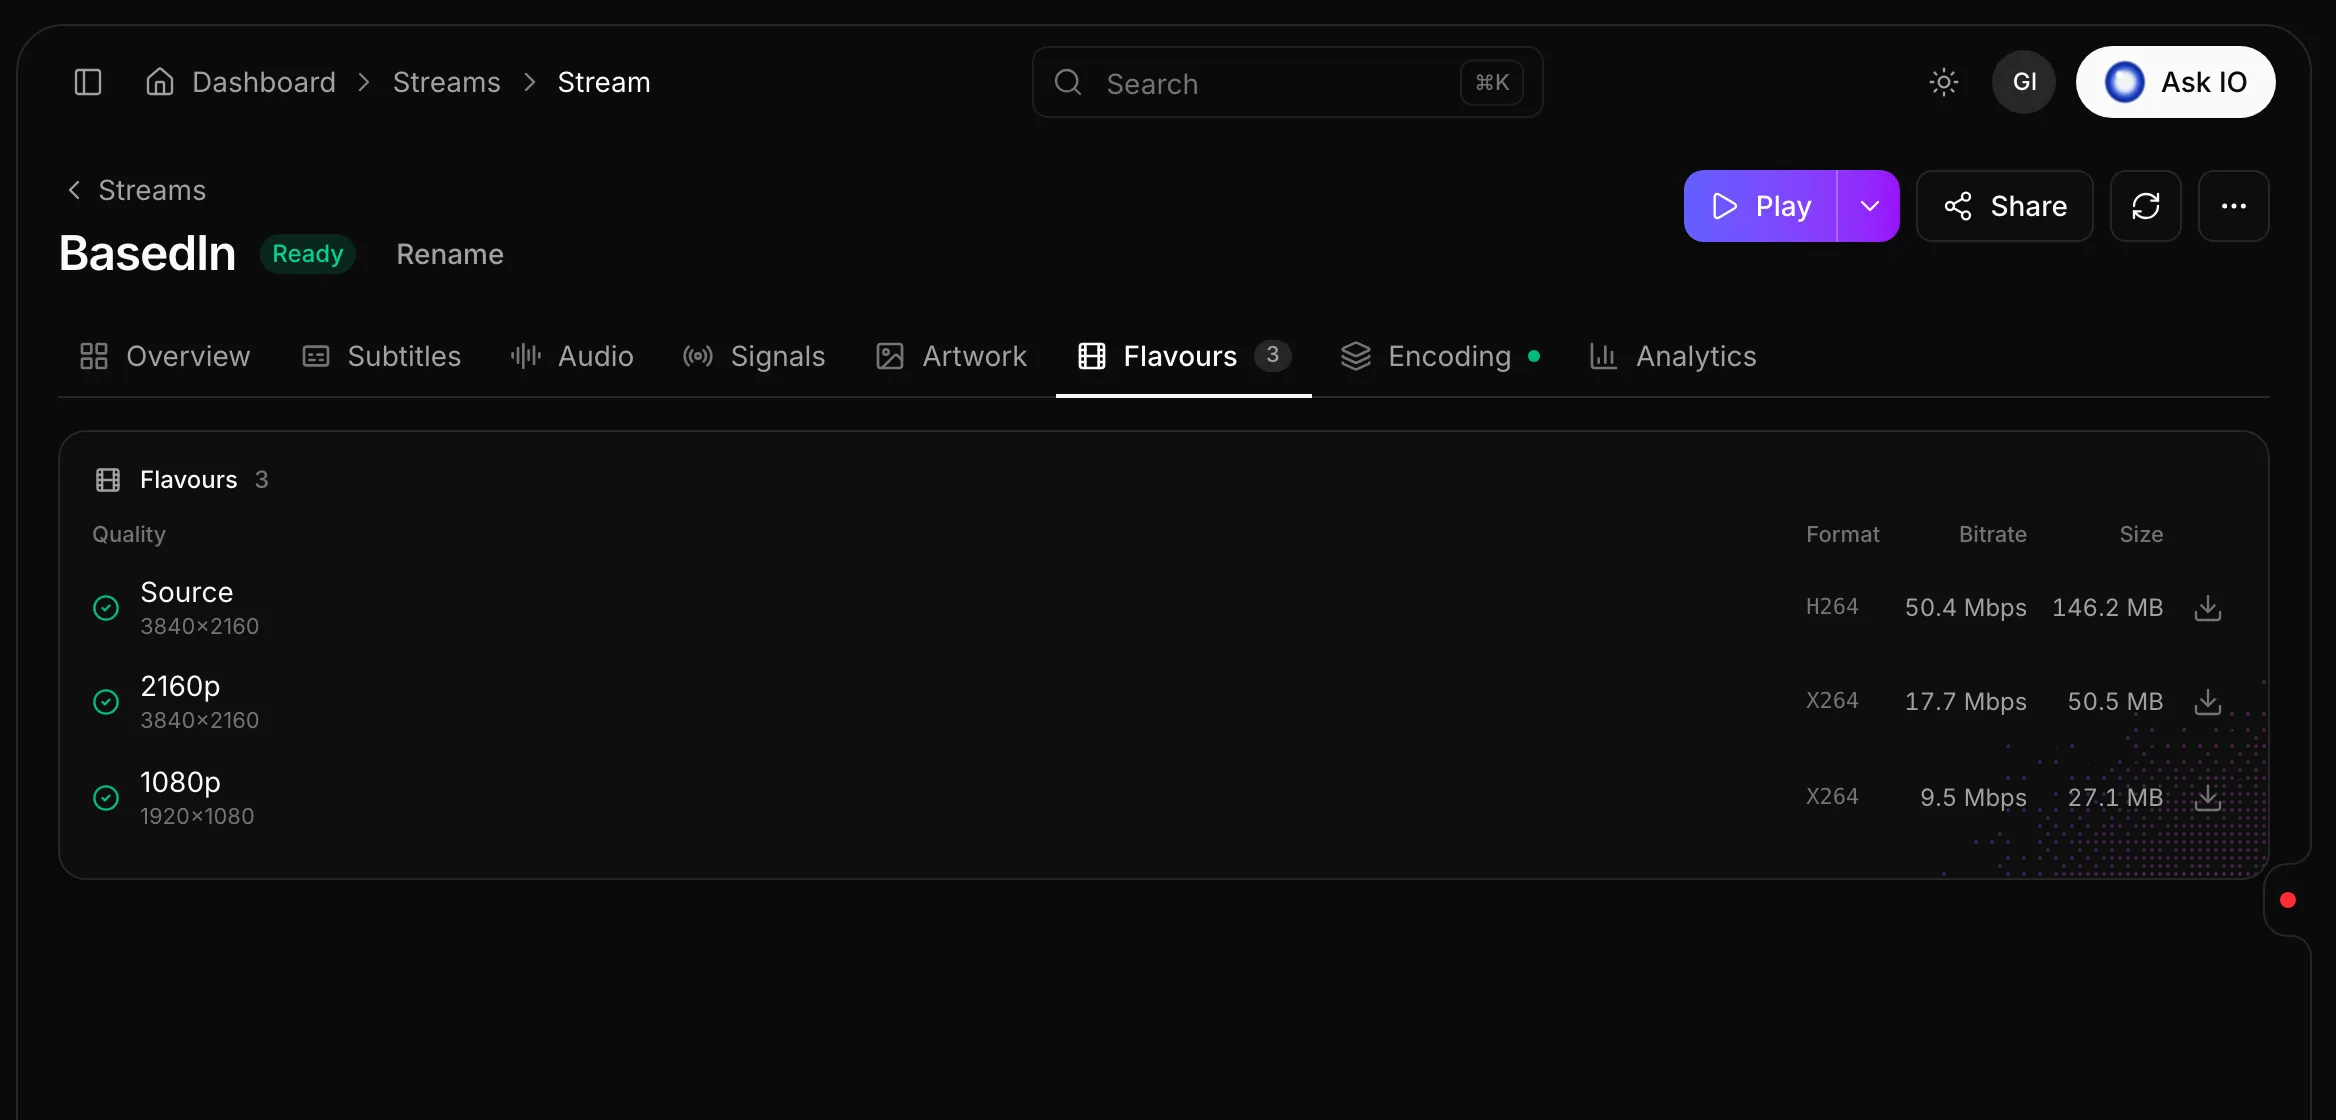
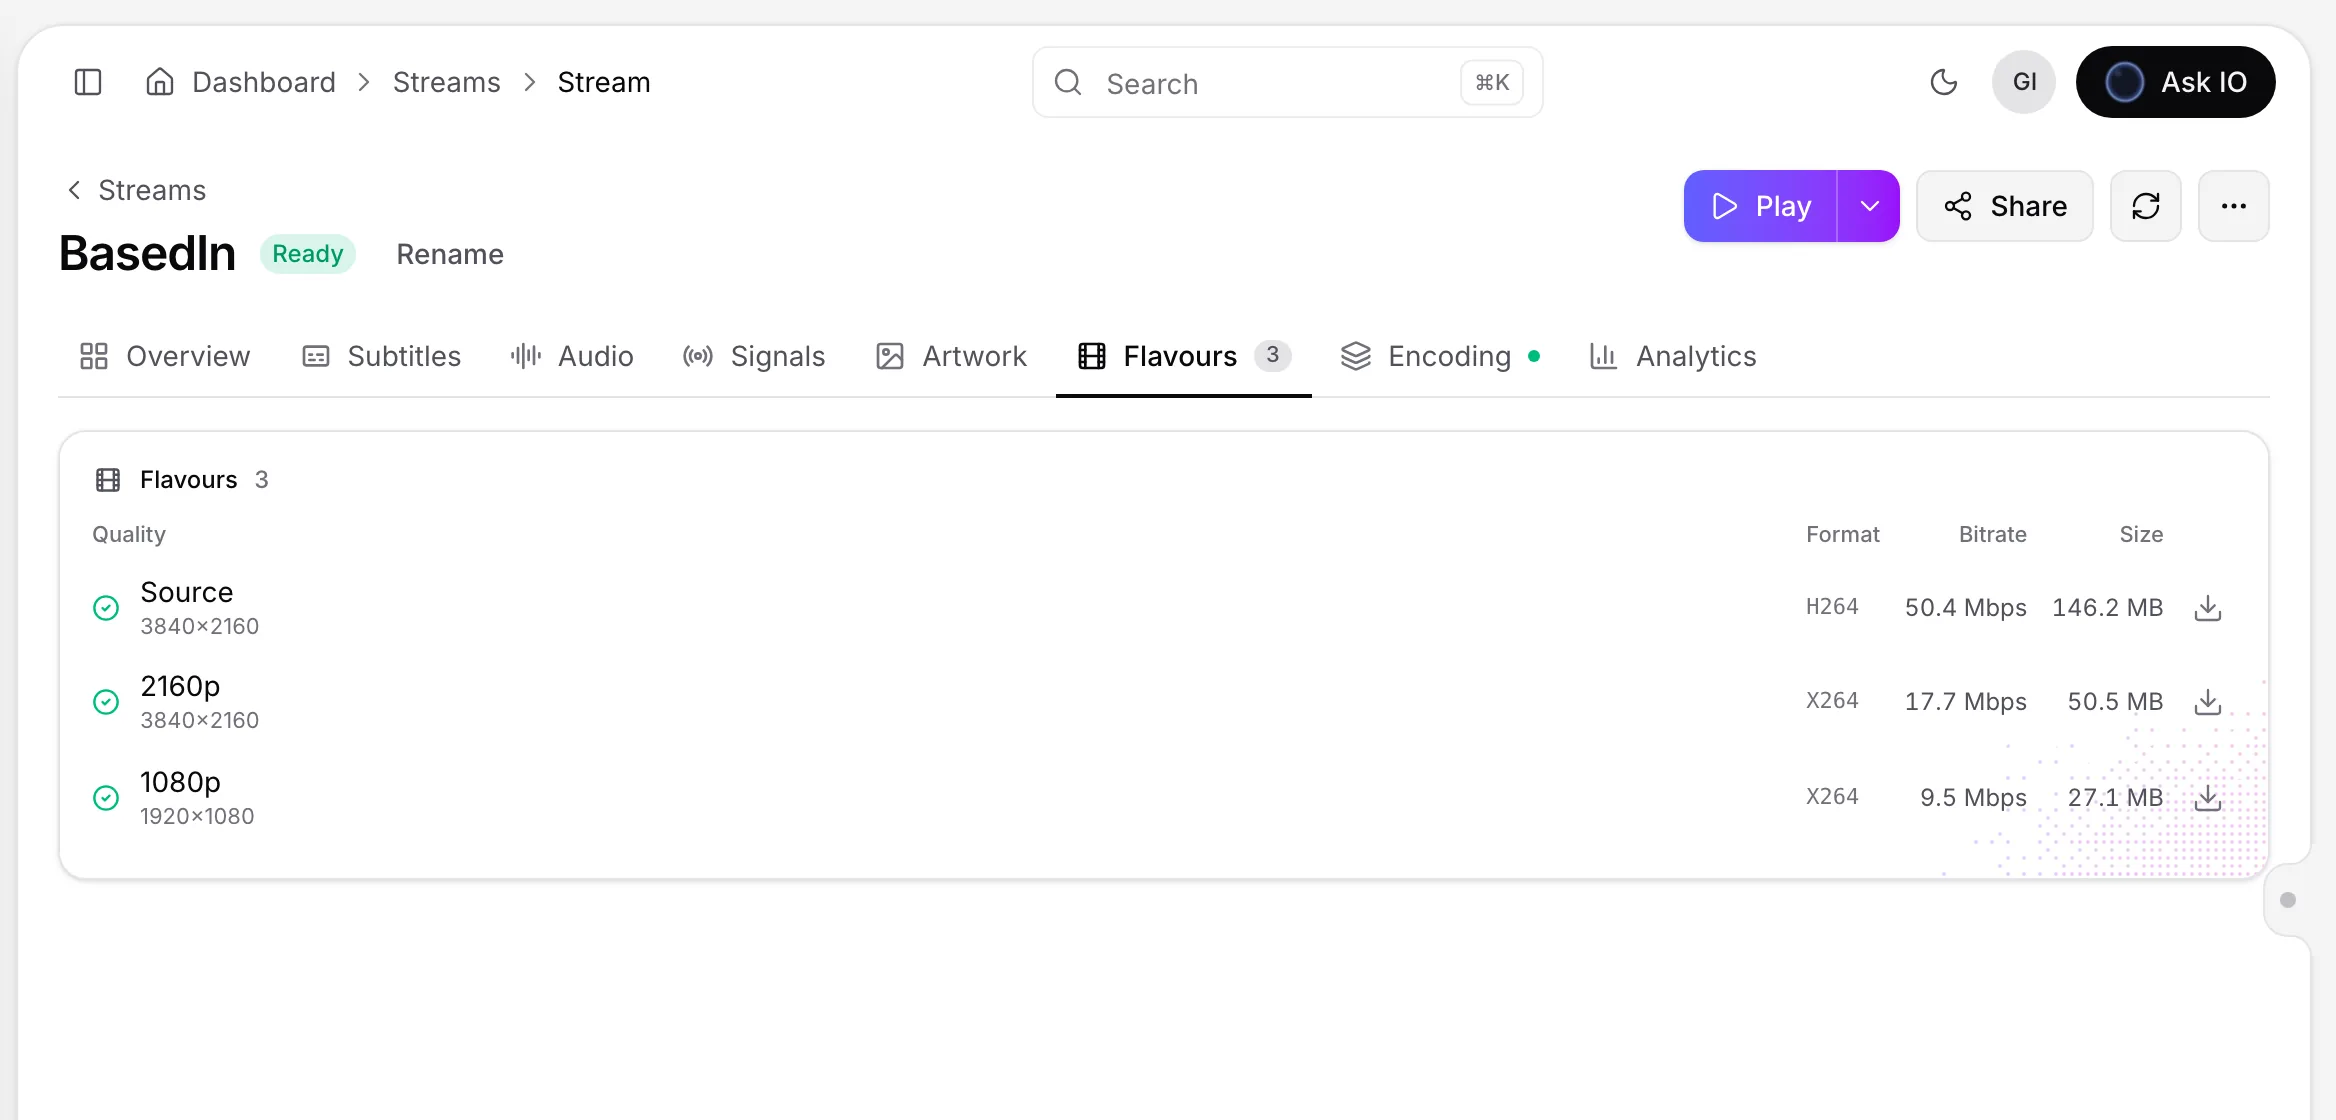
Each flavour row shows its quality, format, bitrate and size. The source is marked Source. Encoded flavours appear as encoding completes, and the Overview’s Storage panel shows how much space they use.
The player can switch between flavours automatically as the viewer’s connection changes. Available flavours normally include 2160p, 1080p, 720p, 480p and 360p, but a flavour is never higher than the video’s own resolution and your plan’s maximum quality may limit the available options. Encoding profiles determine the available flavours and their bitrates. In the player, the Quality menu shows the current flavour and the other available options; the Quality selector setting controls whether that menu is shown.
Download, copy or share a flavour
- Open the stream and select Flavours.
- Open Download options for a flavour.
- Choose one of the following:
- Download to save the MP4.
- Copy URL to copy a download link.
- Share to send the file through Bridge. The Share dialog asks for a recipient, package name, optional message and an access-expiration time.
Downloading requires View Archives. Sharing also requires Update Bridge Files. Copy URL is unavailable when the flavour has no stored file.
Add and manage audio tracks
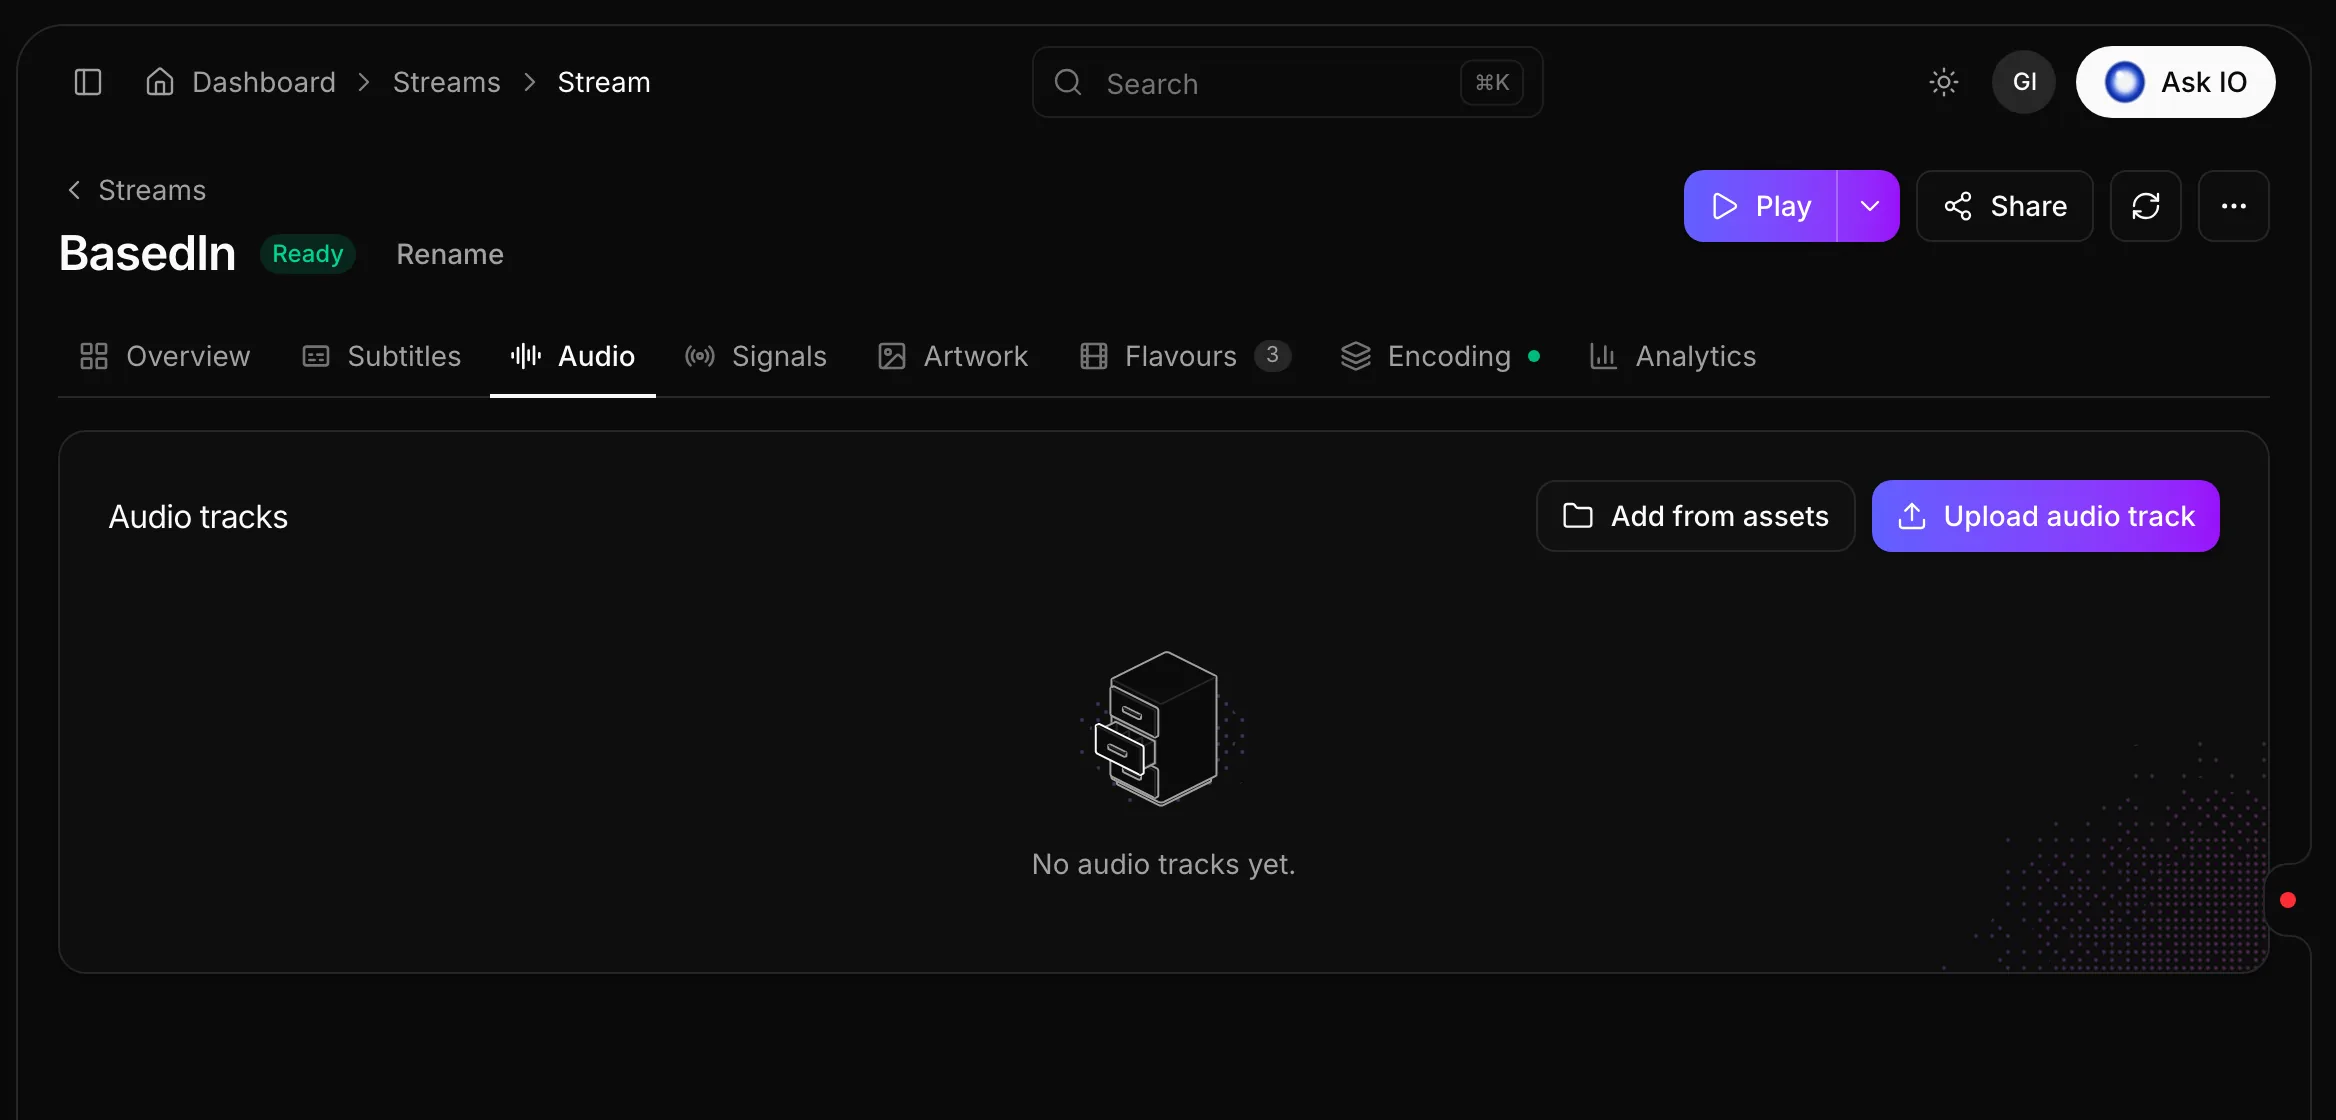
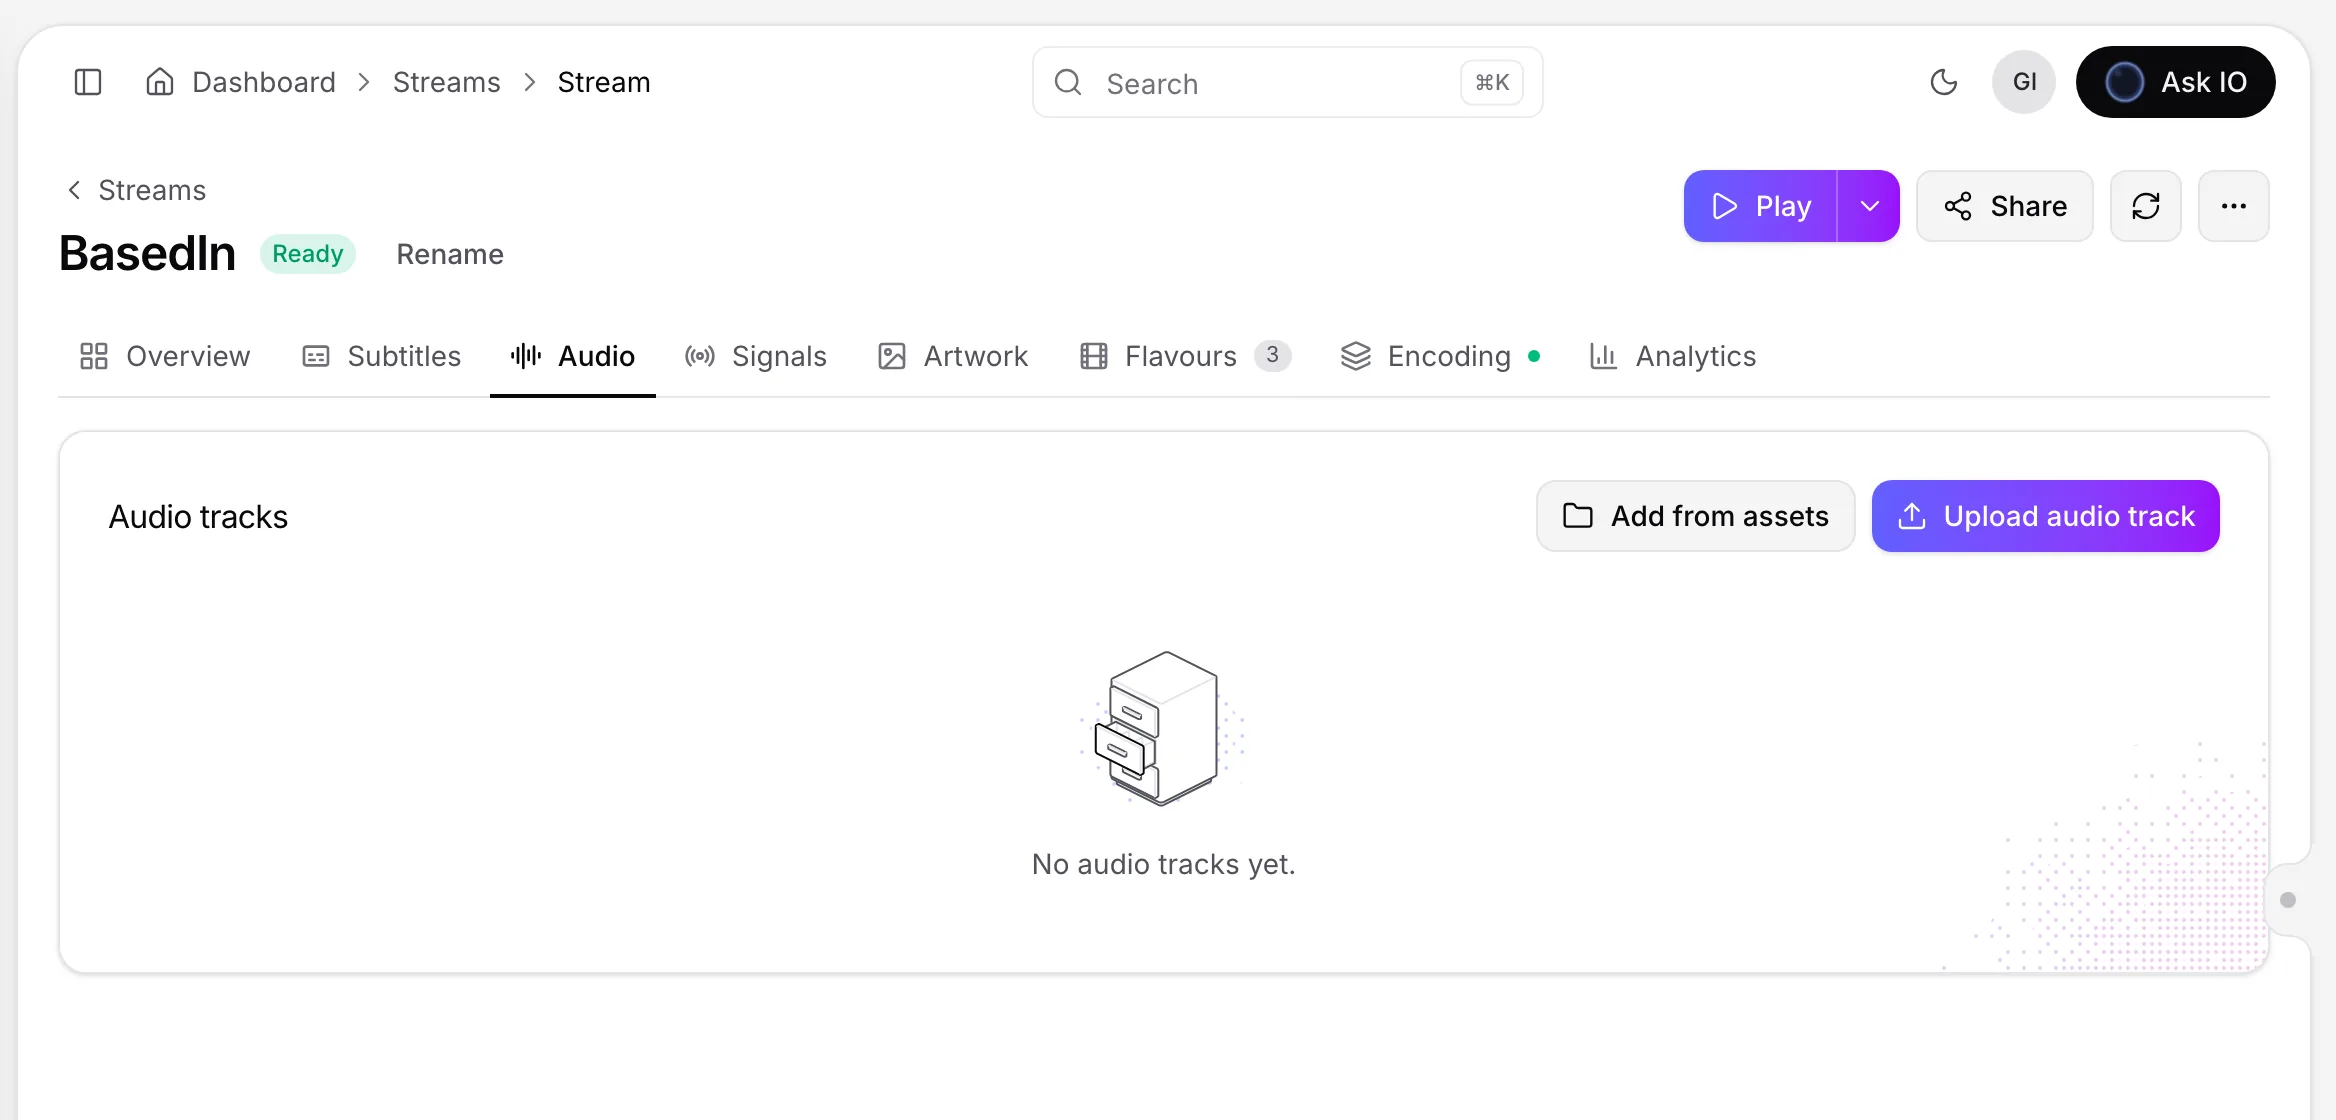
Upload an audio file
- Select Audio, then choose Upload audio track.
- Choose the track’s Language. This names the track; the uploaded file is not analysed first.
- Select a Type: Main, Alternate, Supplementary, Commentary, Dub, Emergency, Audio description or Hard of hearing.
- Choose a file in M4A, AAC, MP3, WAV, FLAC, OPUS, MP4 or MOV format.
- Select Upload.
Uploading requires Edit Streams. You cannot upload another track with the same name, language and type because duplicate tracks can break HLS and DASH packaging.
Add audio from another source
- Select Audio, then choose Add from assets.
- Select a source:
- Catalogue media assets: files belonging to the stream’s catalogue.
- Vault: files in your organisation’s Vault.
- Bridge: files from connected Bridge accounts, or search all Bridge accounts when you have the required access.
- External link: a direct HTTP or HTTPS link that the encoder can reach without signing in.
- Choose the file and track type. For an external link, also choose the language.
- Select Add track.
The encoder fetches the file rather than your browser. Adding a track requires Edit Streams. Catalogue media assets and Bridge sources require the stream to be linked to a catalogue. Vault access requires View Vault; searching Bridge accounts requires View Bridge Accounts and View Bridge Files. Tracks added from files are named and tagged using the file’s audio analysis.
View, edit, download or delete audio
The Audio table shows the title, language, type, codec, bitrate, channels, duration, status, active state and creation date. Use a row’s actions to View, Edit, Share, Download or Delete a track.
- Edit and Delete require Edit Streams.
- Download requires View Archives.
- Share requires View Archives and Update Bridge Files.
- Deletion cannot be undone.
Add and manage subtitles and captions
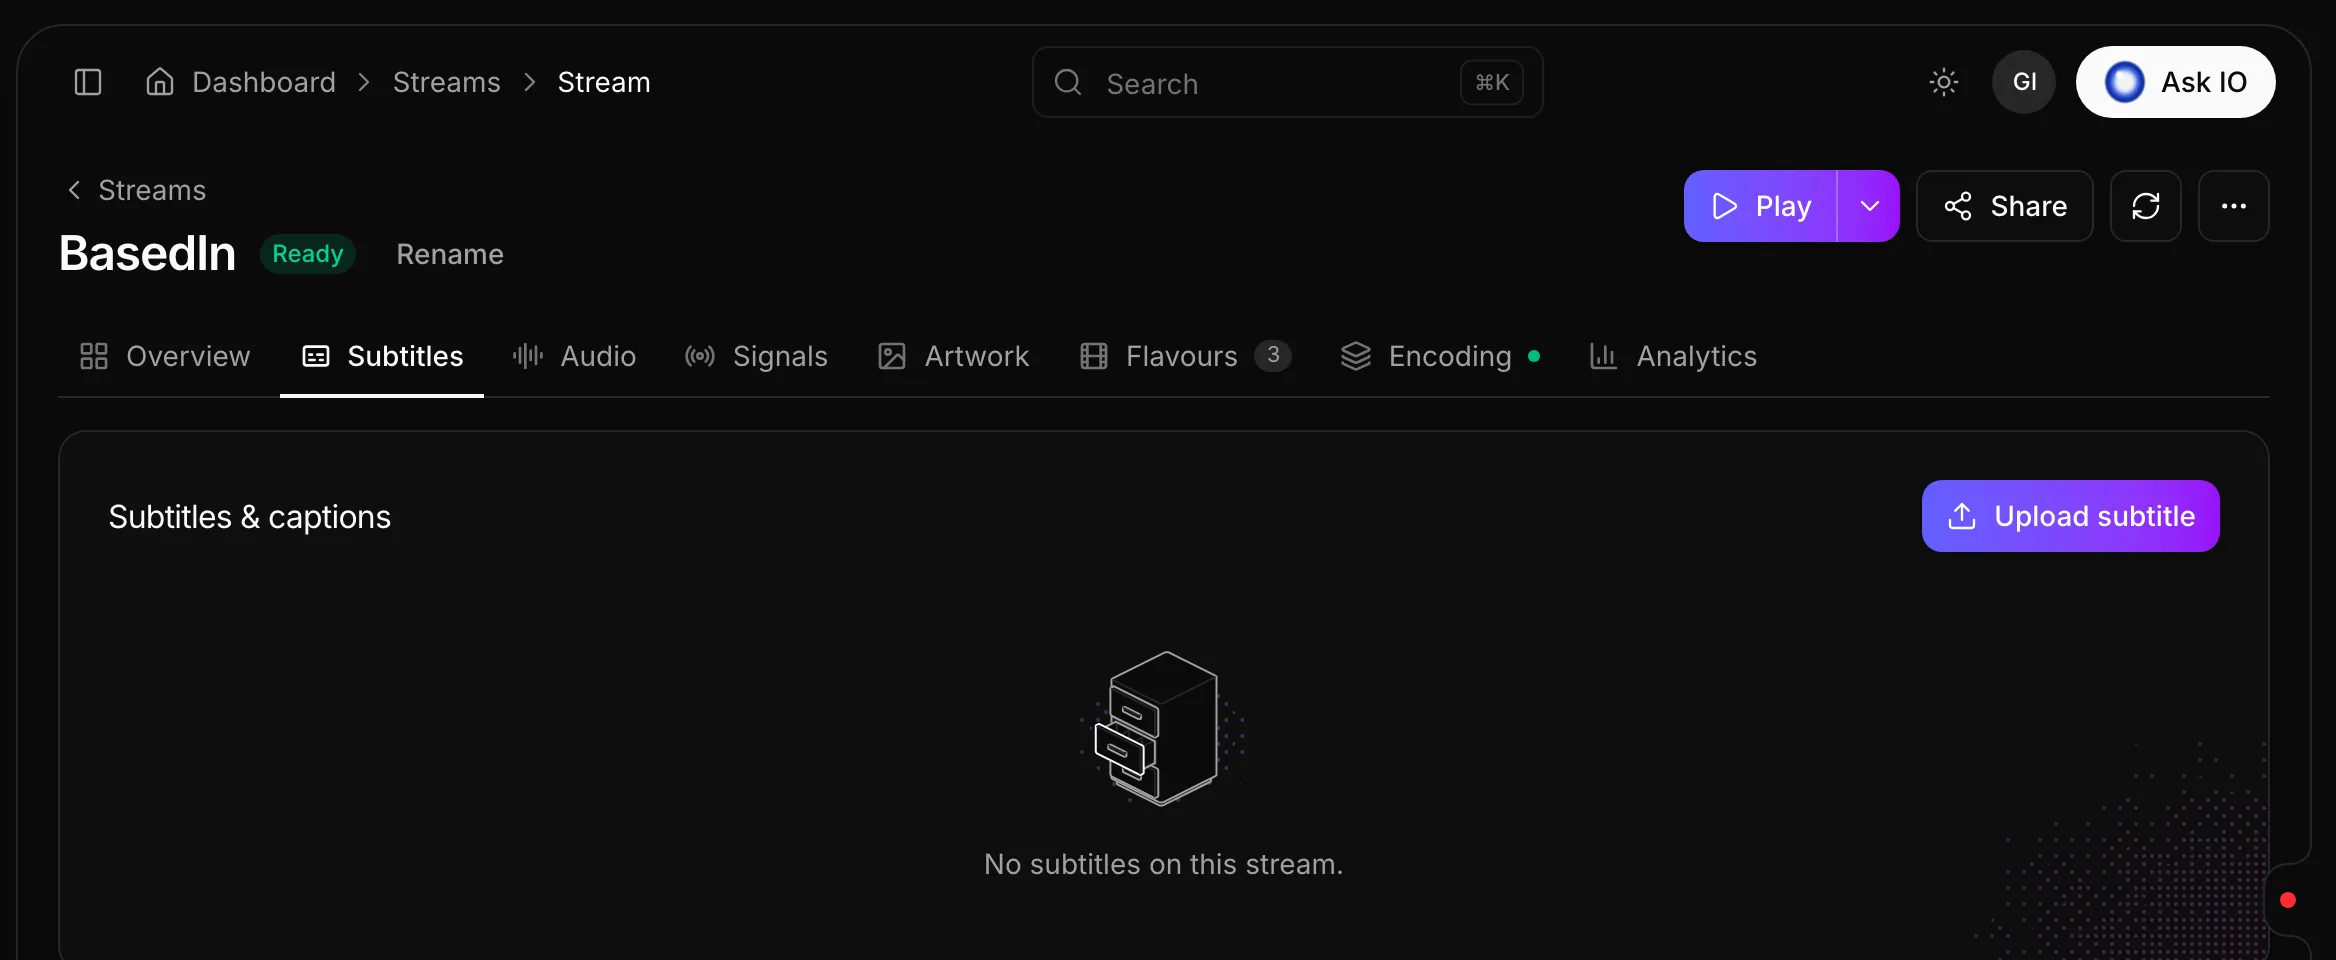
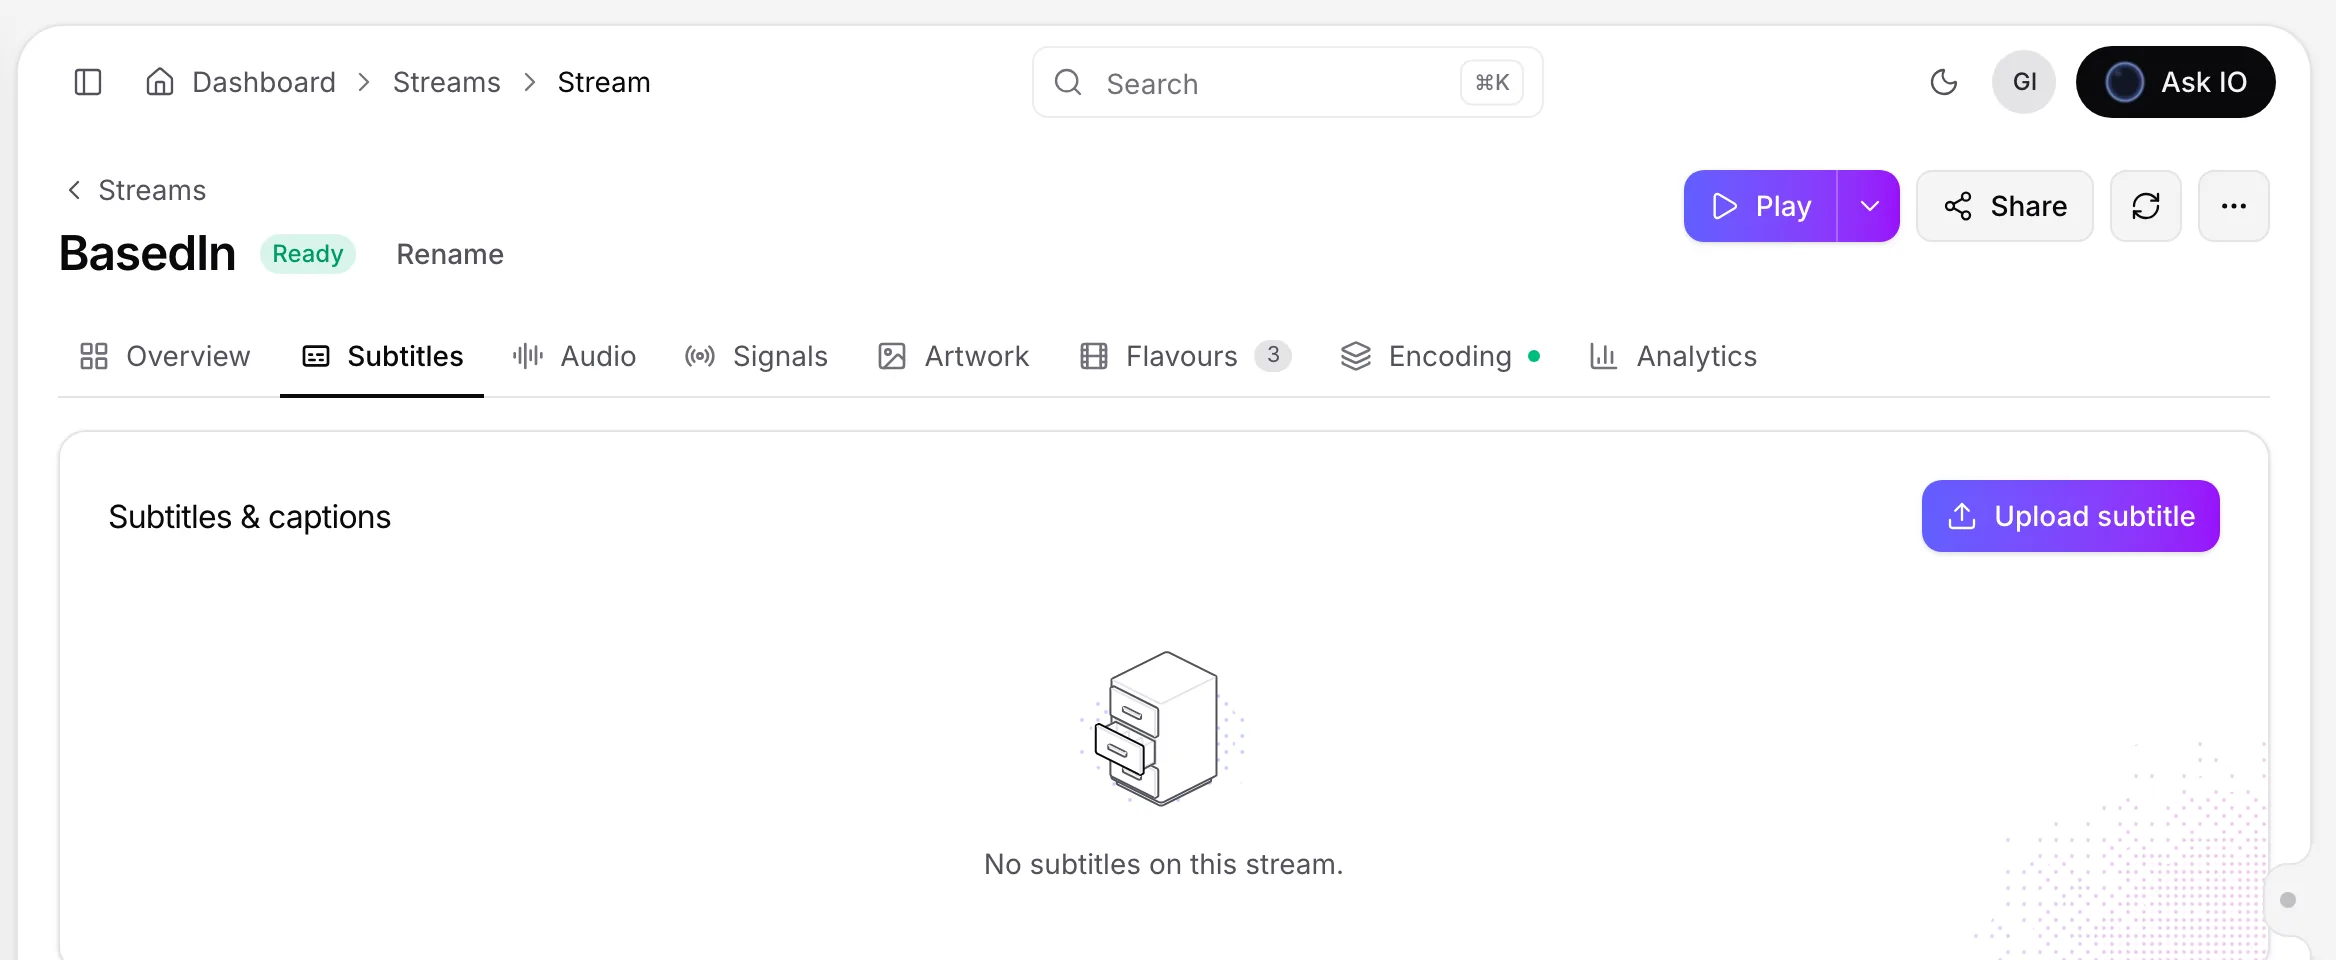
Upload a subtitle or caption file
- Select Subtitles, then choose Upload subtitle.
- Enter a Title, or keep the default file name.
- Select the Language and a Type: Subtitle, Caption or Forced subtitle.
- Choose the file. You can also choose Choose stored file to select a file from Vault or Bridge.
- Select Upload.
Supported subtitle formats are described in Subtitle formats: import and export. Uploading requires Edit Streams. A subtitle cannot have the same title, language and type as an existing track because duplicate tracks can break HLS and DASH packaging.
Vault selection requires View Vault. Bridge selection requires View Bridge Accounts and View Bridge Files.
Turn a subtitle track on or off
The Subtitles table shows the title, language, type, format, status, size, active state and creation date. Use the row actions to:
- Turn on or Turn off the track.
- Edit its title, language, type or active state.
- Share it through Bridge.
- Download it as VTT or SRT.
- Delete it.
Turning tracks on or off, editing and deleting require Edit Streams. Downloading requires View Archives. Sharing requires View Archives and Update Bridge Files. Deletion cannot be undone.
Looking for a quick answer? Read the FAQ