
DOCSMONETIZATION
Manage licensors and royalty statements
Updated 31 October 2026
A licensor is a rights holder whose titles you sell, such as a studio, distributor, or producer. Each offer identifies its licensor and its licence terms, which determine the licensor’s share of revenue.
Before you start
You need access to the monetization module and permission to view licensors. Creating or editing licensors requires the corresponding access granted by your organisation.
Add a licensor
- Open Licensors from Monetization.
- Select Create licensor.
- Enter the licensor’s name. This is the only required field.
- Optionally add the licensor’s status, contact person, email, phone number, website, address, and business details.
- Under Revenue & Payment, enter the revenue share percentage, minimum guarantee, payment currency, payment method, and payment details.
- Under Additional contacts, select Add contact for each additional person.
- Select Create.
The licensors list shows each licensor’s name, email, revenue share, and status. Use the search box to find a licensor.
View a licensor
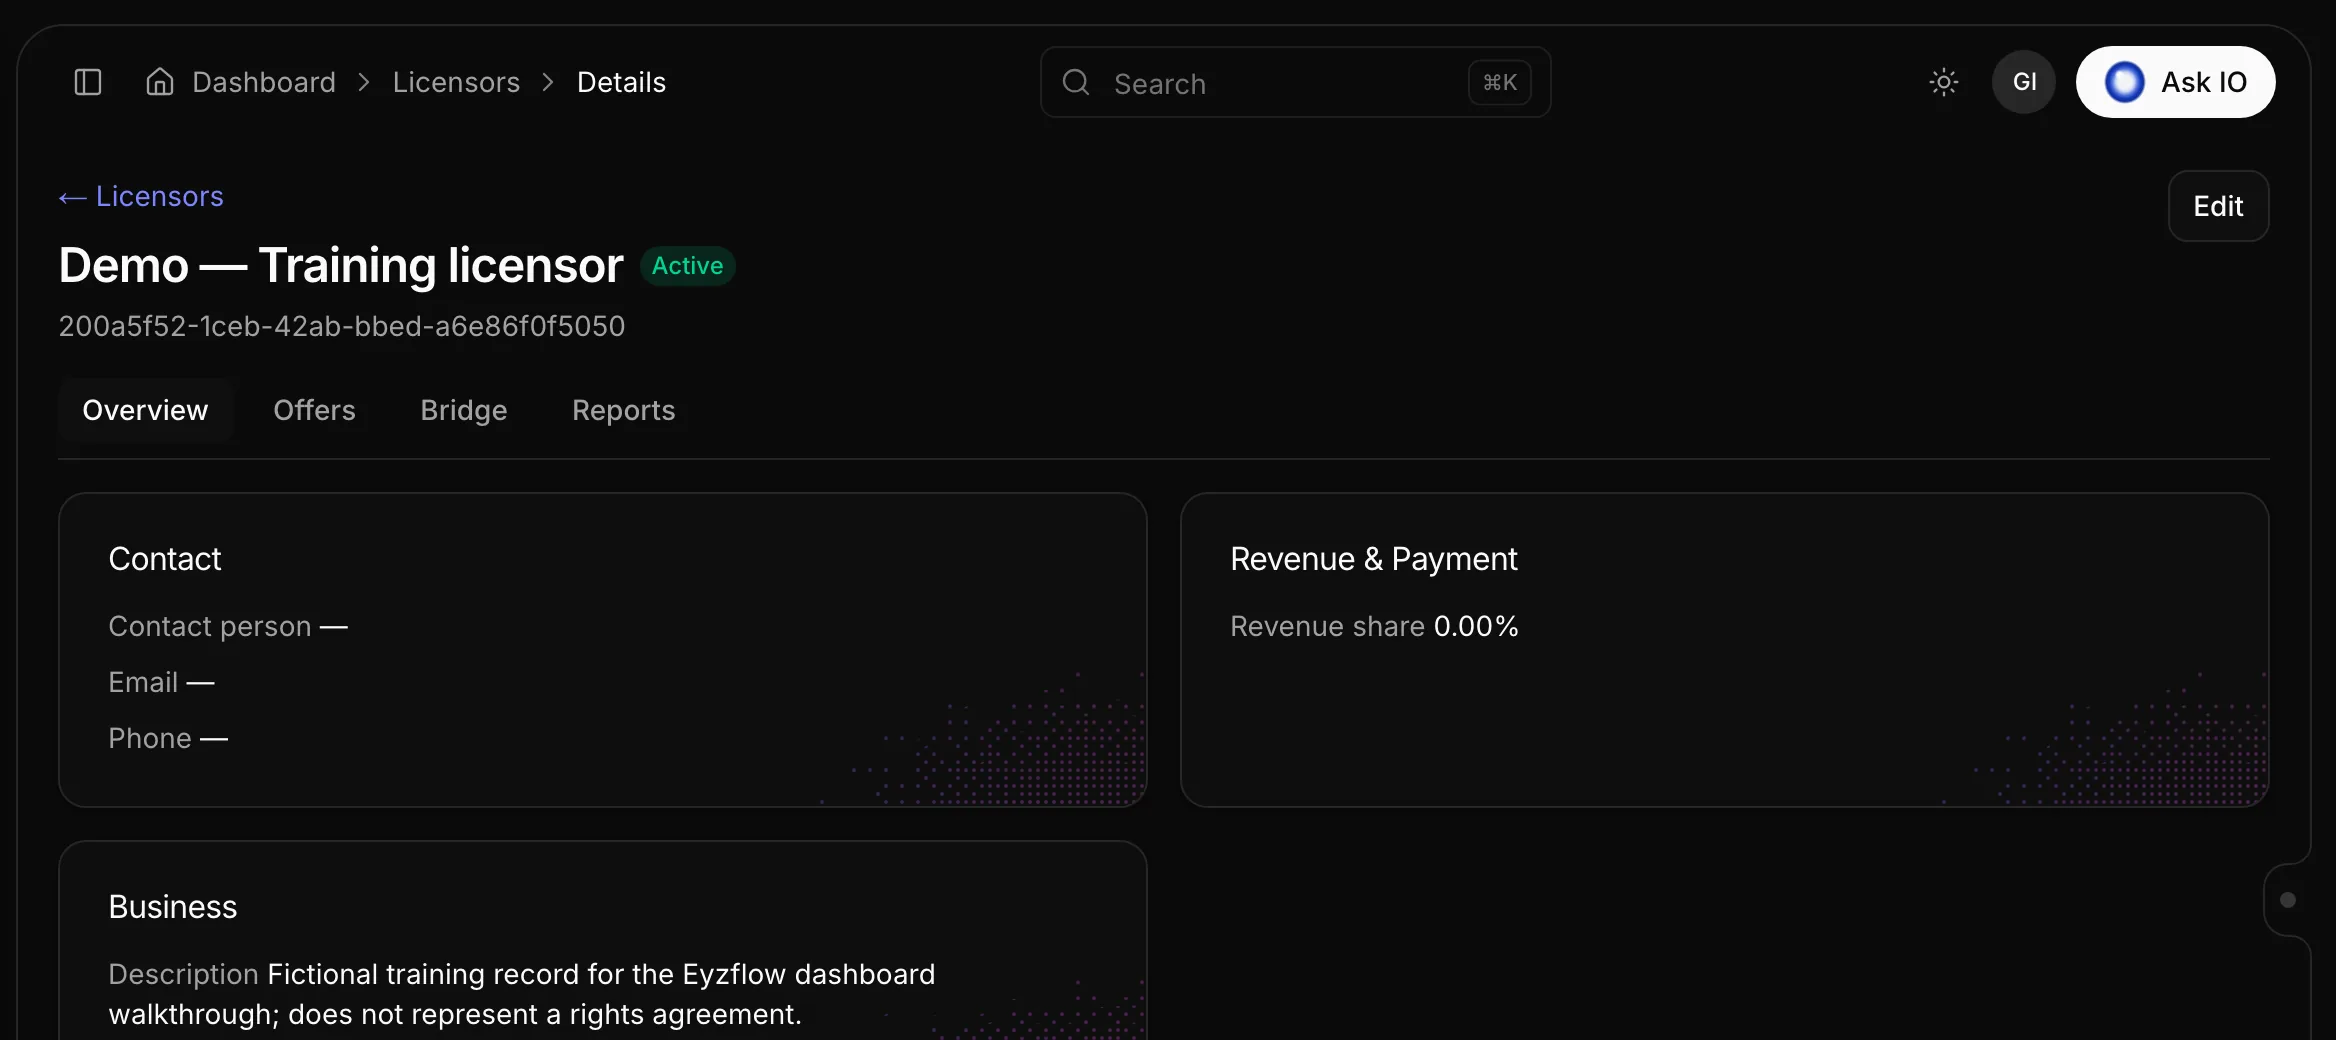
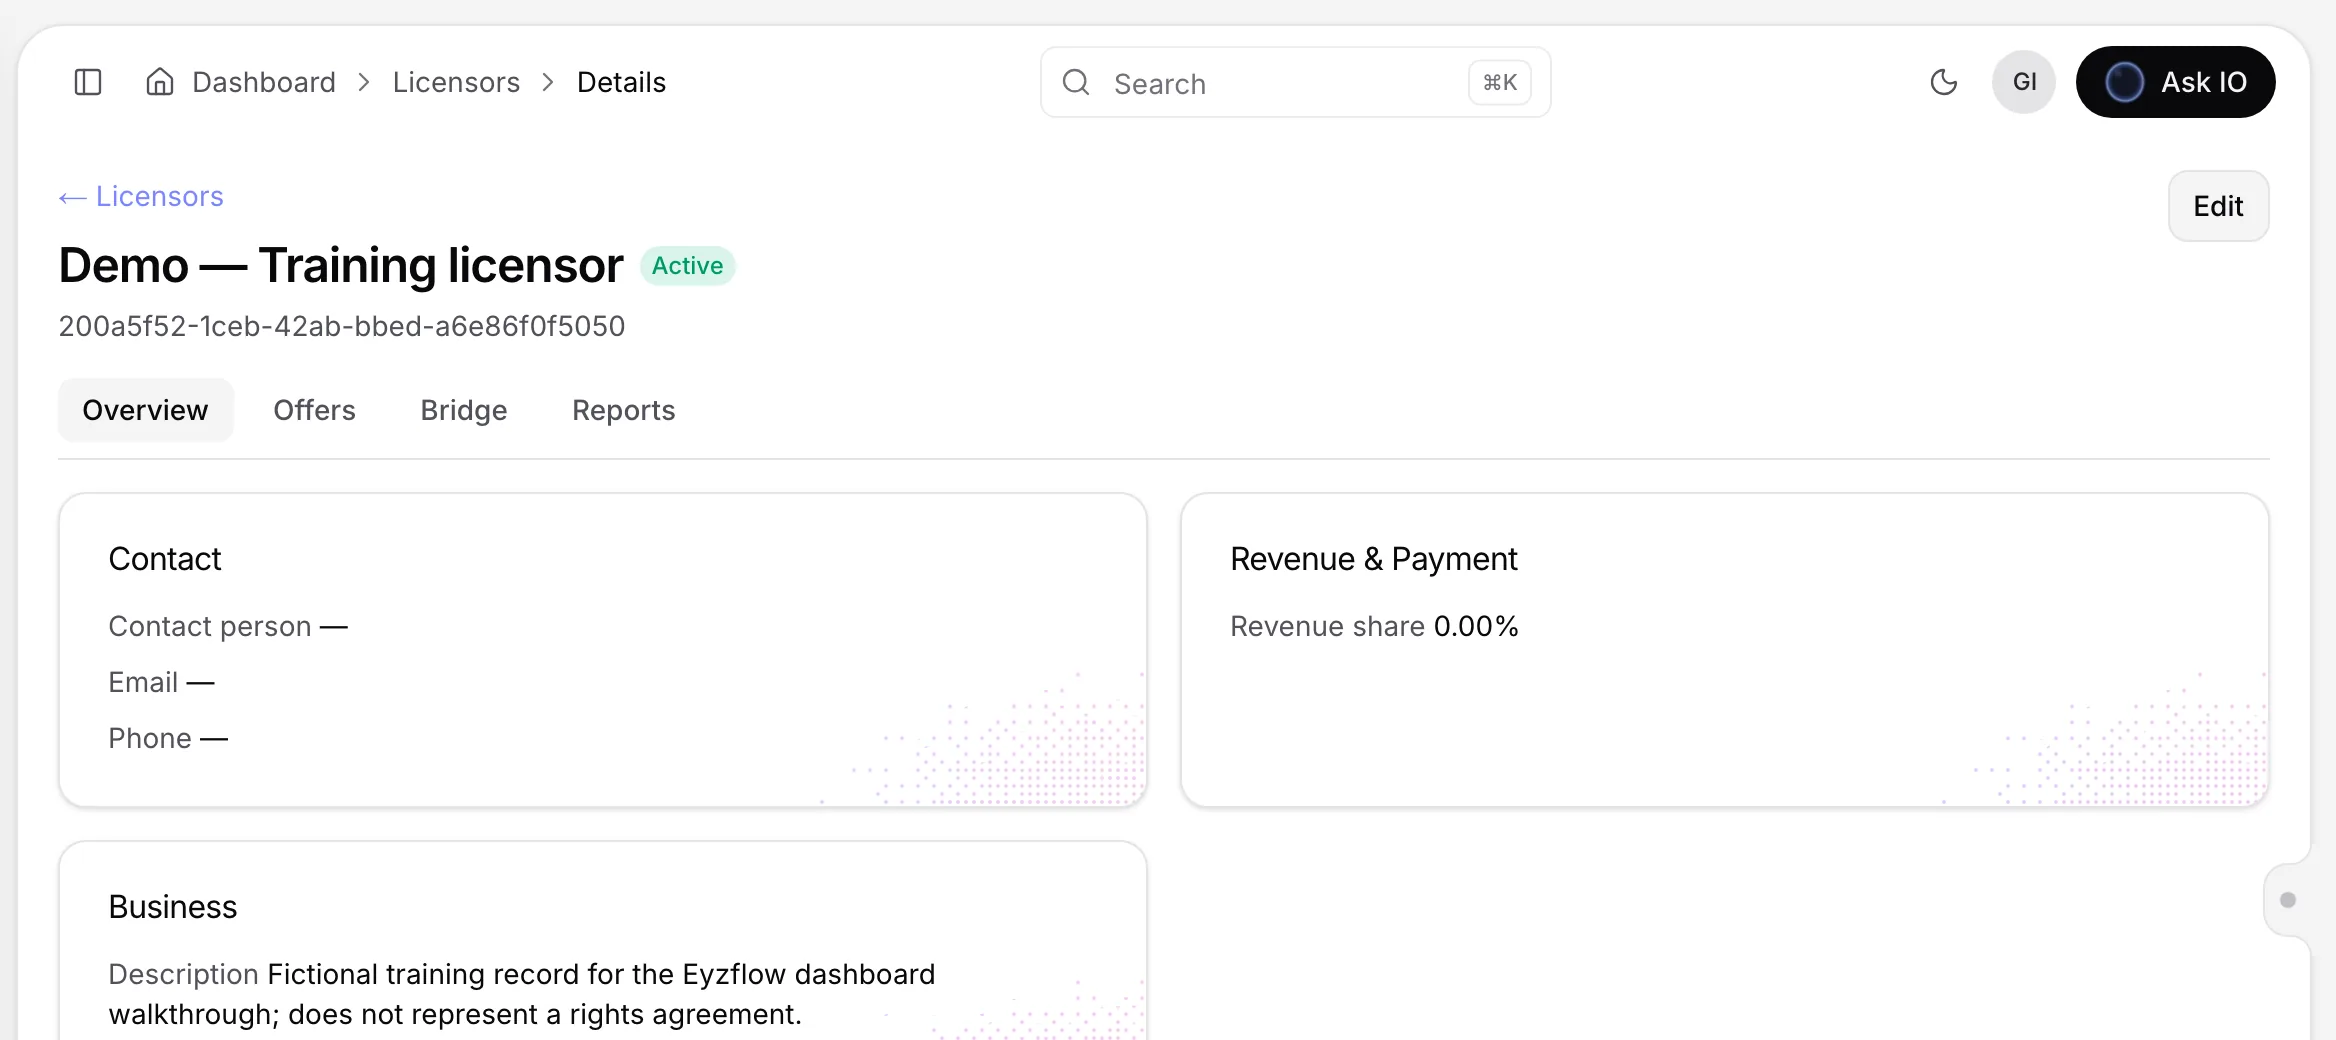
Open a licensor from the licensors list to access these tabs:
- Overview — Contact details, address, revenue and payment information, and additional contacts.
- Offers — Offers that name this licensor, with links to the relevant offers.
- Bridge — The licensor’s workspace for sharing and managing files.
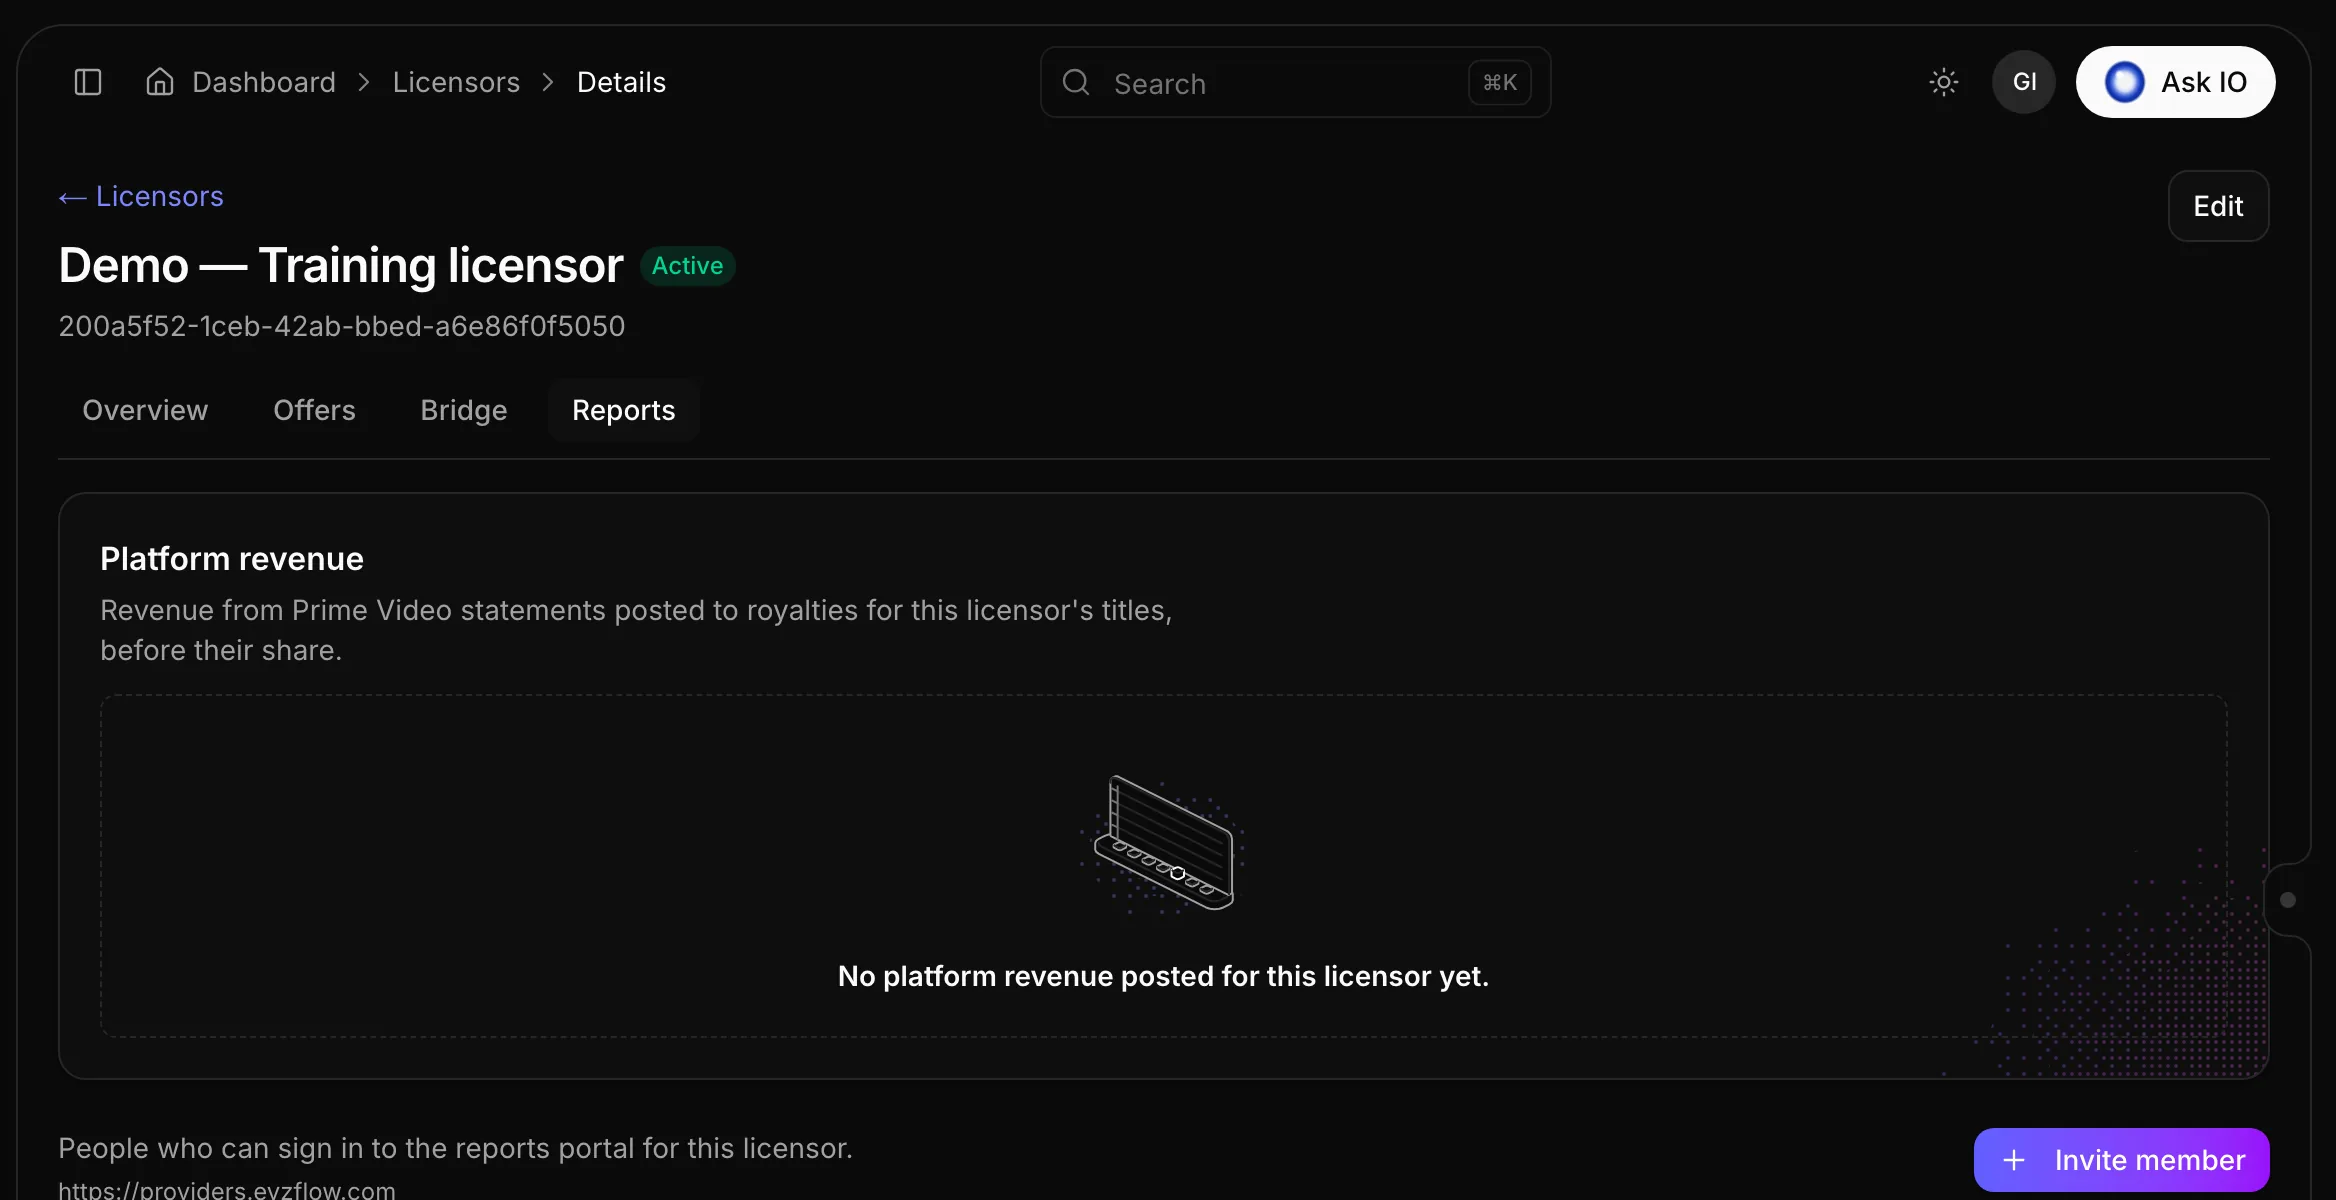
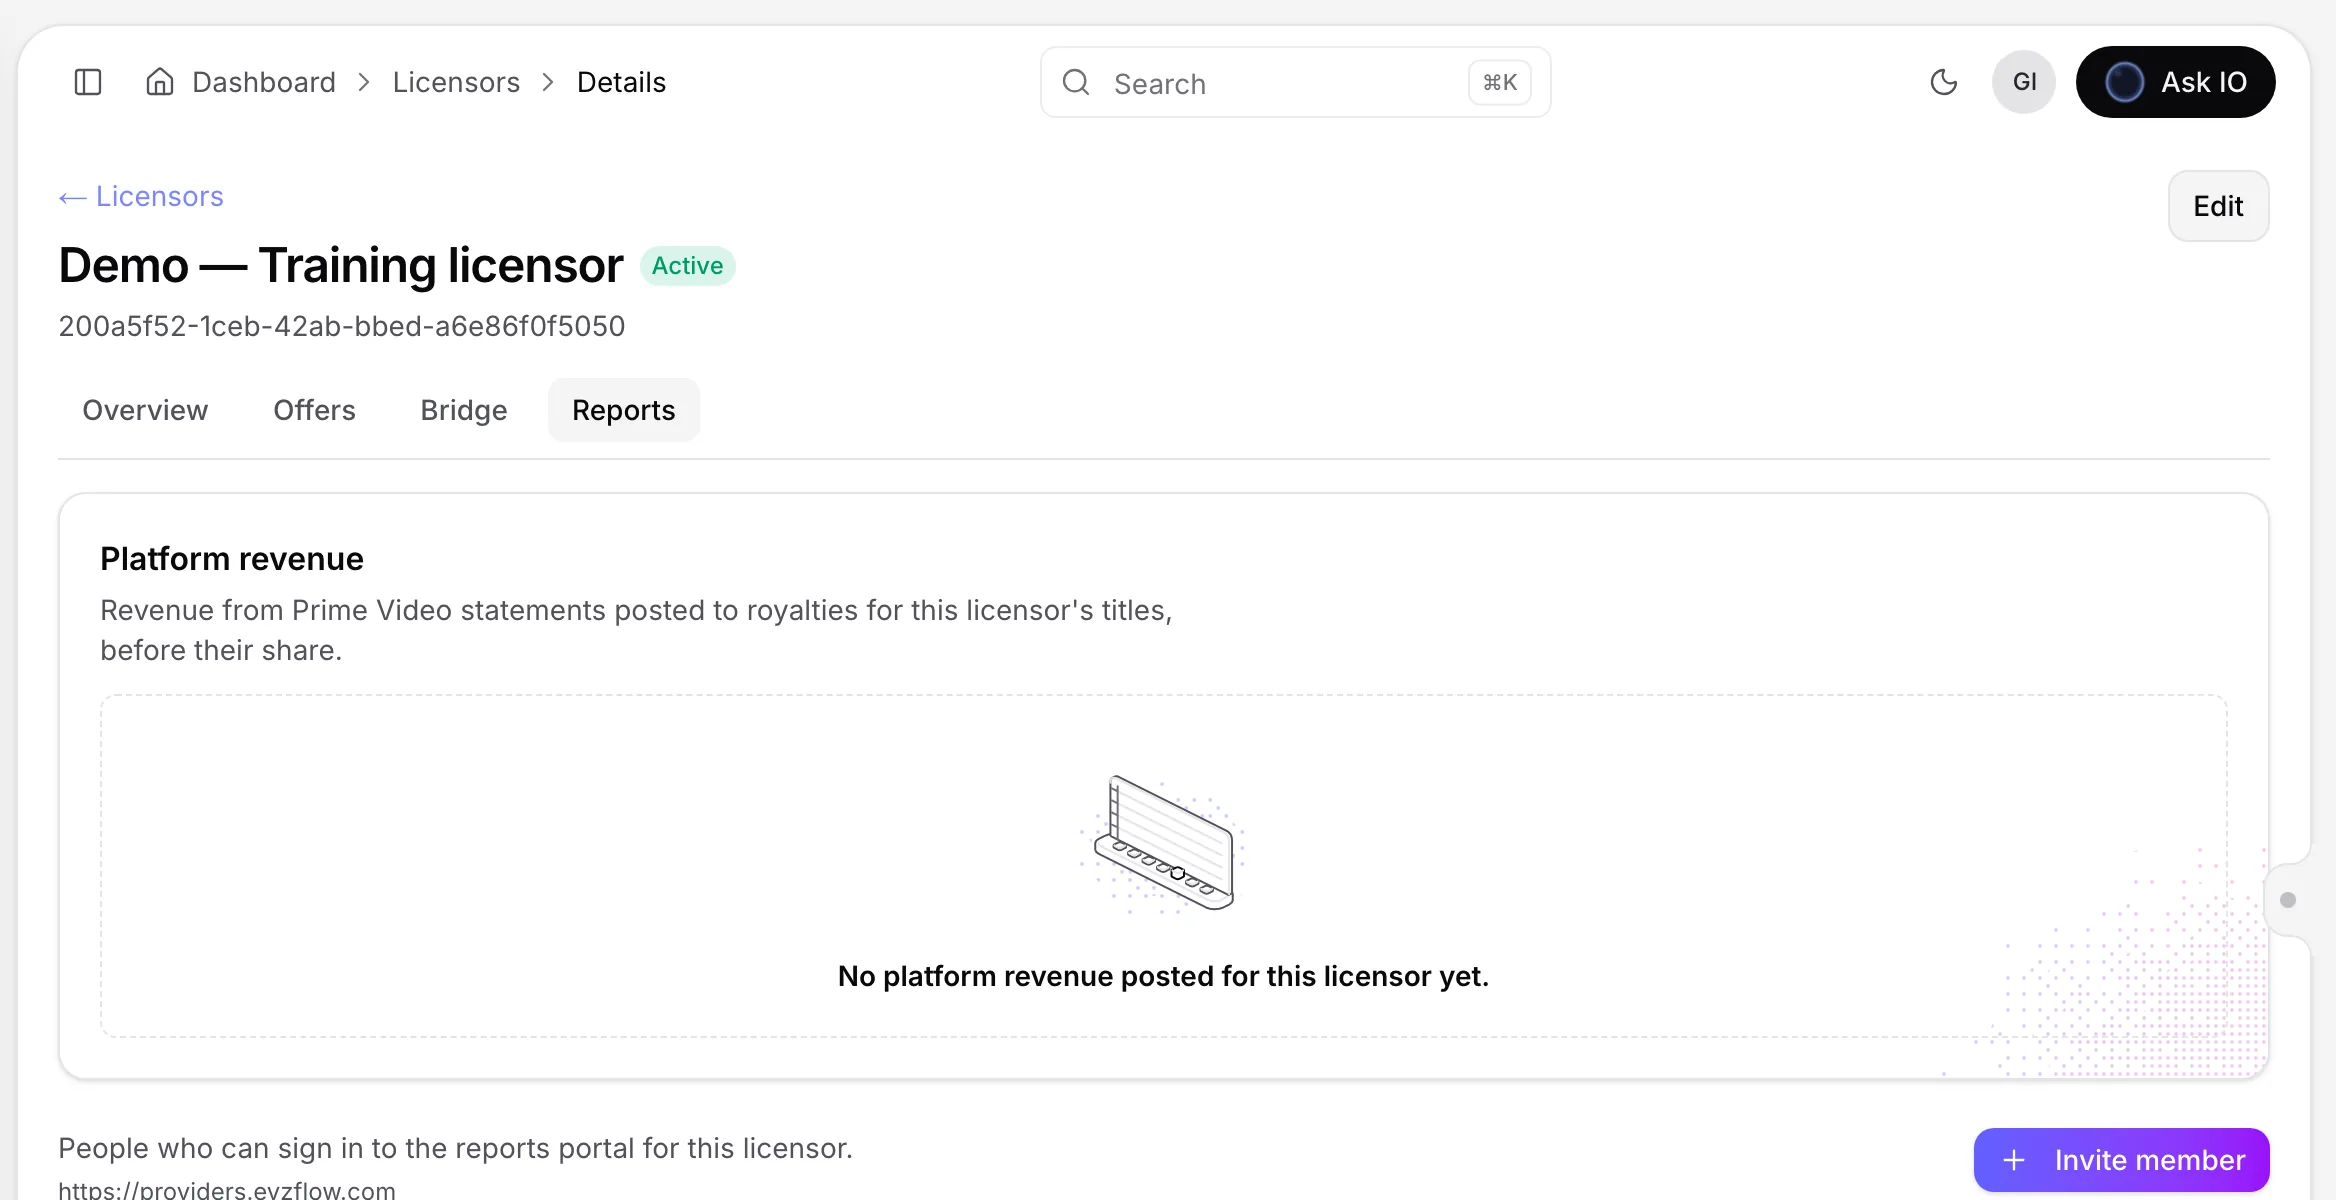
- Reports — Platform revenue and the people who can access the licensor’s reports portal.
Select Edit to change the licensor’s details. Editing requires the appropriate access.
Share files through Bridge
Bridge provides a secure workspace where a licensor can upload and manage files.
- Open the licensor’s Bridge tab.
- Select Enable Bridge.
- Select Invite member.
- Choose one of the licensor’s contact email addresses, or enter another email address.
- Select Send invite.
After Bridge is enabled, the tab lists workspace members and files. Access to Bridge, enabling the workspace, managing members, and viewing files may require separate permissions.
For more information, see Sharing and inspecting files with Bridge.
Give people access to royalty reports
- Open the licensor’s Reports tab.
- Select Invite member.
- Choose a licensor contact email, or enter another email address.
- Select Send invite.
The invited person receives access to the reports portal by email. From the member list, you can resend an invitation, disable or enable access, or remove a member. If the licensor has no contact emails, add them through Edit first.
View platform revenue in royalty statements
The Platform revenue section of a licensor’s Reports tab lists revenue from Prime Video statements posted to royalties for that licensor’s titles. It includes the month, platform and channel, titles, minutes viewed, and revenue. The amounts shown are before the licensor’s share.
A statement appears only after it has been posted to royalties:
- In Distribution, open Revenue.
- Match the statement lines to titles.
- Post the statement to royalties.
After posting, the revenue is included in the licensor’s royalty statement for that month. Statements can be posted or removed from royalties only by users with the required royalty-management access, and a finalised month cannot be changed.
For the wider royalty workflow, see Prime Video revenue, royalties and analytics.
Looking for a quick answer? Read the FAQ